
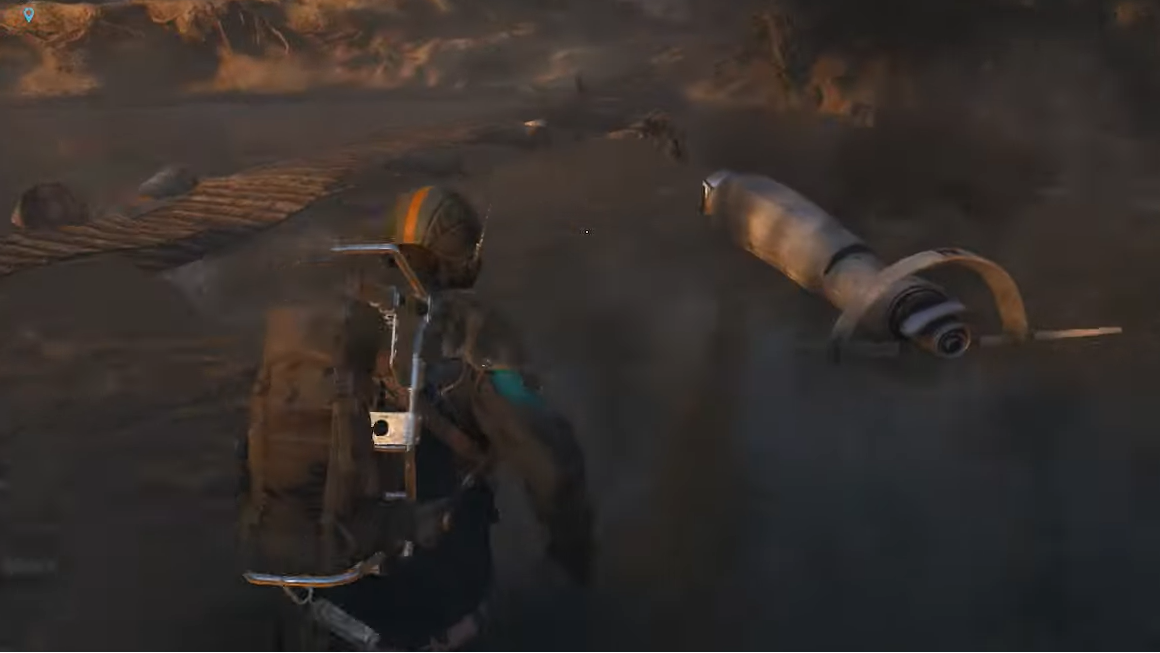
ARC Probes are static objectives that drop from orbit and immediately change the rhythm of a raid. They don’t deal damage themselves, but they broadcast noise, pull in machine patrols, and reward anyone who can breach them cleanly. If you know how they escalate and what typically responds, you can time your breach, manage the adds, and walk away with useful crafting parts and the occasional recipe.
ARC Probes explained: what they are and why they matter
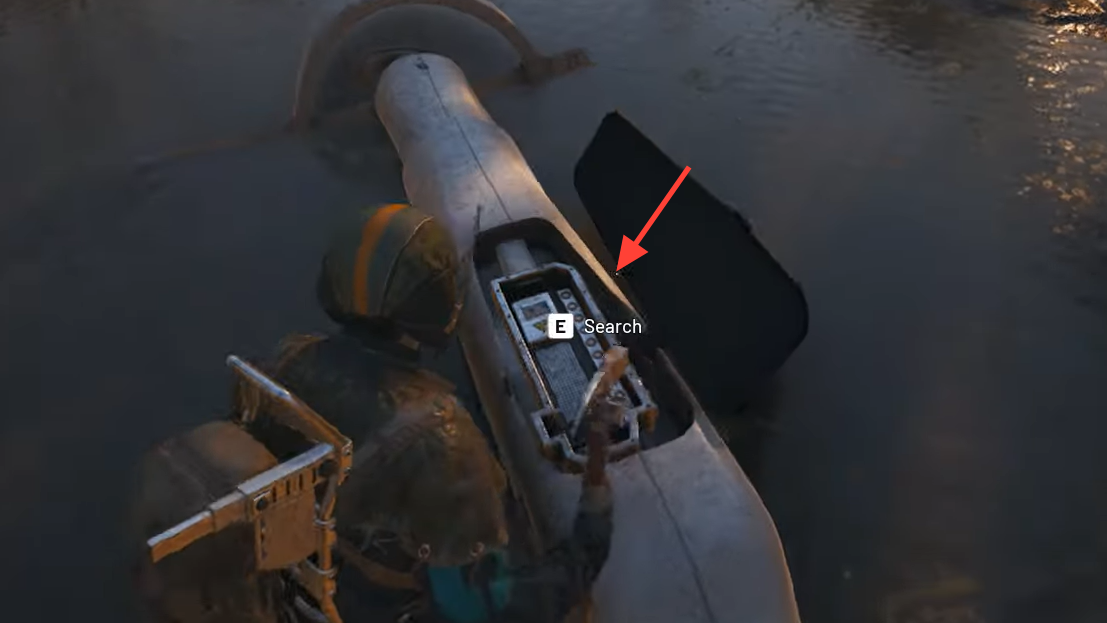
An ARC Probe is a ground unit that lands with a loud, repetitive beep. The unit has three lootable panels around its base; each panel must be breached before you can grab the contents. Initiating a breach triggers a siren that carries far, drawing nearby ARC to investigate. If the probe is left beeping long enough, it will repeatedly call in backup, typically a small flight of drones.
Because probes are stationary and noisy, they become magnets for trouble. Treat them like a timed exposure: the longer you take, the larger the crowd that arrives.
How ARC Probes escalate and who shows up
Two escalation paths matter at a probe:
- Local attraction: once the siren starts, nearby ARC units path toward the noise. Expect ground patrols and static defenses in earshot to converge.
- Air reinforcements: if the beeping continues long enough, the probe will keep calling in a small flight that usually includes one Hornet and two Wasps.
That composition matters. Wasps are unarmored and fire bursts of light rounds at the end of a quick laser tell. Hornets mix armored and unarmored rotors, and they open with a stun round after a slightly longer tell. If you’re not ready to punish those telegraphs, a simple breach turns into a stall, which invites even more adds.
Breach an ARC Probe safely (step-by-step)
This sequence keeps you moving and limits how many reinforcements you need to juggle at once:
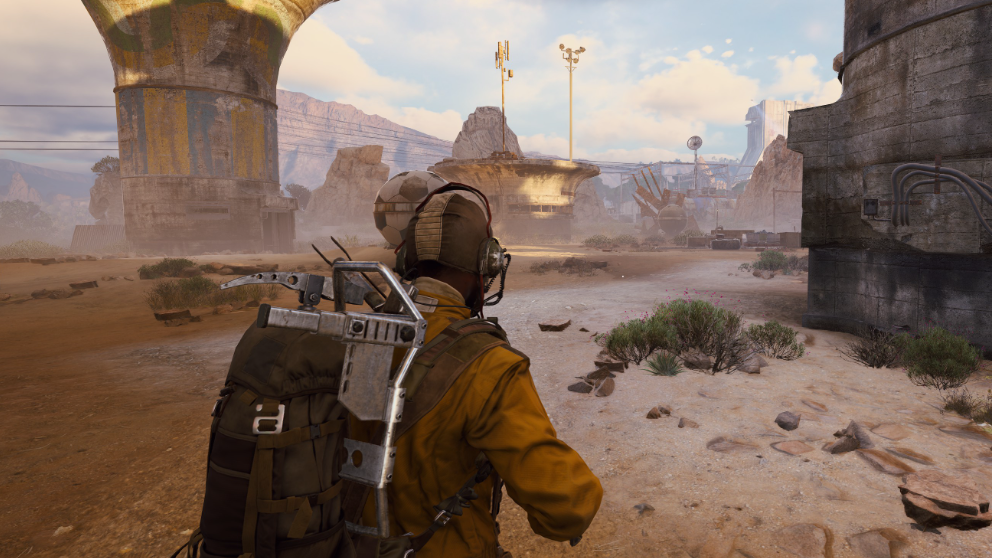
- Scout the approach. Clear or mark nearby static threats like turrets. Probes don’t hurt you, but the siren will wake anything in the area.
- Position cover lines. Identify two pieces of hard cover that let you flip between them while keeping sightlines to the sky. You’ll use these to break laser locks from drones.
- Start the breach on the first panel. The siren begins once the breach starts, not at first contact. Commit to finishing the channel; the faster you cycle panels, the fewer adds you face.
- Watch for the first air wave. Wasps telegraph with a yellow laser that turns red after about a second; you have roughly one more second before they fire a burst of light ammo at the marked spot. Step out of the beam’s endpoint before it goes red, then punish while they’re committed.
- Respect Hornet stuns. Hornets paint with a yellow laser that shifts to red after roughly a second and a half, then fire a stun round. Break line of sight or dodge just before the shot; focus unarmored rear rotors first.
- Rotate to the next panel. Loot quickly, swap cover, and start the next breach to keep the overall timer short. Don’t loiter—standing still invites more waves.
- Finish the third panel or reset the fight. If adds stack up, kite them away from the probe, thin the group, then return to complete the remaining breaches.
Common ARC threats during a probe breach
You’ll see a broader mix near some probes, but these three interactions are the most consistent and impactful around the objective.
- Wasp (flying, unarmored): tracks a yellow laser that turns red after about one second, then dumps light ammo where the laser ends. Strafe early; when the beam goes red, you should already be moving off the endpoint. Expect light ammo and a Wasp Driver among the drops.
- Hornet (flying, mixed armor): two armored front rotors and two unarmored rear rotors. Paints a yellow-to-red laser over ~1.5 seconds, then fires a stun round. Use heavy ammunition or explosives for the armored components; otherwise, snap shots into the unarmored rotors to disable it quickly. Medium ammo and a Hornet Driver can drop here.
- Snitch (flying, non-lethal): deals no damage but calls backup if it spots you. If one drifts into your breach, prioritize it or break line of sight; otherwise you risk compounding reinforcements on top of the probe’s calls.
Elsewhere around probes you may pull in ground bots—rolling taser units, fire-spewing rollers, and turret types. When a turret’s indicator goes red, you have a brief window to get behind cover before a burst; Sentinels fire a single, snipe-like round you can evade with a well-timed roll. Clear these quickly so you can keep eyes up for air threats.
ARC Probe loot: what to expect
Each probe has three panels, and each panel can roll a small set of materials. Expect modest crafting parts with a chance at a recipe.
| ARC Probe panel (per side) | Possible quantity |
|---|---|
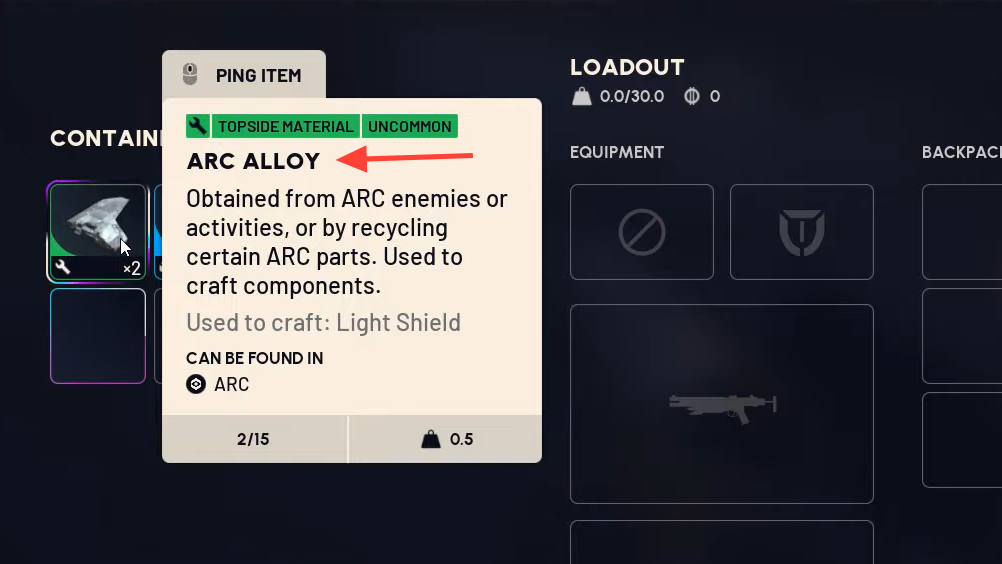
| ARC Alloys | 0–2 |
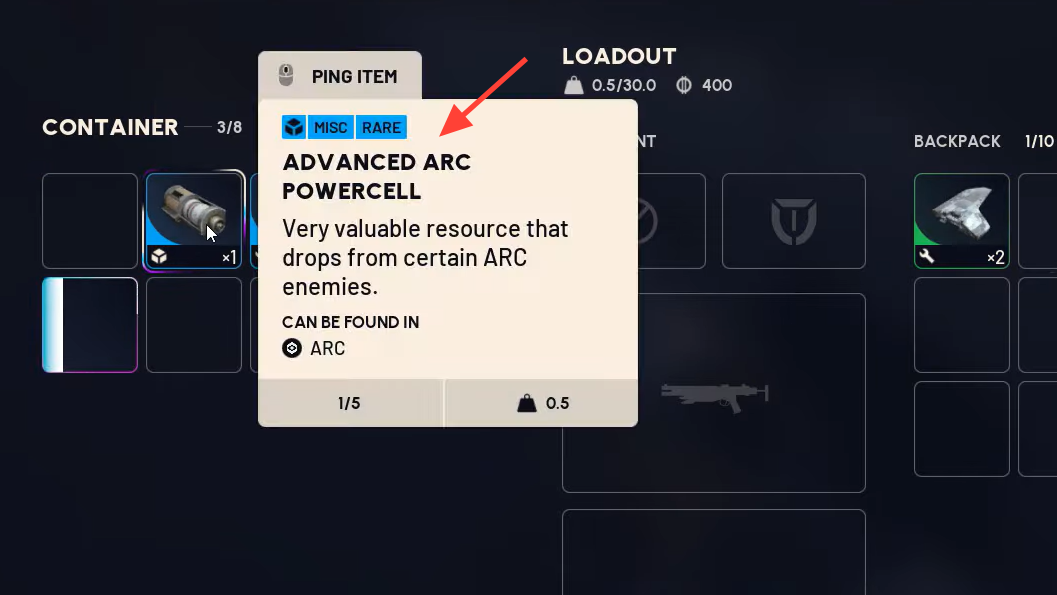
| ARC Powercell | 0–1 |
| ARC Circuitry | 0–1 |
| ARC Motion Core | 0–1 |
| ARC Flex Rubber | 0–1 |
| Recipe | 0–1 |
Since you can breach all three sides, a single probe can yield multiple rolls across this table. If air units respond, their drops help restock ammo while you work the remaining panels.
Ammo and armor: bring the right tools
ARC units come in armored and unarmored variants. Armored targets require heavy ammunition to bring down; plan at least one heavy source in your trio or loadout. That matters most when a Hornet is part of the response, since some of its components are armored. Against unarmored drones like Wasps, light and medium options are more than enough and conserve your heavy ammo for the high-value targets.
If your squad is split on roles, assign one player to keep heavy ready for armored components while others sweep unarmored adds and secure the breach. That division of labor shortens the time the probe stays active, which in turn limits the number of reinforcement cycles.
Shield sustain: PowerCells from ARC
ARC PowerCells can drop from any destroyed ARC enemy and can be consumed to recharge shields when you’re pinned mid-breach. Since probes tend to snowball nearby pressure, treat PowerCells as a tactical reset—pop one when your shield breaks so you can finish the panel you’re on instead of abandoning position.
The safest probe runs are fast, deliberate, and light on heroics. Clear the perimeter, commit to each breach, delete Wasps on their first laser, and deny Hornets the chance to chain stuns. If you keep the siren window short, you’ll pocket the materials and recipes without getting pulled into a fight you didn’t plan to take.