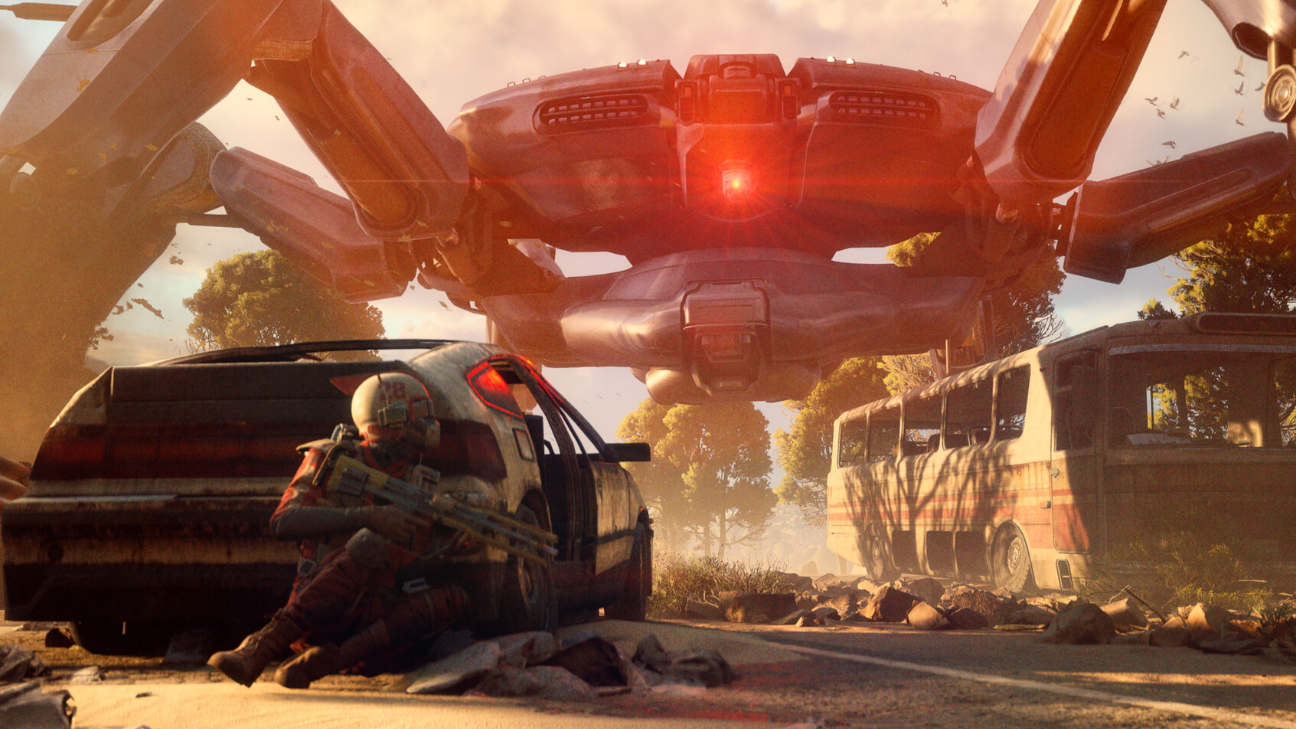
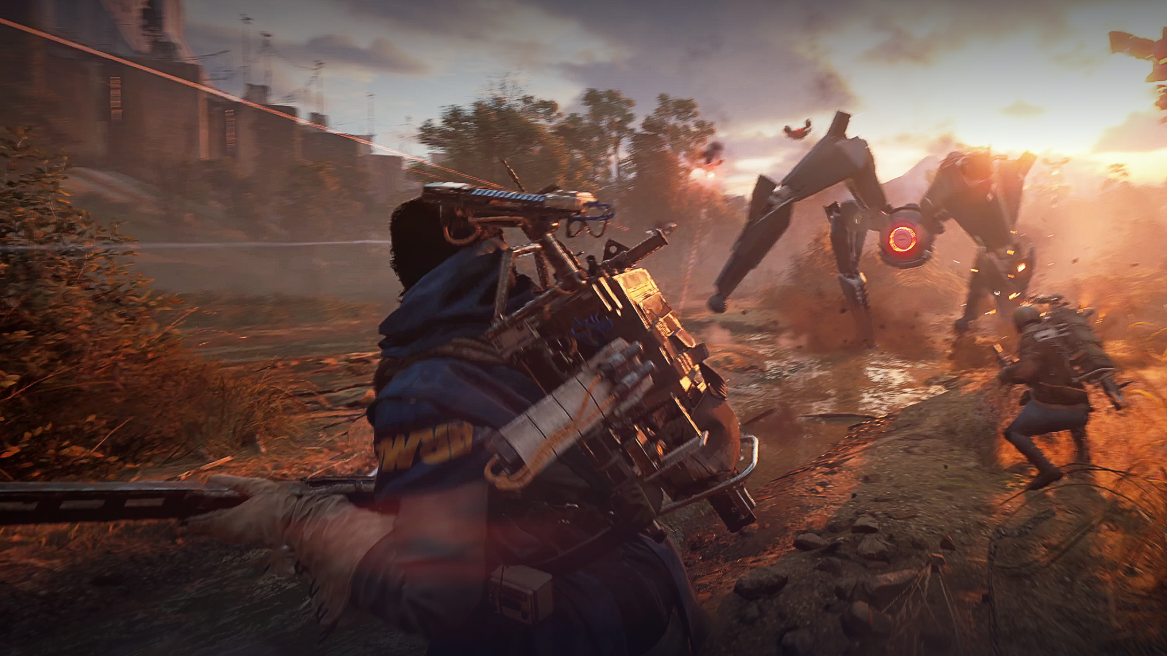
The fast answer is uncomfortable: throwing Wolfpack grenades alone rarely deletes the Queen. Damage is heavily gated by armor and weak-point windows, so the count swings from “barely scratches” to “melts” depending on your setup and timing. If you want a reliable, efficient kill, plan around Hullcracker to strip armor and use Wolfpacks as burst during vulnerability windows, not as your only plan.
Wolfpacks vs the Queen’s armor (why raw counts don’t tell the whole story)
Wolfpacks fire a salvo of micro-missiles. Against unbroken armor, their output is heavily mitigated and can land in the low hundreds per grenade. Once you expose soft points, that same grenade can deliver dramatically higher damage if most missiles connect with a weak spot. The Queen offers two dependable ways to make grenades count:
- Legs and kneecaps: breaking leg armor exposes soft spots and increases damage taken to those limbs.
- Head/eye window: there’s a brief vulnerability before certain beam/laser attacks, where concentrated hits spike damage.
Thrown into those windows, Wolfpacks feel “worth it.” Thrown into plated armor, they feel wasted. That’s why raw totals vary so widely.

What it actually took in practice (ranges you can plan around)
Expect big variance based on armor state, aim, and whether a squad is also shooting. The following ranges are realistic from repeated encounters:
| Setup / conditions | Wolfpacks used | Outcome | Notes |
|---|---|---|---|
| Armored Queen, casual throws | 10 | Insufficient | Doesn’t move the fight meaningfully. |
| Armored Queen, casual throws | 14 | Insufficient | Still not enough to finish. |
| Leg armor broken, focused throws to weak spots | ~21 | Insufficient | Closer, but still needed more damage. |
| Large team, grenades frontloaded then sustained fire | ~20 | Insufficient | Needed several minutes of gunfire after. |
| Big lobby scrum, concentrated throws during windows | ~30 | Kill | About thirty detonations was enough with team DPS. |
| Two players, focused throws | 33 | Near kill | Left the Queen “smoking,” not dead. |
| Coordinated group, grenade-only plan | 44 | Kill | Finished without relying on Hullcracker to end it. |
| Group prepared 45; second attempt into mid-health target | ~20 (of 45 ready) | Kill | Concentrated from the harvester opening ended it quickly. |
Short version: if you intend to “Wolfpack through” a fresh Queen, plan for roughly 30–45 grenades depending on execution. If you strip armor first and throw only during weak windows, you can push that closer to the high teens or low 20s, but consistency is tough.
Hullcracker vs Wolfpacks (and why most successful runs start with HC)
Hullcracker remains the most reliable tool against ARC armor. It strips plates quickly, opens weak points, and doesn’t consume your whole backpack. It also plays better with the real-world constraints of a Queen fight: you need space for bandages, shield rechargers, and some ammo insurance in case you get third-partied.
- Inventory reality: with ~16 slots of Wolfpacks plus a weapon, you’re over-encumbered; with 22 slots of grenades you have no room for heals or ammo.
- Economy and availability: Hullcracker ammo is cheap, common, and scales well across all armored targets.
- Time to damage: yes, one grenade is faster than a magazine, but only if it’s actually hitting a weak spot. Hullcracker guarantees progress on armor regardless.
In practice, the cleanest runs use Hullcracker to crack leg and head plates, then dump Wolfpacks into exposed limbs or the eye window for burst. Many teams that tried to brute-force with grenades ended up finishing the last chunk with a handful of Hullcracker shots.
How much Hullcracker ammo to bring (solo and squads)
Plans vary, but these baselines have worked:
- Hybrid plan (recommended): 8–12 stacks of Hullcracker ammo for armor work, then 6–12 Wolfpacks for burst during windows.
- HC-only plan: ~16 stacks of explosive ammo has been enough in solo attempts without Wolfpacks or trigger grenades, but expect a long fight and bring extra heals.
Where to aim and when to throw
- Open with armor strip: focus Hullcracker fire on a single leg until plates pop. Keep pressure there to expose soft points and multiply grenade damage.
- Leg priority: legs take more damage than the heavily armored body once exposed. Commit to one limb at a time rather than spreading damage.
- Head/eye window: there’s a brief vulnerability right before beam/laser cycles. If you can time it, dumping Wolfpacks into that window produces outsized returns.
- Positioning matters: elevated angles make it easier to thread grenades and bullets into kneecaps and the head window without eating rockets.
If a harvester structure is nearby, throwing from its openings is both safer and faster than sprinting out for every toss.
So… how much health does the Queen actually have?
Expect effective durability in the low 30,000s once you account for initial damage reduction and armor. Lower figures that circulate don’t square with repeated outcomes like 20+ Wolfpacks barely moving the needle on an armored target or teams needing 30–45 concentrated grenades to close a fresh fight.
Solo is possible, but the real boss is the lobby
Yes, you can kill the Queen solo, but the biggest risk isn’t the ARC—it’s other raiders. Successful solos come in massively supplied, crack armor methodically with Hullcracker, and pace their consumables to survive the inevitable third parties. A backpack full of Wolfpacks will often get you only two-thirds of the way; heavy ammo depth is what carries a solo across the finish line.

Recommended loadouts (practical baselines)
- Primary: a reliable medium/heavy weapon for adds and opportunistic DPS.
- Anti-armor: Hullcracker with 8–12 stacks minimum; 16 stacks if you refuse grenades.
- Burst: 6–12 Wolfpacks; more if you’re attempting a grenade-heavy plan.
- Utilities: 1 stack bandages, 1 stack shield rechargers, optional Blaze grenades.
If you’re the designated “Wolfpack mule” in a group, coordinate throw timing around exposed legs and the head window. Don’t waste salvos into armor.
If your goal is a fast, low-exposure kill, think sequence, not stash size: strip armor, create a window, then dump grenades with discipline. That’s what turns Wolfpacks from inventory anchors into very short fights.

