
The Bombing Run quest in ARC Raiders asks you to hunt down a Bombardier, loot a Bombardier Cell from its wreckage, and deliver it back to Shani in Speranza. The fastest and safest way to do this is to one-shot the Bombardier with explosives or fight it from hard cover while focusing its weak spot.
Quick answer: Equip a Deadline mine and Showstopper grenades (or strong heavy/energy weapons), find a Bombardier spawn such as Buried City’s parking garage or Dam Battlegrounds’ Primary Facility, destroy it by hitting the yellow canister on its back, loot the Bombardier Cell, then extract and hand it to Shani to complete the quest.
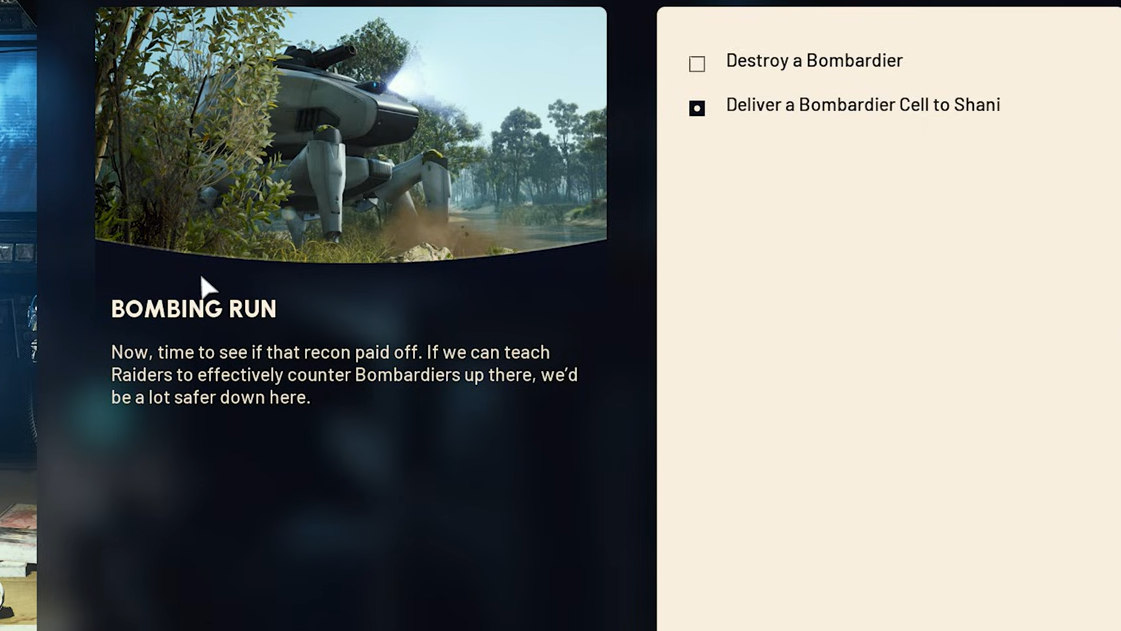
Bombing Run quest objectives and rewards
Bombing Run is introduced with the quest description about turning Bombardier recon into practical countermeasures. In gameplay terms, it boils down to two clear tasks:
| Objective | What you must do |
|---|---|
| Destroy a Bombardier | Locate any Bombardier ARC in the open world and take it down. |
| Deliver a Bombardier Cell to Shani | Loot a Bombardier Cell from the wreck and bring it back to Shani in Speranza. |
Completing Bombing Run grants:
| Reward | Type |
|---|---|
| Finger Gun Single Shot | Emote |
| Raider Tokens ×30 | Currency |
Bombardier overview and threats
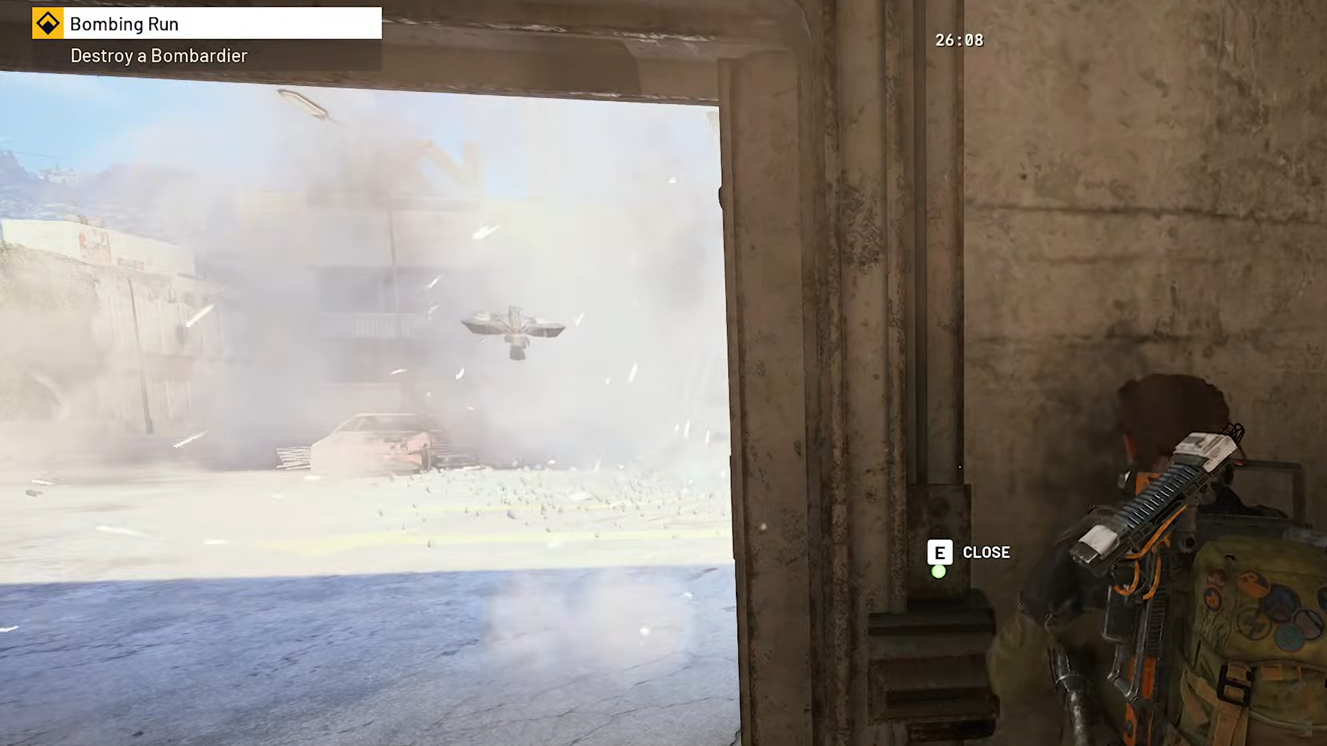
The Bombardier is a large ARC that specializes in long-range artillery. It shells your last known position with high-damage mortars and can also trigger a close-range shockwave if you get underneath it.
Bombardiers are almost always escorted by hovering Spotter drones. These orbit around looking for players; if a Spotter tags you while you are in the open, the Bombardier can quickly lock on and fire, often killing you in one hit if you are exposed.
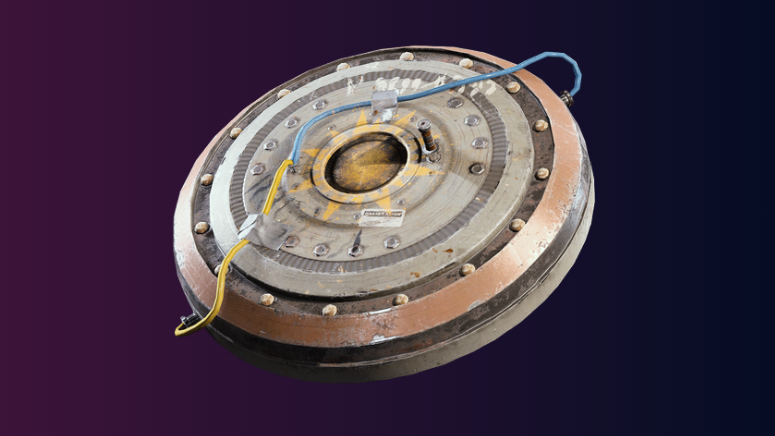
The Bombardier’s key weak point is a yellow canister on its back section. Consistently targeting this area with explosives, heavy ammo, or energy weapons dramatically speeds up the kill.

Best locations to find a Bombardier
Bombardiers can appear on multiple maps, but a few spots are especially reliable or easy to fight in.
| Region / Map | Location | Notes |
|---|---|---|
| Buried City | Parking garage | Very common Bombardier spawn on the roof. Multiple stairwells and levels give you safe angles. |
| Buried City | Near Main Street / Plaza Rosa | Bombardiers can patrol the streets and open plazas; use corners and low walls for cover. |
| Dam Battlegrounds | Primary Facility | Noted for guaranteed Bombardier spawns, making it a strong choice if you want a quick kill. |
| Buried City | Santa Maria houses area | Chance-based spawn that can be either a Bastion or a Bombardier; buildings provide excellent firing windows. |
For most players, Buried City is the most forgiving option thanks to dense building cover and predictable routes to the Bombardier.
Recommended gear and loadouts
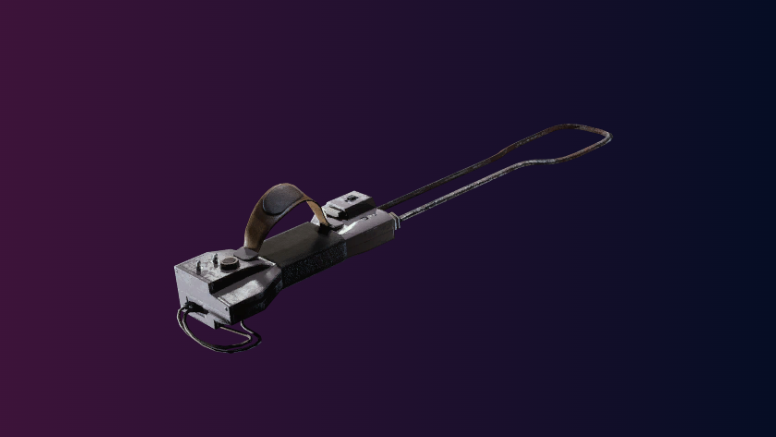
Explosives option: Deadline and Showstopper
The most efficient method uses a straightforward explosive combo that can delete a Bombardier in a single blast:
- 1× Deadline
- 2× Showstopper
The Deadline is a powerful mine you can craft at the Explosive Station for a small number of common components, such as explosives and ARC circuitry. If crafting is not available, you can buy a Deadline from the trader Apollo on a rotating timer for coins.
Showstopper grenades stun ARCs for several seconds, freezing the Bombardier long enough to safely run in and attach the mine at the ideal spot.
Stealth and distraction tools
Several utility items make approaching a Bombardier much safer:
- Photoelectric Cloak
- Firecrackers
- Other distraction grenades
The Photoelectric Cloak can be crafted at the Utility Station using advanced electrical components and speaker components. When activated, it lets you slip past Spotters and the Bombardier’s vision cone, giving you a clean angle on its core to place a Deadline.
If you do not have the cloak, use firecrackers or other distraction grenades to pull the Bombardier’s attention away from you. It can only focus on one target at a time, so a well-thrown distraction often opens a window to sprint in from behind.
Weapon choices if you do not use mines
If you would rather shoot the Bombardier down or do not have a Deadline, bring hard-hitting weapons and plenty of ammo:
- Strong heavy weapons (e.g., Anvil, Osprey)
- High-damage energy rifles such as Aphelion, Jupiter, or Equalizer
Energy ammo can be topped up for free from Harvesters, so leaning on energy weapons is cost-effective as long as you can land repeated shots on the yellow canister.
Method 1: One-shot Bombardier with Deadline and Showstopper
This approach is fast, low-risk, and ideal for solo players.
Setup
Before deploying, ensure you have:
- Bombing Run accepted from Shani
- 1× Deadline in your explosive slot
- 2× Showstopper grenades
- Photoelectric Cloak or distraction tools, if available
Execution steps
Once you are on a map with a known Bombardier spawn (such as Dam Battlegrounds Primary Facility or Buried City parking garage), do the following:
- Close the distance under cover. Move through buildings, stairwells, or alleys to get as close as possible without stepping into open streets or plazas where Spotters can clearly see you.
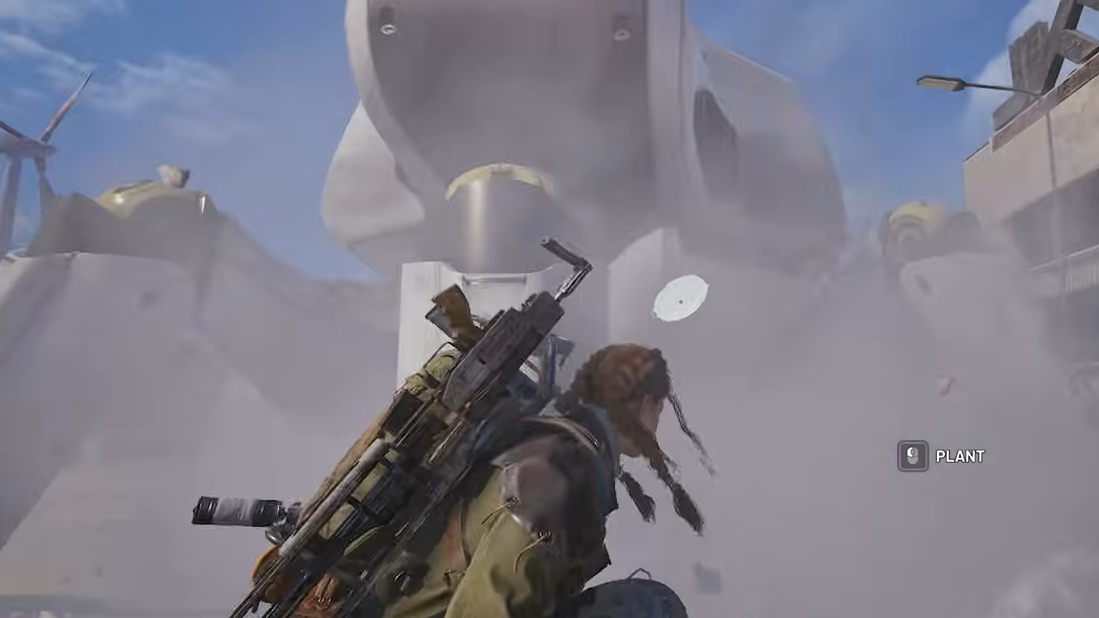
- Stun the Bombardier. When it moves within throwing range, toss a Showstopper directly at it. A clean hit stuns the Bombardier for roughly ten seconds, freezing both its movement and mortar fire.
- Attach the Deadline at the weak spot. Sprint in while it is stunned and plant the Deadline on the backside near the yellow canister. The closer you are to that canister, the higher the effective damage.
- Retreat to safety. Immediately run back to cover or use your Photoelectric Cloak to disengage. If you feel exposed or the stun is about to end, throw your second Showstopper to keep the Bombardier locked down a little longer.
- Let the mine detonate. The Deadline will explode after a short delay, which should destroy the Bombardier outright when placed properly near the weak point.
After the explosion, the Bombardier collapses, and any surviving Spotters become a minor cleanup task.
Method 2: Safe window camping with heavy ammo
If you do not have Deadlines or prefer a more traditional firefight, you can chip the Bombardier down from inside a building.
A reliable pattern in Buried City is to lure or find the Bombardier near a block of multi-story houses (for example, the Santa Maria houses) and fight from the second floor:
- Move indoors. As soon as you spot the Bombardier, get off the rooftop and into a sturdy building. Upper floors with windows are ideal.
- Use a peek–shoot–hide rhythm. From a window, lean out, fire a controlled burst at the yellow canister, then immediately step back inside.
- Respect the missile timing. If you stay in view as it fires, its missiles can one-shot you. Wait for it to launch a volley at your last position, let the impact animation finish, then peek and fire again while it is on cooldown.
- Repeat until it breaks. Continue this rhythm—peek, shoot the canister, retreat, wait for the shot—until the Bombardier explodes. The Bombardier’s armor is lighter than a Bastion’s, so consistent weak-point hits drop it faster than you might expect.
This approach largely neutralizes Spotters, because they cannot do much while you stay inside. Their main danger is pulling artillery onto you in the open, which you are carefully avoiding.
Method 3: Direct damage with energy or heavy weapons
Another option is to simply overpower the Bombardier with sustained fire from strong weapons:
- Pick favorable terrain. On maps like Spaceport, the open layout makes this riskier, so try to fight near solid cover or elevation changes. Buried City’s parking garage roof is a workable platform if you are cautious with line-of-sight.
- Focus the yellow canister. Whether you use an Anvil, Osprey, Aphelion, Jupiter, Equalizer, or similar weapons, aim exclusively for the yellow canister area. Stray body shots extend the fight and waste ammo.
- Use distractions or cloak. Firecrackers, other distraction grenades, or the Photoelectric Cloak help you reposition while the Bombardier snaps its aim onto something else.
- Use Harvesters for energy ammo. If you lean on energy rifles, keep an eye out for Harvesters to refill your energy ammo at no cost, letting you stay on the hunt without bleeding coins.
This route takes more time and ammo than a Deadline kill, but does not depend on specific explosives being unlocked.
How to loot the Bombardier Cell and complete the quest
Destroying the Bombardier is only half the work. You still need to safely loot and extract the Bombardier Cell.
- Clear nearby threats. After the Bombardier explodes, check for surviving Spotters, Snitches, or other ARCs that might converge on the noise. Quickly remove them or move cautiously.
- Loot the wreck. Interact with the Bombardier’s remains and search it thoroughly. Bombardier Cells appear as small Bombardier-themed items; pick at least one up and place it in your side pocket so it persists through extraction.
- Head to the nearest extraction. In Buried City, that is often a northern or southern station depending on where you fought. Choose the closest station with a safe route rather than crossing wide open ground.
- Return to Speranza and talk to Shani. Once extracted, go back to Speranza and turn in the Bombardier Cell to Shani. The quest completes, and the Finger Gun Single Shot emote and Raider Tokens are added to your account.
With a Deadline or a solid window position, Bombing Run turns from a dangerous artillery raid into a short, efficient operation that pays back your investment in explosives and gear.