
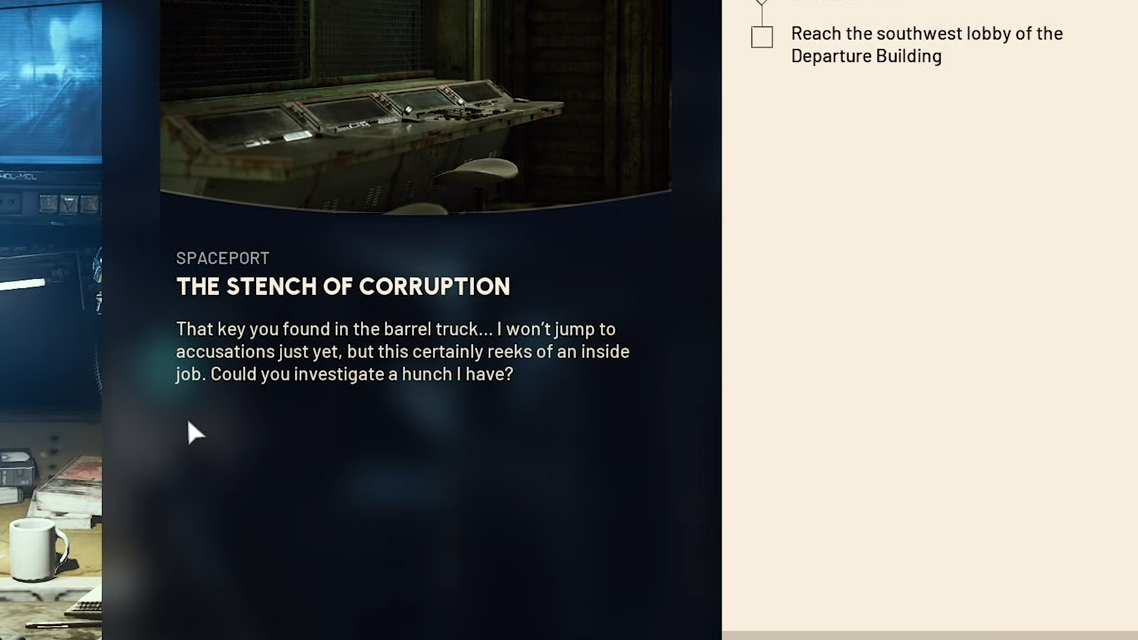
The Stench of Corruption is a Shani quest on the Spaceport map in Arc Raiders, added with the Cold Snap update. It plays out entirely around the Departure Building and the tunnels beneath it, and all objectives have to be cleared in a single raid. If you go down, you start over from the first step, even if you handled parts of it in a previous run.
At a high level, you:
- Enter the southwest lobby of the Departure Building.
- Find the staff locker room on the lower floor.
- Search the room to reveal the Flushing Terminal Key.
- Drop into the tunnels below the Spaceport.
- Use the key on any Flushing Terminal console along the tunnel walkway.
Finishing the quest lets you return to Shani and claim rewards that include the Warden outfit.
Quest structure and one-round requirement
The objective list for The Stench of Corruption is fixed:
- Reach the southwest lobby of the Departure Building.
- Find the staff locker room.
- Search the room for any clues of the saboteur's identity.
- Reach the tunnels below the Spaceport.
- Use the key on any Flushing Terminal to override the bypass protocol.
All of this must happen in a single raid. If you die or extract early before using the key on a terminal, the quest will ask you to repeat each task on your next attempt. The Flushing Terminal Key does not need to be carried across raids; it is treated as a per-run quest item that you can obtain again by searching the locker room.
Because there is no requirement to keep the key permanently, you do not have to assign it to a safe pocket for long-term storage. Keeping it in a safe pocket during the run can still protect it from death while you are working through the tunnel section.
Reach the southwest lobby of the Departure Building
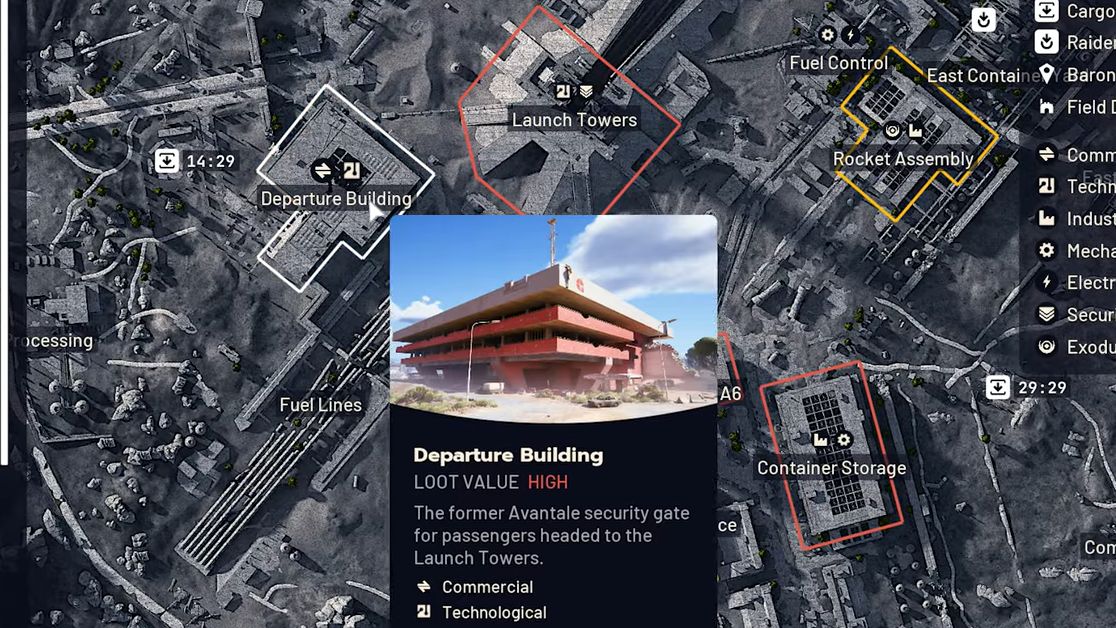
The entire first phase happens in the Departure Building on the Spaceport map. The building sits on the western side of Spaceport, to the left of the central Launch Towers and below the Arrival Building. It is also a popular high-value loot zone, so expect other Raiders nearby.
Step 1: Select the Spaceport map and move toward the Departure Building on the western edge of the layout, just west of the Launch Towers. Watch for the large terminal-style structure labeled for departures.
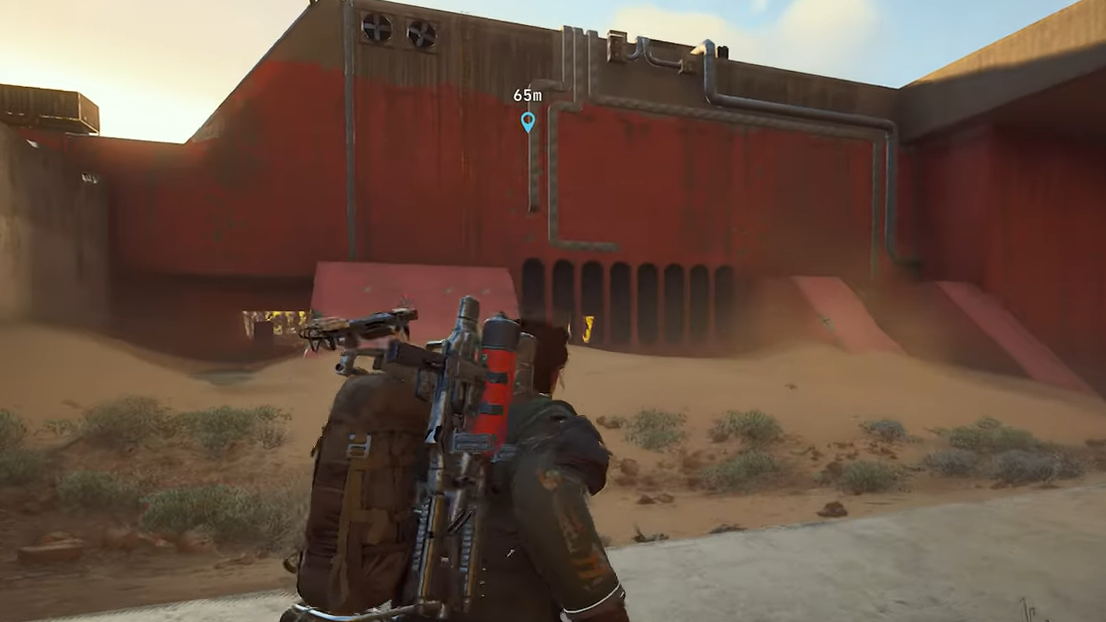
Step 2: Approach the southwestern extension of the building rather than the main central entrances. This smaller block on the south side is the area the quest is tracking when it asks for the “southwest lobby.”
Step 3: Enter the building through one of the openings on this southwest side. These can be regular doors or broken wall sections. As soon as your character crosses into the interior of this southwest lobby, the objective to reach the lobby is counted as complete, and the quest updates to “Find the staff locker room.”
Find the staff locker room in the Departure Building
The staff locker room is a distinct loot room filled with orange lockers and usually a lot of traffic. It sits on the lower level of the southwest section, behind a clearly marked “Staff Room” door.
Step 1: From the southwest lobby entrance, navigate into the back section of this area, looking for stairs that lead down to the lower floor of the Departure Building’s southwestern block.
Step 2: On the lower floor, move through the corridor until you see a blue wall sign with “Staff Room” written beneath it. The door under this sign is the target; once you step through it, the quest updates again to the clue-search step.
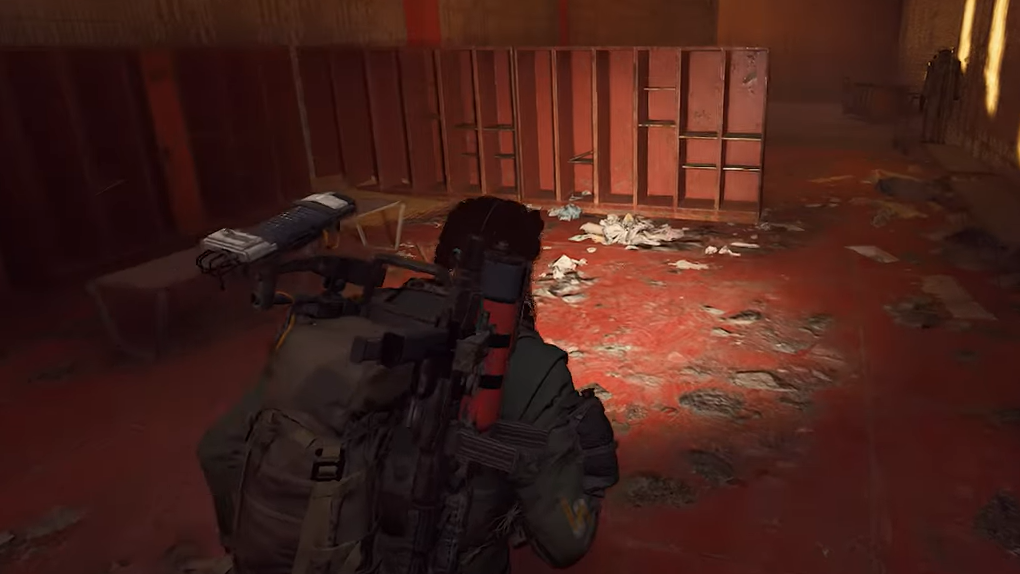
Inside, you will see rows of orange lockers and, often, loose loot on shelves or the floor. This room is also known outside the quest as a strong loot location on Spaceport, which is why it attracts frequent PvP encounters.
Search the staff locker room for clues and get the Flushing Terminal Key
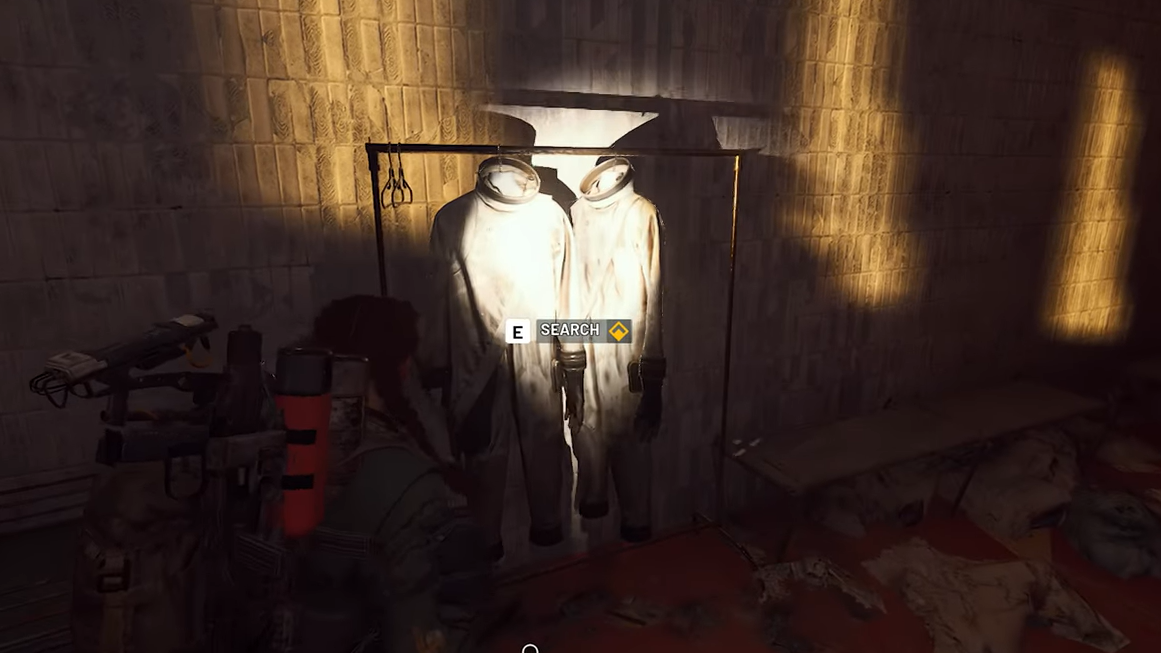
The clue you are looking for is tied to the saboteur Shani mentions. In practice, the “clue” is the Flushing Terminal Key, hidden in a set of protective suits at the back of the room.
Step 1: Walk toward the rear of the locker room. On the right-hand side, against the back wall, you will find a clothing rack or frame holding a pair of hazard or space suits.
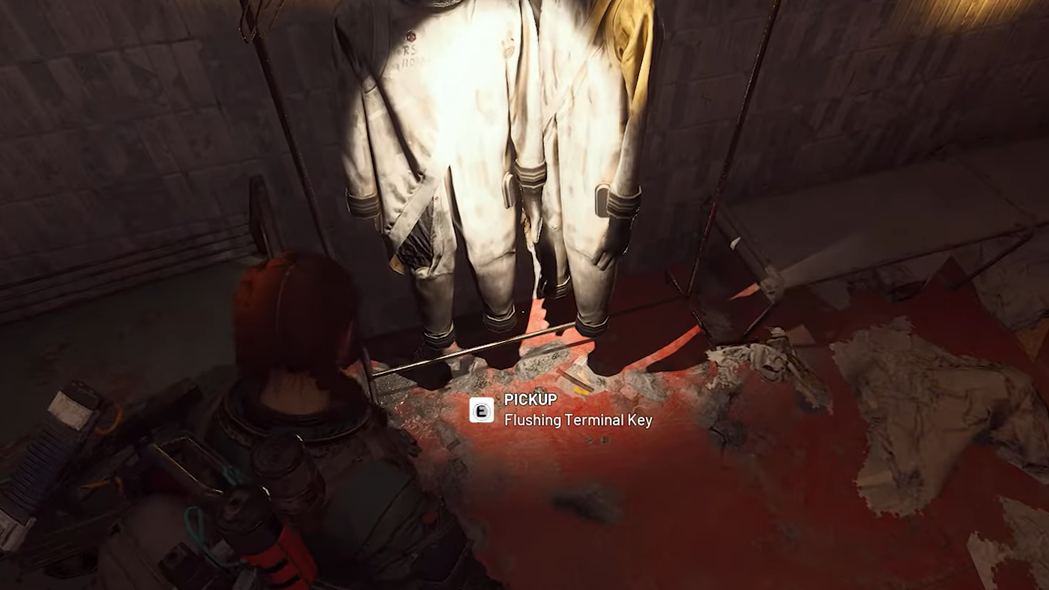
Step 2: Approach these hanging suits until you see the interaction prompt appear. Interact with the suits to reveal the Flushing Terminal Key, which drops to be picked up like a normal item.
Step 3: Pick up the Flushing Terminal Key and place it in your inventory. If you have a free safe pocket, you can store it there for added safety during the trip to the tunnels, but the quest does not rely on the key persisting beyond the current raid.
Once you have the key, the objective text shifts to sending you toward the tunnels beneath Spaceport.
Reach the tunnels below the Spaceport
The tunnel network is a separate underground layer shared with other quests like Switching the Supply and The Clean Dream. For The Stench of Corruption, you only need to get into this layer through any valid opening, then locate a Flushing Terminal along the main walkway.
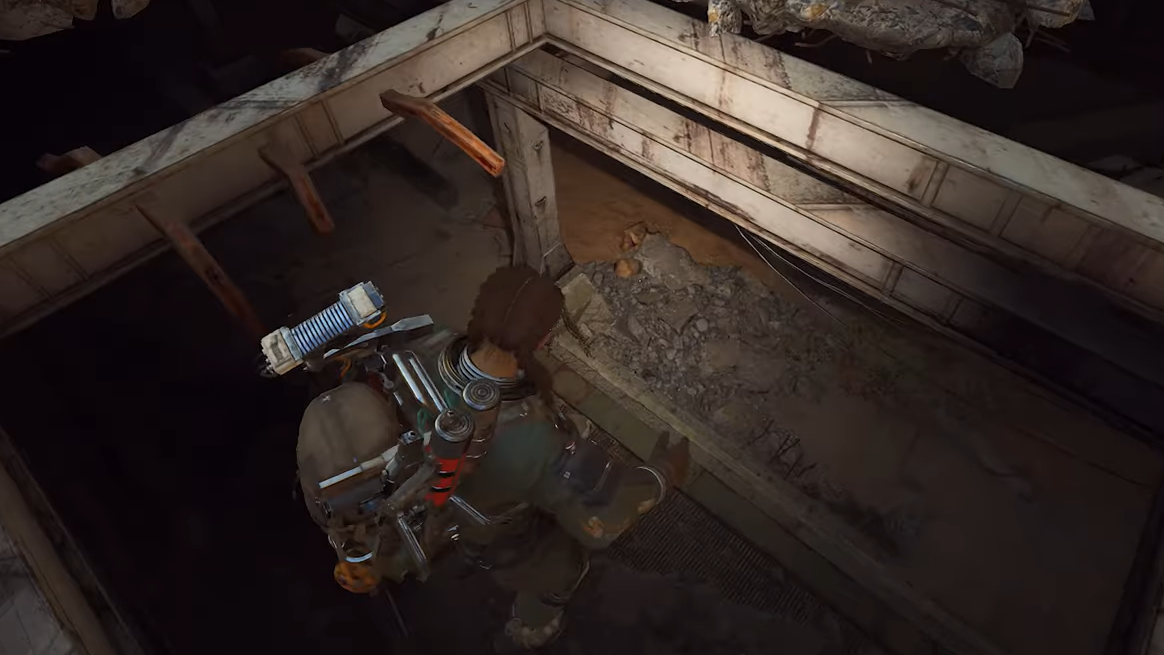
Step 1: Exit the Departure Building, staying near its southeastern side. Between the Departure Building and the Launch Towers, there is a large break in the concrete floor that leads straight down into the tunnels. This opening is on the southeast of Departure and southwest of the Launch Towers.
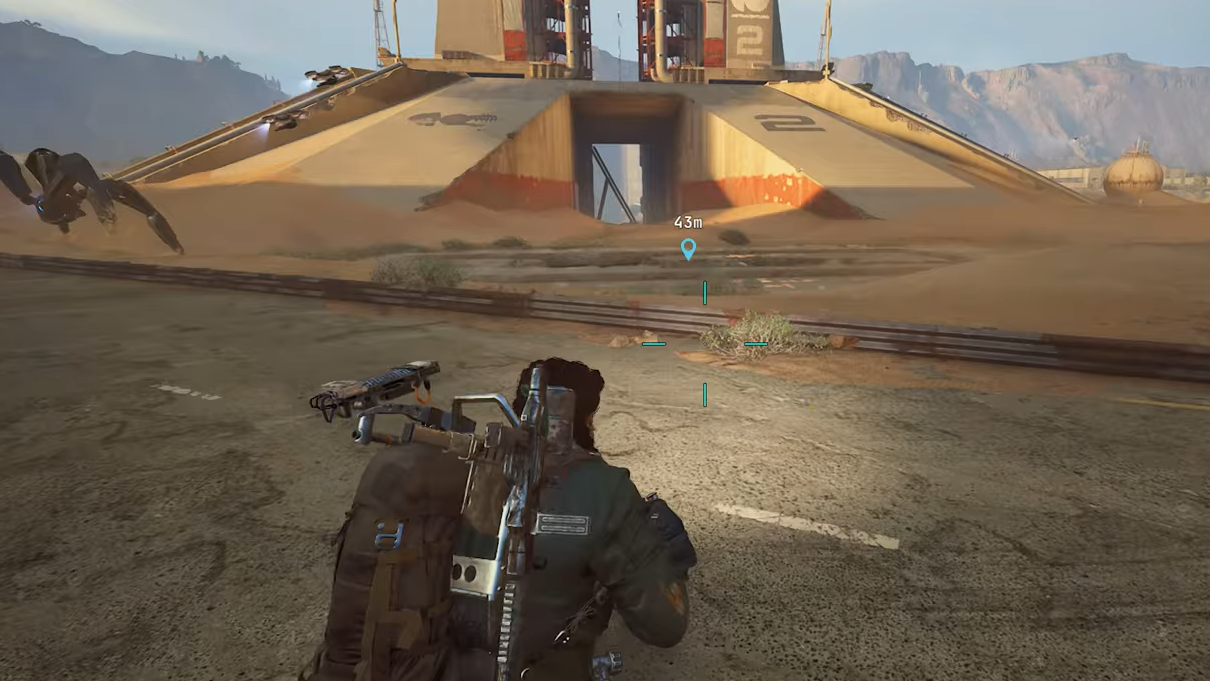
Step 2: Drop through this ground opening to enter the tunnel level beneath Spaceport. When your character reaches the tunnel floor, the objective to reach the tunnels is marked complete, and the quest updates to the terminal step.
Other tunnel entry points exist on Spaceport and also count, but the opening directly outside the Departure Building is the shortest walk for this quest.
Use the Flushing Terminal Key on a Flushing Terminal
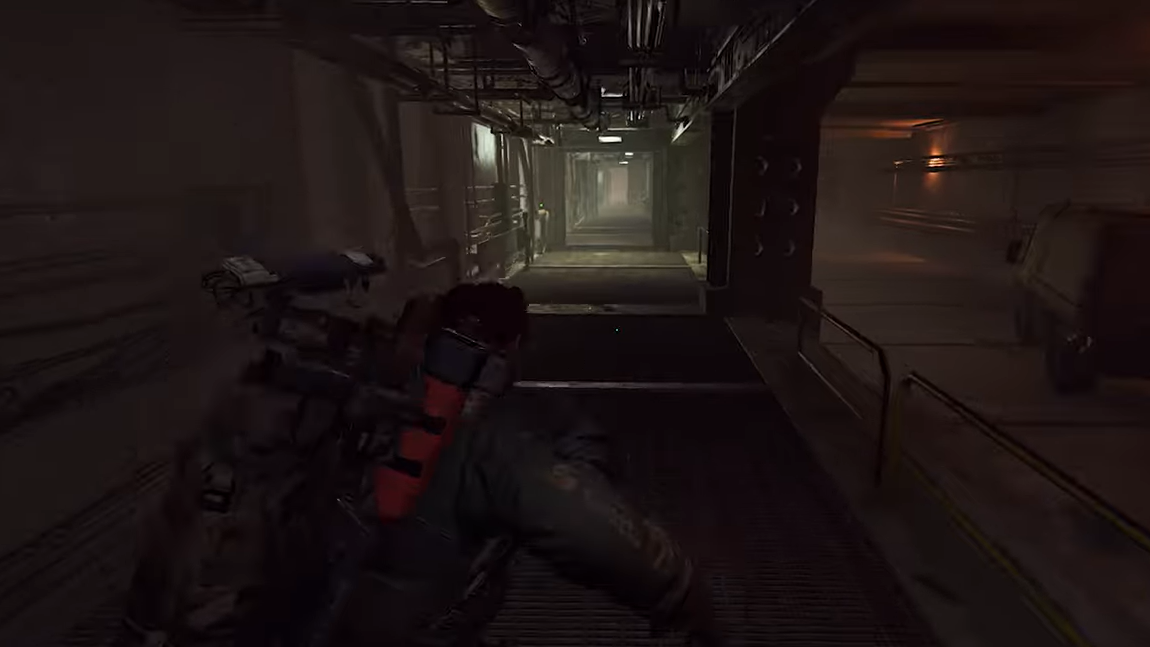
The final task is to override a Flushing Terminal with the key you pulled from the locker room. Flushing Terminals are consoles located in small control rooms that branch off the main tunnel walkway.
Step 1: From the tunnel entrance between the Departure Building and the Launch Towers, start following the main corridor while keeping to the left-hand side. This route quickly leads you to one of the side control rooms that contains a Flushing Terminal.
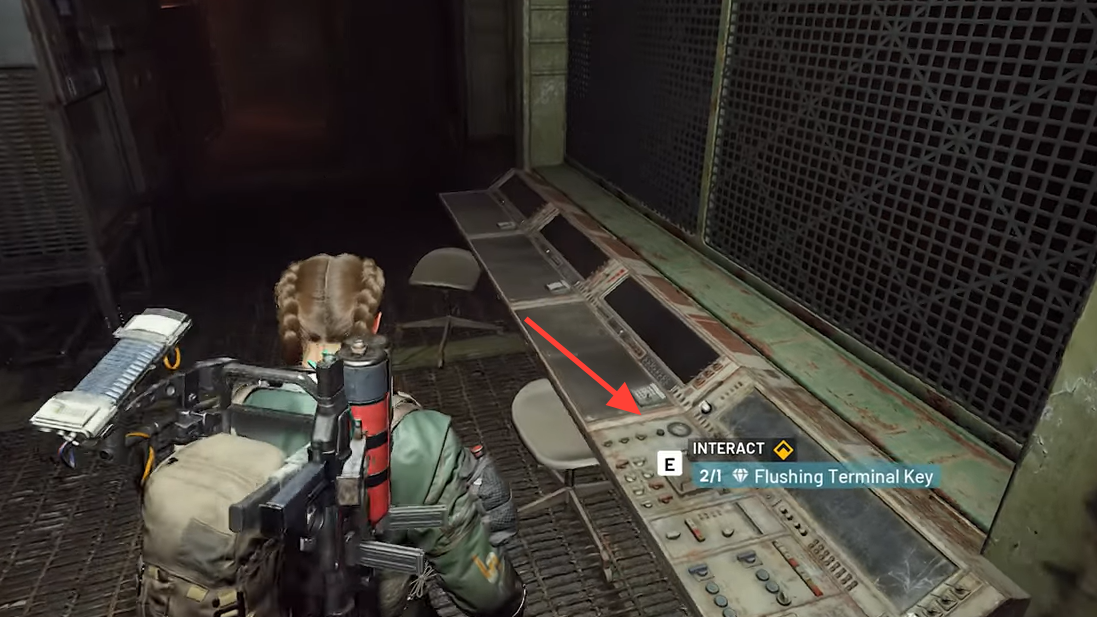
Step 2: Enter the side room when you see it off the left side of the corridor. Inside, look for a console on a table or control bank that can be interacted with. This is the Flushing Terminal referenced in the quest text.
Step 3: Make sure the Flushing Terminal Key is still in your inventory, then interact with the console. The game uses the key automatically to override the bypass protocol. As soon as the interaction completes, The Stench of Corruption is flagged as finished.
The quest description mentions “any Flushing Terminal,” and consoles of this type appear in multiple control rooms along the tunnel walkway, so you are not locked to a single specific room as long as the console matches the Flushing Terminal type.
What happens after completing The Stench of Corruption
Once the terminal override is done, your remaining job is to survive and get back to Shani on the surface to turn in the quest. The quest rewards include the Warden outfit, which becomes available once you hand the quest in.
Because everything needs to be completed in one round, the safest way to approach the quest is:
- Head straight for the Departure Building after you spawn, without detouring for extra fights.
- Clear or avoid other Raiders around the staff locker room, since it is a known loot hotspot.
- Move directly from the locker room to the nearby tunnel entrance, minimizing time spent exposed on the surface.
Handled in that order, The Stench of Corruption becomes a short, predictable run across the western side of Spaceport: building, locker room, tunnels, terminal, then back to Shani to collect the Warden outfit.