
If your workshop is stuck behind missing parts, focus your runs on a short list of high‑value items and the few reliable ways to get them. The table below covers what each item is used for, where it most often turns up, and the smartest recycling routes to backfill shortages.
Key items, uses, and practical ways to get them
| Item | Why you need it | Where to search / how to get it | Recycling angle |
|---|---|---|---|
| Rusted Gear | Gunsmith Level 2 → 3 requires 5x; also a common weapon upgrade ingredient | General interior loot. Prioritize unmarked interiors: small workshops, sheds, utility rooms, and apartment maintenance spaces. Expect low drop rates—clear full buildings. | Recycling a Rusted Gear yields Mechanical Components. Great when you need components more than the raw gear. |
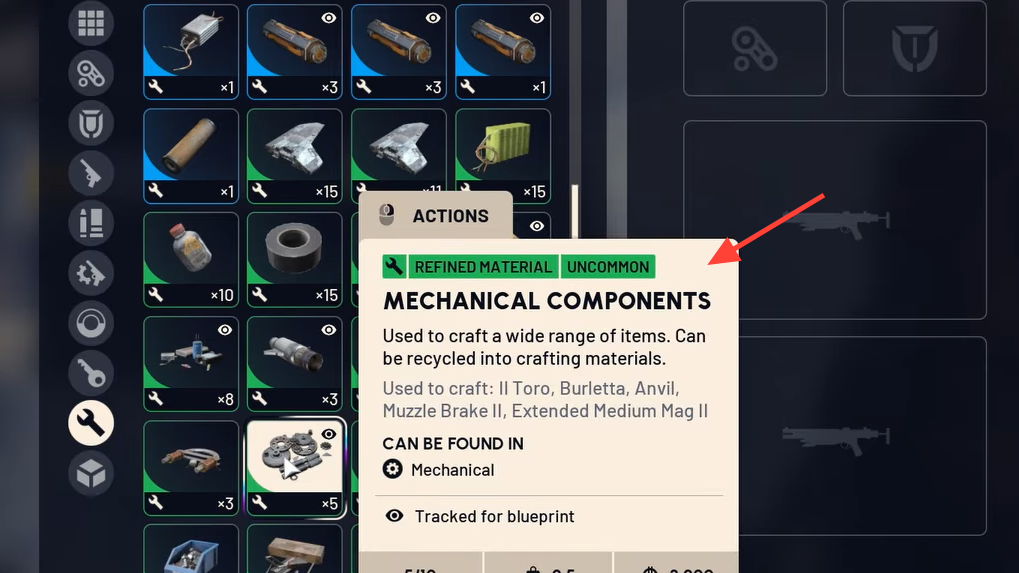
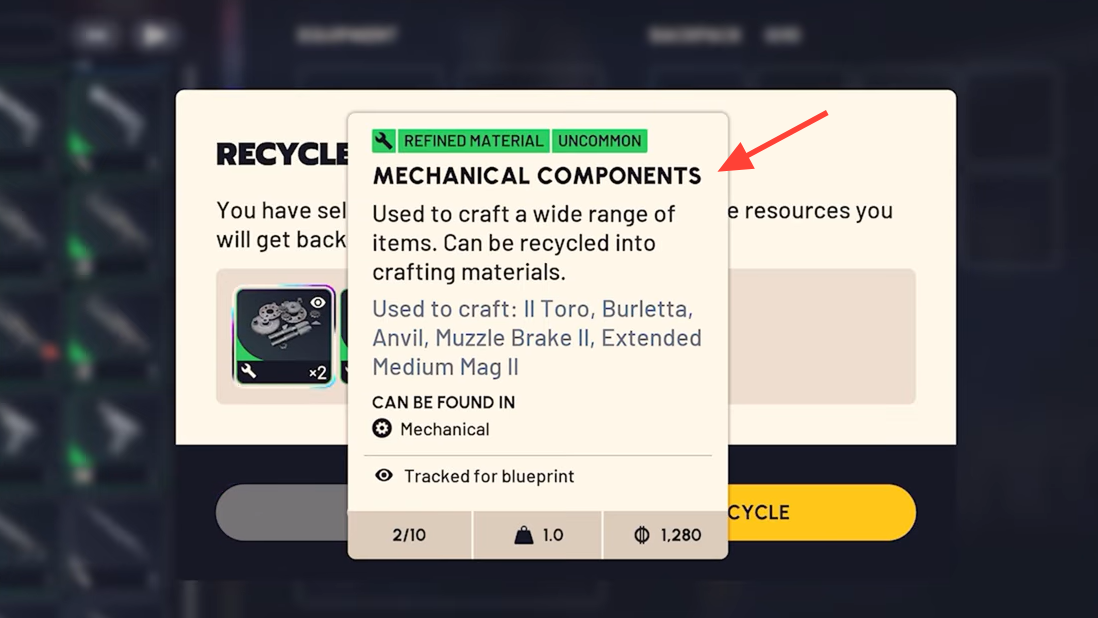
| Mechanical Components | Gunsmith Level 1 → 2 requires 3x; used across weapon crafts and repairs | Loot as standalone drops in tech‑leaning areas. Also target items that break down into them (see right column). | Recycle Rusted Gear for a direct injection of Mechanical Components. Exodus Modules also break down into Mechanical Components and Magnets. |
| Advanced Mechanical Components | Gunsmith Level 2 → 3 requires 3x; mid‑tier weapon blueprints | Appear as loot on higher‑value routes. Craftable in your workshop once you’ve built out the basics. | Recycles down into simpler parts if you overshoot, but you generally want to keep these intact for upgrades. |
| Rusted Tools | Gunsmith Level 1 → 2 requires 3x | Look in unmarked structures: garages, shacks, sheds, and apartment storage rooms. Sweep entire buildings—utility closets and back rooms often hide them. | Breaks down into common materials if you find spares; otherwise keep for bench progression. |
| Toaster | Refiner Level 1 → 2 requires 3x | Residential interiors. Check kitchens in apartment blocks and housing complexes; run full floor‑by‑floor searches. | Recycles into wires and plastic. Only do this after your Refiner hits Level 2. |
Route planning: pick maps and POIs that bias tech loot
Each map has areas that skew the loot pool. Tech and electrical materials cluster in specific zones, so plan infills around those and chain nearby interiors rather than sprinting between distant landmarks.
- Blue Gate: Pilgrim’s Peak and the Ancient Fort lean toward technological/electrical pickups. Good for Components and related parts.
- Buried City: Dense apartments and commercial blocks make efficient interior loops for Rusted Gear, Tools, and Toasters—clear entire buildings, not just marked POIs.
Special conditions change the calculus. Night raids push risk up but also increase loot value. If you’re specifically hunting rare interiors items like Toasters or Rusted Gear, night versions of dense urban maps can be worth the danger.
Mid‑run salvage vs. base recycling (and why it matters)
You have two ways to break items down, and they’re not equal:
- Salvage during a raid to free space and squeeze out a few spare parts quickly.
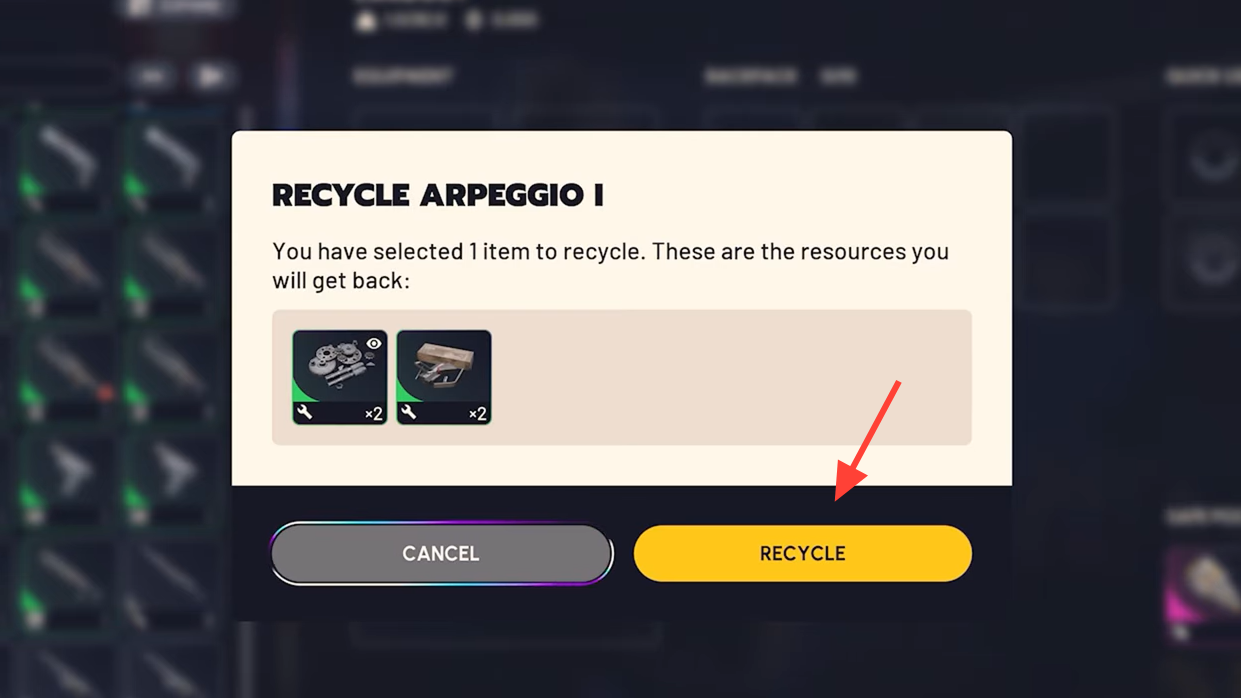
- Recycle back in Speranza to get a higher yield. If you can carry it out, you’ll come away with more components than on‑the‑fly salvaging.
For runs targeting Mechanical Components, favor extracting intact Rusted Gear and other recyclable tech, then process it at base for the best return.
Inventory discipline: protect the items that stop your progression
- Use Safe Pocket slots for “run‑defining” items (e.g., your third Toaster, fifth Rusted Gear). If you go down, those still come home.
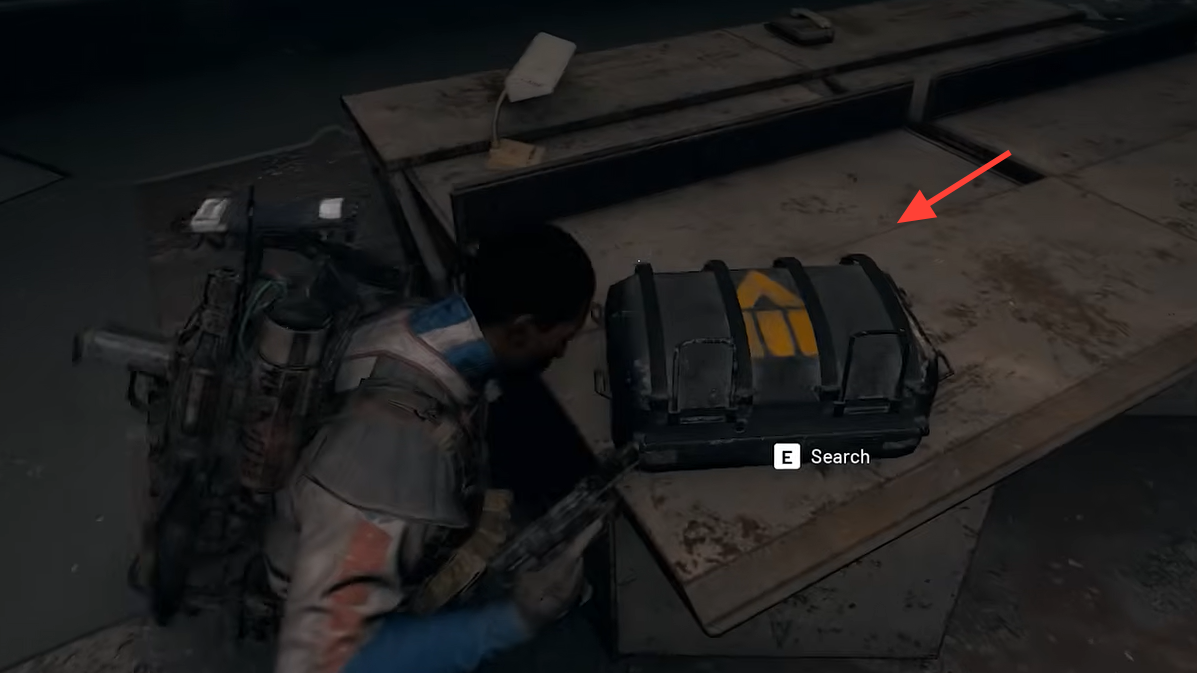
- Open every container you safely can—empty containers still grant XP, which accelerates skill unlocks that make future runs safer and faster.
- If weight is a problem, salvage bulky low‑value trinkets mid‑run and keep compact recyclables (Rusted Gear, Electronics) intact for base recycling.
Fastest practical loops for each bottleneck
- Rusted Gear → Mechanical Components: Chain small workshops and utility sheds, then apartments. Extract and recycle Rusted Gear to hit your Mechanical Components quota quickly.
- Rusted Tools for Gunsmith 2: Prioritize unmarked garages and sheds around low‑to‑mid difficulty zones; clear every tool wall and back room before moving on.
- Toasters for Refiner 2: Run residential blocks, checking every kitchen. Multi‑floor apartments beat scattered single homes for efficiency.
- Advanced Mechanical Components for Gunsmith 3: Combine tech‑heavy POIs with base crafting. Don’t recycle these unless you have surplus; they’re input for mid‑tier weapon blueprints and bench upgrades.
Small advantages that add up
- Scrappy the rooster drops basic resources after each run. Leveling Scrappy early lightens the grind for common mats so you can focus on rare pickups.
- Throw a free loadout at risky night raids or far‑flung interior sweeps. You’ll save your good kit while still banking crucial loot when you extract.
- Avoid unnecessary firefights while you’re carrying bench‑gating items. Detours to fight other Raiders or big ARCs are the most common way to lose a perfect loop.
Checklist you can follow per run
- Pick a single target (Rusted Gear / Tools / Toasters / Advanced Components).
- Choose a map and zone that bias toward that loot (tech zones for Components; residential blocks for Toasters; mixed interiors for Rusted items).
- Commit to interior chains: clear entire buildings floor by floor.
- Only salvage mid‑raid if space forces the issue; otherwise extract intact and recycle in Speranza.
- Reserve a Safe Pocket for the last copy you need to hit a bench requirement.
Upgrading the Gunsmith and Refiner is mostly about discipline: target the right buildings, carry out the right junk, and convert it in the right place. Once you’ve unlocked those bench levels, your runs get safer, faster, and a lot less dependent on the whims of a single kitchen appliance.