
“Market Correction” is a retrieval task built around a single pain point: the cache can be easy to miss in and around a station. The object you’re looking for isn’t a regular loot container. It’s a quest interaction item — and in ARC Raiders, those are represented by distinct, glowing yellow objects. If you keep opening boxes and lockers every day, you’ll gain XP, but you won’t advance the objective. What follows is a clean way to find the cache, secure the area long enough to interact, and get out with your progress intact.
Quest mechanics that matter for “Market Correction”
| Mechanic | What it means for this quest |
|---|---|
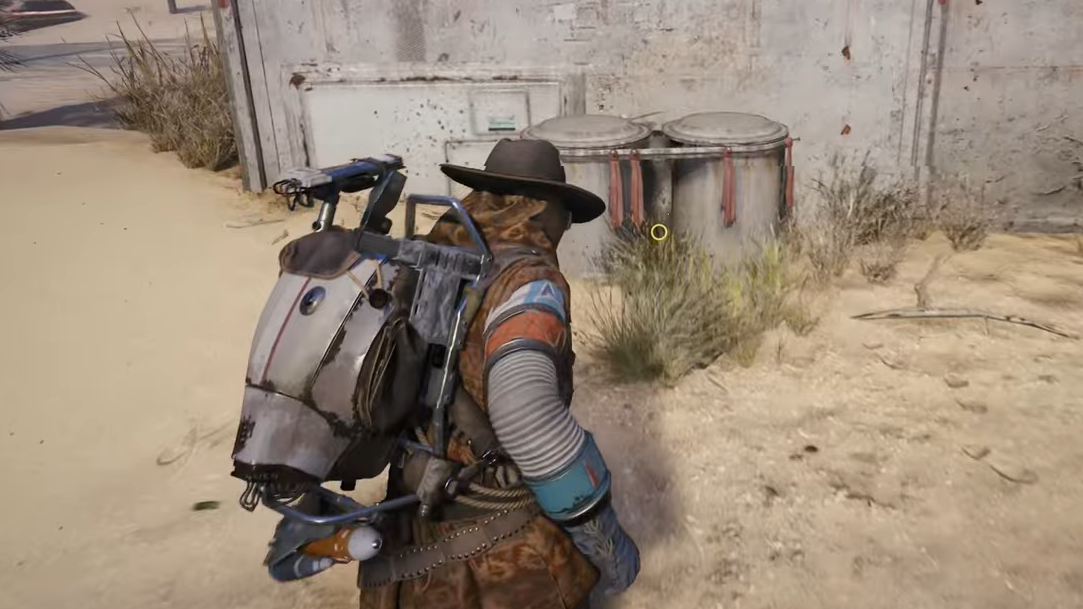
| Quest items/areas glow yellow | Ignore standard white/green loot pings. Scan for a yellow-lit object or prompt inside or around the station. |
| Items can already be in your stash | If the task is “obtain/deliver” rather than “interact,” you might already own the required item. Check your stash between runs. |
| Quest items aren’t consumed | If the objective uses a world pickup, it won’t be removed after completion, reducing the risk of soft-locking later steps. |
| Squad progress is shared | Any teammate’s interaction with the yellow-marked cache counts for everyone on the quest. |
| You must extract to keep loot | If completion requires bringing a thing home, you need to reach an extraction to lock in progress. |
Before you go: loadout and approach
- Prioritize a weapon with good ARC armor penetration for machines (for example, a Ferro-class rifle or a Hullcracker-type option), and bring the correct ammo.
- Carry at least one healing item and a shield recharger. Defibrillators help recover a downed teammate quickly at the objective.
- Travel light and holster when moving between buildings — you’ll sprint faster, conserve stamina, and be harder to pin down.
Detailed steps: find the cache at the station
- Secure the perimeter. Expect small drones, turrets, and roaming contraptions around station exteriors and entry points. Ping threats so your squad keeps aggro under control.
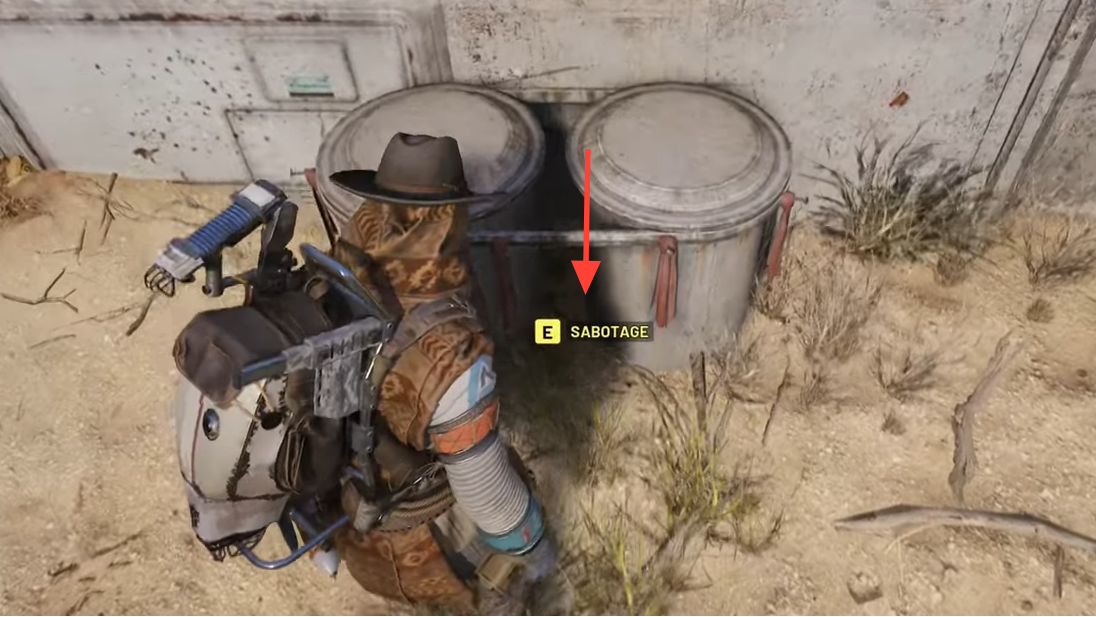
- Scan for the yellow glow first. Move through obvious choke points (entrances, hallways, catwalks) and check sightlines near consoles, wall-mounted panels, and tucked-away corners. The quest object will present a yellow-lit interaction prompt; ordinary loot will not.
- Sweep vertically. Many stations have rooftops, mezzanines, or maintenance floors accessible by stairs or ladders. Don’t leave after clearing the ground level — make a quick pass above and below.
- Commit to the interaction. Interacting takes a few seconds; it’s loud enough to draw attention. Have a teammate cover angles or drop a smoke screen before you start the timer.
- Watch for the on-screen quest update. Once you see the progress notification, stop searching. The next objective is leaving alive.
Extract without losing the objective
Extraction is where most runs fail. Two paths:
- Raider Hatch: A clean escape if you have a Raider Hatch Key. These can come from crafting, random loot, or a vendor in Speranza. The hatch avoids the drawn-out noise of other extract methods.
- Standard extracts: Airshafts, subway tunnels, and cargo elevators are patrolled and loud when activated, attracting both ARC units and players. Arrive early, clear the area, then trigger the extract.

If the cache still won’t appear
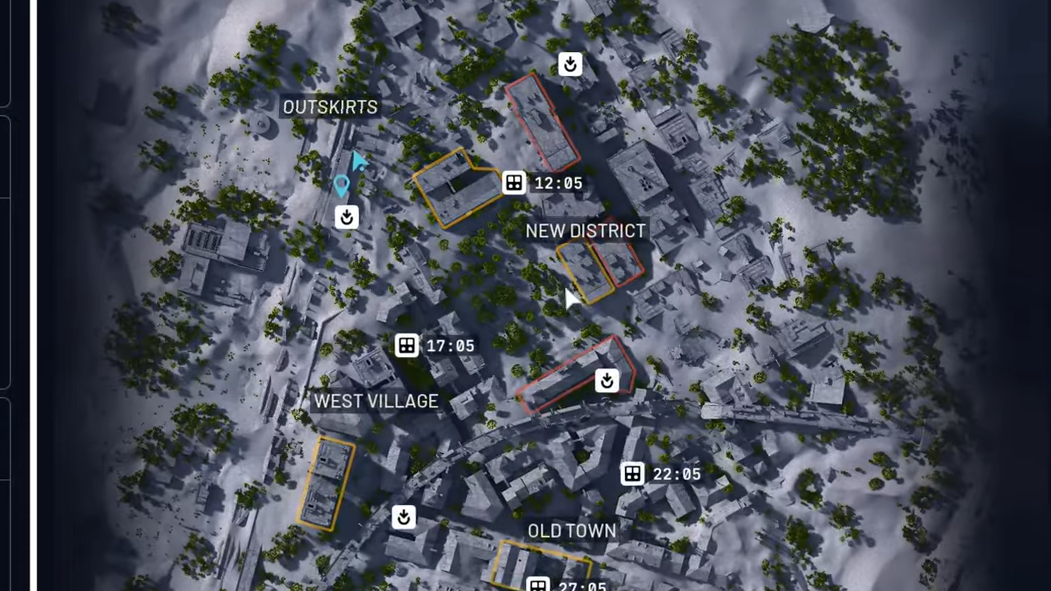
- Confirm the location name in your quest log. Some quests call out a specific site; make sure you’re at that named station, not a lookalike nearby.
- Check your stash between runs. If the objective is framed as “obtain” rather than “interact,” the required item may already be in storage. Items counted for quests aren’t consumed on completion.
- Leverage shared progression. If you’re in a squad, let one player methodically sweep while others hold perimeter. Any one person’s interaction advances the step for everyone.
If none of the above triggers the update, leave the area and return later in the same round to prompt a fresh interaction check — then extract once the task ticks over.
Make the search safer
- Conserve stamina for fights and retreats. Sliding out of a sprint costs no stamina; holstering increases sprint speed.
- Use consumables proactively. Top up shields before you start the interaction timer; don’t wait for health to dip too low before bandaging.
- Avoid unnecessary firefights. If your weapon’s armor penetration is poor against ARC machines, bypass patrols instead of engaging — the noise will snowball.
The key to “Market Correction” is treating the cache as a quest object, not random loot. Move with purpose, look for the yellow interaction, and plan your exit before you press the button. If the log references an item rather than an interaction, verify your stash; progress can register without a fresh pickup. Either way, progress doesn’t matter until you make it home.