
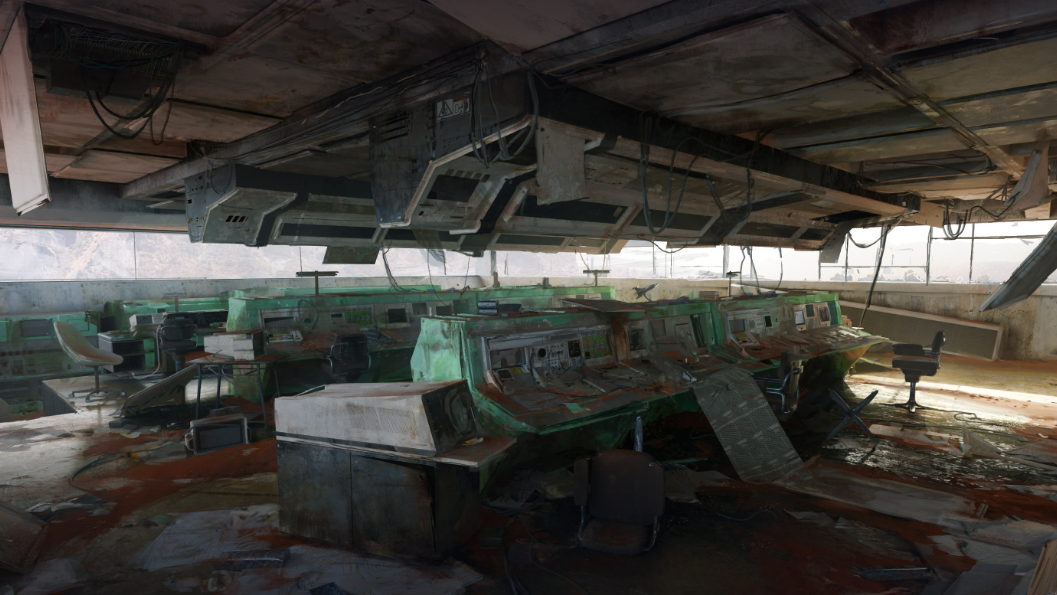
Stella Montis in ARC Raiders swaps open ruins for a tight, industrial maze, and the Security Checkpoint key is one of the rare items that makes this map pay off. It unlocks a dedicated door inside the complex, giving access to a sealed room that standard breach charges cannot open.
What the Stella Montis Security Checkpoint key is
| Property | Value |
|---|---|
| Item type | Key |
| Rarity | Rare |
| Name | Stella Montis Security Checkpoint Key |
| Primary use | Unlocks a door in the Security Checkpoint area on Stella Montis |
| Stack size | 1 |
| Weight | 0.25 |
| Sell price | 100 coins |
| Acquisition | Scavenging (loot containers) |
| Patch added | Update 1.2.0 |
The key is a single-use consumable. Once you unlock the designated door, the key is gone from your inventory. Like other Stella Montis keys, it is meant to gate a specific high-value space rather than act as a general-purpose access card.
Because it is rare, light, and non-stackable, it fits neatly in a safe pocket, which prevents you from losing it if you die during a run. Treat it as a long-term asset you bring into a carefully planned raid rather than something you burn on a casual exploration.
Where the Security Checkpoint door is on Stella Montis
The Security Checkpoint sits inside Stella Montis near the Security Bridge point of interest on the upper floor of the complex. The key door is part of this internal checkpoint, not a random side room elsewhere on the map.
Within the broader Stella Montis layout, the Security Checkpoint is closely connected to the main lobby spaces:
| Reference point | Relation to Security Checkpoint |
|---|---|
| Main lobby (lower tier) | Checkpoint is reached by moving past the main security gates from this floor. |
| Main security gates | Door is located just beyond these gates, in the pressure zone between public lobby and internal corridors. |
| Upper floor lobby | Security Checkpoint area can also be entered from above through connected corridors and breach doors. |
| Security Bridge POI | Checkpoint is placed close to this POI on the upper floor, tying it into a central traversal route. |
The environment around the checkpoint is heavily defended. Automated shotgun turrets and other high-damage threats make direct pushes expensive if you are not prepared, which is why many players treat this area as a late-raid objective when enemy density has thinned or other teams have already cleared some of the defenses.
How to reach the Security Checkpoint key door from the lobby
The simplest way to find the door is to navigate from the main lobby on the lowest tier of Stella Montis, then work through a specific corridor chain. The path is short but easy to miss, because it runs behind the obvious reception space instead of straight through it.
| Step | Action | What to look for |
|---|---|---|
| 1 | Start in the lobby | Main lobby on the lowest level of Stella Montis, with two central security gates ahead. |
| 2 | Move past main checkpoint gates | Walk through the central security checkpoint in front of you rather than diverting to side corridors. |
| 3 | Turn right into the room behind reception | Immediately after the gates, look for a small room to the right, sitting behind the main security reception desk. |
| 4 | Follow the back corridor to the end | Continue straight through this small room into a narrow corridor until you reach the far end. |
| 5 | Turn left, then right | At the end of the corridor, turn left, then almost immediately take the next right turn into another passage. |
| 6 | Enter the Security Checkpoint room | The first door on your right in this passage leads into the Security Checkpoint room itself. |
| 7 | Use the key on the locked door | Inside this room, interact with the designated locked door using the Stella Montis Security Checkpoint Key. |
Every intermediate door along this route is a standard breach door. These can be opened with charges or tools and do not consume the key. Only the explicit Security Checkpoint key door inside the checkpoint room will take the item from your inventory.

How to obtain Stella Montis keys
Stella Montis keys, including the Security Checkpoint key, are not limited to the Stella Montis map itself. They can drop across the broader ARC Raiders environment through scavenging.
| Where keys can appear | Details |
|---|---|
| Residential buildings | Houses in locations such as Blue Gate, often in internal rooms and side closets. |
| Administrative interiors | Offices, admin blocks, and indoor complexes across multiple maps. |
| Restricted or guarded zones | Rooms with heavier enemy presence or environmental hazards. |
| Loot containers | Lockers, bags, and crates that follow the same random spawn patterns as other keys. |
Spawn behavior is shared with other key items: they appear randomly in containers and can return after some time. Systematic container checking, especially in high-traffic residential and office clusters, increases your chances of finding one. There is no dedicated quest chain or trader for the Security Checkpoint key; it sits in the general scavenging pool.
How the Stella Montis Security Checkpoint key behaves
The Security Checkpoint key follows the same broad rules as the other two Stella Montis keys (Assembly Admin and Archives):
| Behavior | Impact |
|---|---|
| Single-use | Using the key on its matching door consumes it permanently. |
| Door-specific | It only works on the intended Security Checkpoint door, not on other locked doors on the map. |
| Room-specific rewards | The key door leads to a fixed internal room whose loot pool is tied to Stella Montis’ high-tier rewards. |
| Safe-pocket friendly | Placing the key in a safe slot prevents loss on death, letting you hold it across multiple raids. |
| Shared environment | The room is part of the live map; other players can contest the space as soon as it is opened. |
Using the Security Checkpoint key effectively
Because keys are scarce and the Security Checkpoint is heavily defended, timing and preparation matter more than raw curiosity. A few principles help you turn the key into an actual payout instead of a wasted consumable.
| Practice | Why it matters |
|---|---|
| Keep the key in your safe pocket | Prevents losing the item if a raid goes bad before you even reach Stella Montis. |
| Plan around extraction | Only commit the key on runs where you have a clear path and enough time to leave with the loot. |
| Clear or bypass defenses first | Turrets and enemies near the Security Bridge and checkpoint can shred unprepared teams; neutralize them before unlocking. |
| Coordinate with your squad | Open the door when teammates are nearby to loot quickly and cover angles while you are focused on containers. |
| Accept that the room is contested space | Once opened, other players can move toward the sound and attempt to third-party the fight. |
Some players choose to hold multiple Stella Montis keys at once (Assembly, Archives, and Security Checkpoint) and dedicate a single raid to unlocking all three rooms. Others treat each key as an independent play, pairing it with contracts or specific weapon case routes. Both approaches are viable; the important part is that the key is never used on a low-commitment test run where death is likely and extraction is an afterthought.
Handled well, the Stella Montis Security Checkpoint key turns a dangerous, turret-lined bottleneck into a reliable source of high-tier loot. Handled carelessly, it disappears into a locked door you never make it back out of. The difference is usually whether you already know the route from the lobby and treat the checkpoint as a planned objective rather than a spur-of-the-moment detour.