
Rusted Tools are a rare pickup that quietly gate key early progression. Each piece weighs 2 kg, stacks three per slot, and sells for 1,000 coins. Most players hit the wall when upgrading the Workshop from Gunsmith 1 to Gunsmith 2, because that project specifically asks for Rusted Tools alongside other mechanical materials. If you plan routes around mechanical loot zones and extract cleanly, you’ll gather what you need without risking high‑value kits.
Find Rusted Tools (mechanical zones only)
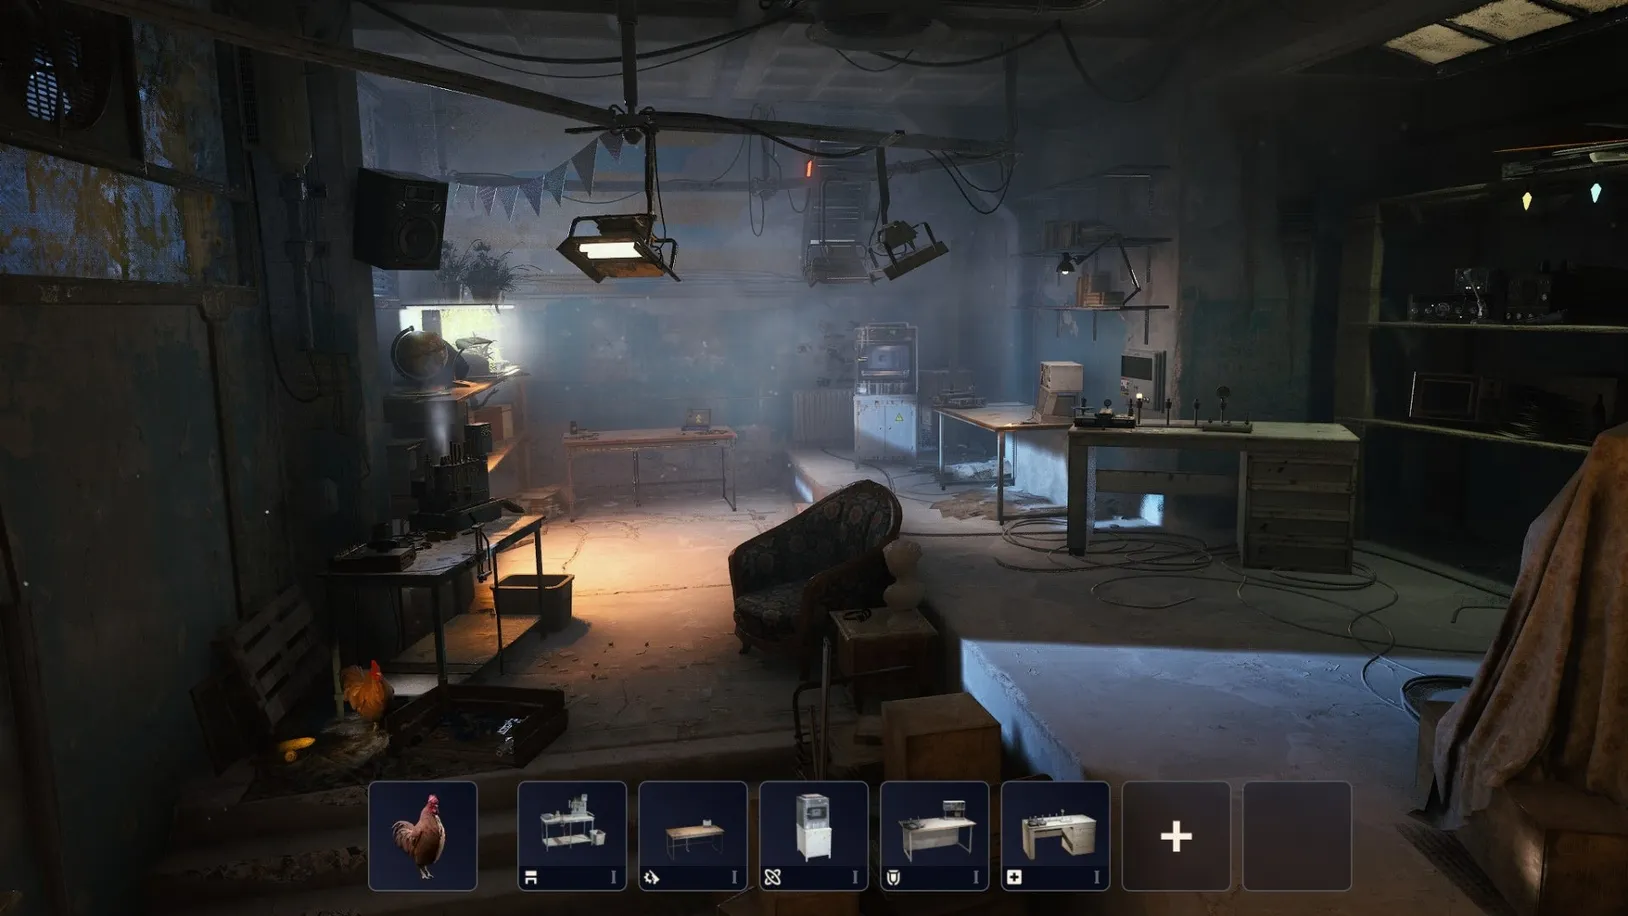
Rusted Tools come from the mechanical loot pool. Each map splits into themed sub‑zones and your HUD shows the current tag when you enter an area. If the tag isn’t mechanical, keep moving. Prioritize industrial interiors: workshops, maintenance rooms, sheds, and apartment utility spaces often hide mechanical containers. On Blue Gate, large industrial facilities typically carry the mechanical tag, but spawns are variable, so it pays to memorize multiple mechanical landmarks and chain them in one run.
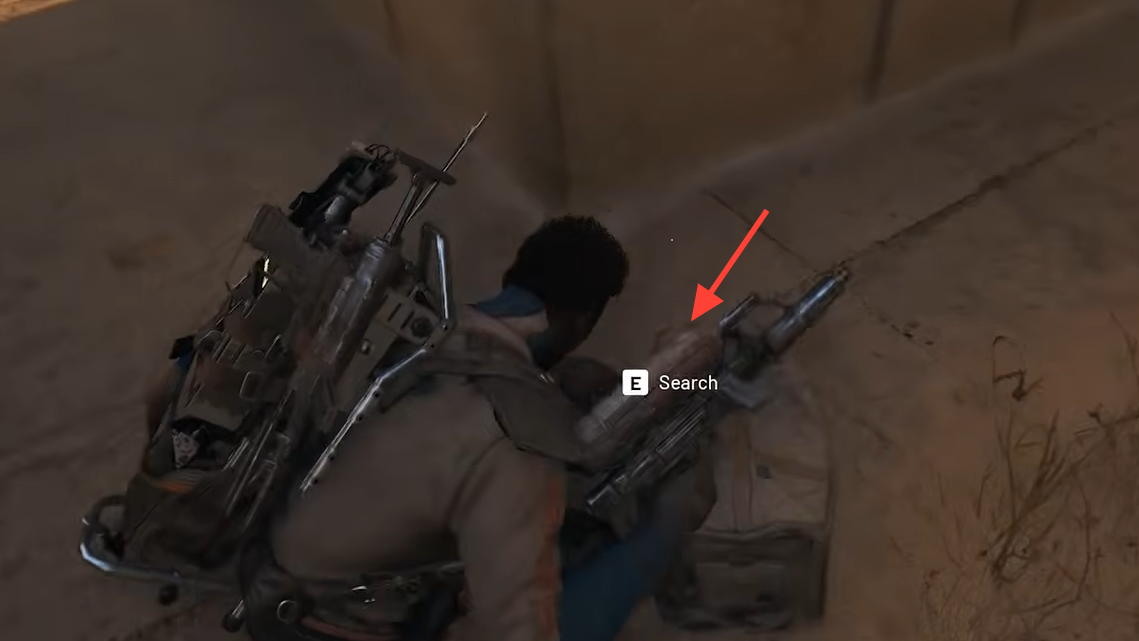
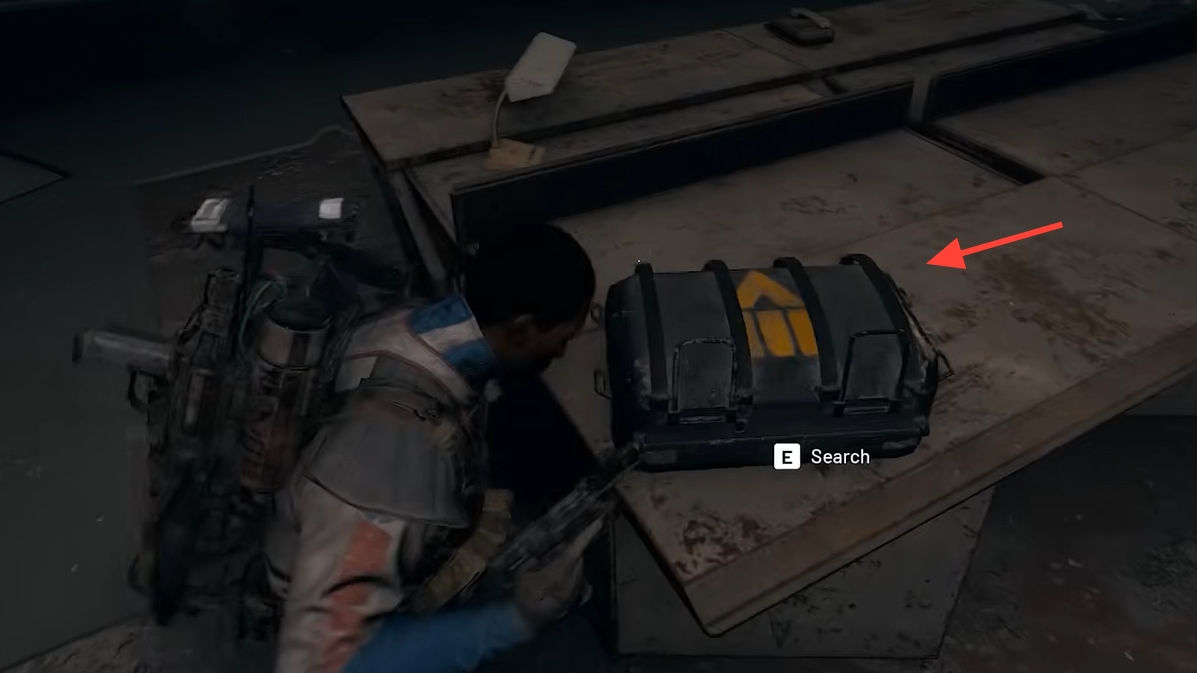
Open every safe container you can reach. The interaction is loud and leaves you exposed for a few seconds, so scan first, put solid cover at your back, and keep an exit in mind. If you hear footsteps or drones, cancel and reposition; getting caught mid‑animation is how runs end.
Fast facts (what they are, what they’re worth)
| Property | Details |
|---|---|
| Rarity | Rare |
| Loot pool | Mechanical zones only |
| Weight | 2 kg per item |
| Stack size | 3 per slot |
| Sell price | 1,000 coins |
| Recycle (base) | 8× Metal Parts + 1× Steel Spring (≈900‑coin equivalent) |
| Salvage (mid‑raid) | 7× Metal Parts (≈525‑coin equivalent) |
| Primary use | Workshop upgrade: Gunsmith 1 → Gunsmith 2 |
Workshop upgrade (Gunsmith 2 requirements)
| Upgrade | Materials |
|---|---|
| Gunsmith 1 → Gunsmith 2 | 3× Rusted Tools, 5× Mechanical Components, 8× Wasp Driver |
Route for the entire bill, not just the Tools. All three items come from mechanical‑leaning spots, so you avoid a second grind later by gathering the set in parallel.
Build efficient farming runs (routes, loadouts, risk)
Connect multiple mechanical areas while keeping travel short and predictable. The goal is simple: more containers per minute, less time in exposed paths.
- Free loadout runs: Low risk, light carry. Hit two to four mechanical zones quickly and extract. Losing the kit costs nothing.
- Custom loadouts: Bring a mobile shield for cover, a weapon with solid ARC armor penetration for emergencies, and keep one Safe Pocket slot for a stack of Rusted Tools or other rare materials. Items in Safe Pockets survive if you’re eliminated.
- Sound discipline: Holster to move faster, crouch‑walk near players or patrols, and avoid sprinting indoors unless you’re leaving. Every container open and every extraction activation broadcasts your position.
- Pick your fights: ARC patrols chain aggro. If the run is about materials, break line of sight and rotate rather than committing to a draining fight.
Extraction choices (silent hatch vs standard exits)
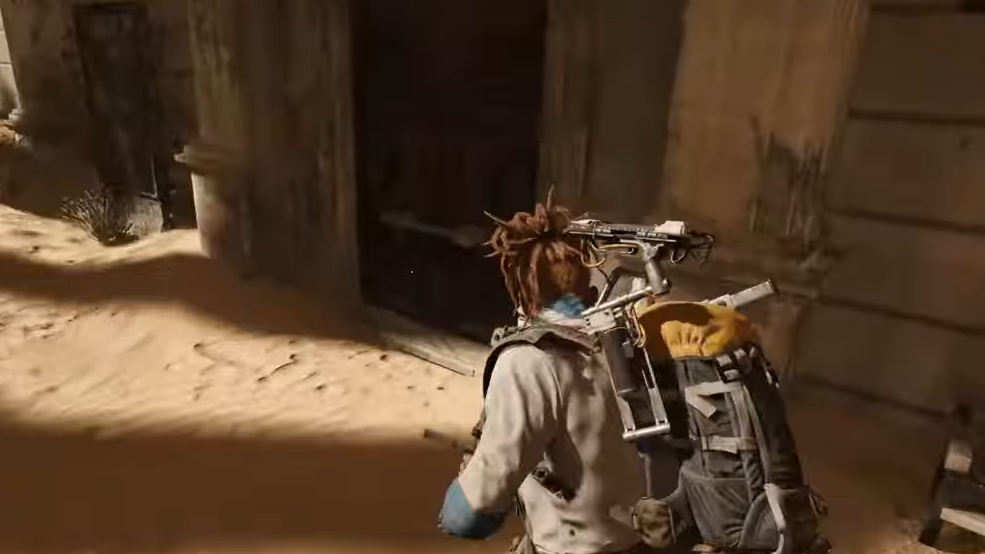
You only keep what leaves the map. Raider Hatches provide silent exits but require a key you can obtain through crafting, loot, or vendors. Standard exits trigger loud alarms, drawing patrols and other players. Before activating a noisy exit, clear immediate bots, watch common angles, and hold for ~30–60 seconds while the sequence completes.
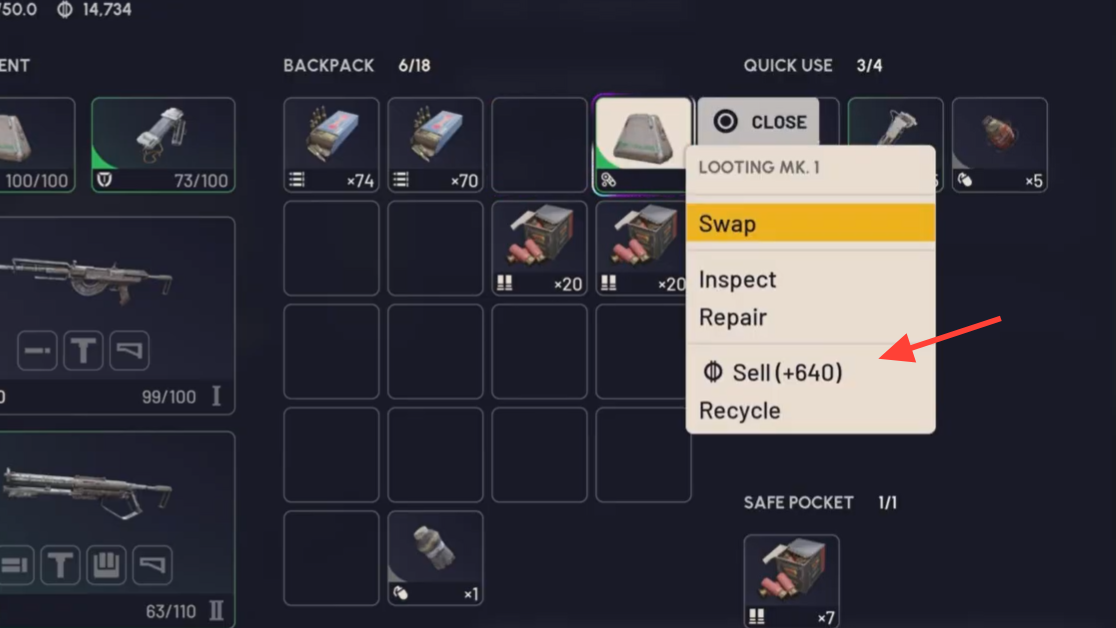
Sell, recycle, or salvage (what to do with each find)
| Action | Outcome | Coin equivalent | Use when |
|---|---|---|---|
| Sell (vendor) | 1,000 coins | 1,000 | You need currency more than basic components. |
| Recycle (at base) | 8× Metal Parts + 1× Steel Spring | ≈900 | Best long‑term materials value for crafting queues. |
| Salvage (mid‑raid) | 7× Metal Parts | ≈525 | Emergency pack space or immediate parts during a run. |
Salvaging frees 2 kg but turns one item into many, which increases slot pressure. Salvage sparingly until you extract; recycle at base whenever possible.
Inventory planning (weight, stash, and Safe Pockets)
- Weight math: one Rusted Tool weighs 2 kg; a full stack (3) is 6 kg. Plan around shields, ammo, and med kits so you don’t have to drop them to carry tools.
- Stacking: three per slot. Keep at least one empty slot if you’re target‑farming.
- Safe Pockets: reserve a Safe Pocket for a high‑value stack when you’re running custom kits.
- Stash space: the default hub stash provides 64 slots, with more available to purchase over time. Don’t sit on full stacks in your backpack—extract and bank them.
Practical route example (what a clean run looks like)
- Spawn check: confirm the area tag. If it isn’t mechanical, rotate to your closest known mechanical landmark rather than looting low‑value zones.
- First loop: sweep an industrial building and two nearby sheds/apartment maintenance rooms; hit every safe container.
- Second loop: rotate to a second mechanical cluster you’ve memorized; avoid patrols, scan audio constantly, and skip contested interiors.
- Exit decision: if you have at least one stack of tools or other rare materials, move to a nearby hatch (with key) or stage a standard exit with a quick clear and crossfire.
Why this works
Mechanical zones concentrate the right loot pool, and light, repeatable paths increase your container count without escalating fights. With a steady route and safe extractions, you’ll quickly cover the Workshop bill for Gunsmith 2—3 Rusted Tools, 5 Mechanical Components, and 8 Wasp Drivers—and still have a cushion to sell or recycle for your next craft.