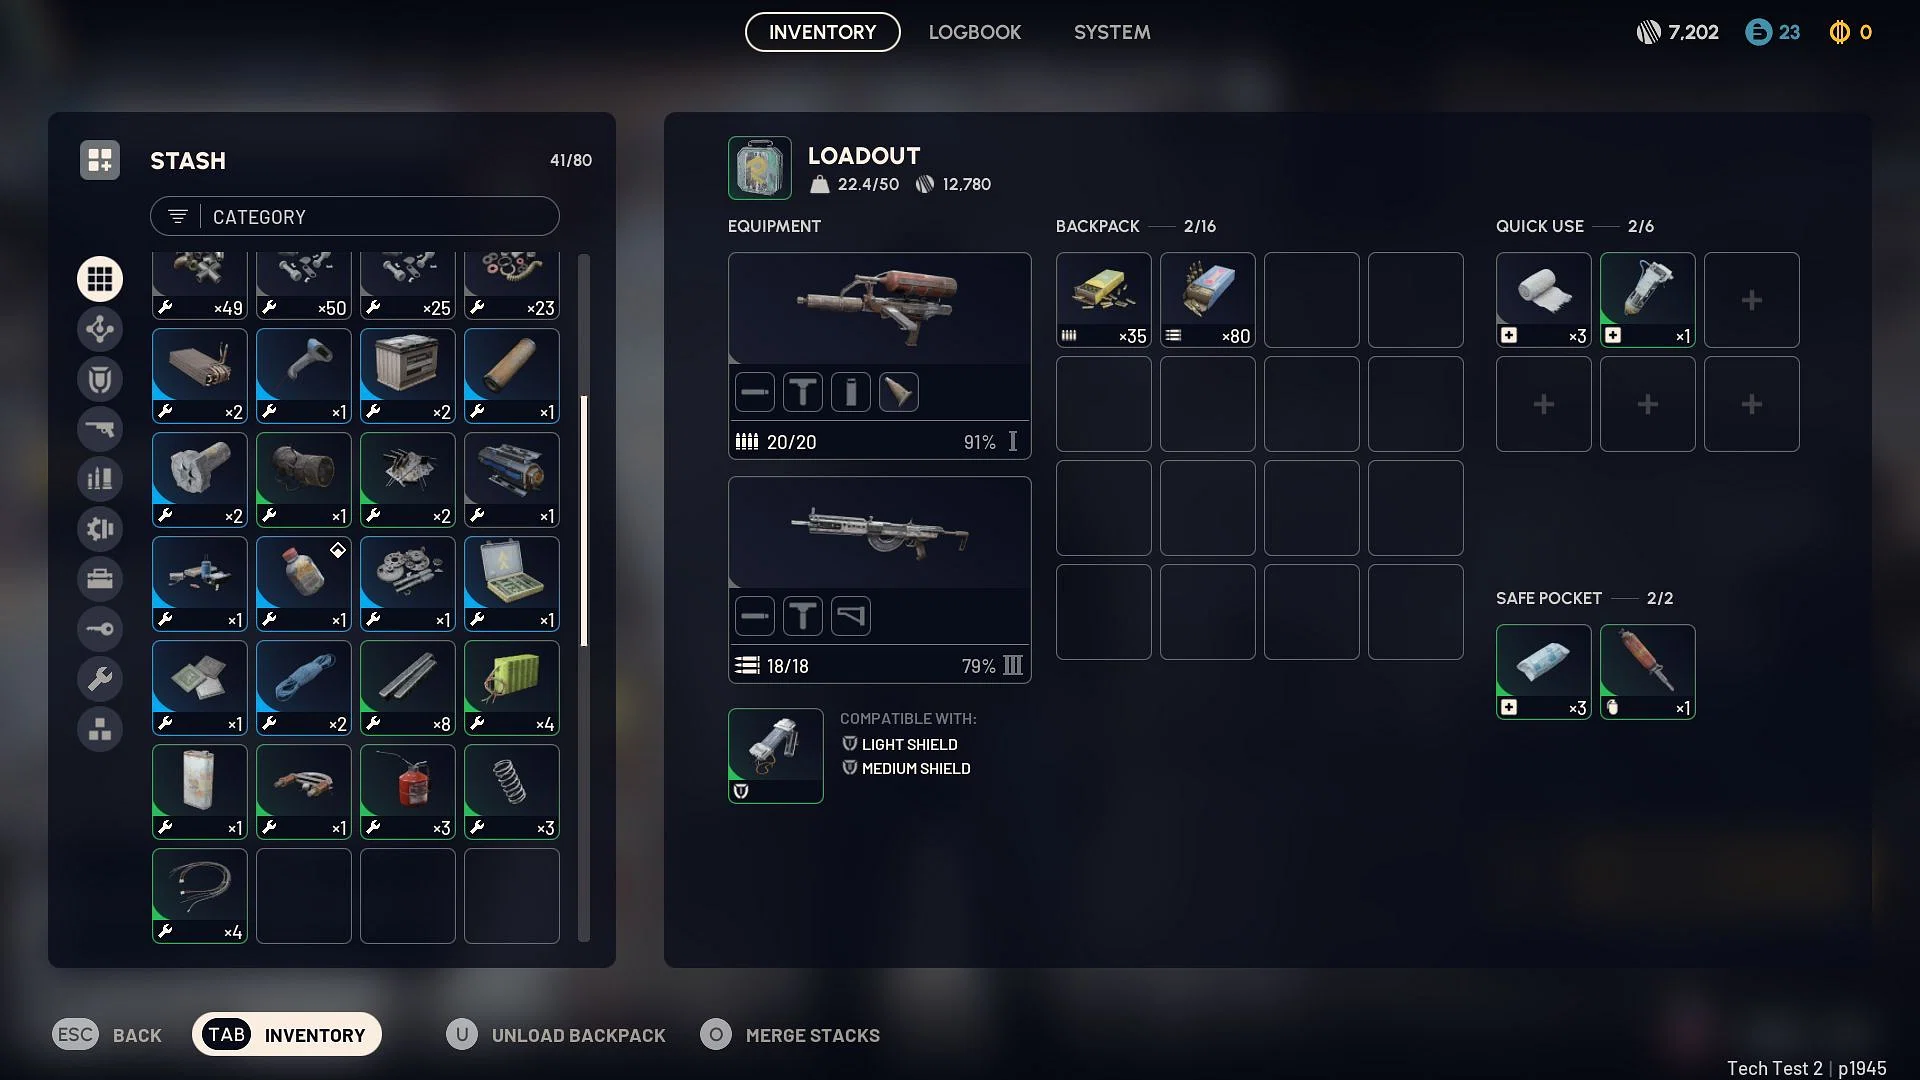
Shields in Arc Raiders are not a second health bar. They’re a mitigation layer that reduces how much damage reaches your health, while also taking their own flat damage per hit. That’s why you can still get downed with shield pips remaining.
The blue boxes above your health represent your active shield. Each box equals 10 shield points. When you’re hit, your shield loses a flat amount based on the weapon’s listed damage, and your health takes the remainder after the shield’s mitigation percentage is applied.
Practically, this creates two concurrent effects on every hit:
- Your shield “charge” depletes by a flat value tied to the weapon’s damage.
- Your health damage is reduced by the shield’s mitigation percentage.
Because the shield charge is finite, sustained fire will still burn through it. The mitigation percentage simply stretches how long you can survive by cutting what reaches your health.
All Arc Raiders shield types and core stats
| Shield | Shield charge | Damage mitigation | Movement penalty | Weight | Augment requirement | Vendor (price) | Crafting cost |
|---|---|---|---|---|---|---|---|
| Light Shield | 50 | 23% | None listed | — | Compatible with any Raider Augment | Lance ($2,000) | 1× ARC Alloy, 8× Fabric |
| Medium Shield | 80 | 45% | 5% reduced movement speed | 7 kg | Raider Augments II+ | Lance ($6,000) | 4× ARC Alloy, 2× Voltage Converter |
| Heavy Shield | 120 | 65% | 15% reduced movement speed | — | Raider Augment III+ | Lance ($15,000) | 10× ARC Alloy, 5× Voltage Converter |
Every free kit loadout includes a Light Shield by default, so you always have a baseline layer without spending or crafting.
Mobility trade-offs and build gating
Medium and Heavy shields impose movement penalties (5% and 15% respectively). The Medium also has a listed mass of 7 kg. These costs are the trade for higher mitigation and larger shield charge.
If you’ve invested in the conditioning tree, the “Used to the weight” node can soften—but not fully remove—these movement penalties. Plan your kit around how much slowdown you can tolerate in exchange for better damage reduction.
Augment tiers also gate access: Light works on any build, Medium requires Augments II or higher, and Heavy needs Augment III or higher. That gating helps keep combat-focused kits distinct from lighter looting/support setups.
How weapons, ammo, and range interact with shields
- Flat shield damage: The damage a weapon inflicts on shield charge is a flat value tied to the weapon’s listed damage. Ammo type doesn’t change shield damage.
- Mitigated health damage: Your health damage from the same hit is reduced by the shield’s mitigation percentage (23%, 45%, or 65% depending on shield).
- Ammo types: Light/medium/heavy ammo do not have unique shield-breaking properties; the weapon determines the damage, not the ammo.
- Muzzle velocity: Weapon muzzle velocity doesn’t affect whether a shot penetrates to health.
- Range: Range impacts both penetration behavior and damage output. Expect distance to influence whether and how hard hits bite through to health.
- Headshots: Any headshot-specific effects on penetration remain unconfirmed.
Tip: Because shield damage is flat, high-rate-of-fire and high-damage weapons shred shield charge quickly, even if your health damage looks manageable in the moment. Don’t ignore your blue bar just because your HP is barely moving.

Equip, recharge, and repair
You equip a shield in the loadout screen before a raid, and you can’t swap shields mid-run. If you want to change your mitigation profile, do it before deployment.
Mid-raid, you can restore shield points using consumables such as Shield Recharger and Surge Shield Recharger. These items take a short channel to apply and can be crafted at medical stations or purchased from vendors when you’re back in town.
Outside of a raid, shield durability can be fully repaired at the medical crafting bench. If you’re leaning on your shield to tank frequent engagements, plan on budgeting resources for upkeep alongside ammo and meds.
Picking the right shield for your run
- Light Shield: Lowest mitigation and charge, but no listed speed penalty and broadest build compatibility. A good default for mobility-first play and early kits.
- Medium Shield: A balanced option that meaningfully cuts health damage (45%) without a severe speed hit. Fits most combat builds once you reach Augments II.
- Heavy Shield: Maximum mitigation (65%) and the largest charge for brawls and riskier pushes, at the cost of a noticeable 15% slowdown and higher tier requirement.
If you’re unsure, start with Medium. The step up in mitigation from Light is significant, and the 5% movement penalty is manageable for most firefights. Move to Heavy only if your role and route can absorb the slowdown—especially in areas where flanks and fast rotations decide fights.
Shields in Arc Raiders reward planning. Know how much blue you have (10 points per box), keep a recharger in your pocket for drawn-out encounters, and choose the layer that matches your route, augment tier, and tolerance for slowdown. The right call often isn’t the tankiest option—it’s the one that lets you survive the first volley and still make the next move.

