
The Stella Montis launch in Arc Raiders looked chaotic from the outside: progress bars jumping, a sudden “reset” from double digits back to 1%, and the map unlocking far earlier than many expected. Underneath that noise is a fairly simple two-phase event, some reactive tuning by the developers, and a clear path for players who still want to squeeze value out of the live event rewards.
Arc Raiders Stella Montis progress: what actually happened
Stella Montis arrived as part of the North Line update on November 13. Instead of appearing as a normal playlist option, access was gated behind a global community project shown as a percentage progress bar.
Players noticed that within the first hour, the event bar had already climbed into the low teens. Shortly after, everyone was forced to download a small update and, on relogging, saw progress back at 1%. That led to talk of a “reset,” but in practice, the work already done wasn’t thrown away. The developers simply increased the total amount of materials required, which made the existing contributions represent a much smaller slice of the new target.
Even with that higher bar, the community still blasted through Phase I. Depending on how you measure it, Stella Montis was fully excavated in roughly a day to a day and a half, with one detailed breakdown putting the total time to unlock at just under 38 hours from event start. For comparison, players were guessing it might take an entire week once they saw the higher requirement; that estimate aged badly.

Phase I: Breaking New Ground (donations and the apparent “reset”)
The first half of the event, Breaking New Ground, lived entirely in menus. Every player could go into the Live Event tab and donate basic crafting materials to a shared excavation meter. The individual cost to max your personal contribution was modest but front‑loaded into common junk:
| Phase I donation bundle | Required amount |
|---|---|
| Metal Parts | 5 |
| Fabric | 5 |
| Plastic Parts | 70 |
| Rubber Parts | 85 |
| Chemicals | 65 |
Handing in this bundle several times filled your personal Merits cap for Phase I at around 900 Merits. After hitting that cap, you could keep donating to push the global percentage up, you just wouldn’t earn additional Merits for yourself from donations.
Because the required items are low-tier scrap that Scrappy tends to shovel into your stash anyway, the global bar surged much faster than expected. Within roughly an hour the progress figure visible in the UI hit around 11–15%. That pace would have finished the excavation before many players in some time zones even got home from work.
The update that dropped progress back to 1% did not erase individual Merits or contributions. Instead, it re-scaled the total required materials upward so that 11–15% worth of donations now represented roughly 1–2% of a much larger target. From that point on, the bar climbed more slowly—but still quickly enough that Phase I wrapped in roughly 24 hours of live time.
Phase II: Staking Our Claim (XP, Merits, and rewards)
Once the tunnels were “excavated,” Phase II of the event—Staking Our Claim—started, and the Stella Montis map itself went live. At this point, the nature of progress changed. Instead of materials, the event tracks XP.
Every 100 XP you earn during the event converts into 1 Merit. Importantly, this applies to XP on any map, not just Stella Montis. If you prefer to stay in Buried City or the Dam for matchmaking or comfort reasons, that XP still counts toward your Merits total.
Those Merits unlock a fixed ladder of 24 rewards, topping out at 3,600 Merits. Players who capped their Phase I donations start Phase II with 900 Merits banked, which means the first chunk of rewards is unlocked immediately, and you only need another 2,700 Merits from XP.
| Merits required | Reward |
|---|---|
| 150 | Hiker Backpack |
| 300 | 100 Raider Tokens |
| 450 | 3 Door Blockers |
| 600 | Combat Mk. 2 Augment |
| 750 | Toro I Shotgun |
| 900 | Striker Outfit (base) |
| 1,050 | 3 Seeker Grenades |
| 1,200 | Bag variant for Striker Outfit |
| 1,350 | 2 Trailblazers |
| 1,500 | Bucket backpack attachment |
| 1,650 | Deadline mine |
| 1,800 | Can't Hear You emote |
| 1,950 | 100 Raider Tokens |
| 2,100 | Dirt full-face style |
| 2,250 | Extended barrel modification |
| 2,400 | Orange color for Striker Outfit |
| 2,550 | 100 Raider Tokens |
| 2,700 | Padding variant for Striker Outfit |
| 2,850 | Snap Hook attachment |
| 3,000 | Red color for Striker Outfit |
| 3,150 | 100 Raider Tokens |
| 3,300 | Helmet variant for Striker Outfit |
| 3,450 | 100 Raider Tokens |
| 3,600 | Gas mask variant for Striker Outfit |
The Staking Our Claim phase is scheduled to run until December 6. If you started at 900 Merits from Phase I, you need 2,700 more Merits, or 270,000 XP. Spread evenly across the remaining days, that works out to roughly 11,700 XP per day. In practical terms, that’s around two to three medium‑length raids per day for most players.
XP values vary, but a rough range looks like this:
- Short, low‑engagement raid: ~3,000 XP
- Average raid with some PvE and maybe a light fight: ~5,000 XP
- Long, high‑threat raid with multiple ARC kills and PvP: ~7,000 XP or more
Because XP from any map counts, you don’t have to grind Stella Montis itself to finish the ladder. That said, the new map is tuned to be high-density and dangerous, so extended runs there can push your XP per raid to the upper end of that range if you survive.
How to actually access Stella Montis now
Once the community completed Breaking New Ground, Stella Montis was added as a playable region, but it isn’t immediately available to a brand-new account. There’s a separate personal requirement layered on top of the global unlock: you need to have played 24 rounds in total before you can enter Stella Montis.
That 24‑round requirement counts all raids across the Rust Belt, so most regular players will meet it automatically. If you’re new, treat it as a soft on‑ramp: run a few dozen raids in the existing zones to fill out your build and stash before jumping into the mountain facility.
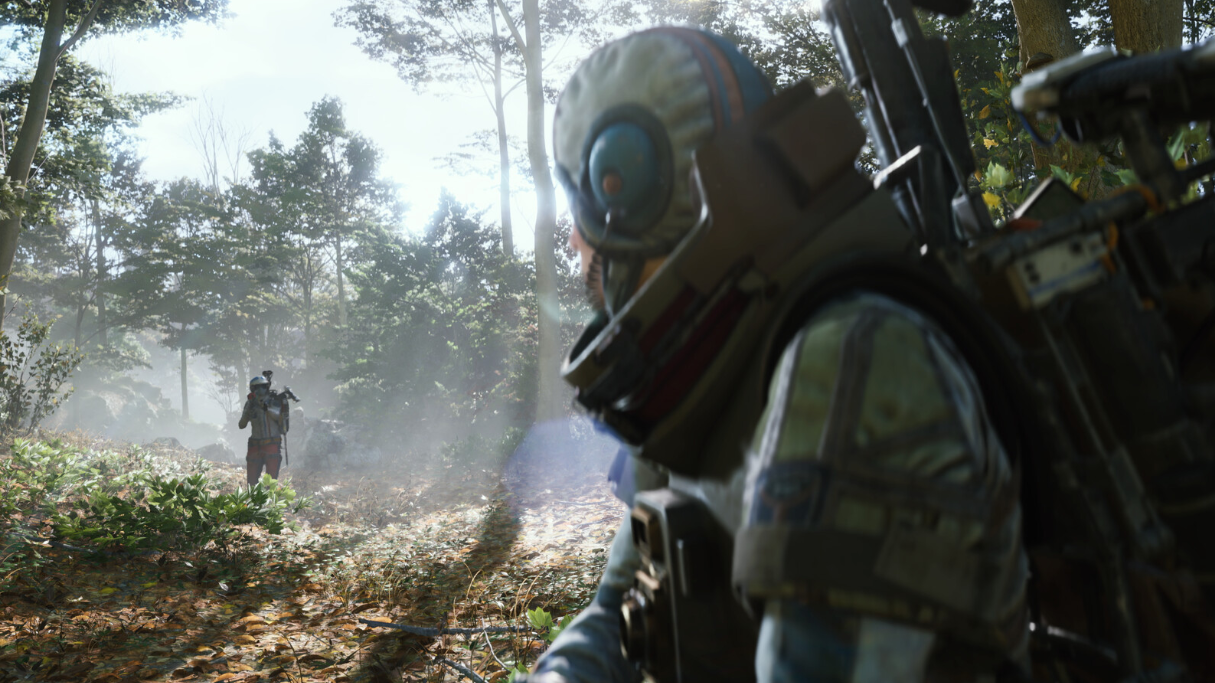
In-fiction, Stella Montis sits high up in the northern mountain range, reached via the tunnel network that the community “excavated.” In practice, you select it from the standard map rotation once your round count requirement is met. Expect tight corridors, environmental traps in the entry tunnels, and a noticeable bump in ARC aggression once you’re inside the main complex.
What Stella Montis adds on top of the progress bar
The event progress bar is just the wrapper. The actual map is a fairly dense slice of extraction shooter design with a different rhythm from the more open Rust Belt zones.
- Layout: Stella Montis is an enclosed research facility on two stacked levels, connected by tunnels, atriums, and metro‑style transit points rather than long outdoor runs.
- Threat profile: New ARC types debut here, including the melee‑heavy Shredder and the Matriarch deeper into the complex. Together with existing enemies, this makes extended topside time considerably more dangerous.
- Loot: The map leans toward high‑value loot pockets rather than spread‑out scrap. Combined with tight sightlines, this tends to compress PvP and PvE into the same spaces.
There’s also a growing questline anchored in Stella Montis. The first mission, “In My Image,” is simple but illustrative: deploy into the map, locate three androids, and search them. Completing it rewards a Looting Mk. 2 augment, three defibrillators, and five green light sticks—items that directly support more ambitious runs.
More quests are expected to spin up around the facility as the North Line update settles, but even this early version shows how the live event structure is meant to feed into longer‑term mission arcs rather than exist as a standalone mini-game.
If you’re starting late, what can you still gain?
For players who missed the chaos of day one and only saw the bar at 100%, the good news is that the important part of “progress” is now personal. The map is unlocked globally; your focus is on Merits and XP before the December 6 cutoff.
A late starter can still:
- Hit the 3,600 Merits cap entirely through XP, even with no Phase I donations.
- Unlock every Striker outfit piece and color variant, plus the helmet and gas mask.
- Pick up several hundred Raider Tokens and useful combat gadgets like Trailblazers, Seeker grenades, and Deadline mines.
Because the XP conversion is linear and uncapped, you’re not punished for missing the initial donation window beyond losing that 900‑Merit head start. If you only care about specific items—say, the Toro I shotgun at 750 Merits or the Extended barrel modification at 2,250—you can target your XP grind to those thresholds and stop.
The headline is simple: Stella Montis' progress moved faster than expected, the developers bumped the goal so more people could take part, and the community still unlocked the map in well under two days. If you’re looking at the event now, ignore the drama around the early “reset” and focus on what you can control: a steady flow of XP, a clean 3,600‑Merit ladder of rewards, and a compact new map that’s busy enough to make every raid feel like it matters.