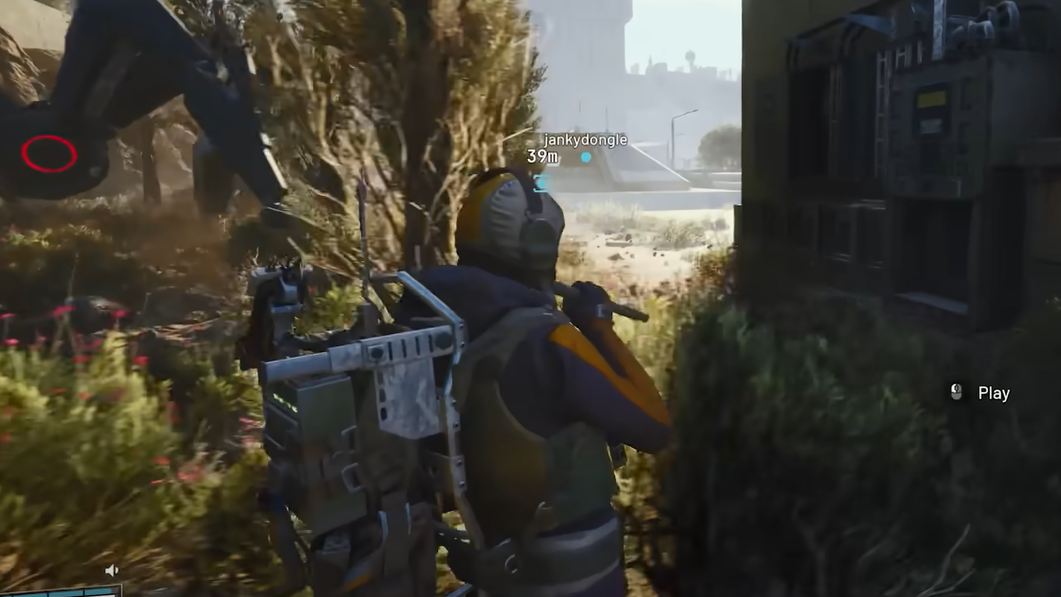
Switching the Supply is a short, objective-based mission in Arc Raiders that has you head to Spaceport, drop into the tunnels, and turn a single valve to reroute water. It sits in Celeste’s questline and appears after earlier contamination tasks. Everything must be done in one raid, but you do not need to extract for completion to count.
Switching the Supply objectives
| Objective | Notes |
|---|---|
| Find the tunnels under Spaceport | Multiple entrances ring the Launch Towers in the center of the map. |
| Find and turn the valve | The valve is on a right-hand wall a short walk from the nearest entrance. |
| In one round | Progress must be completed within a single raid instance. |
Spaceport tunnel entrance locations (fastest options)
You can reach the tunnel network from a few places around the Launch Towers. Two entrances place you closest to the valve:
| Entrance | Where to look | What you’ll see | Why choose it |
|---|---|---|---|
| Launch Towers “front” hole | Directly in front of the Launch Towers on the Spaceport plaza | A large opening with collapsed concrete you can walk down | Shortest path; the valve is very close to the drop-in point |
| South/Southwest opening | Just south to southwest of the Launch Towers base | A concrete ramp/steps down into a lit tunnel | Simple route with clear visual cues leading to the valve |
Either entrance works. If the center plaza is hot, shifting slightly to the southwest side keeps you out of sightlines as you descend.
Valve location in the Spaceport tunnels
The valve sits closer than it seems. Use these direction cues depending on your entry:
- From the front plaza hole: Walk down the collapsed concrete and circle behind the closest collapsed slab on the northeast side. Hug the right-hand wall. The valve is mounted on a pipe here, very near the drop-in.
- From the south/southwest ramp: Head down the slope, then turn back and follow the main tunnel a short distance without taking side passages. Watch the right-hand wall for a yellow-marked valve wheel. It sits by a run of four large green filtration tanks with a yellow pipe at hip height; the red wheel is attached to that pipe.
Interact with the wheel to switch the supply. The objective completes immediately on the turn.
Do you need to extract? Loadout and safety notes
You don’t have to leave with any item for the mission to complete—once you turn the valve, it’s done even if you go down afterward. That makes this a good candidate for a free or low‑risk loadout.
- Spaceport is open and busy; expect long sightlines near the Launch Towers.
- Inside the tunnels, watch for small explosive “tick” hazards and other Raiders moving in the dark.
- Consumables that break sight (like smoke) help you reposition on the surface and in the tunnel bends.
Reported rewards and follow‑ups
Players report receiving a cosmetic tied to Radio Renegade (Blue), a Spaceport key, and 3 Synthesized Fuel upon turn‑in. Reward names for the key can vary by update, but it’s a Spaceport access key. This quest sits in Celeste’s chain; after switching the supply, her next task will surface on your board.

If the valve won’t turn
Occasionally the interaction prompt may not appear even when you’re standing at the valve. Common workarounds:
- Back away and approach from the tunnel’s centerline to “re-snap” the prompt.
- Try the other nearby entrance and walk in again to refresh the area.
- Extract or leave the raid and re-queue; progress is fast to redo since the valve is close to the entrance.
If the prompt still fails after multiple attempts, return later—mission scripting issues can be transient and resolve in a subsequent session.
That’s the entire route: drop near the Launch Towers, stick to the right-hand wall inside the tunnels, turn the clearly marked wheel, and you’re free to loot or leave. Keep your profile low on the surface; the objective itself is less than a minute once you’re underground.

