
The “Damage Queens or Matriarchs” Trial in ARC Raiders is a pure damage check. You are scored almost entirely on how much health you strip off a Queen or Matriarch within a raid, with a 4,000 Trial score as the key threshold for a three‑star reward. The trick is not killing these bosses at any cost, but doing enough damage as cheaply and safely as possible before extracting.
How the Damage Queens or Matriarchs Trial scoring works
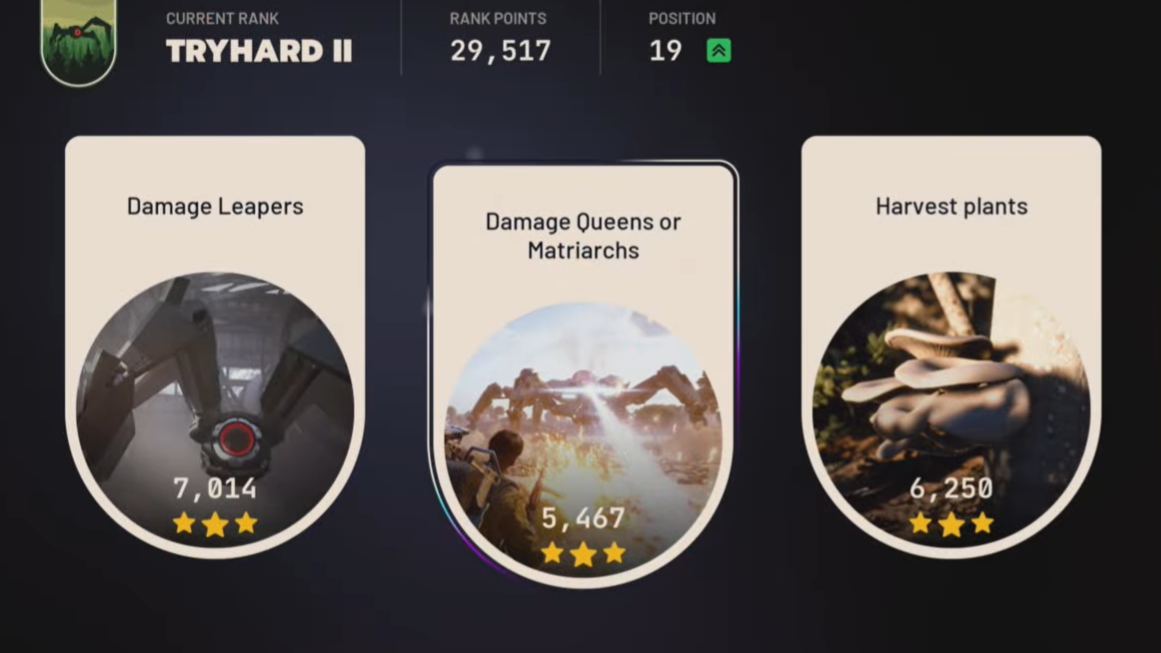
The objective is straightforward: deal damage to either a Queen or a Matriarch during a raid. Every point of damage contributes to your Trial score, and hitting a 4,000 score grants the three‑star payout. Damage is shared across all players hitting the boss, so the more you personally contribute, the faster you reach that threshold and the more competitive your leaderboard score becomes.
Double‑XP map conditions, such as Night Raid, Hidden Bunker, or Harvester, significantly accelerate progress. During these conditions, damage to the Queen or Matriarch yields much more Trial score, turning a single good fight into enough points to not only three‑star the Trial but also climb Trial Rank.
Best events and maps for farming Queen or Matriarch damage
Queens and Matriarchs do not spawn randomly. Each one is tied to a specific map condition:
- Queen spawns during a Harvester event.
- Matriarch spawns during the Matriarch event.
Several locations stand out for consistent, efficient farming.
Dam Battlegrounds Harvester (solo score pushing)
For solo players trying to push very high personal scores, Dam Battlegrounds during the Harvester minor event is one of the most forgiving setups for fighting a Queen. The area around the Harvester offers multiple positions where you can build cover, control sightlines, and extract quickly once you are done.
Three positions in particular are useful:
- Close to the Harvester itself if you want to play aggressively and use the machinery as partial cover. This is riskier because other Raiders may flock to the puzzle.
- The Pump House Hatch, just northeast of the Harvester. With Barricade Kits, this turns into a stronghold against both the Queen and other players. It also gives you instant extraction with a Raider Hatch Key once you have enough damage.
- The Power Generator Complex window, an elevated window that looks directly down onto the Queen and Harvester. This angle is ideal for long‑range weapons like Jupiter or Hullcracker and lets you bunker behind solid cover while firing almost nonstop.
From any of these positions, the plan is the same: keep the Queen anchored in your lane, continually hit its weak points, and stay alive long enough to pour as much ammo as possible into its legs and core.

Blue Gate Harvester (safe three‑star setups)
For a more controlled approach, Blue Gate’s Harvester event offers a convenient arena. A convenience store near the Gate Approach is a strong defensive building:
Step 1: Load into Blue Gate during a Harvester event with your chosen Queen loadout.
Step 2: Move to the small convenience store just left of the Gate Approach POI.
Step 3: Tag the Queen to gain aggro, then retreat into the store. The structure blocks most of its direct attacks.
Step 4: From doorways and windows, shoot at the Queen’s legs. When its “face” is exposed, target the small armor panels around the central red light to reveal the core.
Step 5: Once your Logbook shows you have three‑star score, either leave the Queen alive and extract, or finish the fight if you want more loot.
This setup is especially useful if you are not running a heavy meta build and want a safe, repeatable pattern.

Recommended gear for high Queen/Matriarch damage
You do not need an entire endgame arsenal to clear the Trial, but certain weapons and items drastically improve your damage‑per‑resource.
Core weapons
- Heavy weapons: Anvil, Ferro, Bettina, Hullcracker, Jupiter. These are your main tools for deleting armor plates and hitting weak points from range.
- High‑ROF light weapons: Stitcher, Venator, Kettle, Torrent, Renegade, Il Toro. Once a core is exposed, any weapon that can sustain high rate of fire with enough ammo becomes extremely efficient.
If you only want to three‑star once and leave, a single heavy weapon plus a decent mid‑range rifle is enough. For score pushing, combine a heavy for armor stripping with a spammy primary for core farming.
Defensive and utility items
- Shield: Light Shield or Medium Shield to give you more mistakes against stray rockets and AoE.
- Healing: Around 10 Shield Rechargers and 10–15 Bandages or Herbal Bandages. Fighting atop structures and boss bodies often leads to fall damage.
- Revives: 2–3 Defibrillators if you are not confident in your positioning or are playing trios.
On top of that, carry 10 Adrenaline Shots for mobility and getting back into position quickly if you get knocked off a vantage point.

Ammunition baseline
Ammo is where most of the cost comes from:
- Heavy Ammo: Around 120+ rounds for Anvil or similar if you plan to do most of your work with heavy weapons.
- Launcher Ammo or Energy Clips: For Jupiter or other launchers/energy weapons, expect to bring roughly 400+ Launcher Ammo or a full inventory of Energy Clips if you are solo score farming.
- Light Ammo: For a “cheap loadout” approach built around Stitcher or similar, expect 600+ rounds to fully exploit an exposed core.
Cheap “inside the core” strategy for Queens and Matriarchs
There is a very resource‑efficient method that relies more on ammo and positioning than expensive explosives or high‑tier launchers. It revolves around climbing onto the Queen, exposing its core, and dropping inside.
Loadout for the low‑cost core strategy
- Primary heavy: Anvil (Tier 4 is helpful but not mandatory) to crack an armor plate.
- Primary light: Stitcher, Renegade, Torrent, Il Toro, Kettle, Venator, or any other high‑rate‑of‑fire weapon.
- Movement tool: Snap Hook in your Safe Pocket so you do not risk losing it.
- Optional utility: A few Deadline Mines, Lure Grenades, and 15–20 Bandages for fall damage while learning the climb.
Steps: Getting into the Queen’s core
Step 1: Start the Queen encounter and use the Snap Hook to get onto its upper shell. Expect some initial fall damage while learning where you can stand.
Step 2: From the top, use the Anvil to focus one armor plate that covers a core opening. Keep shooting that plate until it breaks.
Step 3: Once the plate is gone, drop directly into the exposed core cavity.
Step 4: Inside the core, switch to your high‑ROF light weapon (for example, Stitcher) and continuously fire into the center. The core has no armor, so every shot deals full damage.
Step 5: Stay inside the cavity and keep shooting until you either reach your desired Trial score or run low on ammo.
When you are fully “inside” the Queen, it generally cannot dislodge or hit you with its normal attacks. The main remaining dangers are:
- Rocketeers in the arena, which can still hit you from range.
- Other ARCs or Raiders pulling aggro and changing the Queen’s behavior.
You can mitigate this by luring the Queen away from the Rocketeer before climbing, or by killing the Rocketeer with a Wolfpack Grenade if you are willing to spend more resources. Lure Grenades can also convince Rocketeers to target the Queen, helping to break her armor in the first place.
This method also works on the Matriarch, but you will need to deal with its summoned ARCs during the fight, which makes it more chaotic in public lobbies.

Explosive and burst‑damage options
If you are willing to invest in more expensive consumables, explosive burst damage lets you hit 4,000 score very quickly and then leave.
Common high‑burst tools include:
- Wolfpack Grenades for massive, homing chip damage over time.
- Deadline Mines planted underneath the Queen’s central body, especially when combined with a Snap Hook or Photoelectric Cloak to get into planting position.
A typical “dump and leave” pattern looks like this:
Step 1: Load into any map with a Harvester event or the Matriarch event active.
Step 2: Aggro the boss, then stack as many Wolfpacks and Deadlines as you can safely land under or directly onto its body.
Step 3: Let all your explosives detonate and empty a magazine or two of heavy fire into an exposed weak point.
Step 4: Open the Logbook to confirm your Trial score passes 4,000.
Step 5: Immediately rotate to the nearest extract. On Dam Battlegrounds, a Raider Hatch Key at the Pump House Hatch lets you leave almost instantly.
This approach burns resources but keeps your time investment per Trial completion extremely low.

Targeting weak points on Queens and Matriarchs
Both of these bosses have similar weak‑point logic. Hitting these spots matters more than simply dumping damage into random armor.
- Leg joints: The joints on their legs count as weak points and are often exposed even early in the fight. Consistent hits here quickly strip armor and feed score.
- Main core: Each boss has a large red core in its central body. On the Matriarch, you must first blow off protective front panels to access it. On the Queen, you can reveal core openings by destroying specific plates.
- Face panel (Queen): The “face” has small plates flanking a central red light. Breaking those plates exposes more of the core, which is ideal for high‑damage shots from Hullcracker, Jupiter, or precise Anvil volleys.
If you are not climbing into the core, the general rule is simple: prioritize leg joints until a core is exposed, then commit all of your heaviest damage into that core window.
Solo versus trios strategy
The optimal target shifts a bit depending on squad size and loadout strength.
Solo: Prefer the Queen in Harvester events
For solo play, the Queen is usually the better choice:
- The Queen fight tends to be shorter than the Matriarch encounter, reducing the chance of hostile Raiders crashing the party.
- Harvester events often see fewer players fully committing to the Queen, which leaves more health pool for you to farm damage from.
- Core‑climb strategies are easier to execute on the Queen without constant adds in your face.
In the best case, a solo player with enough ammo and a safe Harvester setup can pull 15,000–20,000 Trial score off a single Queen, depending on how much of the health bar they personally chew through.

Trios: Focus on the Matriarch
In full squads with strong builds, the Matriarch becomes more attractive:
- The Matriarch has a larger health pool, so three players can farm more total damage before the fight ends.
- Multiple Hullcrackers or Jupiters, stacked with Deadlines and Wolfpacks, can shred its armor very quickly once everyone reaches the arena.
For trios, the main priorities are:
- Getting to the Matriarch event first so your squad owns most of the damage window.
- Ensuring everyone brings a hard‑hitting heavy weapon and at least a few high‑impact explosives.
- Coordinating fire on exposed weak points so damage is not wasted on armored plates.
Quick route to an easy three‑star completion
If you only care about getting your weekly Epic‑tier reward rather than competing on the leaderboard, you can compress the Trial down to a single short raid.
Step 1: Queue into a map with an active Harvester event or the Matriarch event during a double‑XP map condition if possible.
Step 2: Bring one reliable heavy weapon (Anvil, Ferro, Bettina, Hullcracker, or Jupiter) and, if you can spare them, a couple of Wolfpacks or Deadlines.
Step 3: Aggro the Queen or Matriarch and unload everything into legs and any exposed core until your Logbook shows at least 4,000 score for the Trial.
Step 4: As soon as you hit the threshold, disengage from the fight and sprint to the nearest extraction point.
This approach keeps gear costs lower than full min‑max score attempts while still guaranteeing the three‑star payout in one or two raids.

Once you understand where Queens and Matriarchs spawn, how Trial scoring mirrors raw damage, and which weak points to prioritize, the “Damage Queens or Matriarchs” objective shifts from daunting raid boss to a predictable, repeatable score farm. Whether you opt for a cheap core‑climb setup with an Anvil and Stitcher, or an expensive barrage of Hullcrackers and Wolfpacks, the key is the same: get to the event quickly, control your position, and know exactly when you have earned enough damage to extract.