
Weapon crates are the most dependable way to upgrade your kit quickly on Dam Battlegrounds. Spawns aren’t guaranteed, but certain points of interest consistently produce results. Here’s where to look first, how to run a route that balances risk and payoff, and how to fold nearby Field Depots into your loop for extra rewards.
Dam Battlegrounds weapon crate locations (most reliable)
The locations below are the strongest bets for weapon crate spawns on Dam Battlegrounds. Expect competition at the central hotspots and lighter traffic on the outskirts.
| POI | Where to look | Traffic risk | What to expect |
|---|---|---|---|
| Control Tower | Upper floors, especially the top level | High | Best density of weapon crates; tight stair access makes footsteps easy to track |
| Hydroponics Dome Complex | Inside the main buildings | High | Strong crate potential, but heavily contested |
| South Swamp Outpost | Structures in the southwest corner | Low | Quieter, out-of-the-way spawn chance |
| Small Creek (near Control Tower) | Along the creek outside the tower | Moderate | Good add-on after clearing Control Tower; many players tunnel on the interior |
| Floodgates | Within the passage around the gates | High | Frequent player movement; expect ambushes and third parties |
| The Breach | Ruined path between Power Generation Complex and Primary Facility | High | Multiple potential spawns along a high-traffic corridor |
Two practical routes (high-risk loop and low-profile sweep)
There’s no single “best” path, but these two patterns line up with how players naturally flow through Dam Battlegrounds.
- High-risk, high-reward loop: Start at Control Tower (top floors) → dip to Small Creek outside → cut through The Breach toward Floodgates → finish at Hydroponics Dome Complex. You’ll see more crates, but also more raiders.
- Low-profile sweep: Begin at South Swamp Outpost → orbit north toward quieter outskirts before touching central POIs late. You’ll trade density for survivability and better odds of extracting with what you find.
What’s inside a weapon crate
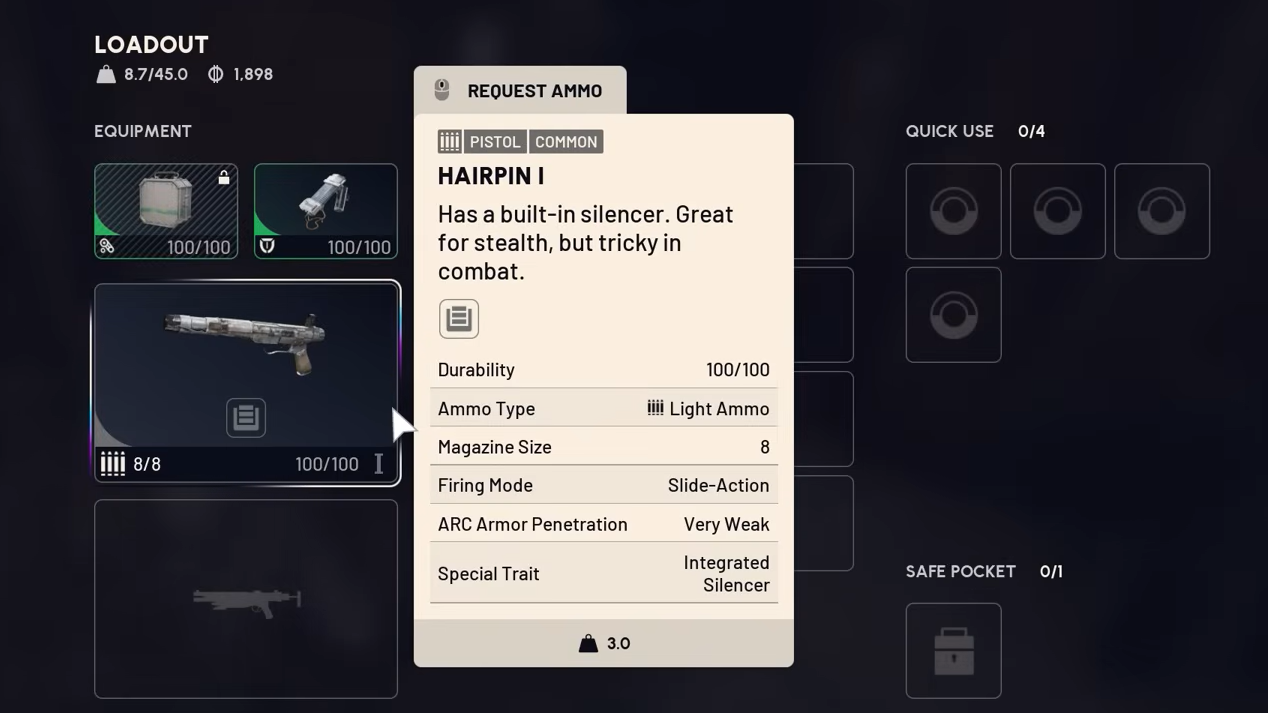
Weapon crates (also labeled as weapon cases in some UI elements) typically include:
- 1 weapon
- 1–2 stacks of matching ammo
- Multiple weapon-related items (3–6 total including parts)
- Occasionally a mod or a gun part, plus recipes
This is the most time-efficient way to climb out of early-game scarcity and replace starter guns with stronger options.
Field Depots near your route (fixed locations on Dam)
Field Depots are small, single-room buildings with a tall radar antenna on the roof. They are static on every raid and accept deliverable Field Crates for a “Field Depot Drop” of loot. On Dam Battlegrounds, you’ll find six, always in the same places:
| # | Location | Notes |
|---|---|---|
| 1 | Between Electrical Substation and Water Towers | Good pairing with Control Tower/creek loops |
| 2 | Between Research & Administration and Testing Annex (overlooking Red Lakes) | Less central than the tower; safer approach windows |
| 3 | Near the southwest corner of Loading Bay | Useful pivot from southern routes |
| 4 | In the forest between Water Treatment, Old Battleground, and South Swamp Outpost | Quiet and synergizes with low-profile sweeps |
| 5 | West side of the Hydroponic Dome Complex | High traffic; time your approach |
| 6 | Far eastern edge of the Power Generator Complex | Pairs with Breach/Floodgates traversals |
How they work:
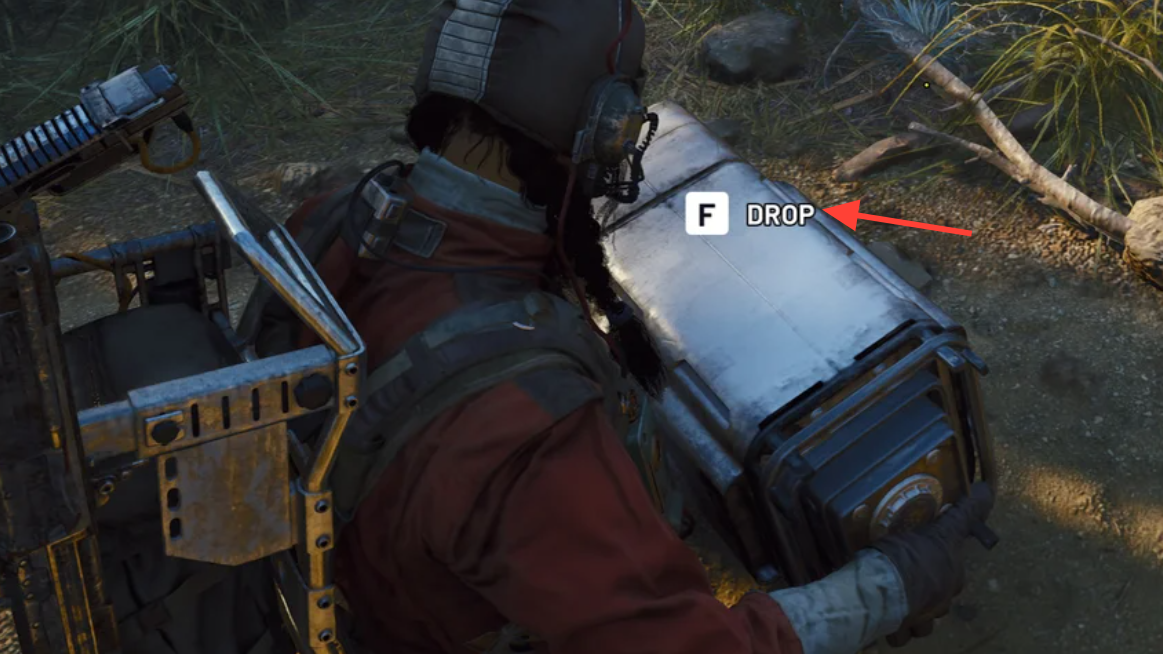
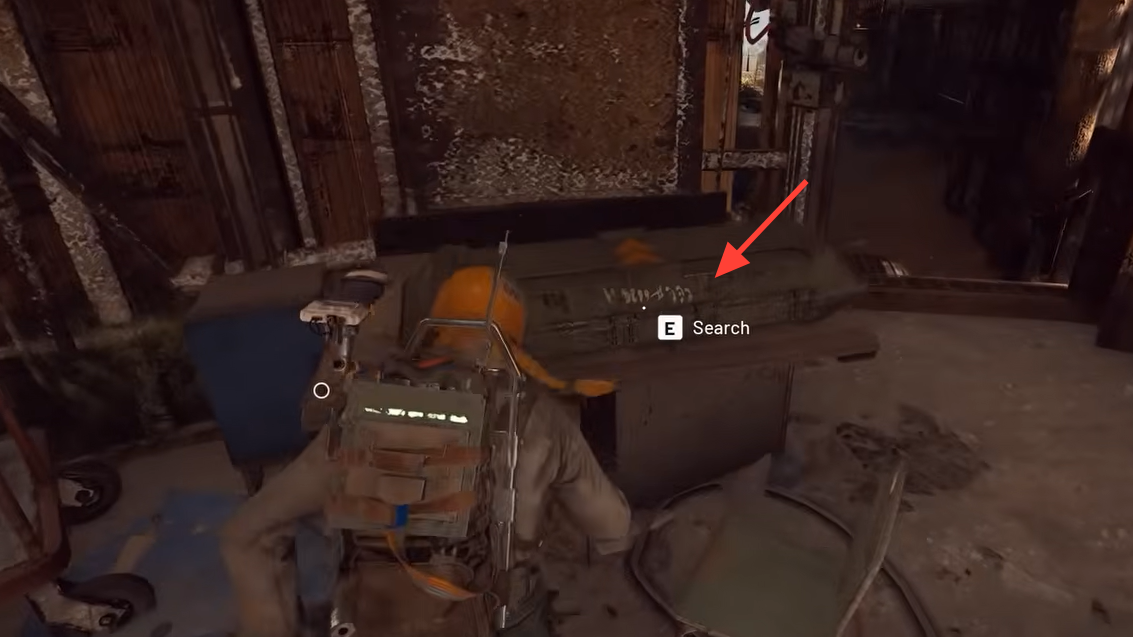
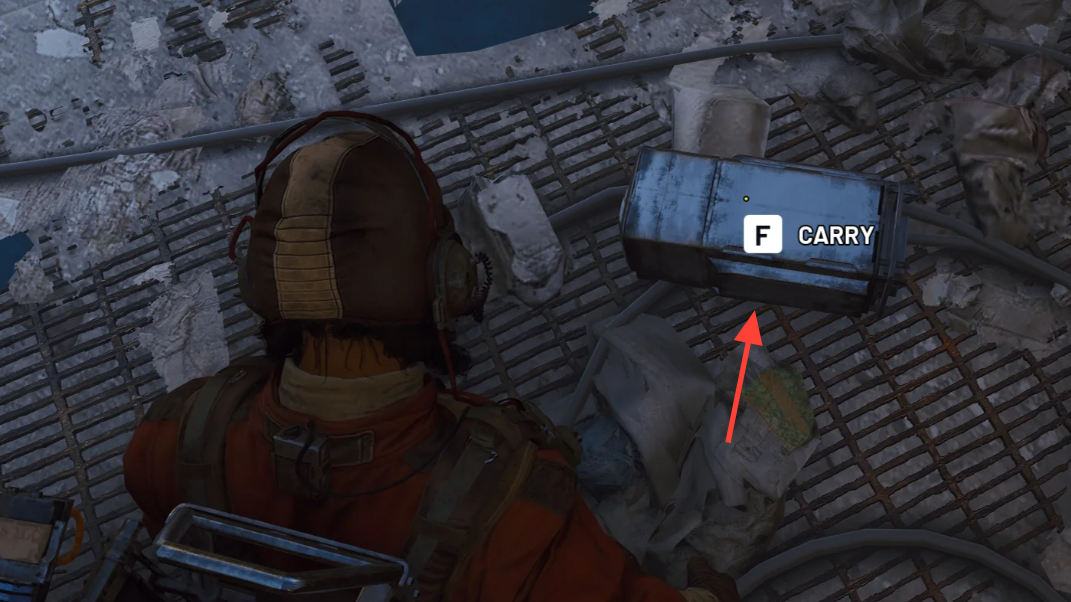
- Field Crates spawn nearby each depot every raid. You must physically carry a crate to the machine inside the depot to unlock the adjacent reward compartment.
- Carrying slows you and disables weapons until you drop the crate. Clear the area first or bring squad protection.
- You can repeat deliveries—each crate restocks the reward compartment with a fresh roll of loot.
Example: The depot between Water Towers and Electrical Substation often has multiple nearby crate spawns—two inside Water Towers, one on the hills east of the substation, and one in the northern substation building—letting you chain deliveries if the area is secure.
Field Depot loot vs. weapon crates
Weapon crates are focused: you’re looking for a gun upgrade plus ammo and related parts. Field Depot drops are mixed but can include a weapon and typically restock well when you deliver multiple crates in one visit. Expect roughly:
- Weapon crate: 1 weapon, ammo, and several weapon-related items; occasional mod or part; recipes possible.
- Field Depot Drop: A broader mix of 4–7 items with ammo, medical, grenades/gadgets, and a chance at a weapon; delivering additional Field Crates refreshes the depot’s rewards each time.
Quick quest tie-ins (why depots matter early)
Two early quests push you toward Field Depots and crate deliveries:
- Off The Radar (Celeste): Visit any Field Depot, climb onto the roof, and interact at the base of the antenna to repair it. The quest completes even if you die before extracting.
- Down to Earth (Shani): Deliver a Field Crate to a supply station inside a Field Depot and open the reward box in the same raid. You receive binoculars on accept, and completing the delivery rewards a Combat MK.1 augment and a Medium Shield.
These objectives are a good excuse to learn safe approach angles to depots and practice chaining multiple Field Crates for extra rolls of loot.

Identification and safety checks
- Spotting a Field Depot: Look for a compact rectangular building with a tall radar antenna. A ping will label it as a Field Depot when you’re close.
- Traffic awareness: Control Tower, Hydroponics, The Breach, and Floodgates are the most contested. South Swamp Outpost and the forested depot between Water Treatment and Old Battleground tend to be quieter.
- ARC enemies: Patrolling ARCs telegraph with loud metal footsteps and gunfire, especially around Power Generation Complex. Clear them before carrying a crate.
The fastest way to stabilize a run is simple: hit a reliable weapon crate spot early, then swing past a Field Depot to convert a nearby crate into a second payout. If the tower is crowded, let other squads collide while you work the creek and southern outposts—and cash out at a quieter depot on your way to extraction.