
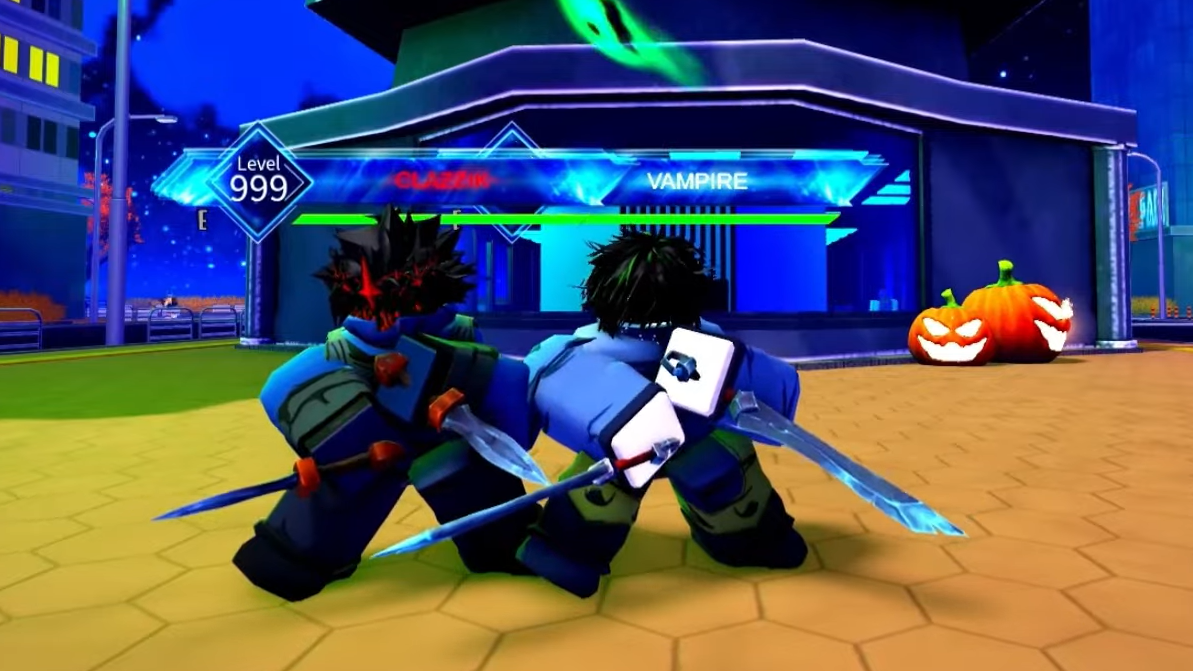
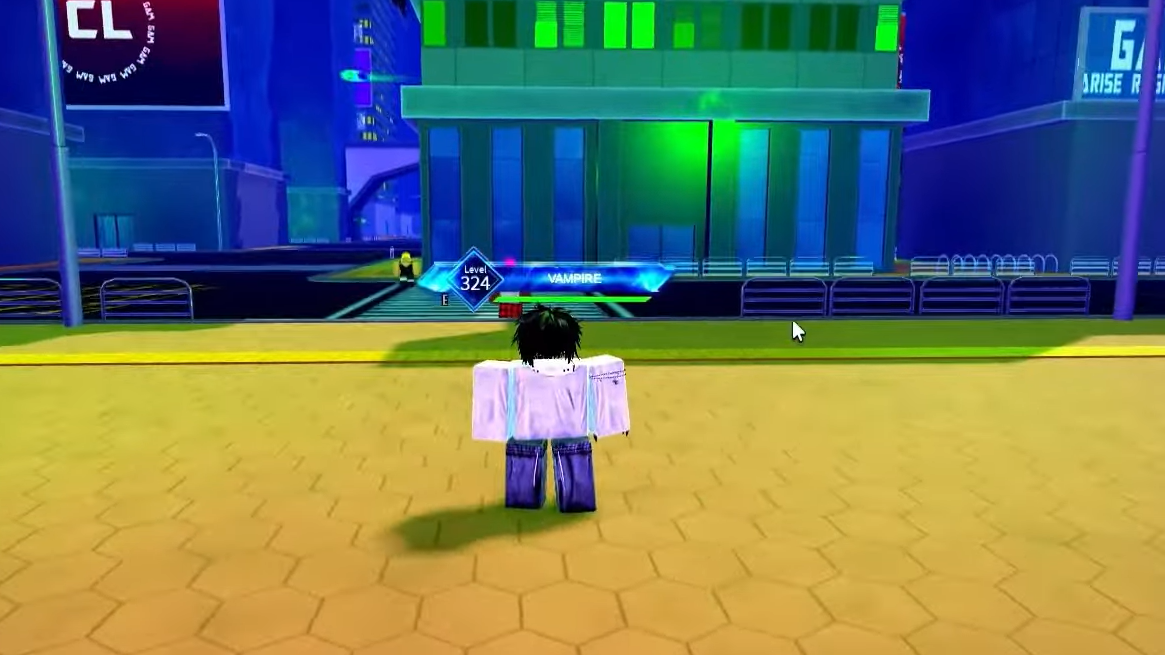
Dungeons sit at the center of progression in Arise Ragnarok Crossover. They show up on a strict timer, award large chunks of EXP and loot, and are the best way to gear up once you can reliably clear them.
Each dungeon appears through a portal somewhere in the city, announced with a server-wide message. That alert only tells you that a dungeon has spawned, not where the portal is, so knowing the fixed spawn spots and how each dungeon plays is a major advantage.
Dungeon spawn timer and basics
Dungeons are on a predictable schedule. There are four possible dungeon types, and every spawn has an equal chance to be any of the four.
| Dungeon rule | Details |
|---|---|
| Spawn frequency | Twice per hour, at XX:00 and XX:30 server time. |
| Lifetime | Each portal remains active for 15 minutes, then despawns. |
| Selection | One of the four dungeon types is chosen with equal probability at each spawn. |
| Entry modes | You can start a run Solo, join another raid party, or form your own raid party from the portal menu. |
| Core rewards | Every dungeon awards 5,000 EXP and 1–3 chests at the end. |
On top of the listed rewards, dungeon layouts include mineable rocks that drop Mana Crystals, which can then be sold for Gold at the Guild Shop.
All dungeon types, spawn locations, and rewards
Every dungeon uses a fixed portal spawn point in the city. Once you know these landmarks, you can run from one to the next as soon as a server message appears.
| Dungeon | Where the portal appears | Layout and enemies | Rewards |
|---|---|---|---|
| Infernal Castle Dungeon | Directly outside the Guild Building that contains the Guild Shop and Merging NPCs. | Single-room dungeon featuring the Cereberus boss. | 5,000 EXP, 1–3 chests. |
| Goblin Cave Dungeon | At the construction site in the south-west corner of the city. | 7 rooms total: 6 rooms of Goblin mobs and 1 dedicated boss room. | 5,000 EXP, 1–3 chests. |
| Subway Dungeon | By the stairs descending to the (blocked-off) subway station to the north-west of the Guild Building. | 11 rooms: 10 rooms of assorted insect-type enemies and 1 boss room. | 5,000 EXP, 1–3 chests. |
| Insect Dungeon | Under the road tunnel formed by a bridge linking two buildings at the north end of the map. From the subway stairs, follow the road north to reach the bridge. | Room count not officially listed. Enemies have high HP and are considered among the most dangerous. | 5,000 EXP, 1–3 chests. |
Every dungeon portal uses the same interaction flow: walk up, activate the prompt, then choose how you want to run it—solo, join, or host a party. If you are not already grouped, this is also where you can quickly pull in other nearby players.
Global dungeon spawn pattern around the city
While the dungeon type is chosen independently, dungeon portals do not appear at completely random spots. They cycle through a fixed route of specific locations around the city. Learning this circuit lets you move to the next likely spawn before the 00 or 30-minute mark hits.
The pattern uses 12 distinct positions, looping back to the start after the last one. It always progresses in the same order.
| Pattern index | Approximate position | How to recognize it |
|---|---|---|
| 1 | Near initial player spawn | Very close to the common starting area; the first portal spot most players discover. |
| 2 | Opposite side of spawn | Still near spawn, but mirrored across the central approach. |
| 3 | Under a structure before the bridge | Reached by heading back from spawn and turning right under an overhead structure, on a yellow-marked area. |
| 4 | Construction site (first pass) | On the recognizable construction grounds in the south-west. |
| 5 | Construction site (second pass) | Same construction location again, used back-to-back in the pattern. |
| 6 | Subway entrance | On the platform area near the subway stairs where a major fight happens in the source material. |
| 7 | Directly at player spawn | Appears right on top of the main spawn area; easiest to find if you simply reset. |
| 8 | Under the bridge tunnel | Under the same bridge structure mentioned earlier, this time actually beneath it. |
| 9 | Back behind the bridge area | A short walk back from the tunnel; tucked further behind the buildings. |
| 10 | Left turn from the ninth location | From the ninth spot, continue and then turn left into a nearby area. |
| 11 | Behind the tenth location | Reachable by hopping over nearby obstacles directly behind the tenth spot. |
| 12 | Outer edge of the map | At the far boundary of the city, a little further past an initial edge landmark. |
Once the twelfth position has been used, the pattern returns to the first. The dungeon type that appears at each position can change, but the physical portal locations repeat in this order.

Which dungeon to run at different power levels
All four dungeons offer the same base EXP and chest rewards, but their difficulty and time-to-clear differ a lot.
- Goblin Cave Dungeon is the easiest. Goblins have relatively low health, there are only seven rooms, and the damage checks are much more forgiving. This is the safest pick when you are still learning mechanics or running with weaker shadows.
- Subway Dungeon has 11 rooms packed with insect enemies. It takes longer but is manageable if you have solid AoE skills and crowd control, and it pairs well with Mana Crystal farming because of the long path.
- Infernal Castle Dungeon is short but punishing. Cerberus has a huge health pool and can delete under-geared players quickly, so you need a focused build and good dodging.
- Insect Dungeon is at the top end of difficulty. The enemies have very high HP across many rooms, which stresses both your damage output and survivability.
If you are choosing purely for safety and clear speed at lower levels, prioritize Goblin Cave whenever you see it. Once your damage and shadows scale up, Infernal Castle becomes an excellent fast-farm option as long as your group can handle Cerberus.
Recommended level and solo vs. party runs
Dungeons can be completed either solo or in a group. The game does not hard-lock entry behind any specific level, but soloing safely demands high stats and strong shadows.
For solo clears, a practical baseline is:
- Character level around 500 or higher.
- Multiple key skills unlocked for your class.
- A strong weapon appropriate to your build.
- At least five Shadows to support you with damage and tanking.
Below that level, expect frequent deaths if you attempt to solo, especially in the Insect Dungeon or Infernal Castle. Running in a raid party smooths out the difficulty curve, lets you push into harder dungeons earlier, and makes it easier to keep up with the 30-minute spawn cadence.

Using dungeons to farm Mana Crystals and gear
Dungeons are not just about EXP and end-chest jackpots; they are also the most reliable way to obtain Mana Crystals and upgrade your build.
- Mana Crystals: Mine the rocks that appear throughout dungeon rooms. Each rock can drop Mana Crystals, which you can then sell for 1 Gold each at the Guild Shop in the Guild Building.
- Chests: At the end of a successful dungeon, you receive 1–3 chests. These can contain armor, artifacts, or weapons, and they are one of the main paths to building out your gear set.
Since every dungeon gives the same EXP and chest count, the main differences are clear speed and how many mining nodes you can grab along the way. Longer dungeons like Subway and Insect offer more room for mining, while shorter ones like Infernal Castle are better when you want rapid EXP and chest cycles.
By tracking the half-hour spawn timer, learning the 12-spot portal pattern around the city, and understanding how each dungeon plays, you can chain runs with almost no downtime. Once your build is ready, living on that clock—00 and 30 minutes past the hour—becomes the fastest route to levels, Gold, and gear in Arise Ragnarok Crossover.