
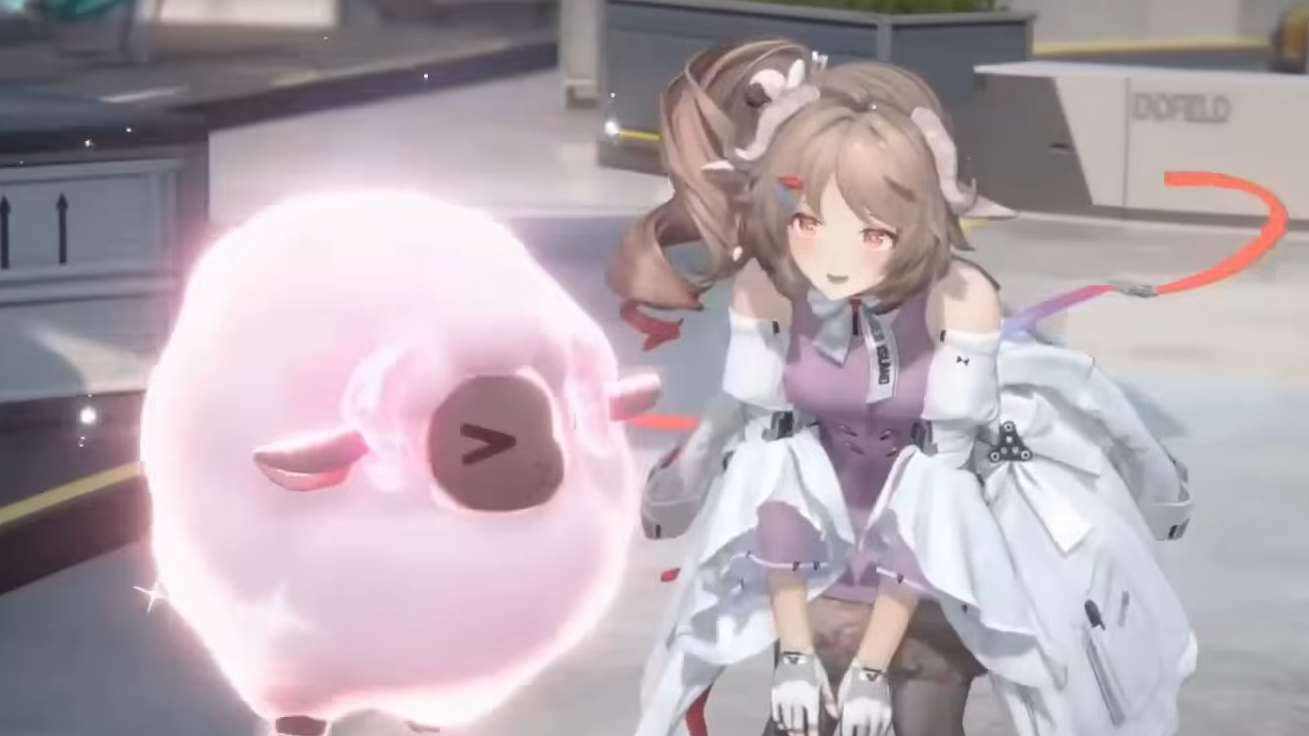
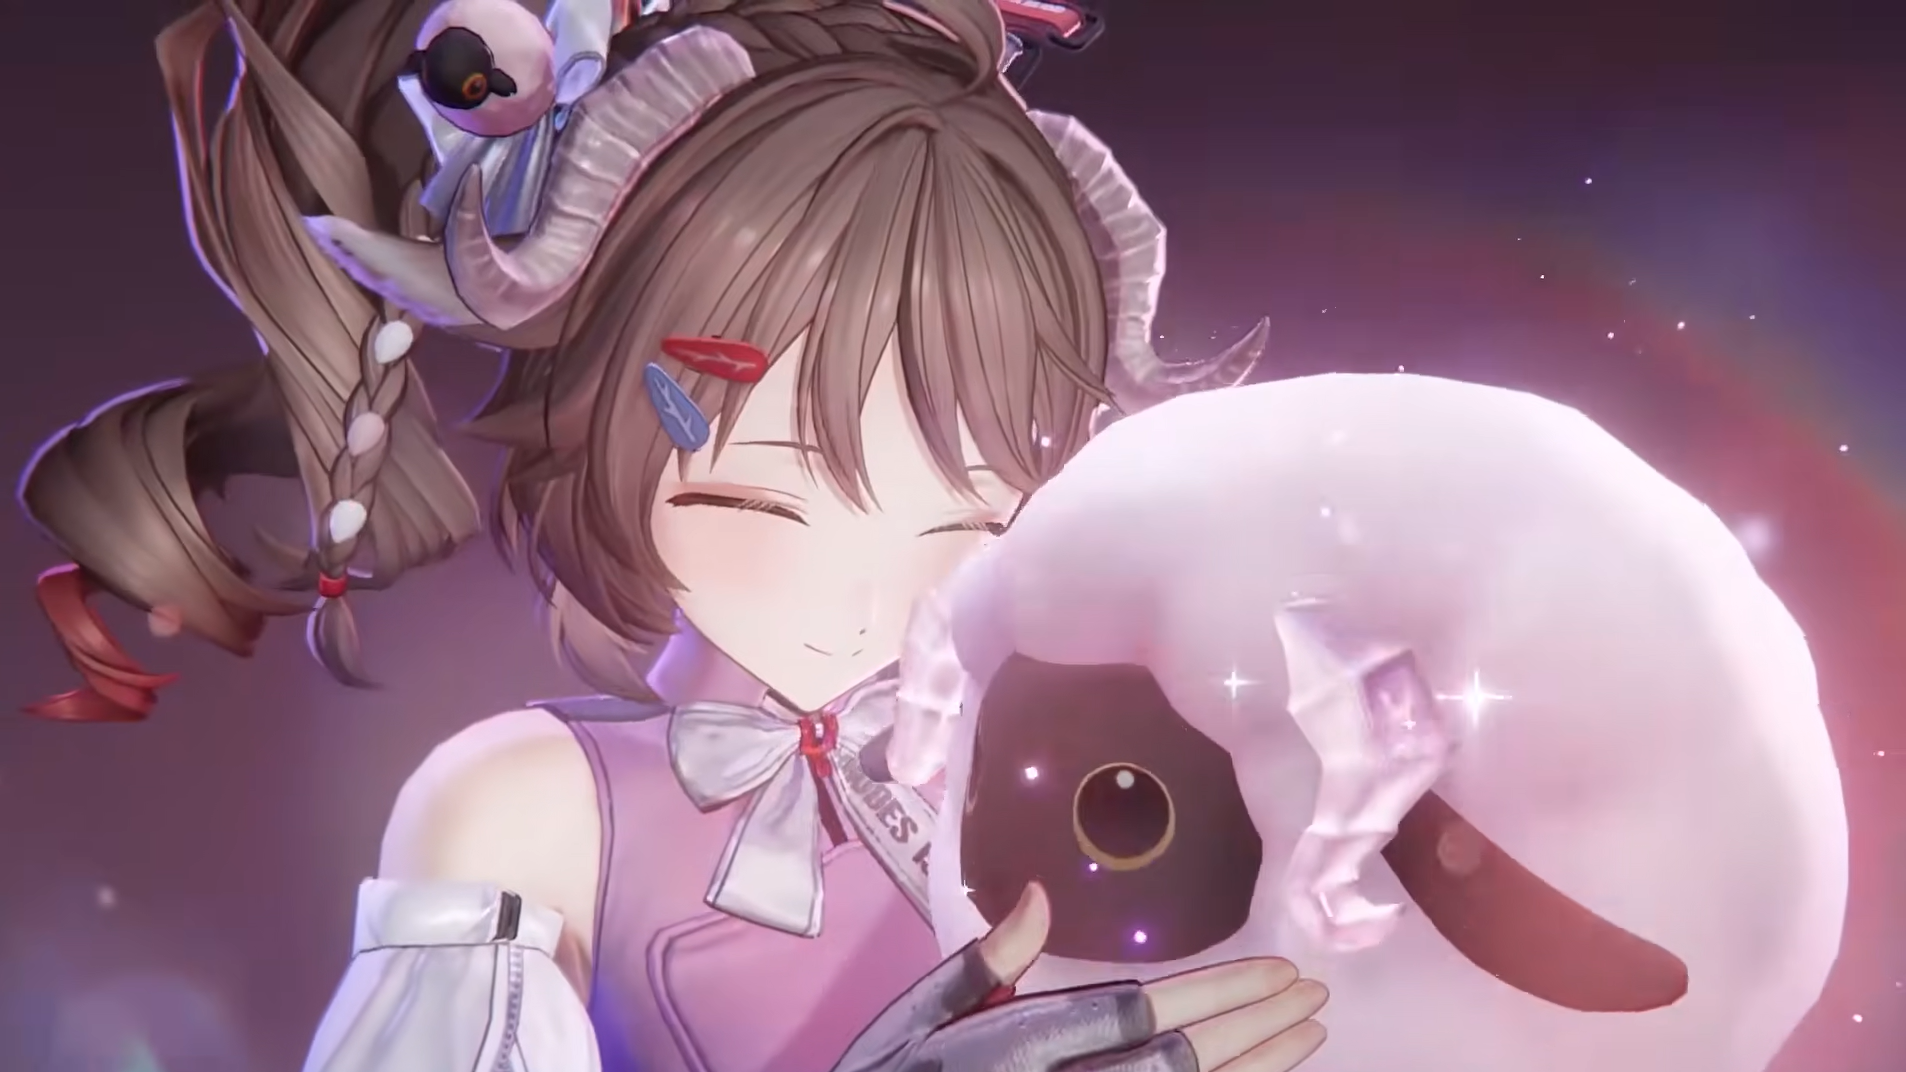
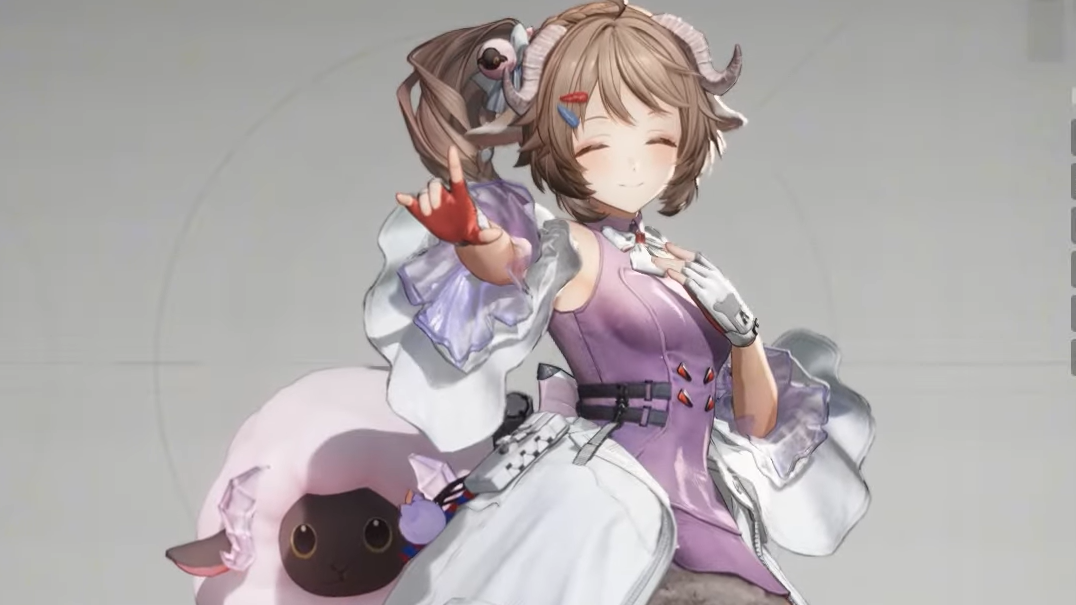
Ardelia is a 6★ Nature Supporter who uses an Arts Unit and turns Corrosion into both damage and sustain for the whole squad. She is designed to be a universal backline piece: she weakens targets for any type of DPS and drops on-field healing “shadows” that keep your driver and side units alive while they stay aggressive.
She is also widely accessible. One copy of Ardelia and her signature weapon, Dreams of the Starry Beach, are granted through the early Awakening Sign-In rewards, and she is a Standard Operator on permanent headhunting banners.
Ardelia’s role and stat priorities
Ardelia’s kit revolves around three ideas: applying Corrosion, consuming it with Dolly Rush, and scattering healing spots that allies can pick up. She increases both Physical and Arts damage against her target, so she fits as well into Physical-heavy lines as full Arts teams.
Her main attribute is Intellect, which increases her ATK the most, while Will acts as a secondary attribute. Her healing scales on Will and her damage on Intellect, so you choose which to emphasize depending on content:
- Focus on Will when survival is the problem, and you want stronger healing from her skills and talents.
- Lean into Intellect when healing feels comfortabl,e and you want more damage from Dolly Rush, Eruption Column, and Wooly Party.
Because her debuffs benefit every DPS in the team, Ardelia is rarely a bad pick. The only friction comes from how her Combo Skill triggers: she needs a Final Strike on an enemy without Vulnerable or Arts Infliction stacks, so some debuff-heavy allies can accidentally “turn off” her Corrosion setup if they tag enemies too early.
Ardelia skill priority and what each move does
Ardelia has four active combat skills plus two combat talents. Her power budget is heavily weighted into Dolly Rush and the way it interacts with Corrosion.
| Skill | Type | Key effect | Suggested priority |
|---|---|---|---|
| Rocky Whispers | Basic Attack | 4-hit Nature chain, Final Strike adds Stagger, dive attack in mid-air, Finisher near Staggered enemies that restores SP. | Last |
| Dolly Rush | Battle Skill | Rams a target for Nature damage; if the target has Corrosion, consumes it to apply Physical and Arts Susceptibility and creates healing shadows. | First |
| Eruption Column | Combo Skill | Triggered by a Final Strike on a clean target; sends a Volcanic Cloud that explodes, dealing Nature damage and forcibly applying temporary Corrosion. | Third |
| Wooly Party | Ultimate | Mobile channel that throws multiple Mr. Dolly copies, dealing area Nature damage with frequent hits and additional healing drops through talents. | Second |
Battle Skill > Ultimate > Combo Skill > Basic Attack is the recommended leveling order.
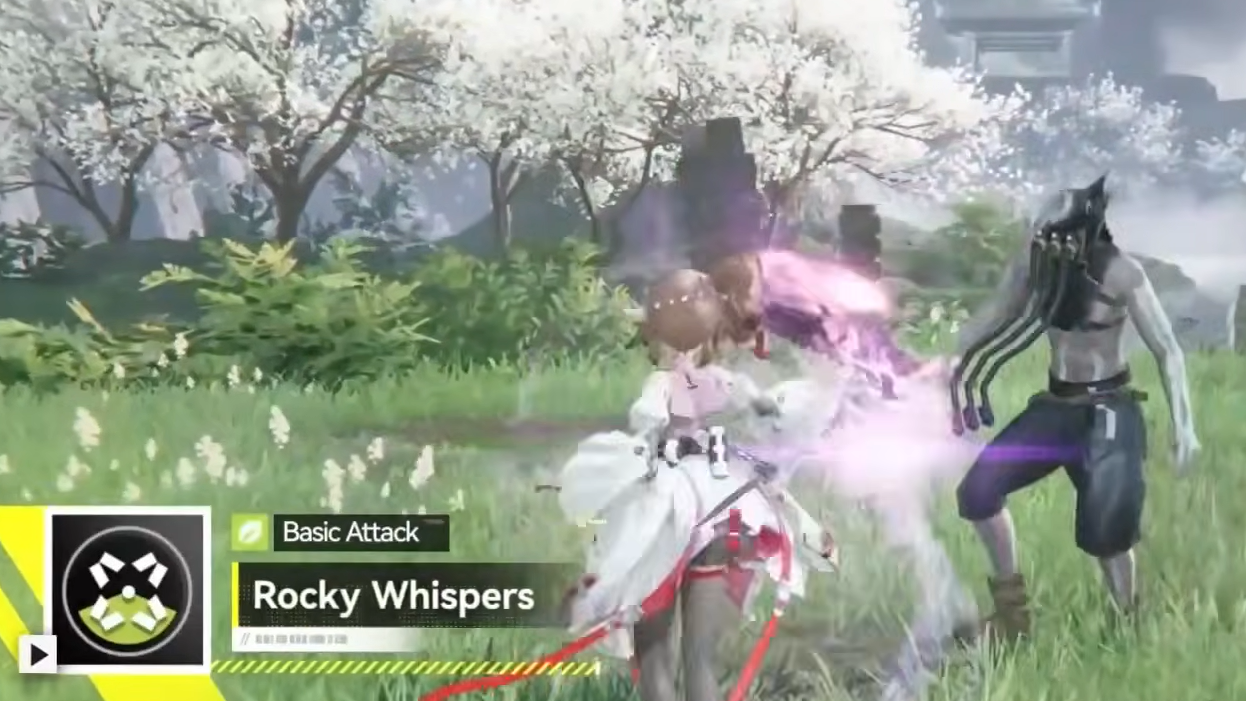
Rocky Whispers (Basic Attack)
Rocky Whispers is a 4-sequence Nature attack chain. On the controlled operator, the Final Strike adds Stagger, and using it near a Staggered enemy converts into a Finisher with a very high damage multiplier and some SP refund. A dive attack in mid-air lets Ardelia hit groups around her.
Despite the strong Finisher numbers, Ardelia is rarely used as a sustained on-field DPS, and her close-range strings can be risky in harder content. Raise this last to around Rank 6–9 once her more important tools are covered.
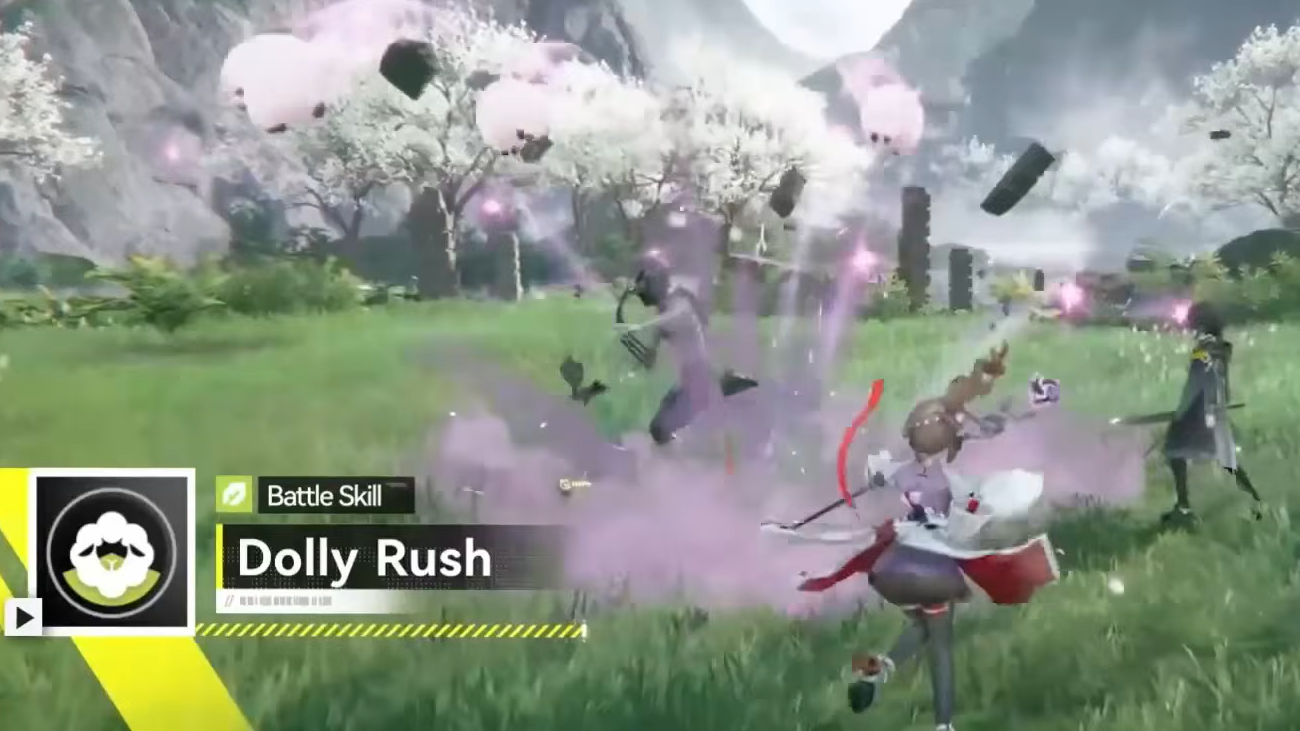
Dolly Rush (Battle Skill)
Dolly Rush is the core of Ardelia’s gameplay. She hops on Mr. Dolly and slams into a target, dealing Nature damage, applying Stagger, and, crucially, consuming Corrosion if it is present.
On hit against a Corroded enemy, Dolly Rush:
- Removes Corrosion and applies Physical Susceptibility and Arts Susceptibility for a long duration, significantly increasing all damage taken from both types.
- Generates Shadows of Mr. Dolly on the field, which act as healing pickups. When the controlled operator passes through a shadow, they are healed; with higher Potential and talent levels, the lowest-HP teammate can also be healed at the same time.
At Rank 1, Dolly Rush already has a solid damage multiplier, 10 Stagger, and a 15 percent Susceptibility value for 30 seconds, with a 100 SP cost. Investing ranks increases its damage, debuff value, and overall impact. This skill should be taken to high rank (9–12) as early as possible.
Eruption Column (Combo Skill)
Eruption Column is how Ardelia self-supplies Corrosion. When the controlled operator performs a Final Strike on an enemy that has no Vulnerable or Arts Infliction stacks, it triggers a homing Volcanic Cloud toward a target. The cloud deals Nature damage on contact, then explodes after a short delay, hitting nearby enemies again and forcibly applying temporary Corrosion.
At Rank 1, Eruption Column deals an initial hit plus an explosion with higher damage, 10 Stagger, a 7-second Corrode duration, and an 18-second cooldown. Higher ranks increase its damage and extend Corrosion duration. The trade-off is that the trigger condition is strict, so allies that automatically apply their own Vulnerable or Arts Infliction can accidentally stop Eruption Column from activating if they hit first.
Because the skill is mostly there to enable Dolly Rush rather than carry fights on its own, it sits behind Dolly Rush and Wooly Party in priority, but it is still worth leveling to Rank 6–9 for consistency.

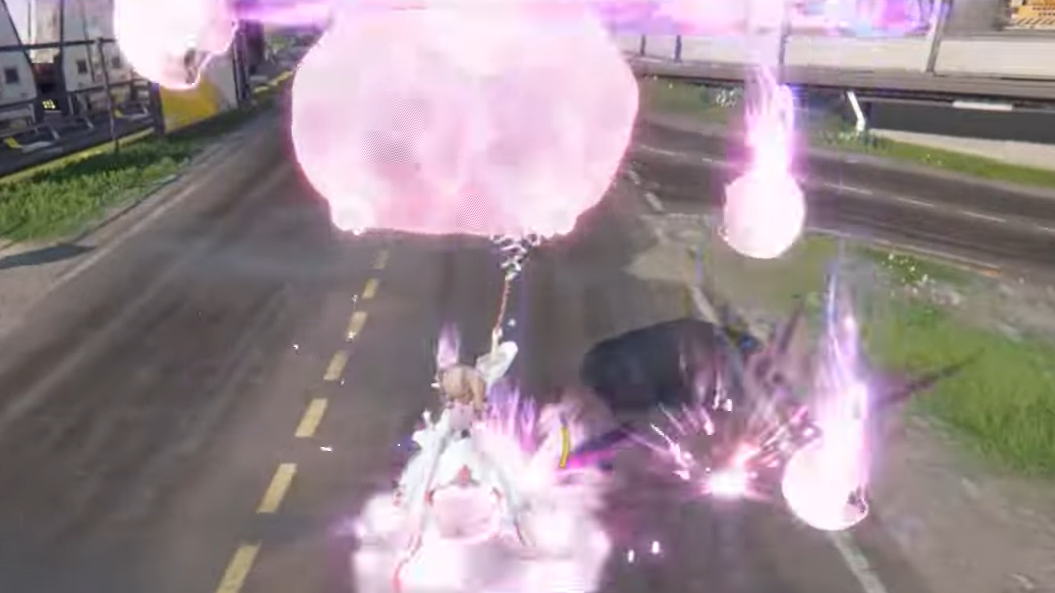
Wooly Party (Ultimate)
Wooly Party puts Ardelia into a mobile channel, tossing multiple copies of Mr. Dolly that land in random directions around her. Each copy deals Nature damage on contact, with an internal limit of one hit per enemy every 0.3 seconds. With her talents, Wooly Party also increases the number of healing shadows on the field, improving sustain during longer waves.
At Rank 1, Wooly Party has a moderate damage multiplier per hit, low Stagger per tick, a 3-second channel duration, 15-second cooldown, and a 90-cost energy requirement. Later Potential levels reduce its energy cost and increase its damage and healing-drop frequency.
Level Wooly Party right after Dolly Rush, especially if you rely on Ardelia for wave control and incidental healing in mob-heavy content.
Combat talents and when they matter
Ardelia’s combat talents unlock and scale with Promotions:
- Friendly Presence is her primary sustain talent. It allows healing when the controlled operator picks up a Dolly Shadow and, at higher tiers and Potentials, extends a portion of that healing to another ally with the lowest HP percentage.
- Mountainpeak Surfer, unlocked at Promotion II (E2), is a single-tier talent that comes fully enabled and supports her movement and skill usage in combat.
For Promotion II progression, unlock Mountainpeak Surfer as soon as it becomes available, then finish upgrading Friendly Presence through its three tiers. This sequence gives Ardelia her full movement and sustain kit earlier and improves the value of every Dolly Rush cast.
Best weapons for Ardelia
| Weapon | Rarity | Key effects | Use case |
|---|---|---|---|
| Dreams of the Starry Beach | 6✦ | Arts Unit with high base ATK. Increases a secondary attribute and Healing/Treatment effects. When the wielder consumes Corrosion, the target’s Arts damage taken increases significantly for 25 seconds. | Signature and best-in-slot; ideal in Arts-focused or mixed teams. |
| Chivalric Virtues | 6✦ | Arts Unit. Increases Treatment Efficiency. After the wielder provides HP Treatment with their own skill, all teammates gain an ATK buff for 15 seconds. | Alternative support option when you want more generic team ATK instead of extra Arts debuff. |
| Freedom to Proselytize | 5✦ | Arts Unit. When the wielder heals with their battle skill, the controlled operator is healed again by a flat value plus a Will scaling component, with a 15-second internal cooldown. | Budget choice for stabilizing a fragile on-field carry. |
| Oblivion | 6✦ | Alternative Arts Unit with stats and effects suitable for support casters. | Fallback when Dreams of the Starry Beach is unavailable. |
Dreams of the Starry Beach is the standout option. It increases a secondary attribute by 16 percent and, when Ardelia consumes Corrosion, adds an extra Arts damage taken debuff on the target for 25 seconds. Combined with Dolly Rush’s Physical and Arts Susceptibility, this creates a long, forgiving window where any Arts DPS can unload their rotation.
Chivalric Virtues shifts the focus from enemy debuff to ally buff, amplifying all outgoing damage after Ardelia heals. It fits well in Physical-oriented teams that still value her heals and Dolly Rush’s debuffs, but do not rely primarily on Arts.
Freedom to Proselytize and similar mid-rarity Arts Units help in early progression by adding extra healing to the driver, padding chip damage between waves, and giving more room for positional mistakes.
Best gear sets for Ardelia
Ardelia uses armor, gloves, and two kit slots. Two sets stand out for her role: Eternal Xiranite and LYNX.
Eternal Xiranite (offensive support setup)
| Piece | Slot |
|---|---|
| Eternal Xiranite Armor | Armor |
| Eternal Xiranite Gloves T1 or equivalent | Gloves |
| Eternal Xiranite Power Core T1 / Auxiliary Arm | Kit |
| One additional Xiranite kit or compatible support kit | Kit |
The three-piece Eternal Xiranite effect grants flat HP and, more importantly, increases teammates’ damage dealt after the wearer applies Susceptibility (among other debuff types). Ardelia applies Susceptibility every time she consumes Corrosion with Dolly Rush, so she can trigger this teamwide damage buff reliably on cooldown.
Eternal Xiranite therefore stacks several layers of amplification:
- Dolly Rush’s own Physical and Arts Susceptibility on the target.
- Dreams of the Starry Beach’s Arts damage taken boost after consuming Corrosion.
- The Eternal Xiranite set’s damage dealt increase for all allies.
This is the default choice when you are comfortable on healing and want faster clears or higher damage checks.
LYNX (defensive sustain setup)
| Piece | Slot |
|---|---|
| LYNX Cuirass | Armor |
| LYNX Gloves | Gloves |
| LYNX Slab or LYNX Aegis Injector | Kit |
| Second LYNX kit or Eternal Xiranite Power Core | Kit |
The LYNX gear line is built around Treatment Bonus and damage reduction for allies that receive treatment. Ardelia constantly drops healing shadows and triggers heals via Dolly Rush and Wooly Party, so teammates benefit from the damage reduction buff very frequently.
Use LYNX when:
- Team members are taking steady chip damage that threatens to snowball between waves.
- Content has high incoming burst, and you need their effective HP raised more than you need faster clears.
- You are still building weapons and cannot lean as hard into debuff-centric damage windows.
Swapping between Eternal Xiranite and LYNX lets Ardelia pivot between an offensive support and a more traditional healer depending on the stage’s demands.
Best Potentials for Ardelia
Ardelia works fully at Potential 0. Her base kit already allows her to consume Corrosion for double Susceptibility and generate Shadows of Mr. Dolly for steady healing. Potentials add quality-of-life and throughput rather than redefining her role, so vertical investment should be a low priority compared to building more operators.
Key breakpoints:
- P1 (Dolly Paradise) strengthens the Susceptibility effect applied when consuming Corrosion, raising team damage during her windows.
- P2 (Game Rewards) upgrades Friendly Presence so that when the on-field operator collects a Dolly Shadow, another ally with the lowest HP percentage is also healed for half the value. This dramatically improves teamwide stabilization and is often the best-value dupe.
- P3 and P4 improve Wooly Party by increasing its damage and healing drop chance and reducing its energy cost, which concentrates her sustain and AoE pressure.
- P5 (Volcanic Steam) upgrades Eruption Column by reducing its cooldown, increasing damage, and extending Corrosion duration. This tightens her Corrosion–Dolly Rush loop and keeps debuff windows up more often.
P2 and P5 stand out as the largest practical jumps. Anything beyond that is a nice bonus, but not necessary for standard content.
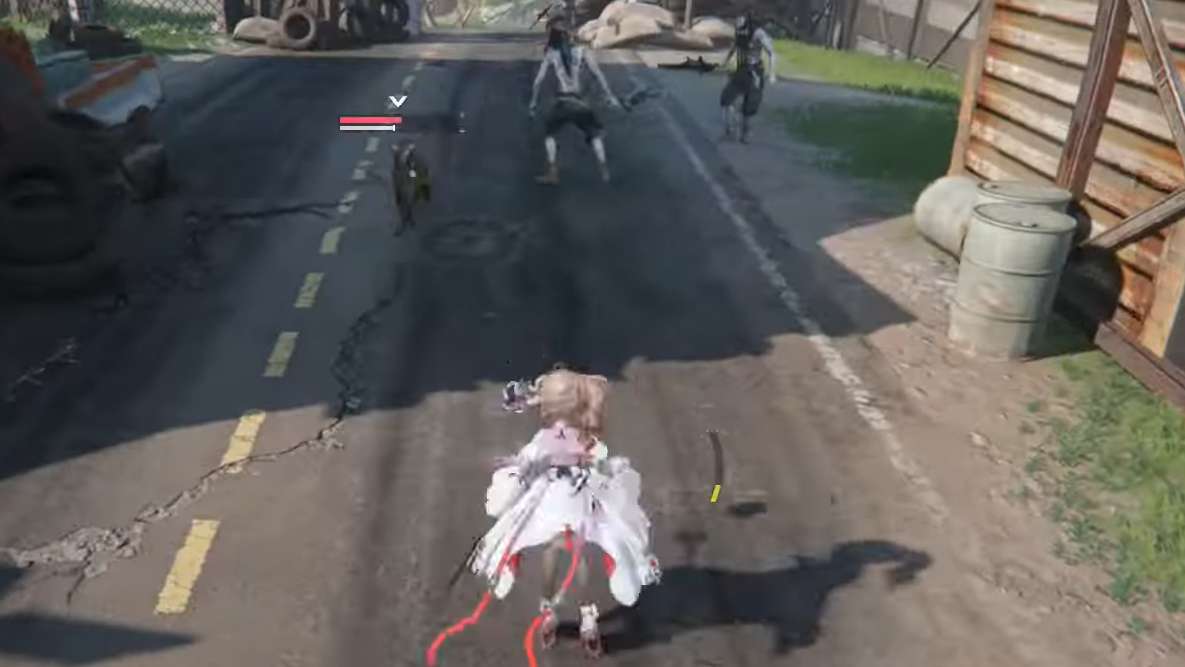
How to play Ardelia in combat
Ardelia’s strength comes from sequencing, not raw numbers. The basic loop looks like this:
Step 1: Start a wave with your main DPS or a safe attacker on the field. Use basic attacks to build SP and look for a Final Strike on an enemy with no Vulnerable or Arts Infliction stacks. This sets up the condition for Eruption Column.
Step 2: When the Final Strike lands on a clean target, Eruption Column triggers, sending a Volcanic Cloud that explodes and applies Corrosion to enemies in the area. Let the cloud complete its animation so Corrosion is fully applied.
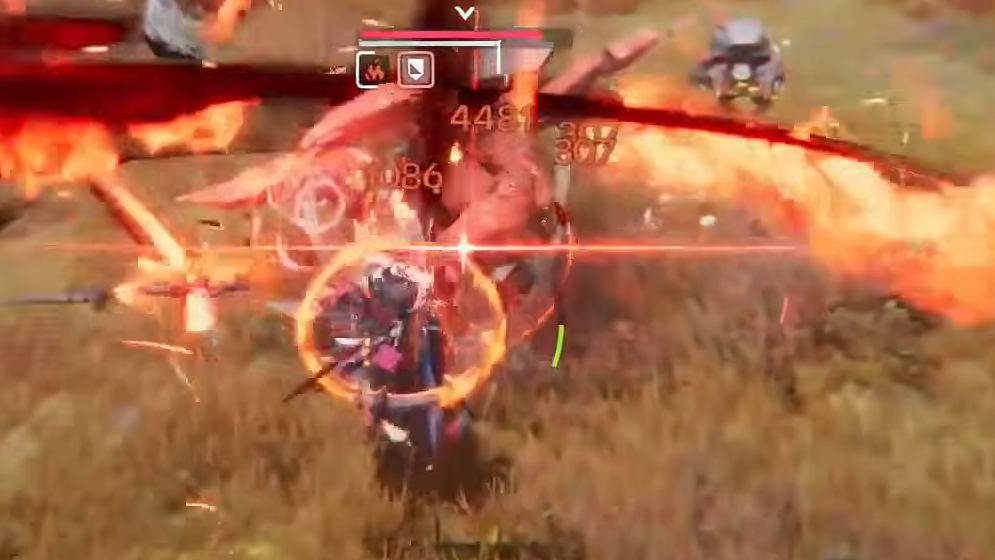
Step 3: Swap or reposition as needed, then cast Dolly Rush into a Corroded target. This consumes Corrosion, applies Physical and Arts Susceptibility, and drops multiple healing shadows. This is your main damage window.
Step 4: Run your carry through a convenient Dolly Shadow to top up HP. If Ardelia has P2 and a high-tier Friendly Presence, this will also heal the lowest-HP ally, smoothing out damage on off-field units.
Step 5: During larger waves or when multiple lanes are active, use Wooly Party on clusters of enemies to maintain pressure and spawn more healing spots. Continue to look for clean Final Strikes to retrigger Eruption Column as soon as it comes off cooldown.
Best teams with Ardelia
Ardelia slots into many compositions. Her debuffs work for both Physical and Arts damage, and her sustain is independent of element. Several patterns stand out.
Heat Arts team (Laevatain core)
| Slot | Operator | Role |
|---|---|---|
| Main DPS | Laevatain | Heat Arts carry and primary on-field driver |
| Sub-DPS | Wulfgard | Additional damage and utility |
| Flex | Akekuri or Antal | Extra coverage, CC, or reaction setup |
| Support | Ardelia | Debuff support, Corrosion engine, sustain |
This layout leans fully into Arts damage. Ardelia’s Eruption Column supplies Corrosion, which can trigger Laevatain’s own Combo Skill and resource generation, while Dreams of the Starry Beach amplifies Arts damage taken during Dolly Rush windows. Eternal Xiranite is a natural fit here.
Free-core Physical team
| Slot | Operator | Role |
|---|---|---|
| Main DPS | Chen Qianyu or other Physical carry | Primary Physical damage dealer |
| Driver / Utility | Endministrator | Flexible on-field driver and control |
| Offlane | Pogranichnik or Ember | Additional Physical pressure |
| Support | Ardelia | Double Susceptibility and healing |
Here, Ardelia still consumes Corrosion to apply Physical and Arts Susceptibility, greatly increasing the Physical team’s output even though they do not take as much advantage of Arts-only bonuses. Chivalric Virtues or a similar ATK-buffing Arts Unit becomes more appealing in this layout.
Early-game Electric team
| Slot | Operator | Role |
|---|---|---|
| Driver | Endministrator | On-field Electric DPS and control |
| Sub-DPS | Perlica | Additional Electric damage |
| Flex | Arclight | Shielding or extra reactions |
| Support | Ardelia | Debuffs and sustainability for a squishier roster |
This setup uses mostly accessible operators and lets Ardelia smooth progression for players still filling their roster. LYNX gear can be very valuable here, as it keeps the team alive with less investment in individual defensive stats.
Cryo and mixed-element teams
| Slot | Operator | Role |
|---|---|---|
| Main DPS | Yvonne | Cryo-focused damage and control |
| Support | Xaihi or other enabler | Utility and reaction support |
| Sub-DPS | Akekuri | Combustion/Corrosion and reaction synergies |
| Support/Heal | Ardelia | Universal debuff and healing backbone |
In Cryo and mixed-element squads, Ardelia’s job is the same: provide consistent Corrosion through Eruption Column, convert it with Dolly Rush, and keep everyone standing. Her debuffs help all elements equally, which simplifies team-building around reaction-heavy lineups.
Ardelia is built to stay relevant as your box grows. Upgrade Dolly Rush first, pair it with Dreams of the Starry Beach and Eternal Xiranite when damage is the bottleneck, or swap to LYNX and more Will-focused stat lines when survival becomes the main concern. As long as your team leaves room for her Combo trigger to work, she will quietly keep damage high and HP bars stable in almost any composition.