
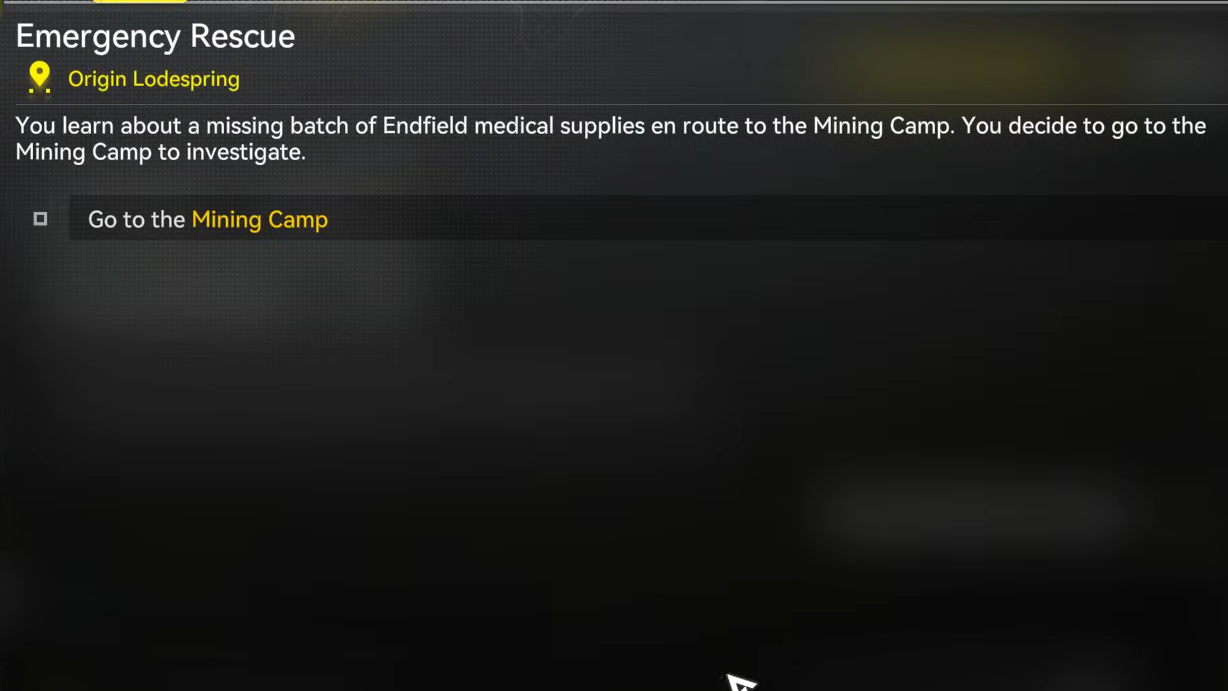
Emergency Rescue is a two-part Exploration Mission in Arknights: Endfield 1.0, set in the Origin Lodespring sub-region of Valley IV. The quest revolves around a batch of missing medical supplies, a kidnapped UWST crew member named Molly, and a group of hostile Landbreakers occupying a meteorological station. Completing both halves nets you T-Creds, Protoprism, Oroberyl, Intermediate Combat Records, Arms INSP Kits, and Operational EXP.
Quick answer: Open the Valley IV Insta-Chat Group and read the message about missing medical supplies — that unlocks Part 1. Part 2 starts automatically once you finish Part 1.
How to unlock Emergency Rescue
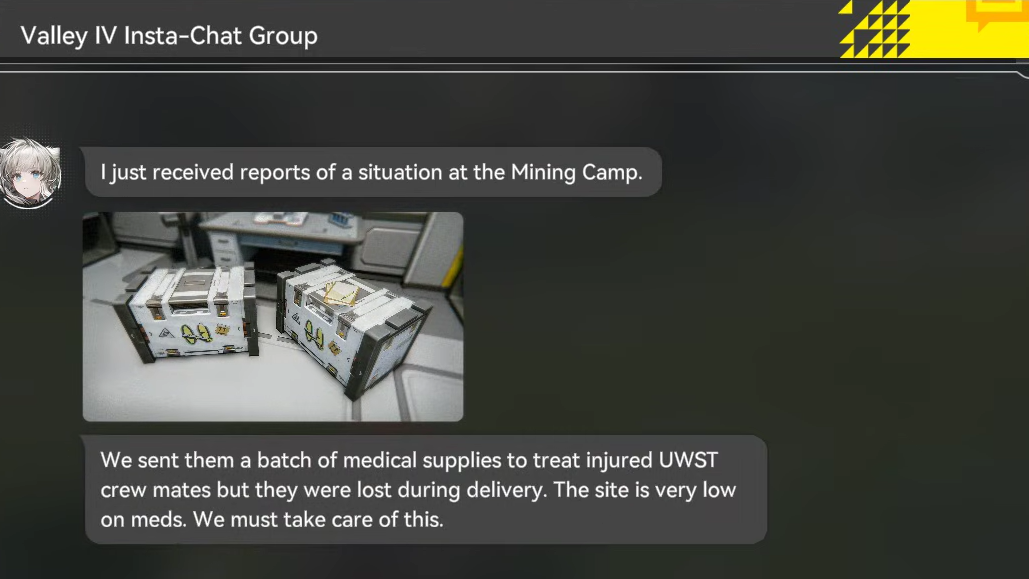
Part 1 becomes available after you read a specific message inside the Valley IV Insta-Chat Group. The message concerns a batch of medical supplies that went missing during delivery. You do not need to reach any particular main story checkpoint beyond having access to Origin Lodespring, but the Insta-Chat message must be opened before the quest marker appears on your map.
Part 2 unlocks immediately after you complete Part 1. There is no separate trigger — the quest transitions seamlessly as you approach the abandoned sewers near the Landbreaker-held area.
Emergency Rescue Part 1 walkthrough
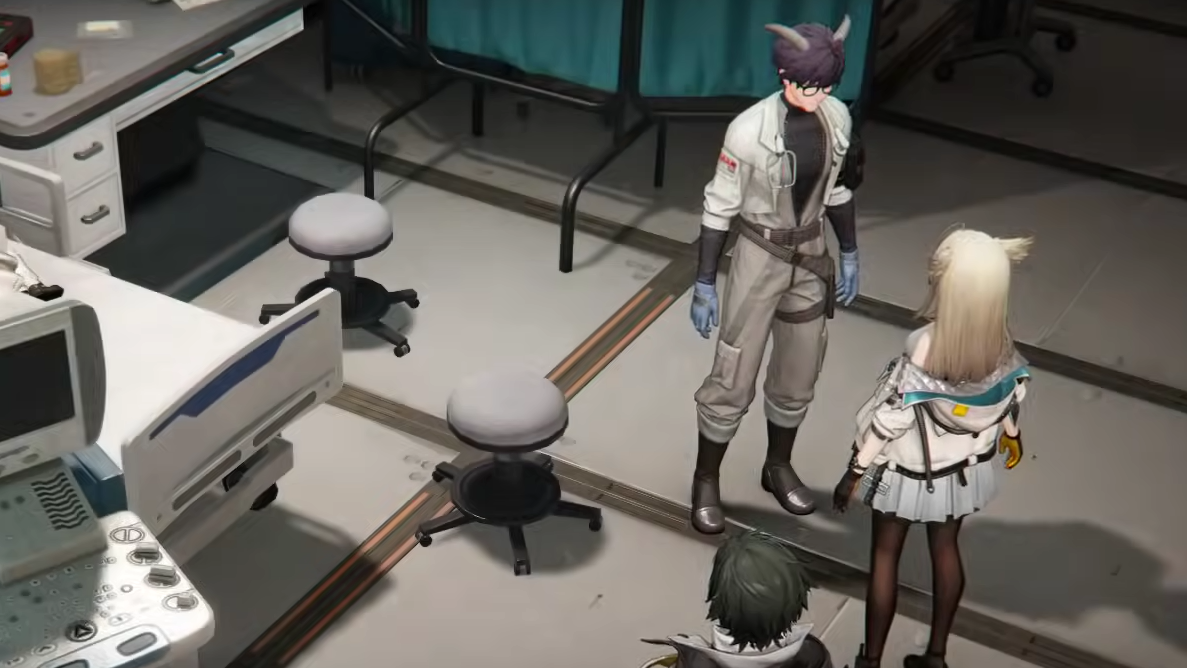
Step 1: Travel to the Mining Camp in Origin Lodespring and speak with Medical Officer Yue. During the conversation, a young girl named Lilica collapses and you help carry her inside. Perlica discovers an ID card belonging to someone named Molly.
Step 2: While Fiona runs a background check on Molly, search the area near the entrance of the emergency room. Pick up two interactable items: Neatly Written Work Notes and Neatly Written Investigation Notes. Both are close together, so check both sides of the doorway.
Step 3: Walk out of the room with Perlica. Fiona calls in with news that she has intercepted a distress signal from UWST crew members located to the west.
Step 4: Leave the medical facility and head west toward the distress call marker. You'll find the UWST crew mates being held by Landbreakers.
Step 5: Defeat the Landbreakers in combat. After the fight, the freed crew explains that Molly was taken and offers to lead you to where she was last seen.
Step 6: Follow the UWST crew mate along the path. Fiona identifies an abandoned sewer tunnel that can serve as a covert route into the Landbreaker-controlled zone. This ends Part 1 and immediately begins Part 2.

Emergency Rescue Part 2 walkthrough
Step 1: Locate the entrance to the abandoned sewers. Head to the right of the main entrance of the area and follow the path downhill until you spot the sewer opening.
Step 2: Move through the sewers. You'll encounter a Blight core blocking your path — destroy it by attacking it to clear the way. Once you exit the tunnel, climb the nearest staircase to reach the meteorological station above.

Step 3: Enter the building. A cutscene shows two Landbreakers confronting Molly, who is demanding the return of the stolen medicine. Plan your approach during the dialogue.
Step 4: Fight and defeat the Landbreakers inside the station. Immediately after the battle, an explosion goes off, and you wake up in a different section of the building, separated from the exit.

How to find a way out of the Blight-filled room
After the explosion, the room is choked with Blight growths that block every doorway. You need to destroy two Blight cores in sequence and then use a control panel to open the exit.
Step 1: Turn left from where you regain control. The first Blight core is nearby. Attack and destroy it to clear a path leading deeper into the room toward the second core.
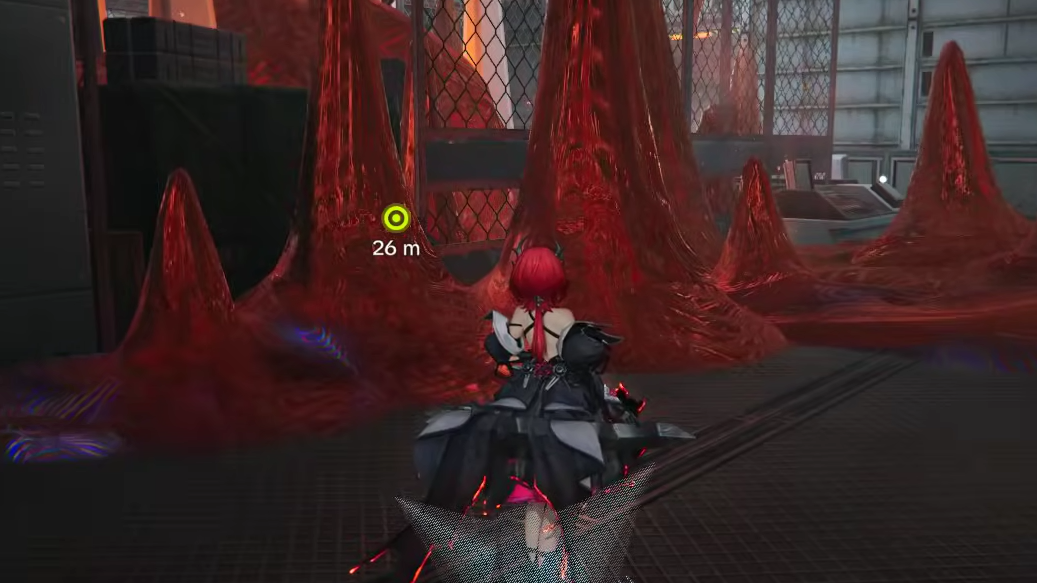
Step 2: Follow the newly opened path and destroy the second Blight core. This removes enough Blight to reveal a control panel on the wall.
Step 3: Interact with the control panel to open the door. Before you can leave, you'll see that the Landbreakers have already smashed the medical supply crates in the adjacent area.

Defeat the Landbreaker Chief
Exit the room and confront the Landbreakers who destroyed the supplies. The fight includes a Landbreaker Chief along with several regular Landbreaker enemies. Focus on the Chief first, as the regular enemies are less dangerous on their own. After the battle, Perlica inspects the wreckage and confirms that some of the medical supplies are still usable.

Deliver the supplies and wrap up the quest
Step 1: Return to the Mining Camp's medical facility and hand the remaining supplies to Medical Officer Yue so the patients can be treated.
Step 2: Head east of the Mining Camp to find Molly. She expresses guilt over putting the crew in danger, but the conversation resolves on a positive note. Lilica also appears to thank you for bringing Molly back safely. This completes Emergency Rescue.

Emergency Rescue rewards
Because the mission is split into two parts, you receive a reward package for each half. The combined totals across both parts are listed below, along with 300 Operational EXP per part (600 total).
| Reward | Total quantity |
|---|---|
| T-Creds | 5,050 |
| Protoprism | 8 |
| Oroberyl | 75 |
| Intermediate Combat Record | 14 |
| Arms INSP Kit | 11 |
| Operational EXP | 600 (300 per part) |
Emergency Rescue is one of the longer Exploration Missions in Valley IV, but none of its combat encounters are particularly demanding compared to late-game content. The trickiest moment is the Blight room puzzle after the explosion — if you destroy the two cores in order and use the control panel, you'll be through it in under a minute. The rewards, especially the Protoprism and Oroberyl, make it well worth the detour while you're working through Origin Lodespring.