
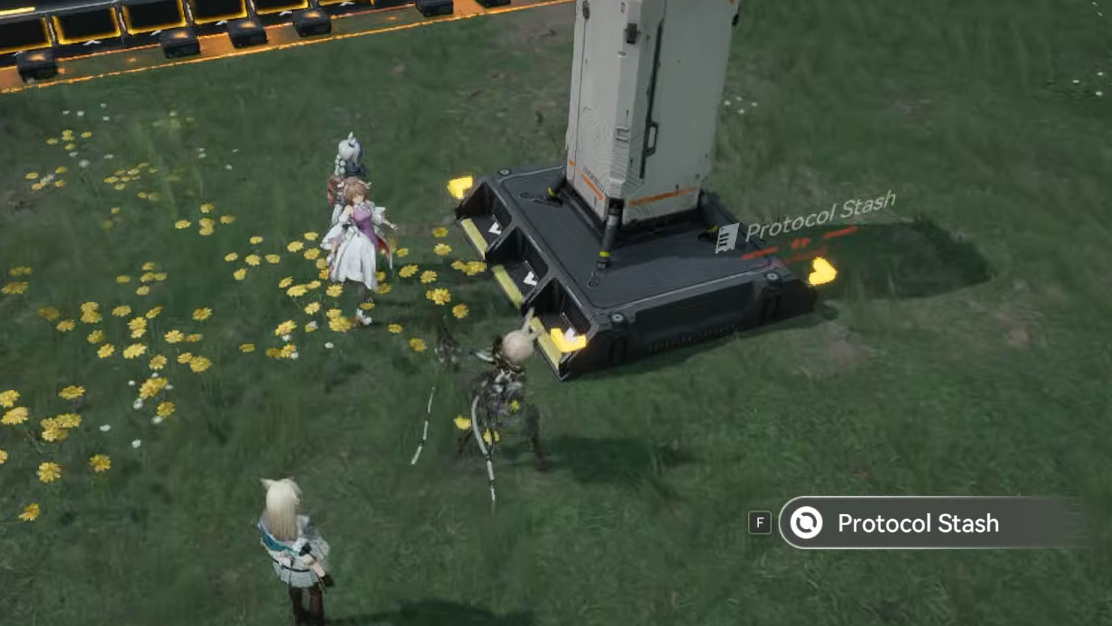
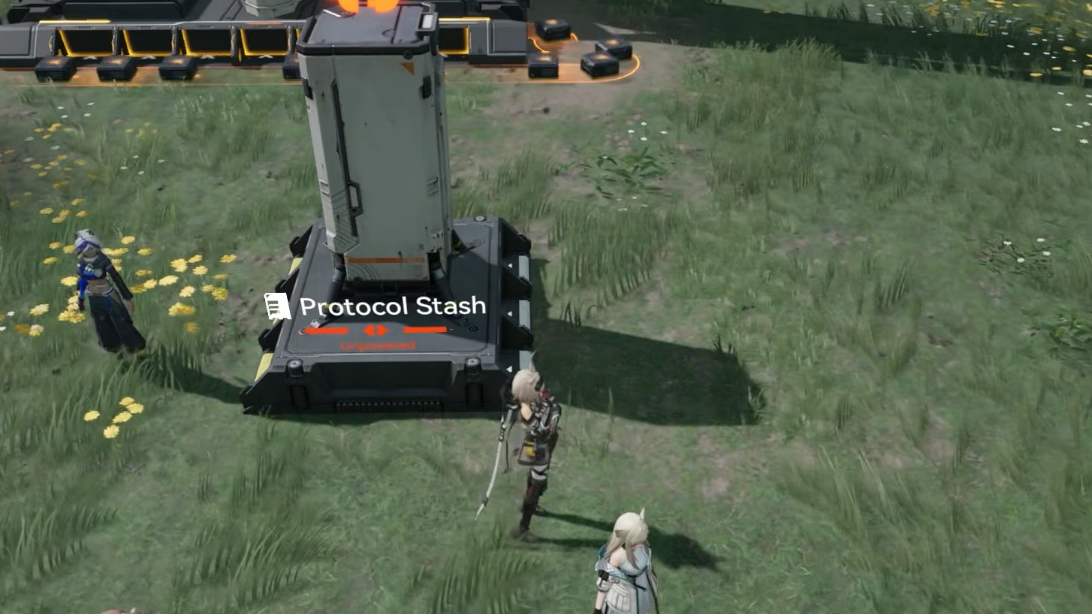
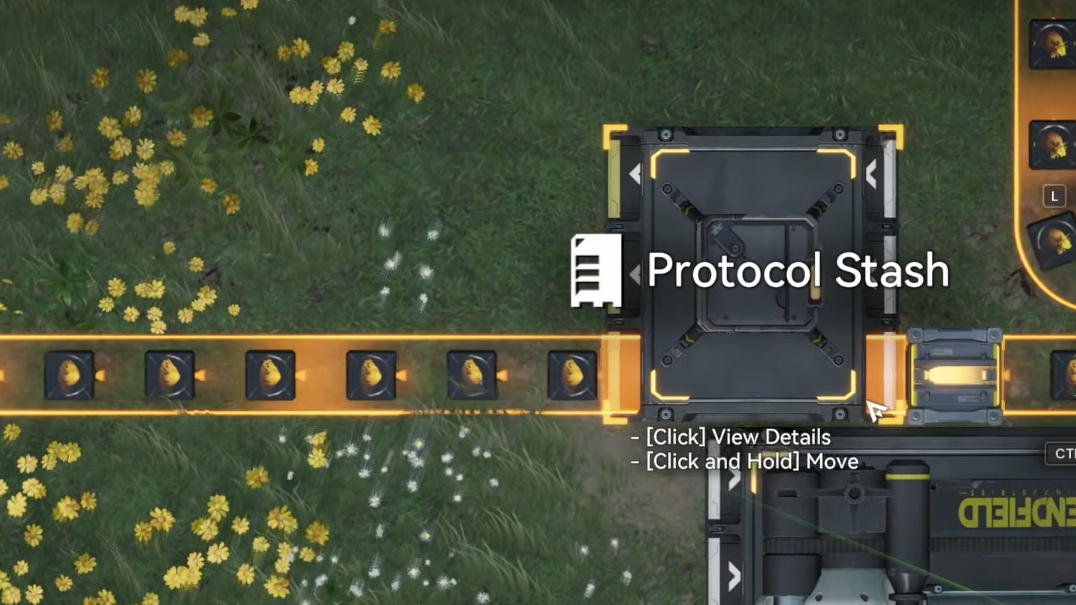
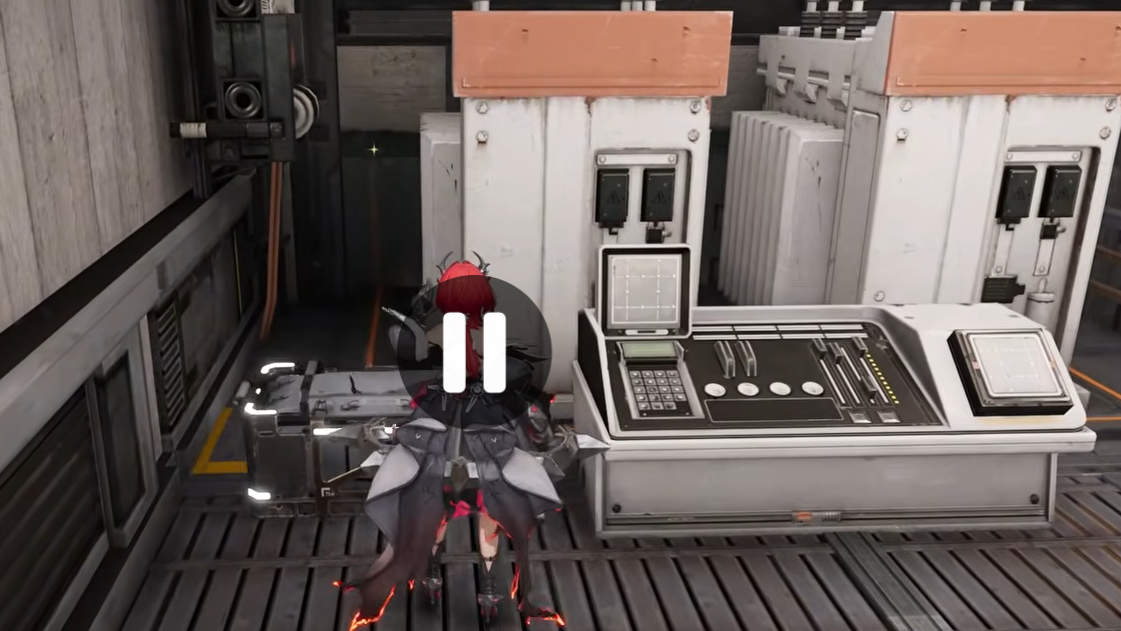
The Protocol Stash in Arknights: Endfield is a 2×2 factory building that wirelessly transfers items from your production lines into your base depot — no depot bus slot required. At first glance, it seems like a minor convenience, but it fundamentally changes how you design factories by freeing up precious output ports on the depot bus for unloaders instead.
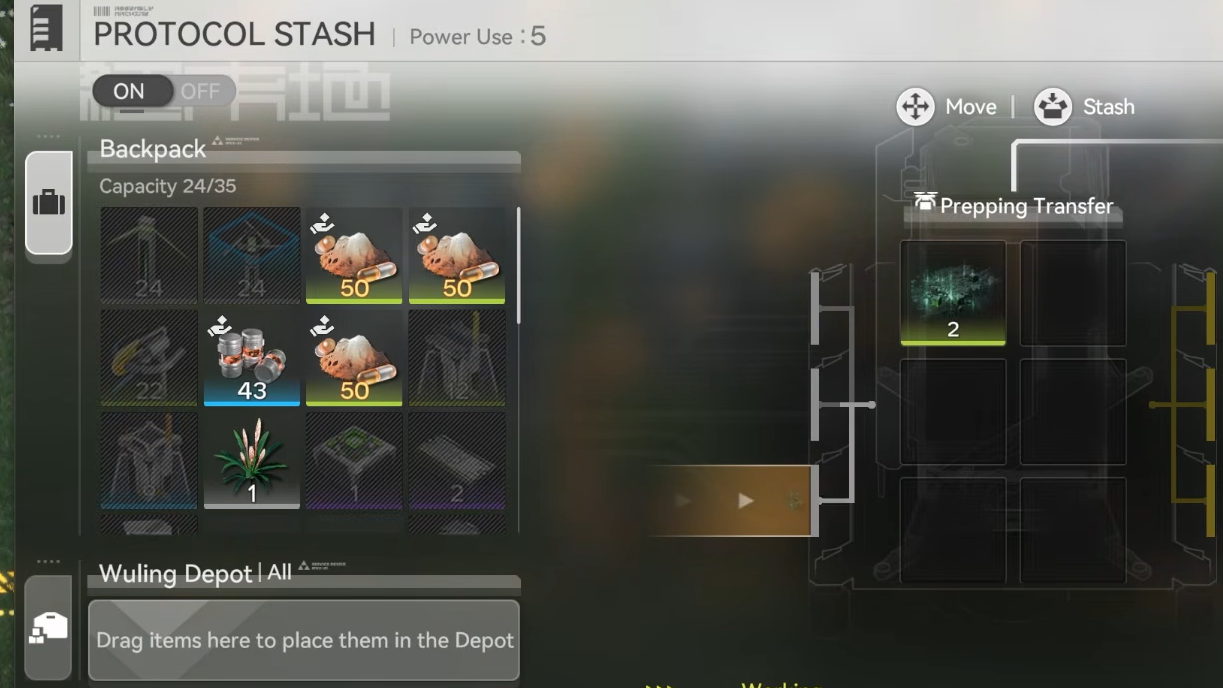
Quick answer: Place a Protocol Stash anywhere in your outpost, connect belts to its input ports, and it will send finished goods directly to your depot without occupying a depot bus slot. It costs only 5 power to run and can also function as a splitter, merger, load balancer, and overflow buffer.
Protocol Stash vs. Depot Loader
Factory throughput in Endfield is hard-capped by how many output ports (unloaders) you can attach to the depot bus. Every depot loader you place on the bus consumes a slot that could otherwise be an unloader bringing raw materials into your factory. The Protocol Stash sidesteps this entirely because it teleports items to the depot independently of the bus.
| Feature | Depot Loader | Protocol Stash |
|---|---|---|
| Footprint | 3×1 | 2×2 |
| Uses depot bus slot | Yes | No |
| Power cost | 0 (bus is power-free) | 5 |
| Placement | Must attach to bus wall | Anywhere in the outpost |
| Impact on throughput ceiling | Reduces available unloader slots | None |
The 5-power draw is negligible. A single optimized purple battery production line generates one battery every 10 seconds, and each thermal bank consumes one battery every 40 seconds. Four dedicated lines can permanently sustain four thermal banks, producing far more energy than a handful of Protocol Stashes will ever need.
Using the Protocol Stash as a Splitter, Merger, and Load Balancer
Beyond depot loading, the Protocol Stash doubles as a faster and more flexible alternative to standard mergers and splitters. Because it has multiple input and output ports, you can feed two belt lines in and split them across three outputs evenly — something that would require a messy chain of splitters and mergers otherwise.
When all output belts are flowing, items pass straight through without being sent to the depot. The stash only diverts items into storage when a downstream belt backs up. This makes it an automatic overflow buffer: if one production chain fills up, excess items get skimmed off and deposited rather than clogging your entire line.
It also works as a load balancer. When one output line is consuming items faster than another, the stash redistributes items to keep all outputs fed as evenly as possible. The practical benefit right now is limited given current belt speeds (0.5 items per second), but the flexibility is there for more complex layouts.
The Single-Item-Type Rule
The biggest pitfall with Protocol Stashes is mixing multiple item types in one unit. If you funnel two different materials into the same stash and one of them hits its depot storage cap, that material fills the stash's internal buffer and blocks everything else from passing through. The result can be catastrophic — entire production chains grind to a halt, potentially killing power generation and shutting down your outpost overnight.
If you absolutely must route multiple items through a single stash, attach an item filter to the output port. This prevents one overflowing material from blocking the others, though dedicating one stash per material type is the safer and simpler approach.
Storage Mode and Manual Feeding
The Protocol Stash has a toggleable mode: "belt-free" and "storage." In belt-free mode, items flow through, and excess goes to the depot. In storage mode, items placed inside stay put and can be output onto belts via the stash's output ports.
This makes the stash a useful manual feeder. If you need a small batch of a specific component — say, gear crafting materials — you can drop items into a stash set to storage mode, connect its output to a processing building, and let it run without tying up an unloader slot. It is not fully automated (you have to manually deposit the materials), but it is a clean solution for one-off production jobs in a corner of your outpost.
You can also leave a stash unpowered. Without power, it acts as a simple holding buffer on the belt. Pair it with an item control port set to a maximum quantity, and you have a way to stockpile a precise number of items at a specific point in your production chain.
Edge Cases and Known Quirks
A timing quirk exists where an item entering the stash on the exact same game tick that the stash attempts to send to the depot can result in that item being routed to the depot unexpectedly, even if the output belt has room. This is a rare edge case, but it can cause minor inconsistencies in tightly tuned setups.
The stash currently lacks overflow protection — there is no auto-delete function when your base storage is completely full. If your depot hits capacity for a given material, the stash's internal buffer fills up and eventually blocks the belt. Monitoring your depot storage levels or leaving headroom is the only workaround for now.
Protocol Crates in the Open World
Separate from the factory-side Protocol Stash, Arknights: Endfield also features collectible Protocol Crates (sometimes called Protocol Dataloggers) scattered across the open world. These are exploration pickups found in every major region, including the Hub and Wuling City. Collecting all of them in a given area contributes to 100% exploration completion for that zone.
If you have already gathered every Protocol Crate but still need to complete the associated challenge tracker, other tasks like Umbral Monument challenges can fill the remaining progress. The tracker counts multiple types of exploration activities, so you are not locked out if crates alone don't finish it.
The Protocol Stash quietly solves several of Endfield's most frustrating factory constraints. It preserves your depot bus slots for inputs, handles overflow gracefully, and even substitutes for mergers and splitters in tight layouts. The only real discipline it demands is keeping one item type per unit — a small price for the throughput ceiling it unlocks.