
The “I See You” quest in Avatar: Frontiers of Pandora – From The Ashes turns the Ravines into a sniper-dominated kill zone. Your goal is to cross an exposed battlefield, navigate a mined tunnel system, and use demolition charges to destroy Zari’s vantage point on a massive bucket wheel excavator.
Quest start and reaching BWE Mine Alpha
Step 1: After finishing the “Family Ties” mission, follow the yellow objective marker deeper into the Ravines until you reach BWE Mine Alpha. Move directly toward the marker rather than wandering off, as the quest flow is tightly scripted.
Step 2: Approach the mine entrance area. A cutscene triggers automatically, showing Na’vi forces clashing with RDA units while Zari sets up as an overwatch sniper. When control returns, you are already under threat from her rifle.

Crossing the sniper kill zone
Zari watches your whole approach. Treat any open ground as lethal and focus on short, safe movements between cover.
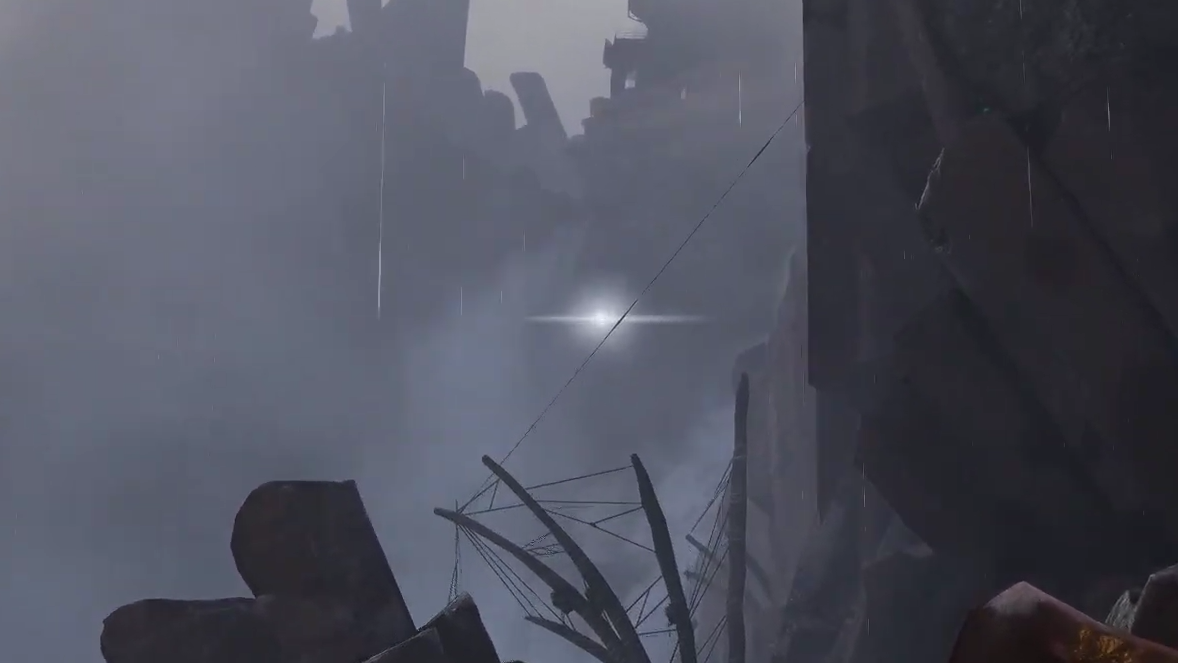
Step 1: Look toward the distant machinery to spot Zari’s scope glint. This white flash shows the general direction of her nest and confirms she has sight lines on your current position.
Step 2: Push toward the new yellow marker using rocks, wreckage, and environmental cover. Stay crouched whenever you step out of one piece of cover and into another to minimize exposure to her shots.
Step 3: Angle to the right side of the combat zone where the objective marker points to the mine entrance. Resist the urge to fight every RDA unit; the quest is tuned around closing distance with the sniper, not clearing the battlefield.
Entering the mine and surviving the collapse
The route to Zari takes you through a narrow path that literally drops out from under you. The sequence is linear but easy to fumble if you rush.
Step 1: Reach the highlighted mine entrance on the right-hand side of the area. Climb the rocky wall directly ahead, then use the nearby jump pad to clear the next gap.
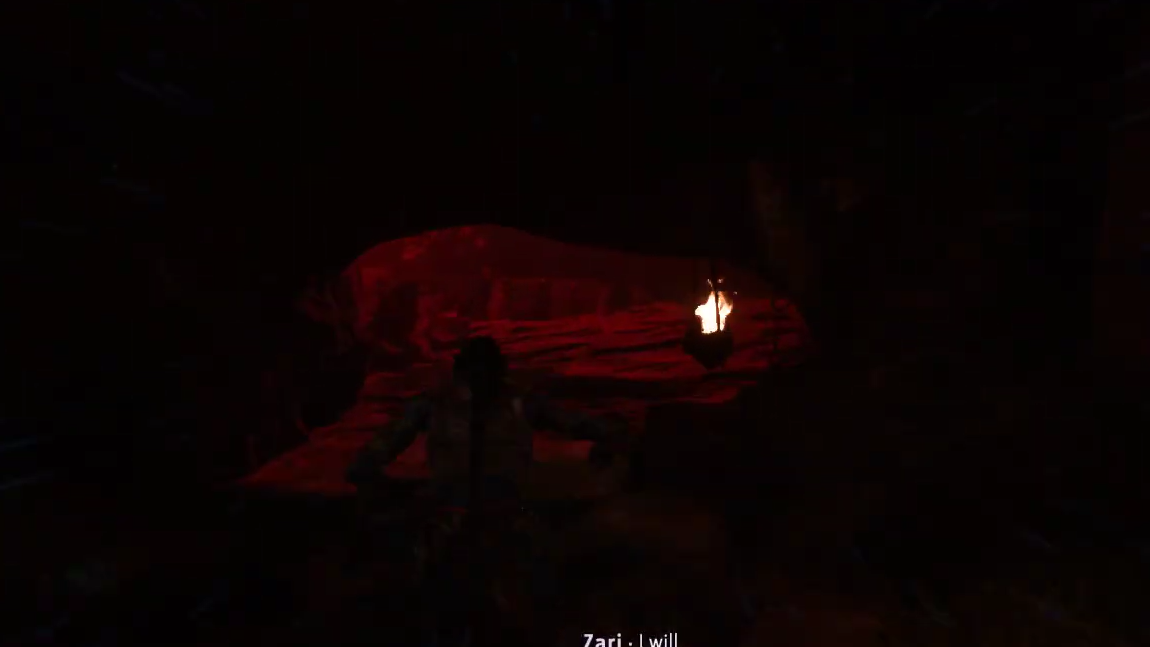
Step 2: After the jump pad, crouch to slide through the low opening. As you move forward into the corridor, the floor collapses. You have no control over this event; you fall into the water below, and the game resets your route through the lower level.
Step 3: Swim or wade forward through the new tunnel until you regain solid ground. Follow the path ahead; it narrows into a more traditional underground passage that leads away from the initial firefight.
Working through the mine tunnels and explosives
From here, the quest shifts into a minefield and light platforming section. Progress is straightforward if you are careful with the explosives scattered around.
Step 1: Climb the vine leading upward to exit the water area and enter a small hallway. Move along this corridor until it opens into a cavern laced with mines.
Step 2: Advance slowly through the first mined cavern. Give each mine a wide berth or shoot them from a distance to clear a safe path. Watch for chain reactions if multiple mines sit close together.
Step 3: Continue to the exit of the cavern to enter a second open space with stone blocks arranged for basic platforming. Use the blocks to cross while either avoiding or detonating the mines sitting on or between them.
Step 4: At the far edge of this section, locate the large pipe and climb up through it. Follow the short route beyond until you emerge near tracks that feed into the surface facilities of BWE Mine Alpha.
Reaching Zari and understanding the excavator setup
Back in the open air, Zari resumes firing. Her position is much higher than yours, on top of a bucket wheel excavator that dominates the area.
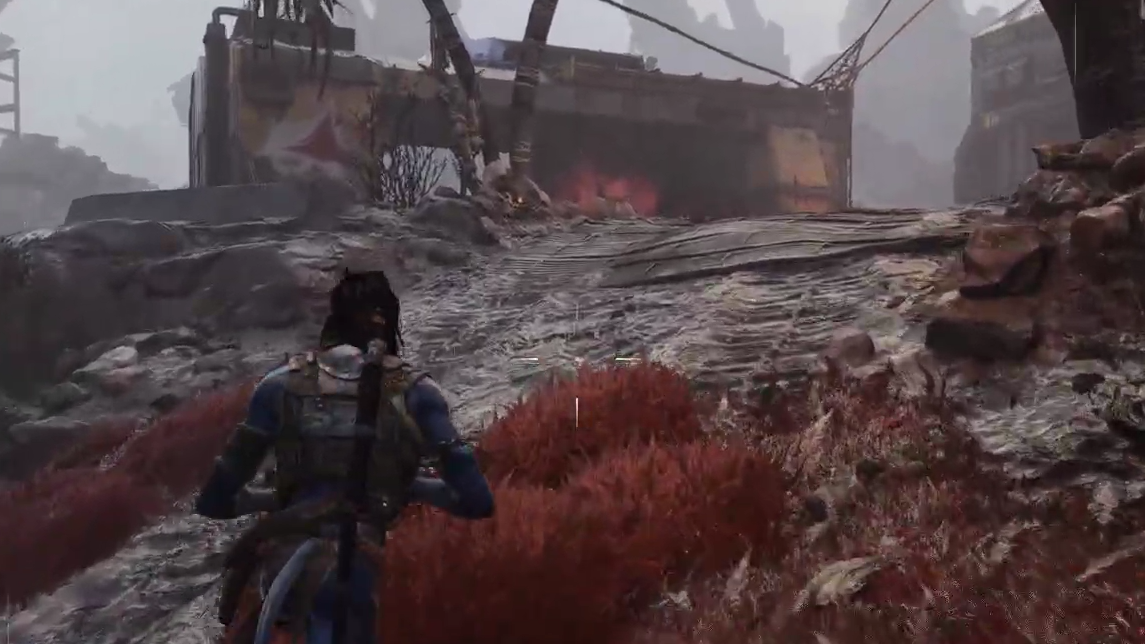
Step 1: From the exit point near the tracks, look ahead to spot the large excavator beyond a low building. Zari sits on top of the machine and continues to snipe if you stand in the open.
Step 2: Approach the excavator area using nearby walls, debris, and the building itself as cover. You are not meant to climb up to her directly; instead, you will use the pre-placed demolition charges attached to the excavator structure.
Moving the excavator arm with demolition charges
The key to the fight is not to outshoot Zari but to trigger the explosives that were set around the excavator for a scheduled demolition.
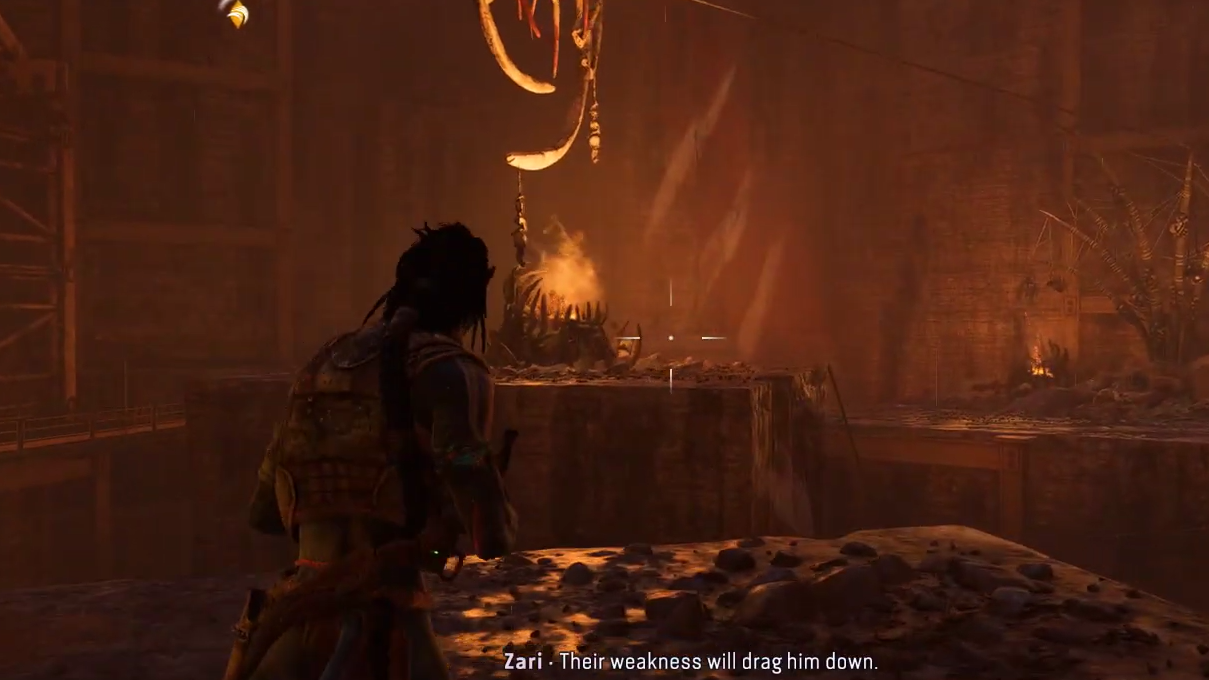
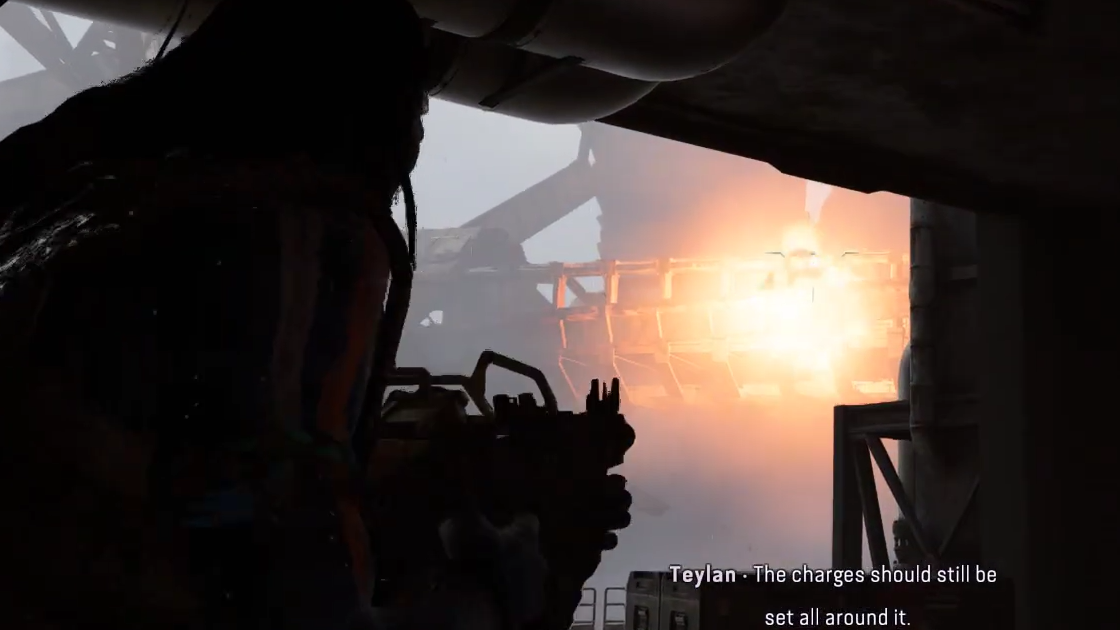
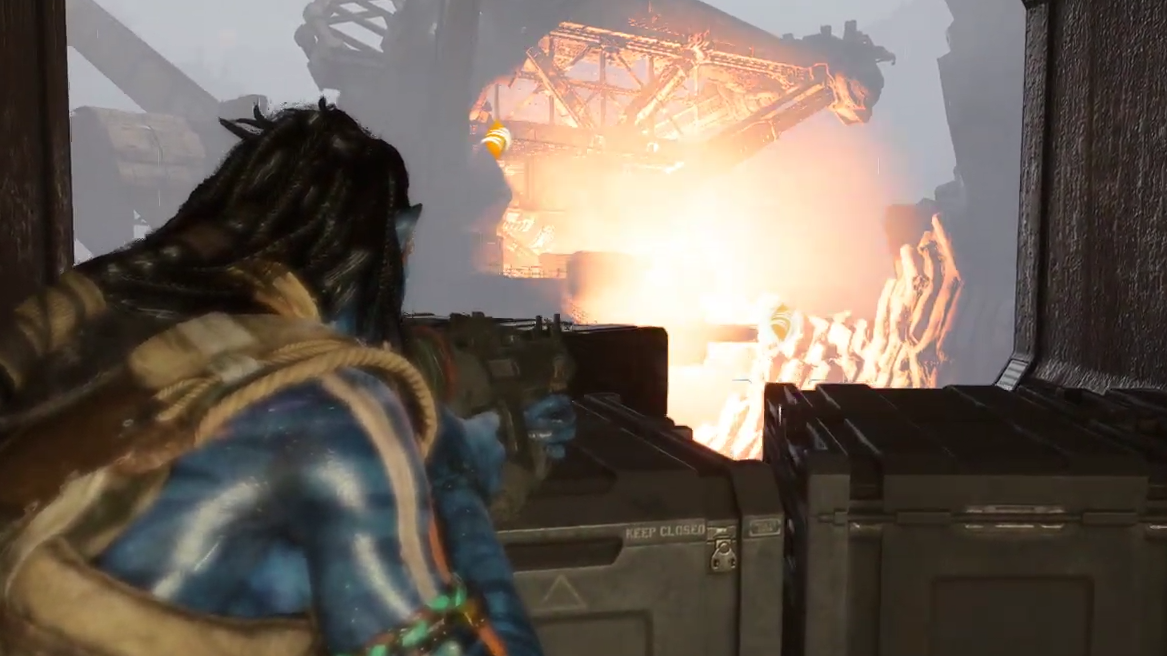
Step 1: From covered ground near the base of the excavator, look up along the structure for a red glowing mine attached to it. This charge is clearly visible when you are close enough and serves as the first target.
Step 2: Pop out of cover briefly to shoot this first glowing charge. Once it detonates, the excavator arm swings into a new position closer to you, exposing another explosive on the opposite side of the arm.
Step 3: Track the arm’s new position and locate the second glowing charge. Use cover to line up a safe shot and destroy it. The arm shifts again, changing the layout of the area and opening access to the internal building.
Entering the building and placing the final blow
After the second detonation, the internal route to the last explosive opens. This section mixes more mines with some simple navigation.
Step 1: Turn back toward the building beneath or beside the excavator and look for a metal shutter that has now opened as a result of the arm’s movement. Enter through this new opening.
Step 2: Proceed through the interior while avoiding additional mines on the floor and along your path. Take your time rather than sprinting; a single mistake can trigger multiple charges at once.
Step 3: Make your way to the area with a large hanging crate inside the building. Attached to part of the excavator structure accessible from here is the final red glowing charge. Position yourself for a clear line of sight and destroy this last explosive.
Ending the fight and completing “I See You”
Detonating the final charge triggers the scripted resolution of the encounter.
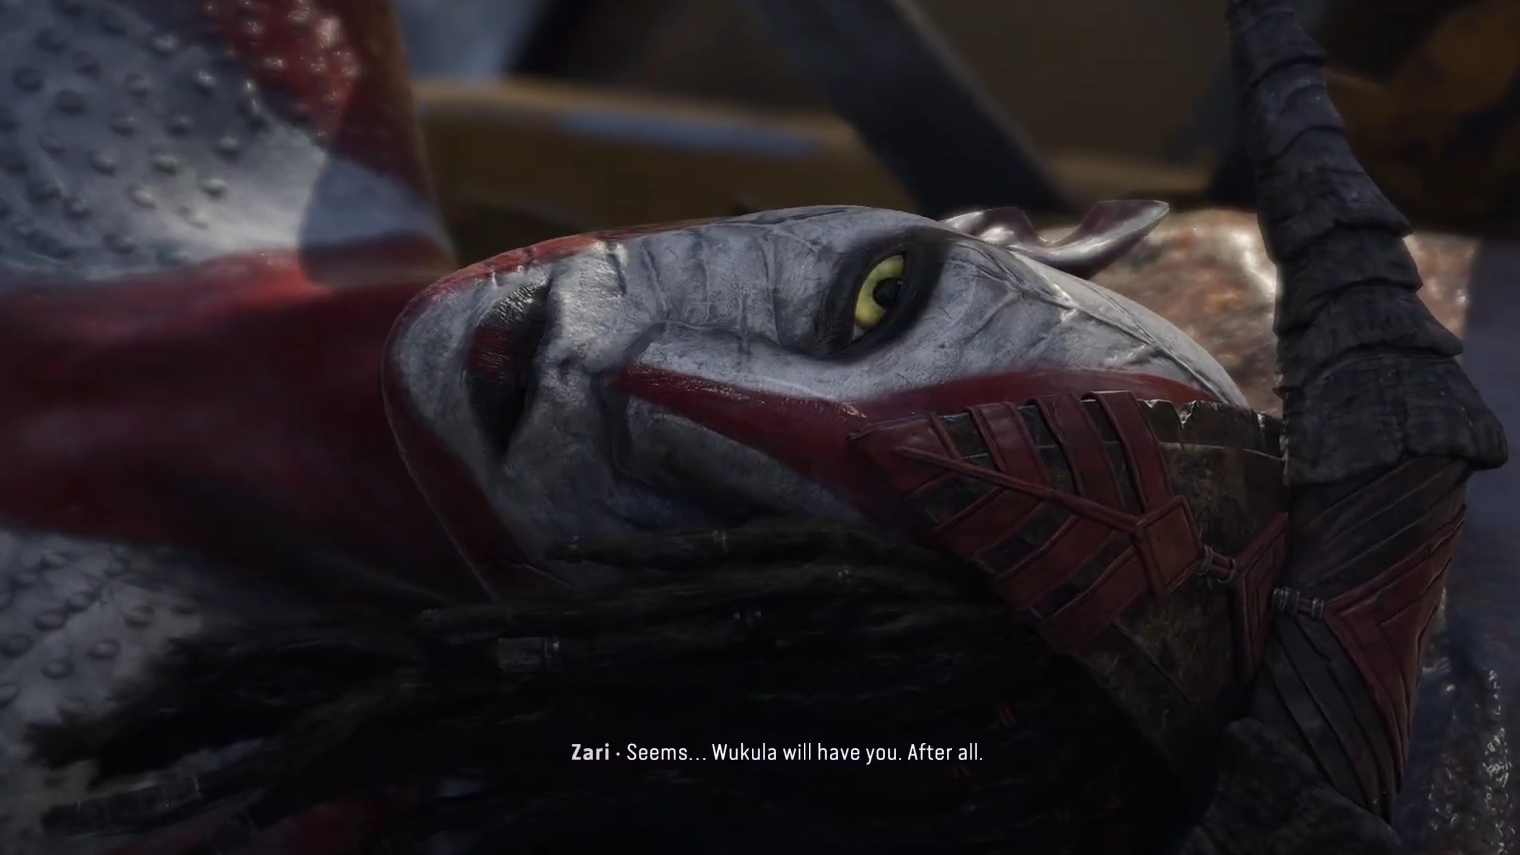
Step 1: After the last explosion, watch as the excavator’s structure destabilizes in a cutscene. Zari loses her position, falls from the machine, and is buried under collapsing debris. You do not need to land a final manual shot.
Step 2: When control returns after the follow-up cinematics, the quest “I See You” is marked complete. The story moves on to your search for Ri'nela and the continuing RDA presence in the Ravines.
Once the dust settles, use the pause in combat to resupply, check your equipment, and prepare for the next mission chain in From The Ashes. The game will continue to lean on vertical spaces, environmental hazards, and scripted set pieces, so the same habits that carried you through BWE Mine Alpha—sticking to cover, reading glints and mines, and watching for environmental solutions—remain useful throughout the expansion.