
A Blessing in Avatar: Frontiers of Pandora – From The Ashes sends you across Kinglor Forest and deep into an RDA cargo operation at Frontiers Port Echo. The quest combines open-world navigation, tight interior combat, and a few new mechanics built around the RDA knife.
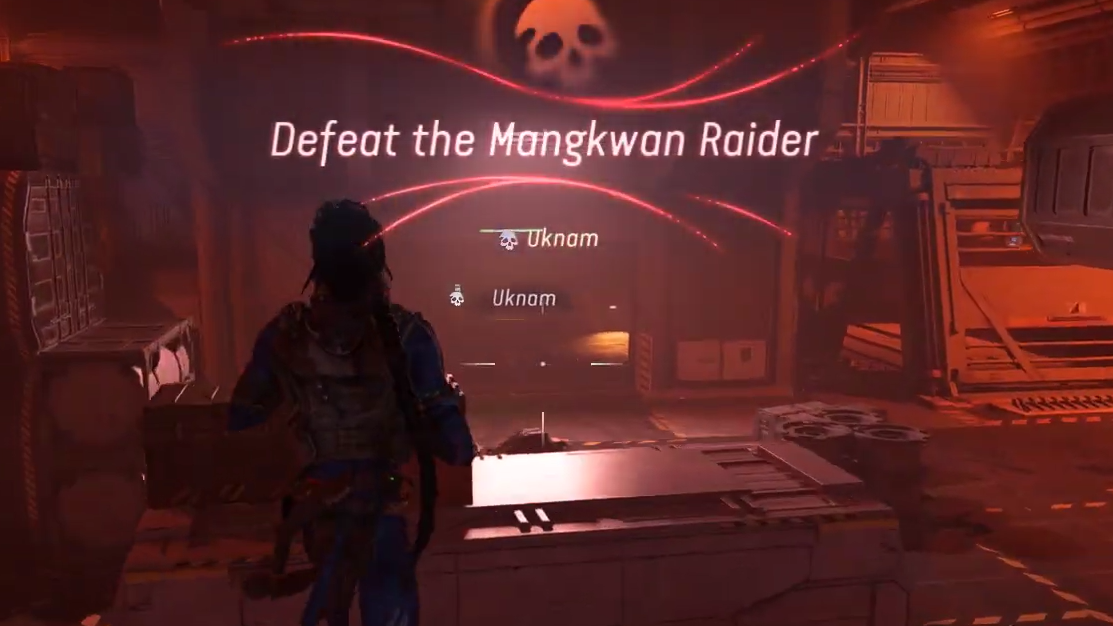
Start A Blessing in Dawn’s Glade and defeat the Mangkwan Raider
Step 1: Travel to Dawn’s Glade in Kinglor Forest and summon your Ikran. Follow the yellow quest marker in the sky to reach the objective area quickly rather than running through the forest.
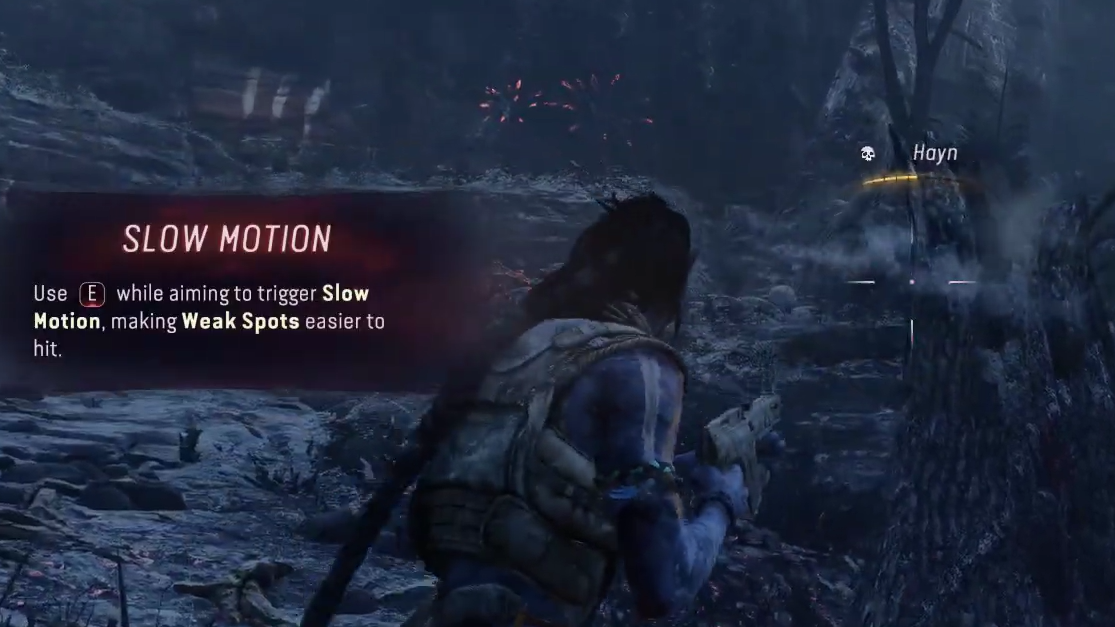
Step 2: Land near Mangkwan Camp when the marker leads you there. As you begin searching the camp for signs of Teylan, a Mangkwan Raider ambushes you. Stay behind cover, watch its movement, and only peek out for clear shots.

Step 3: On PC, press E while aiming to trigger slow motion. Use this window to hit the Raider’s weak spots; it moves quickly and does not leave many safe openings otherwise. Once it goes down, you receive the Spear-thrower, a strong early-game ranged upgrade.
Step 4: With the Raider defeated, resume following the yellow tracker to continue the search for Teylan around the camp and deeper into the forest.
Follow Tana’ring flowers to Zeykoma and Teylan’s message
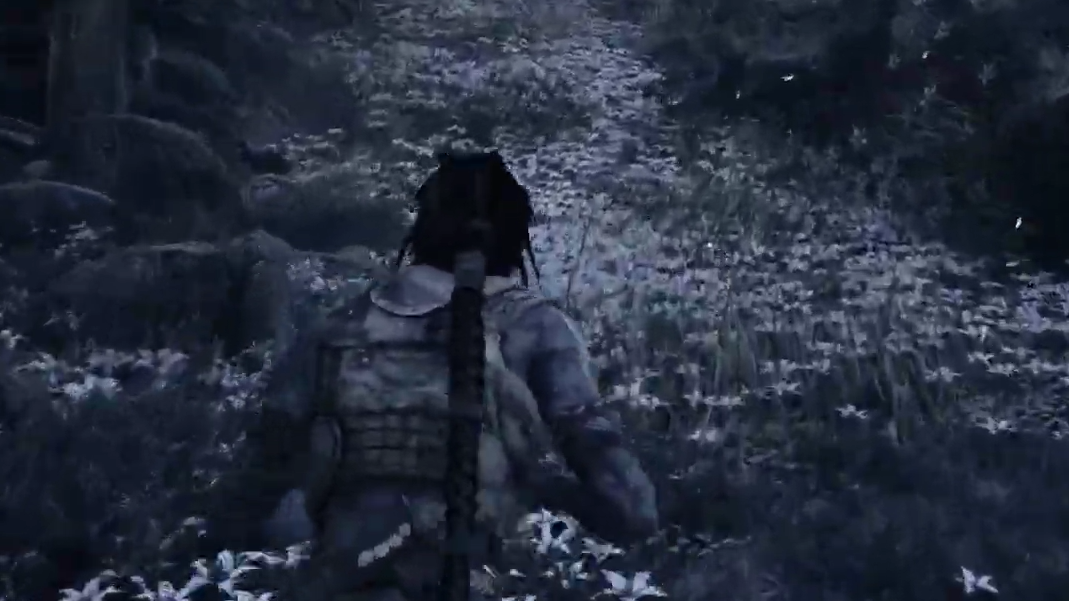
Step 1: Move away from Mangkwan Camp along the indicated path until you start seeing Tana’ring white flowers. These glowing plants line the correct route and act as a natural breadcrumb trail through the forest.
Step 2: Keep following the flowers until you reach Zeykoma, a special fruit. Interact with it to gain a permanent extra health segment, which helps during the upcoming ship infiltration and RDA encounters.
Step 3: After taking the fruit, listen for a message from Teylan that redirects you toward an RDA cargo ship. Your next goal is now tied to that ship and the nearby port.

Fly to Frontiers Port Echo and infiltrate the docks
Step 1: Call your Ikran again and follow the refreshed yellow marker toward Frontiers Port Echo. The route takes you a significant distance, so stay airborne until the marker drops to dock level.

Step 2: Land at a safe spot on the left side of the docks, away from dense enemy clusters. You are now in an RDA facility with heavy patrols, so move carefully and avoid running straight through chokepoints.
Step 3: Clear any immediate guards blocking access to the dockside structures. Use cover around containers and railings, and take time to thin out enemies before pushing deeper toward the cargo ship.
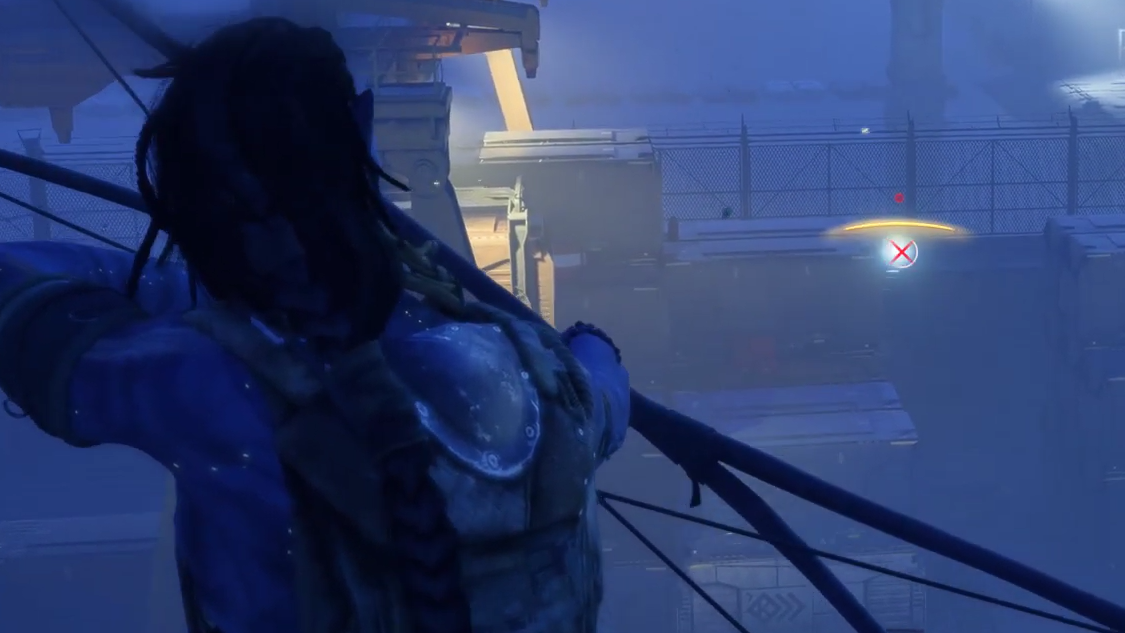
Use the maintenance tunnel to board the cargo ship
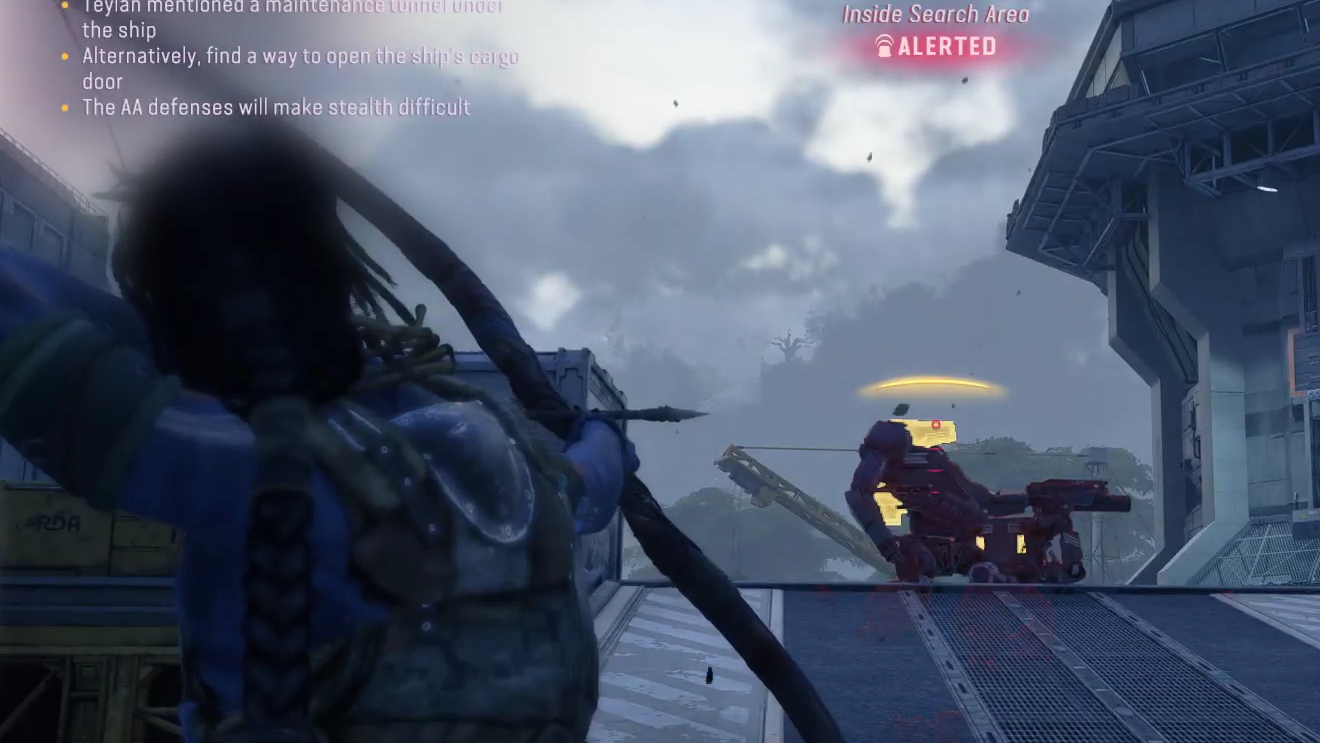
Step 1: Approach the area under and around the cargo ship while watching the yellow HUD marker. The marker points toward a maintenance tunnel that runs beneath the vessel and serves as your entry point.
Step 2: Several RDA guards watch the tunnel entrance. Either pick them off quietly from cover or engage directly if stealth fails. Do not try to access the tunnel while they are active; they will spot you easily.
Step 3: Once the nearby guards are down, follow the marker to the tunnel opening. Expect some climbing and scaling through maintenance scaffolding and piping beneath the ship. Keep advancing along the marked route until you transition into the ship’s interior corridors.

Find Teylan inside the ship and unlock the RDA knife
Step 1: Inside the ship, continue tracking the yellow marker through narrow hallways, ladders, and small maintenance rooms. Clear isolated guards as needed so you are not flanked while navigating.
Step 2: Eventually you reach Teylan. A cutscene plays that resolves the search phase and establishes your new goal: sabotaging the cargo ship’s systems and Frontiers Port Echo’s operations.

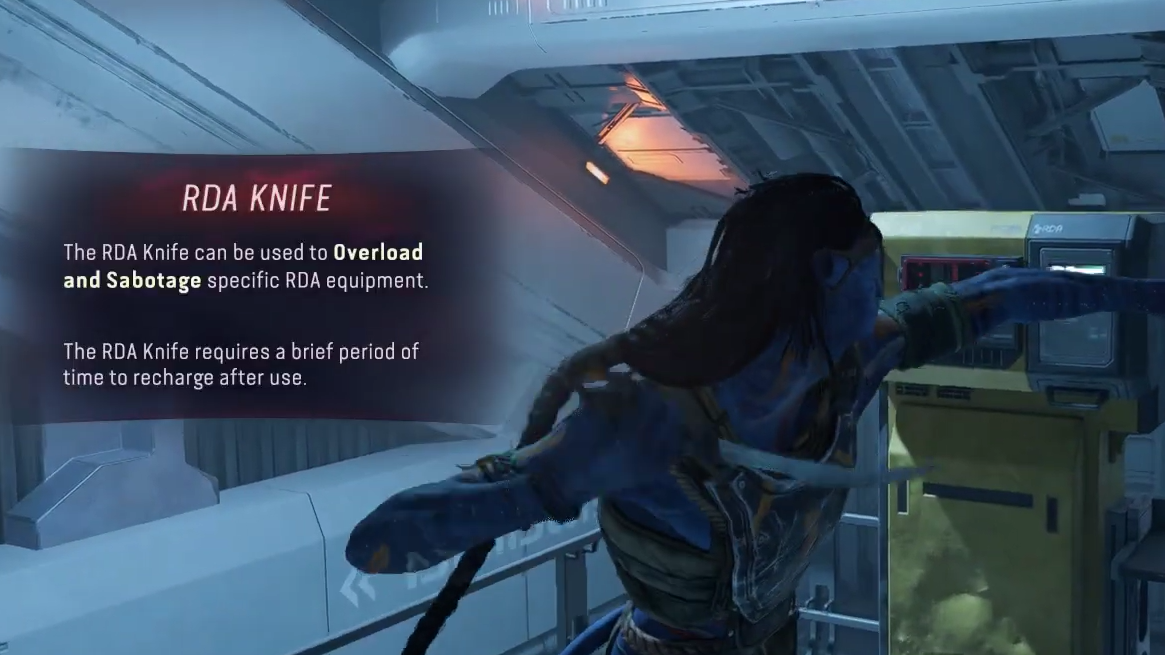
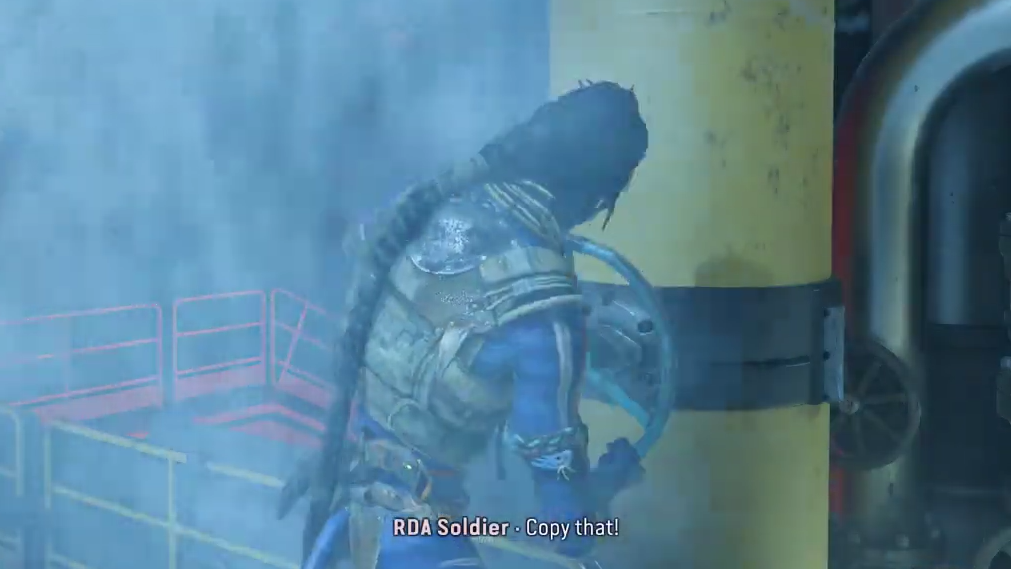
Step 3: During the cutscene, Teylan gives you an RDA knife. This knife is central to the rest of the mission, as it allows you to interact with RDA electrical panels and sabotage specific systems.
Step 4: When control returns, walk to the nearby RDA electrical panel and use the knife on it to disable the system and unlock a door. This interaction demonstrates how the knife works and opens the way down toward the engine room.
Reach the engine room and sabotage Engine A and Engine B
Step 1: Move through the newly opened path and start descending into the lower decks of the ship. Follow the yellow marker through ladders and platforms until it guides you close to the engine room.

Step 2: As you approach the engines, expect more guards around catwalks and control stations. Clear enemies as you go to avoid multiple angles of fire inside the cramped spaces. Use cover and do not rush into open platforms.
Step 3: Before sabotaging the engines, locate the fire suppression system controls and turn them off. The RDA knife uses a charge that is lost if you become electrified, submerged, or heavily drenched in water. Disabling suppression prevents stray water from draining the knife’s charge while you are working in this area.
Step 4: With the suppression system off, move up to Engine A and throw an explosive or grenade into the vulnerable machinery. Use cover immediately after throwing to avoid being punished by nearby guards during the blast.
Step 5: Repeat the process for Engine B. Get into position, throw an explosive into the engine, and retreat into cover. Once both engines are sabotaged, the ship enters an emergency state, and the objective shifts to escaping.
Escape the cargo ship and destroy the RDA panel
Step 1: Follow the updated yellow marker into the cargo hold. The layout is dense with containers and equipment, which makes it easy to lose track of direction. Keep your eyes on the marker and use it as your main orientation tool through the maze-like spaces.
Step 2: Move quickly but carefully, since the ship is now in crisis and alarms are active. Clear any enemies blocking narrow passageways, staying behind cover where possible. Do not linger; the objective is no longer stealth but evacuation.
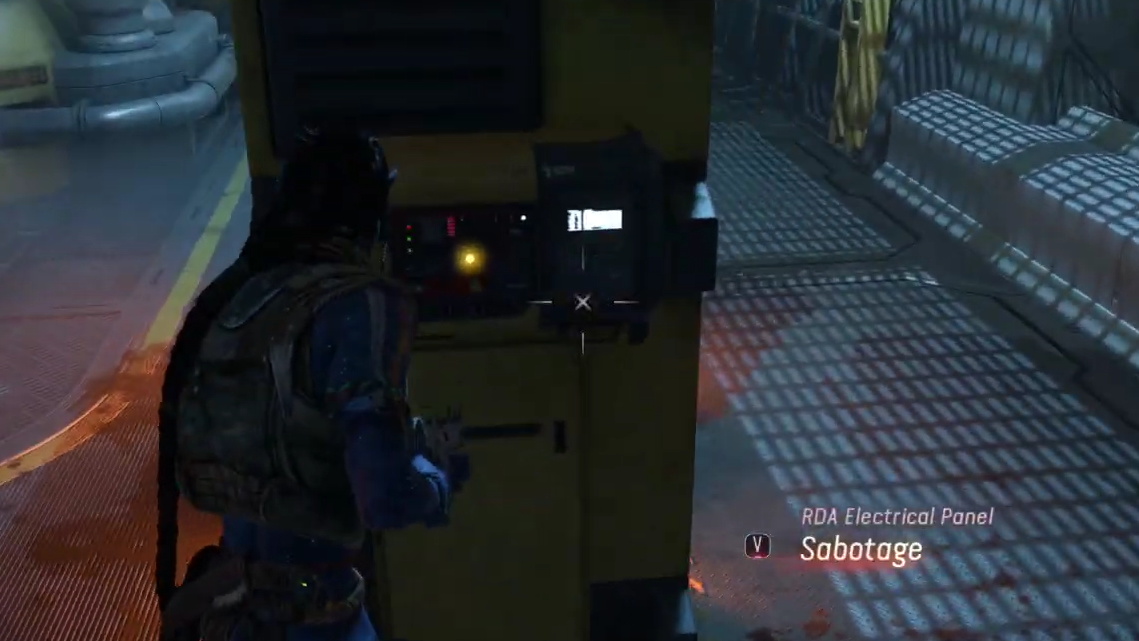
Step 3: During the escape route, you reach another RDA electrical panel. Interact with it and destroy it using the bound key (by default V). This breaks part of the RDA’s system and is required to continue toward the exit.
Step 4: Shortly after destroying the panel, a second Mangkwan Raider appears. Fight it using the same approach as the earlier encounter: stay in cover, use slow motion if you are on PC, and target weak spots rather than staying exposed.
Ride the elevator and push through heavy resistance
Step 1: After you bring down the Raider, follow the marker to an elevator and activate it to move upward. This brings you closer to the surface sections of Frontiers Port Echo.
Step 2: As soon as the elevator doors open, multiple guards start firing from different positions. Take cover immediately behind nearby objects and clear enemies methodically. Avoid sprinting into open areas where you can be surrounded.
Step 3: While advancing, loot fallen guards and open crates for rifle rounds and other ammunition. Supplies are generous in this area, so focus on survival and clearing lines of fire rather than conserving every shot.
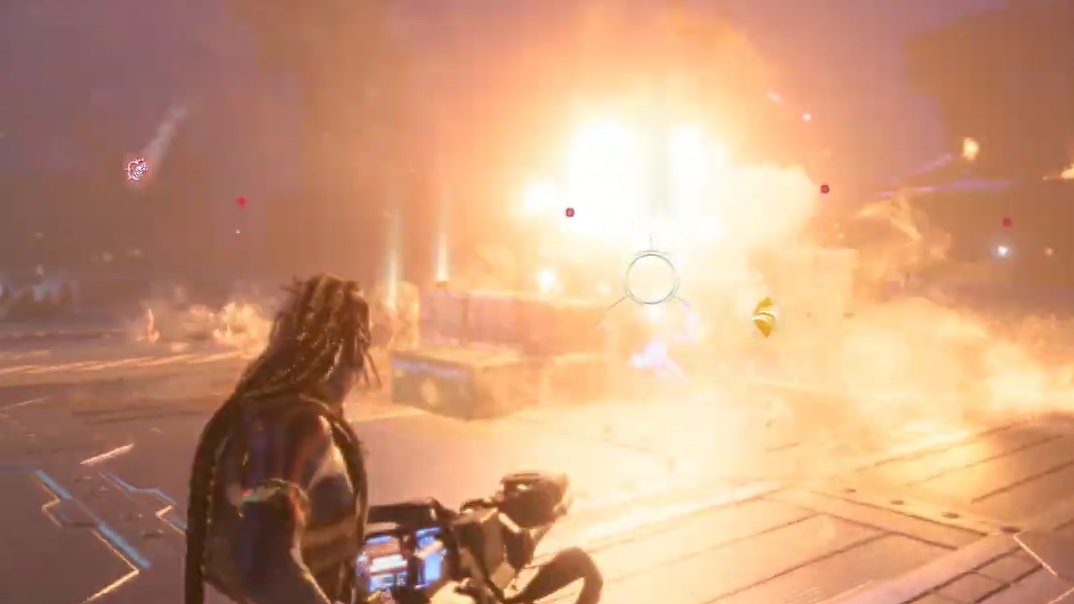
Destroy the RDA cargo docks at Frontiers Port Echo
With the upper decks cleared, the mission shifts toward crippling the dock infrastructure itself. Three major targets must go down to complete this phase: fuel storage, control systems, and parked aircraft.
Step 1: Use the yellow tracker to locate the fuel silos. From cover, unload your weapons into weak points and explosive elements until the silos are destroyed. Watch for enemies using the silos as partial cover while you shoot.
Step 2: Move on to the control tower electrical systems next. Again, the marker points you to the correct generators or panels around the tower. Destroy these components with sustained fire or explosives while staying behind solid cover to avoid concentrated enemy fire.
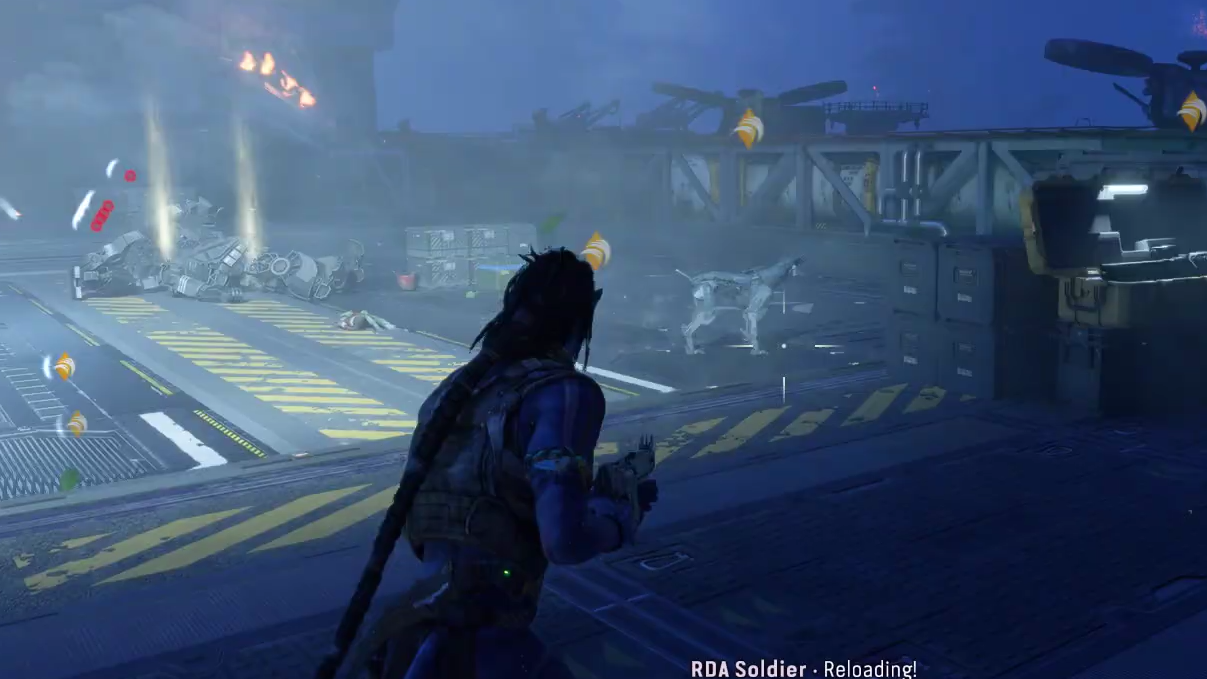
Step 3: Finally, target the parked aircraft on the docks. These machines are large and easy to hit, but enemies often cluster nearby. Clear the closest guards first, then destroy the aircraft with your heaviest weapons.
Step 4: After all three target categories—fuel silos, control tower systems, and parked aircraft—are destroyed, a cutscene plays to show the damage done to the RDA cargo operation.
Meet Teylan, fly to the Resistance Safehouse, and find Alma
Step 1: When control returns, follow the objective marker back to the docks where Teylan is waiting. Speak with him to transition from the sabotage phase to extraction.
Step 2: Summon your Ikran and take off alongside Teylan. Follow the yellow marker through the air toward the Resistance Safehouse. Stay roughly in formation, but the marker is your primary guide for direction and altitude.

Step 3: Near the safehouse, dismount at the indicated landing spot. The marker now points toward a nearby cave that hides the entrance to the Resistance base.
Step 4: Enter the cave and navigate the tunnels by following the marker deeper inside. The path is straightforward; just stay on the indicated route until you reach Alma inside the safehouse.
Step 5: Interact with Alma to trigger the final cutscene. This conversation and cinematic sequence wrap up A Blessing and close out this segment of the From The Ashes DLC story.

Finishing A Blessing introduces the RDA knife’s charge system, tests combat skills against fast Mangkwan Raiders, and shows how quickly a small infiltration escalates into full-scale sabotage at Frontiers Port Echo. With the engines disabled, the docks destroyed, and the Resistance Safehouse reached, the path is clear for the next mission in the DLC.