
Battlefield 6 leans into limited ammunition and squad reliance. If you’re running out mid‑push or struggling to find “supply crates” in your loadout, the path forward is a mix of the right class gadget, a spawn setup that carries more from the start, and smarter pacing in gunfights. Here’s how to secure more ammo without derailing your momentum.
Equip and use ammo gadgets (Support class)
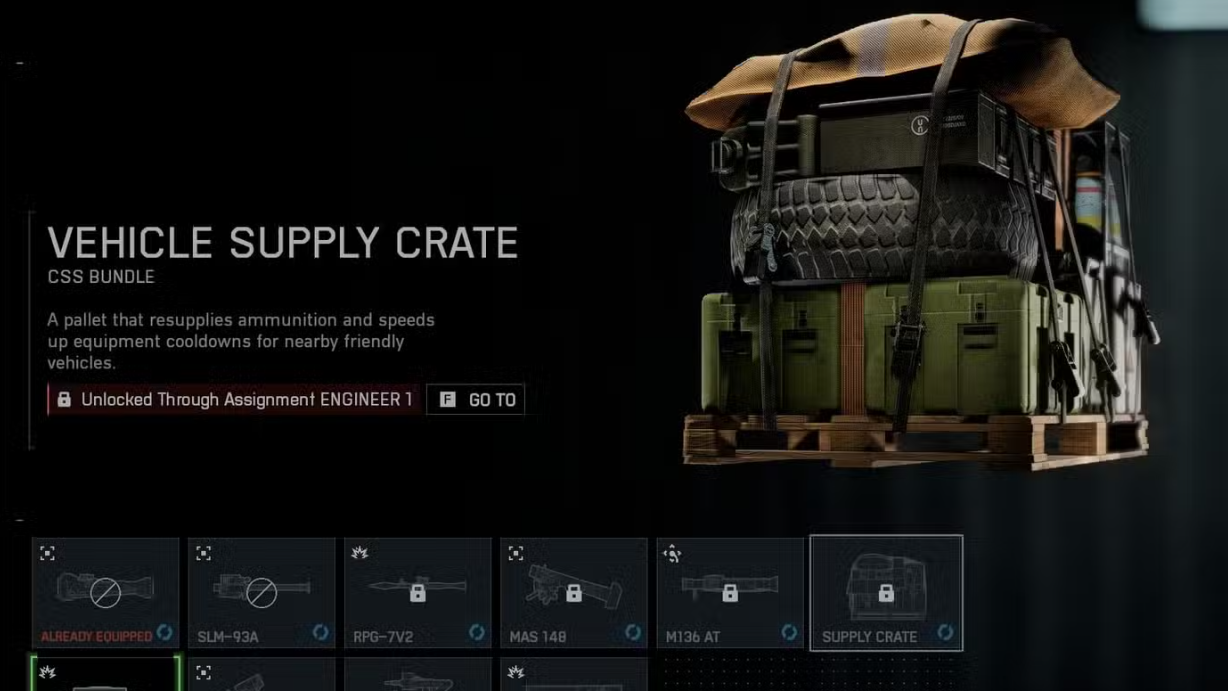
If you want a reliable, repeatable way to feed your squad and yourself, set the Support class up with a deployable resupply gadget (commonly referred to as supply crates or ammo packs). Equip it in your gadget slot from the class loadout menu before spawning. In‑match, place it on solid ground to drop a resupply point your team can use.
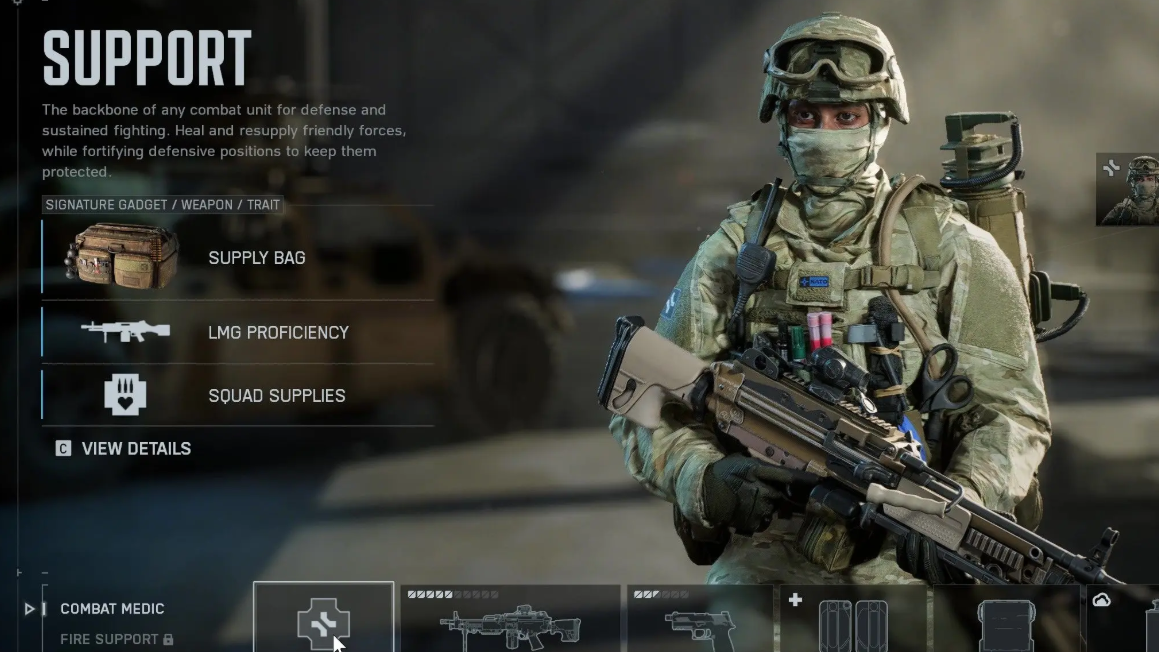
- Gadget slot matters: if you don’t see the crate in‑game, you likely slotted a different gadget in the loadout.
- Cooldown behavior: core class gadgets recharge, so don’t hoard your resupply—deploy it when you have teammates nearby, then rotate or refill again after the cooldown.
- Placement tips: put crates just behind cover lines, near choke points you plan to hold, or on routes where your squad respawns and regroups.
Spawn with more ammo (Assault class setup)
If you prefer not to play Support, you can still start each life with extra magazines by setting up your Assault class to carry more from spawn. Build your loadout around an ammo‑focused setup so you enter fights with a deeper reserve without relying on a teammate.
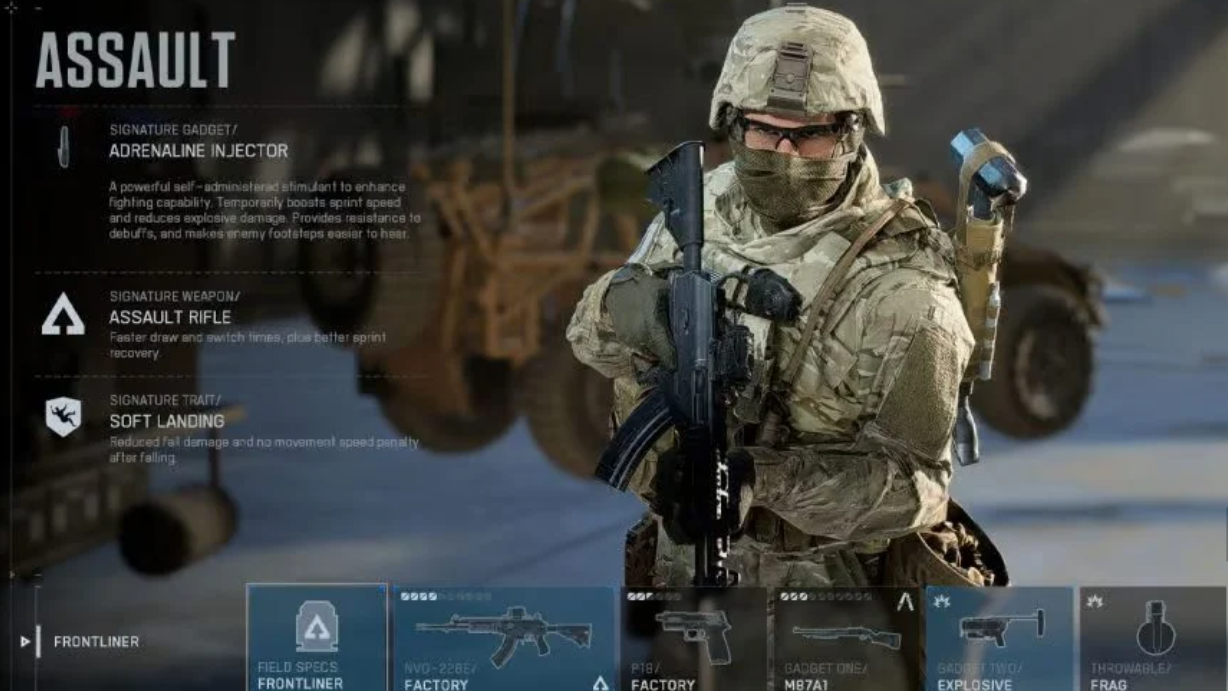
- Prioritize “extra magazines” in your Assault build so you spawn with additional rounds for your primary weapon.
- Pair this with a secondary that covers a different range band, reducing how often you burn your main reserve in awkward ranges.
Resupply without Support: practical options mid‑life
When you aren’t running Support yourself, your best mid‑life resupply paths are about positioning and squad play.
- Stick near teammates carrying crates. Most squads include at least one Support; play within a few seconds of cover so you can fall back and resupply.
- Collect dropped pouches. Teammates can toss small resupplies that top off part of your reserve—use them between pushes, not in the open.
- Objective‑adjacent resupply points. Depending on the mode and map, you may find static resupply spots; if your HUD shows an ammo icon at an objective, use it as a pit stop during rotations.
If your squad composition is light on Support, plan shorter engagements: clear one objective, reset with a regroup, then push again after a quick top‑off.
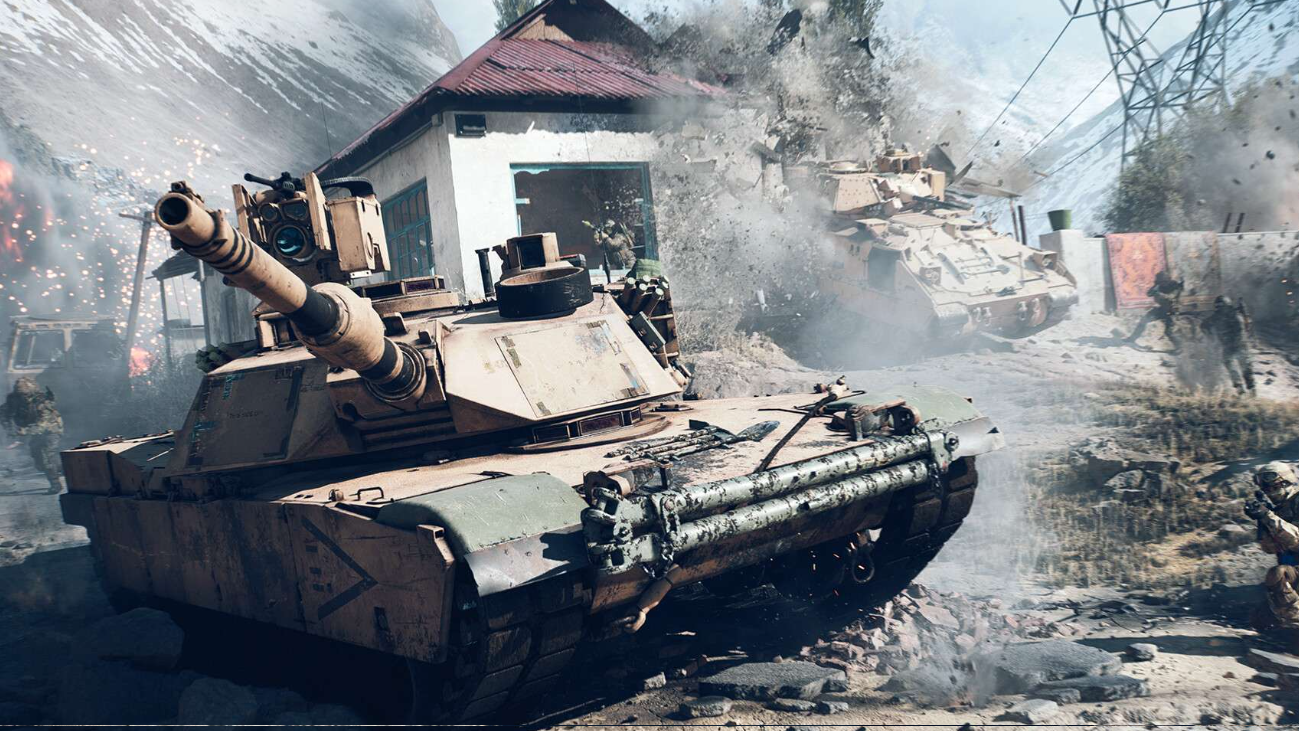
Vehicles: where to refit your shells
Vehicle ammo isn’t an instant refill. Replenishing at repair/resupply stations takes time, and the throughput can feel slow for certain platforms like IFVs. Build that delay into your route.
- Disengage earlier than you think. Start the trip to a station before you’re completely dry; you’ll arrive with enough to defend yourself if you’re ambushed.
- Anchor near friendly infantry. While you wait for the station to trickle in ammo, park where teammates can screen you from C4 or rockets.
- Stagger your shots on approach. Conserve shells on the way in so you’re not totally helpless if a flanker appears.
If the station is contested or too slow for your current fight, rotate to a different objective and re‑enter where the resupply line is safer.
Gunfight pacing that conserves ammo
Small changes to how you take fights often matter more than an extra magazine.
- Don’t spray at long range. Use short, controlled bursts so more of your rounds land and fewer vanish into recoil.
- Reload behind cover. Dive to cover and use that second to swap mags; a well‑timed grenade can buy the breathing room you need.
- Pick engagements by range. Fight where your weapon’s effective range matches the target so you’re not dumping half a mag to land a few hits.
These habits reduce how often you burn a full reserve during a single life—and they make each resupply go further.
Quick fixes if you can’t find “supply crates” in your loadout
- Confirm your class. The resupply gadget lives on Support; swapping classes mid‑match swaps your gadget set.
- Check the gadget slot. If you equipped another utility, the crate won’t appear in your in‑match gadget wheel.
- Watch for cooldown. If you used the crate recently, the slot will show a recharge timer before you can deploy again.
If you need ammo right now and your gadget is on cooldown, ping your squad for a pouch or fall back to the nearest safe objective to regroup.
Battlefield 6 ammo options at a glance
| Option | How it helps | Best use |
|---|---|---|
| Support class resupply gadget | Drops a reusable ammo source for you and teammates; recharges on a cooldown | Anchoring a push, defending a lane, squad regroups |
| Assault class extra magazines setup | Spawns you with more rounds each life | Solo play, aggressive entries where mid‑life resupplies are risky |
| Teammate pouches | Quick top‑off between fights | Short pauses behind cover, moving between objectives |
| Objective‑area resupply points | Static refill location when available in the mode/map | Rotations after a capture, staging the next push |
| Vehicle repair/resupply stations | Refits shells and rockets over time (not instant) | Armor play; plan disengages and cover while it refills |
The throughline is simple: decide before you spawn whether you’re the resupply for your squad or you’re building to carry more yourself. Once you’re in the match, pace your shots, reload from cover, and treat ammo as a resource you manage across the entire push—not just each duel.