
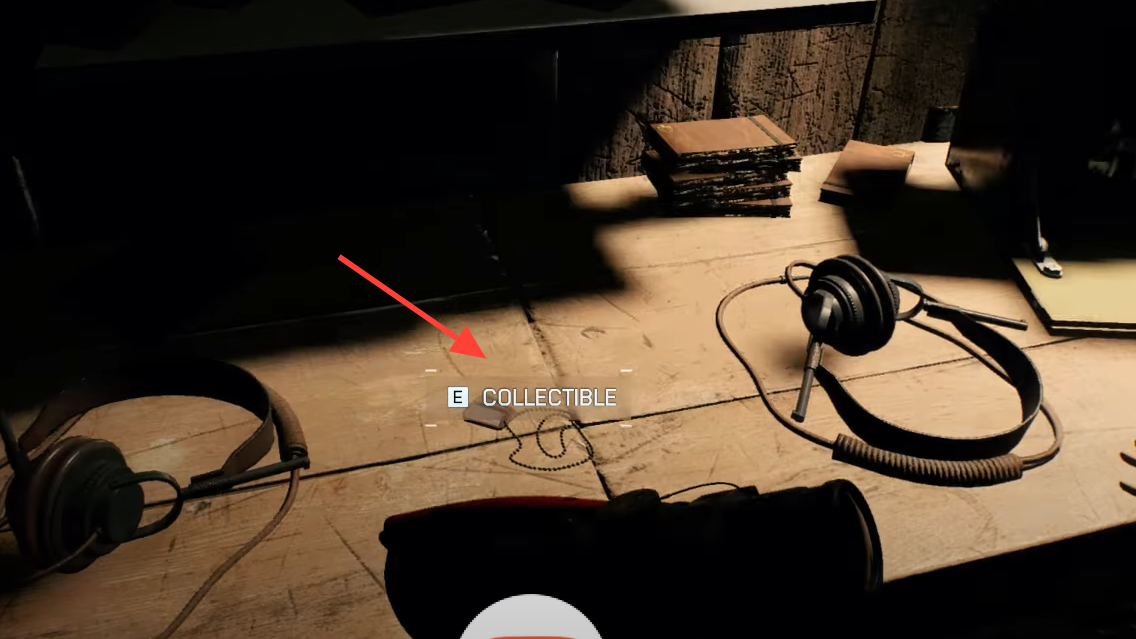
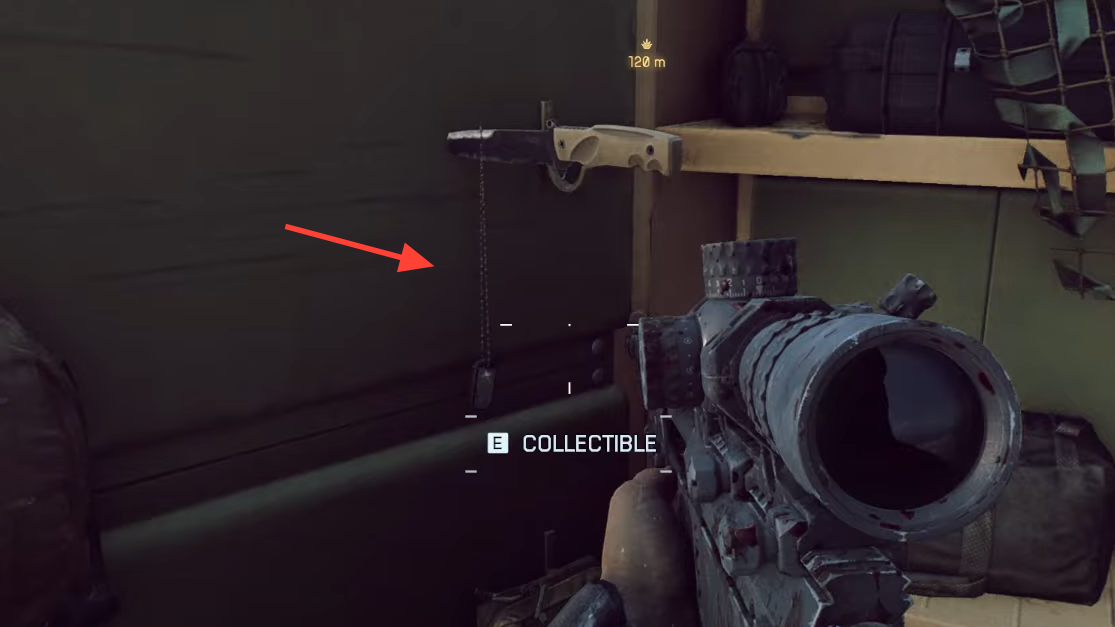
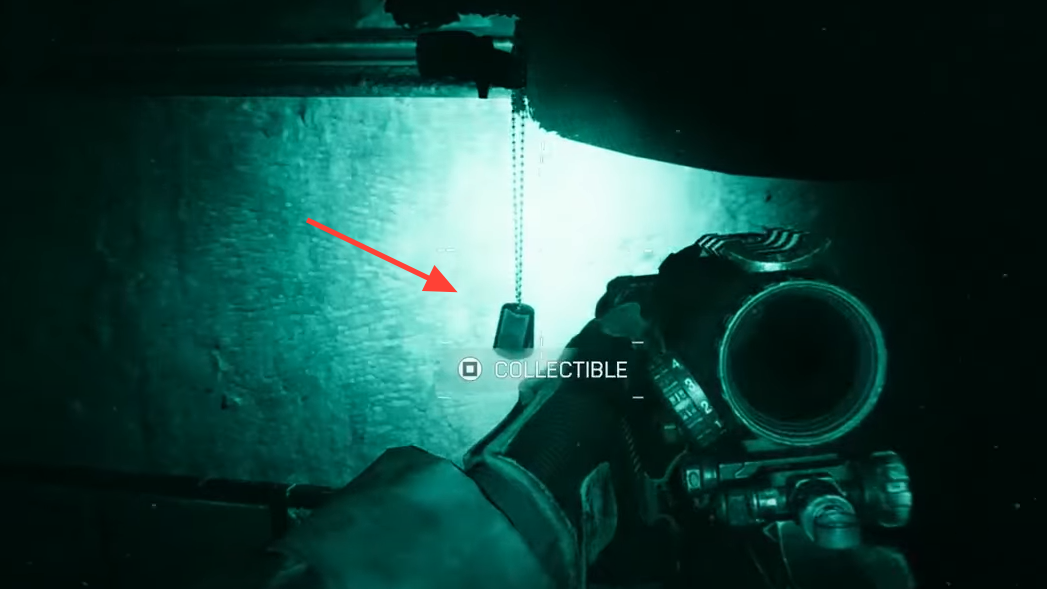
Battlefield 6 hides 30 campaign collectibles — metal dog tags attached to walls and sturdy props — plus a toy T‑Rex at the very start of the story. Collect them all to clear a set of achievements/trophies (In Memoriam, Dogs of War, Hounds of War, Wolves of War, and Pack Leader). Progress is tracked per mission in the pause menu, in the exact order they appear, and nothing is missable because you can replay any mission from the main menu. Each mission also has a Campaign Challenge for finding all of its collectibles, which grants a cosmetic reward usable in multiplayer.
Campaign checklist (mission order and counts)
| Mission | Collectibles | Notes |
|---|---|---|
| Always Faithful | 3 dog tags + 1 toy T‑Rex | T‑Rex unlocks “End of an Era.” |
| The Rock | 3 dog tags | Includes an underground gallery sequence. |
| Operation Gladius | 3 dog tags | Turret intro includes a mine‑clearing trophy opportunity. |
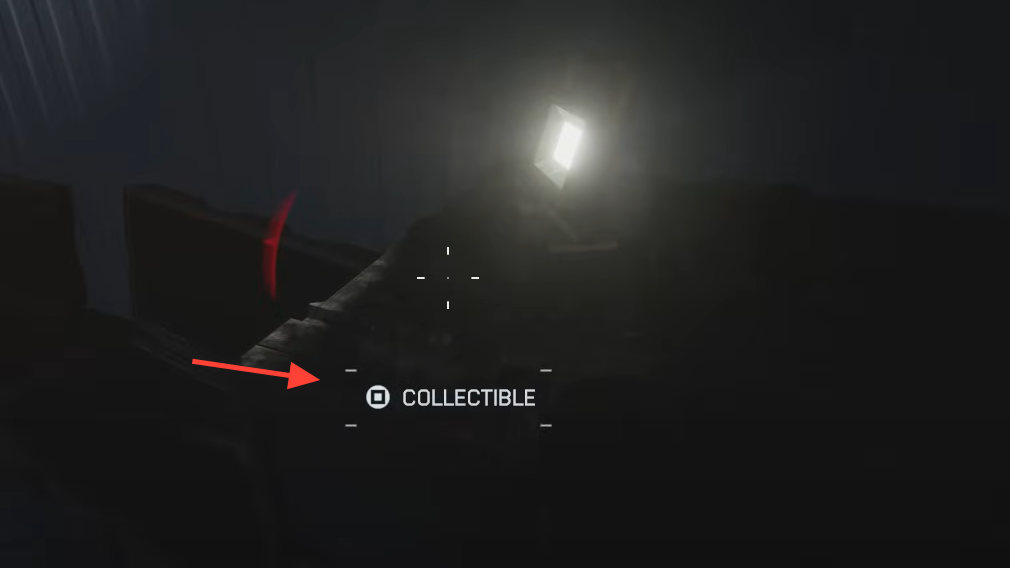
| Night Raid | 4 dog tags | Most are on escape route surfaces. |
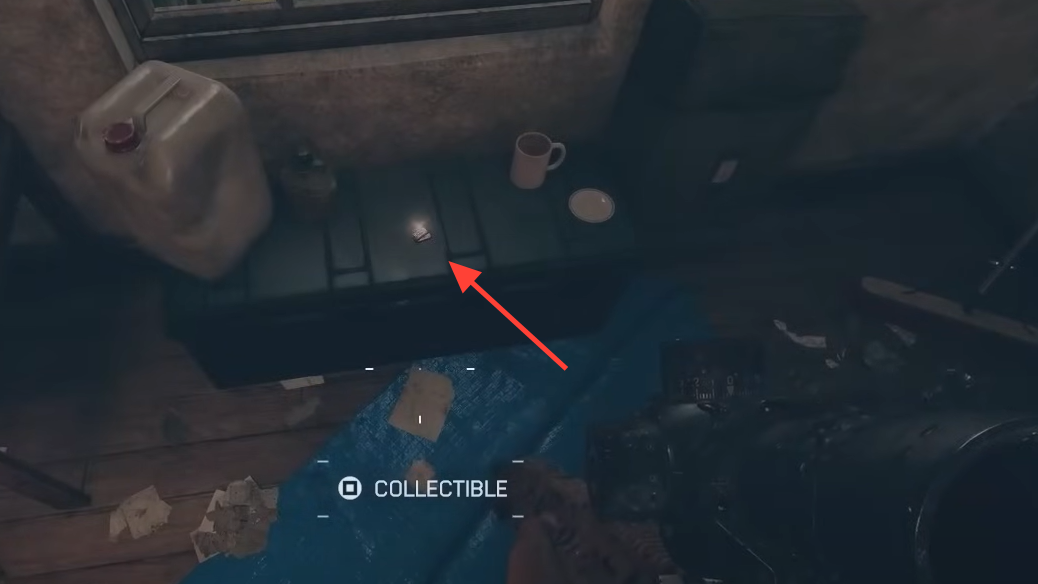
| No Sleep | 3 dog tags | Early mission melee focus; one tag in a lit container. |
| Moving Mountains | 4 dog tags | Fire station, park, subway, then street‑level park. |
| Nile Guard | 2 dog tags | Courtyard and market approach to the helicopter. |
| Operation Ember Strike | 4 dog tags | On the climb through the valley toward SAM sites. |
| Always Forward | 4 dog tags | Outpost hangar, D‑04 building exit, bunker, post‑detonation. |
Always Faithful (3 dog tags + toy T‑Rex)
- T‑Rex (secret collectible): As soon as you gain control at mission start, turn around and pick up the small T‑Rex on the table behind you to pop the “End of an Era” trophy.

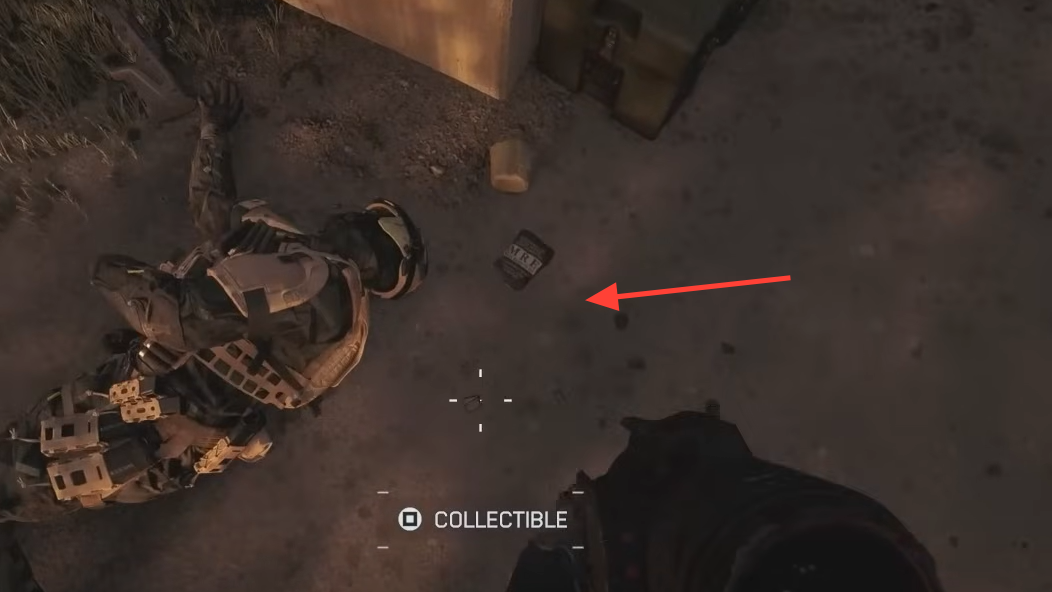
- Dog tag 1: After escaping the opening facility by vehicle, your squad dismounts near an overlook where a sniper team is waiting. Before crossing the low rock wall, check the cluster of ammo crates and gear to the left of the entry — the tag is on a crate.
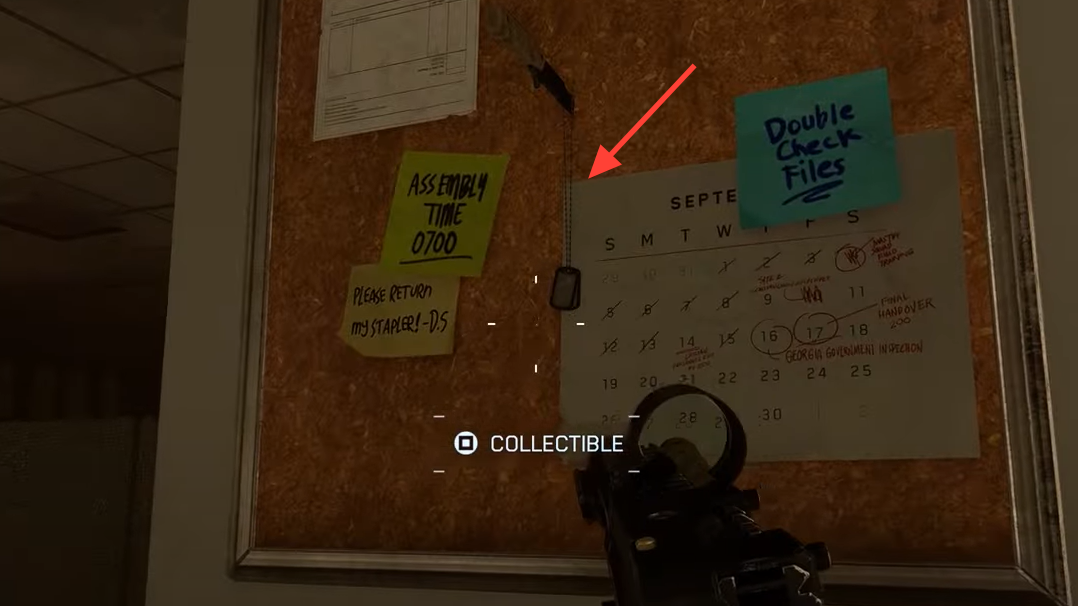
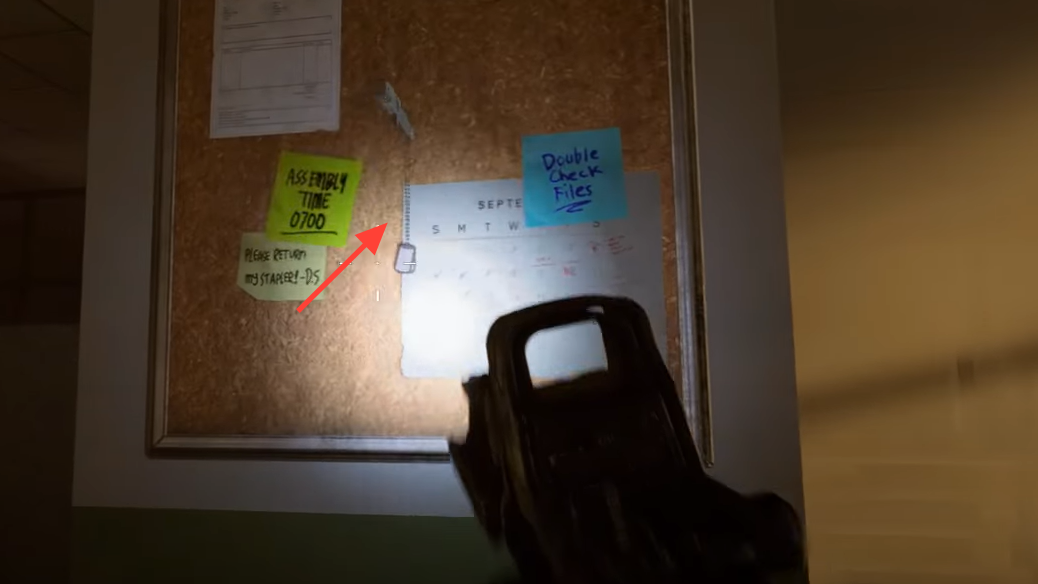
- Dog tag 2: Inside the NATO server building while planting C4. On the second floor, from the central C4 pillar, face the sunlit windows and walk to the first pillar on that side. Look east for a bulletin board — the tag is pinned there by a knife.
- Dog tag 3: Found later along the main route as you regroup and push the objective. It sits on a visible surface near the mission kit; stay alert in staging rooms before major set pieces.
The Rock (3 dog tags)
- Dog tag 1: In the underground gallery/tunnel where weapons are disabled, look for a large work table on the left under a flashing light — the tag is on that tabletop.
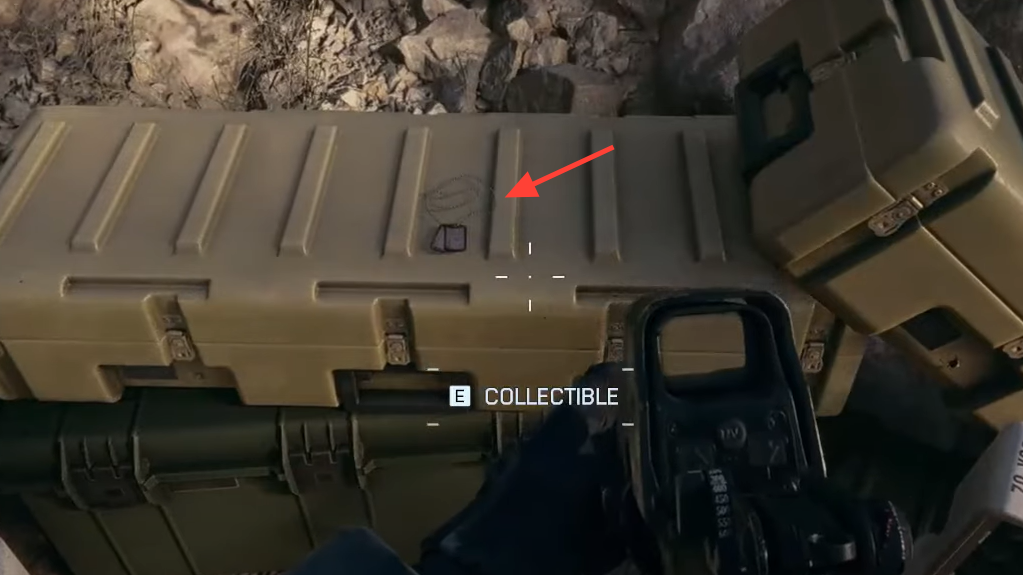
- Dog tag 2: During “Secure Anne’s Battery – Destroy the AAA Guns,” after you blow the first AAA and reunite with your squad, a helicopter drops reinforcements in the next combat zone. A shipping container lies close by; the tag lies on top of the container.

- Dog tag 3: After descending a stairwell deeper into the site, immediately check the shipping container on your right. The tag is inside, next to a helmet hung on the wall.
Operation Gladius (3 dog tags)
- Dog tag 1: Right after you exit the tank and clear the first open area, you’re told to link up with the armored vehicle. On the platform to the left of the machine‑gun turret, at the top of a short stair, the tag sits on a box. Grab it before pushing up the street.

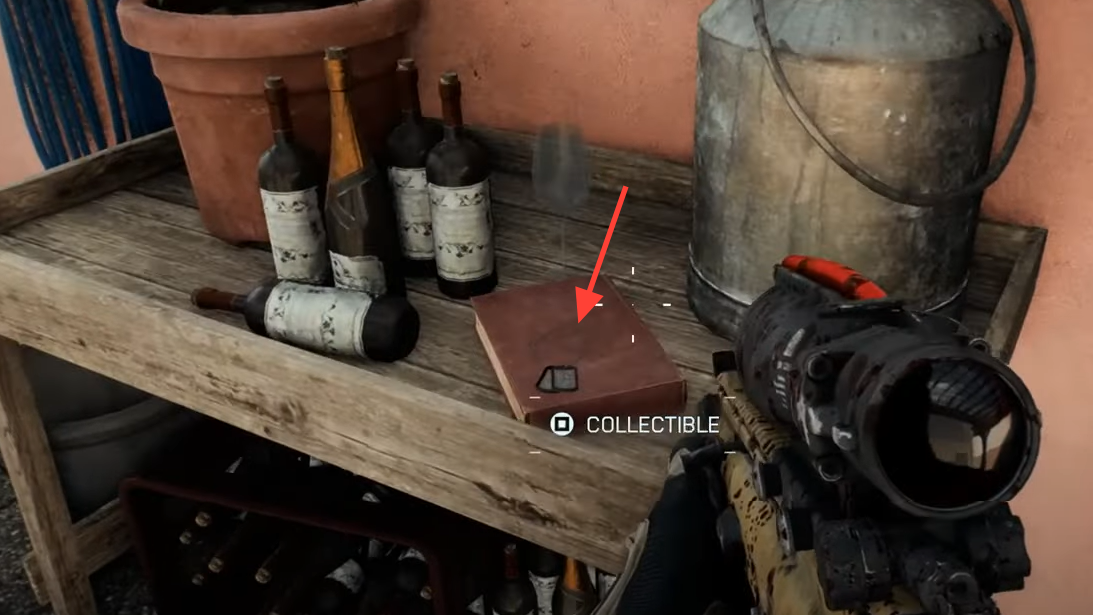
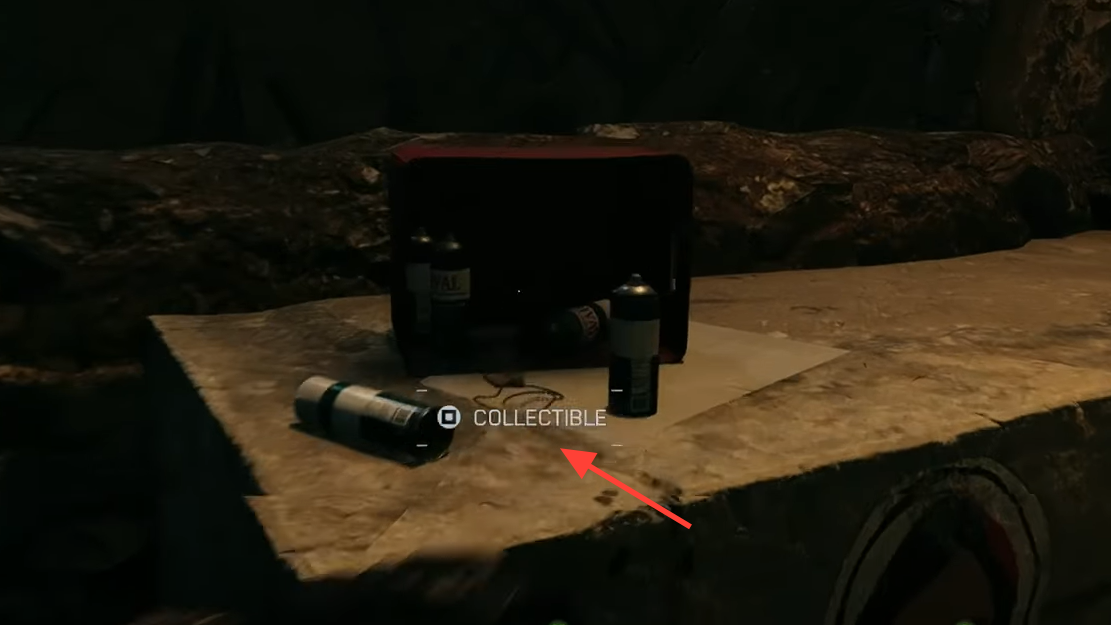
- Dog tag 2: On the way to City Hall through a damaged apartment block. In a back patio you pass through, check a wooden table with wine bottles and a potted plant — the tag is on the tabletop.
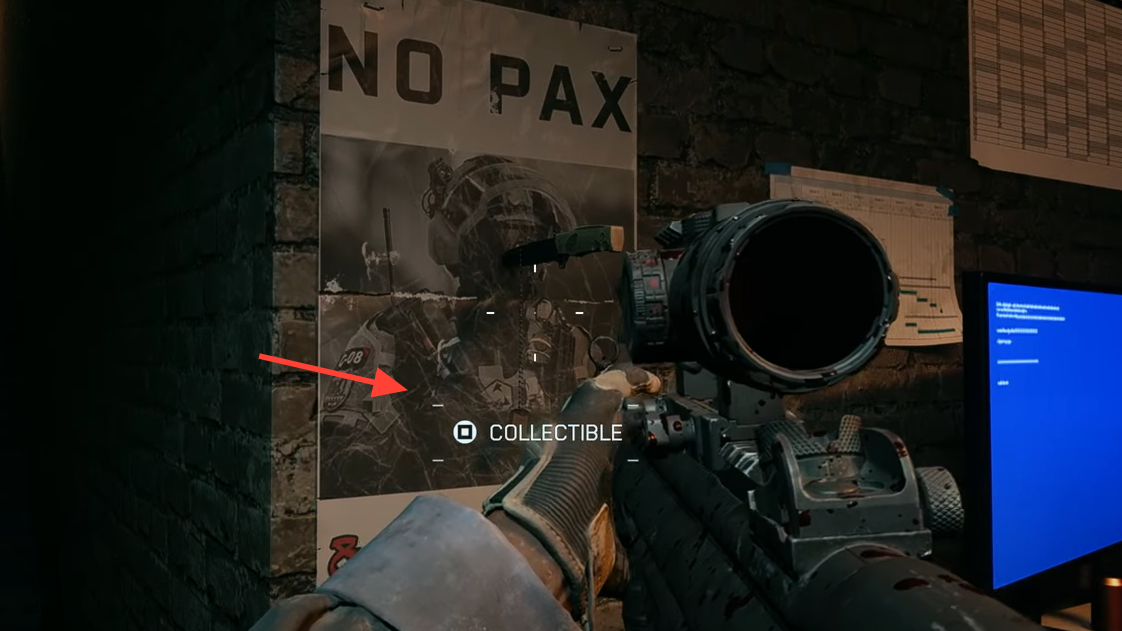
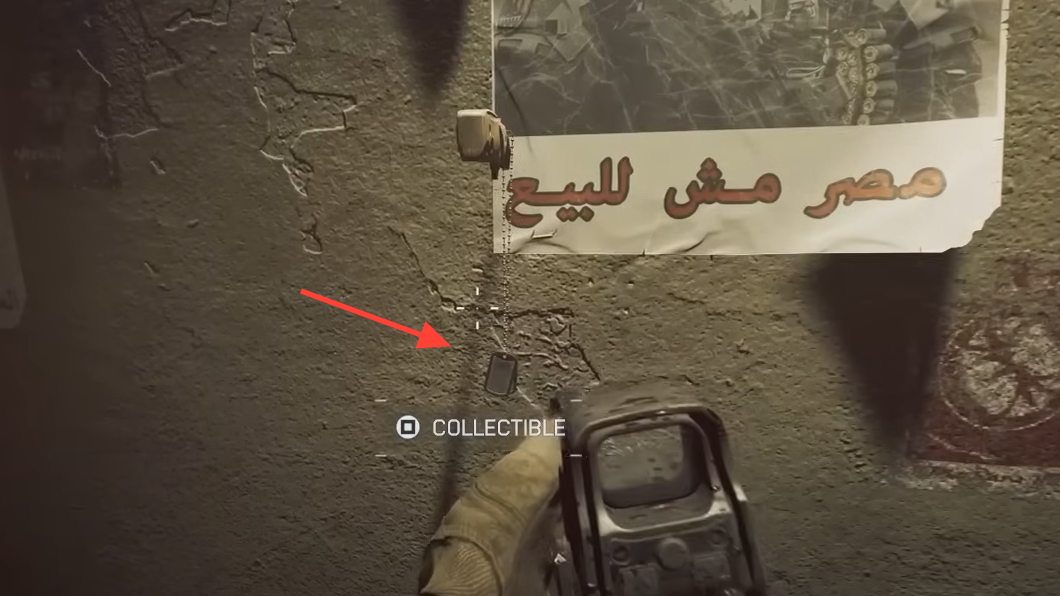
- Dog tag 3: Just inside City Hall. Turn left into the first office off the lower‑floor entry; the tag is hanging on the wall above a table, stabbed into a poster by a knife.

Night Raid (4 dog tags)
- Dog tag 1: After cutting power and breaching the palace, head upstairs toward the locked room objective. In the back‑left bathroom of that suite, the tag hangs beneath a draped tapestry covering a wall piece.
- Dog tag 2: In the courtyard, while moving to the exfil van after dodging the helicopter spotlight. Check the back‑right corner near the makeshift soccer goals. The tag is inside a red crate filled with spray paint cans, just left of the alley where your squad queues up.
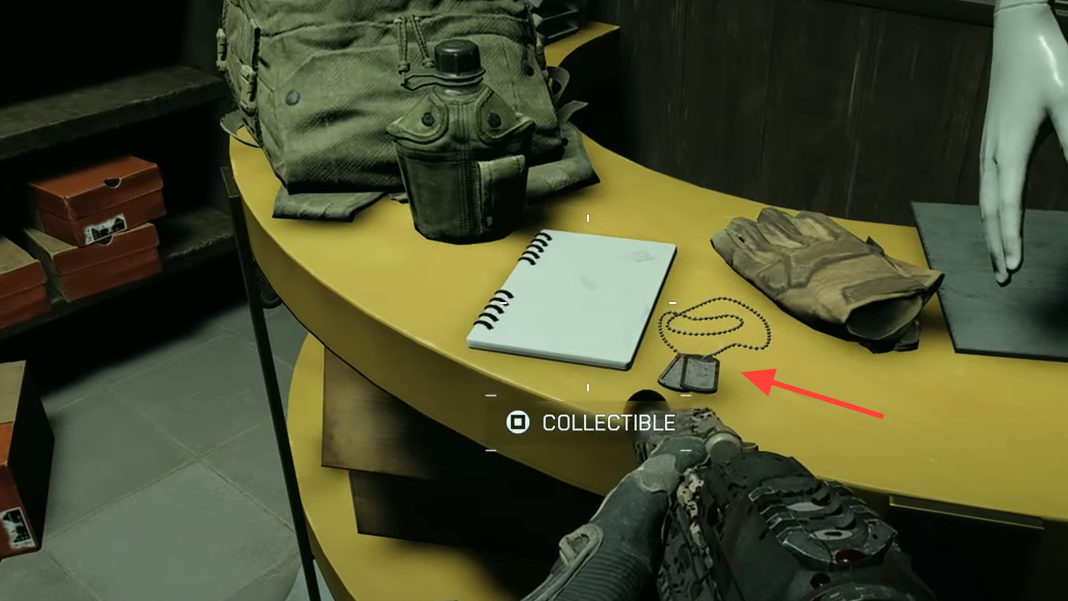
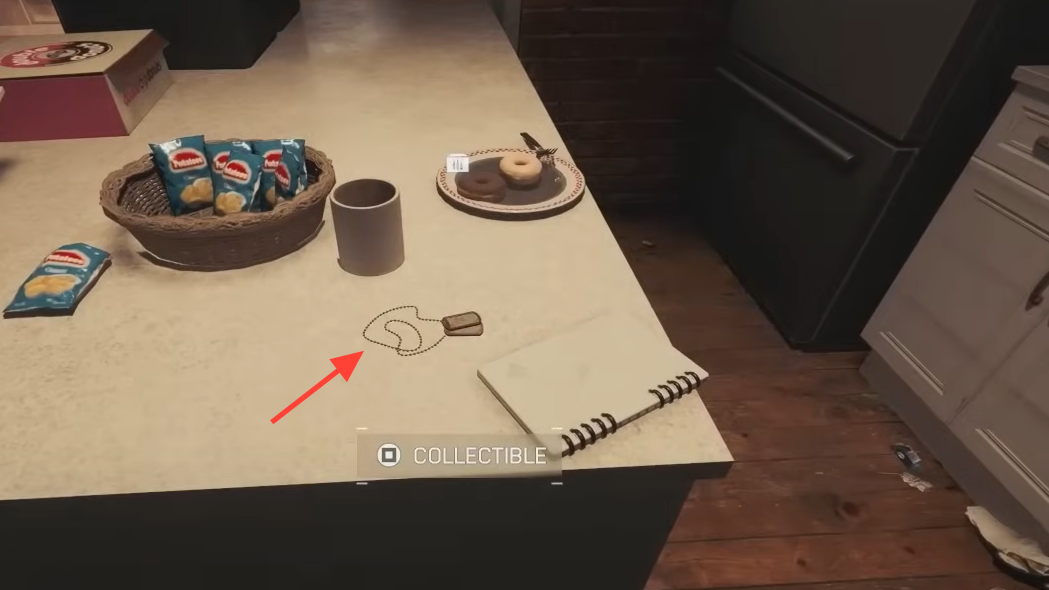
- Dog tag 3: After your team splits into pairs and regroups, follow the squad through a narrow alley marked by a green awning. Two doors past that turn, enter the clothing shop on the left — the tag rests on a desk beside a backpack, canteen, and gloves.
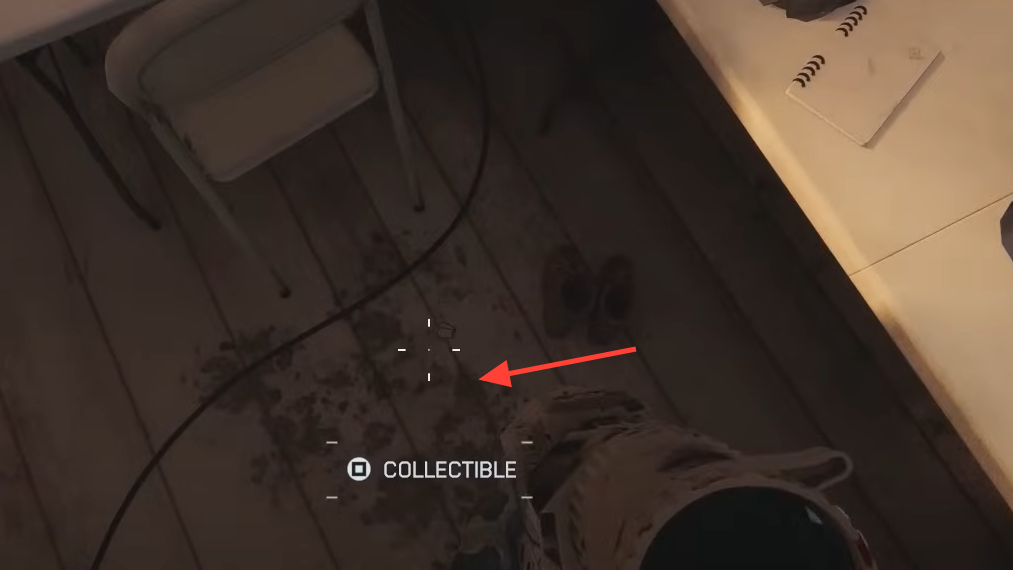
- Dog tag 4: Also on the escape route, positioned on a visible surface in ground‑level rooms as you weave through shops and streets. Sweep counters and wall boards before you trigger the next chase segment.
No Sleep (3 dog tags)
- Dog tag 1: Along the main path during the early house‑to‑house push. Check obvious staging points and desks before you meet heavy resistance in the street.

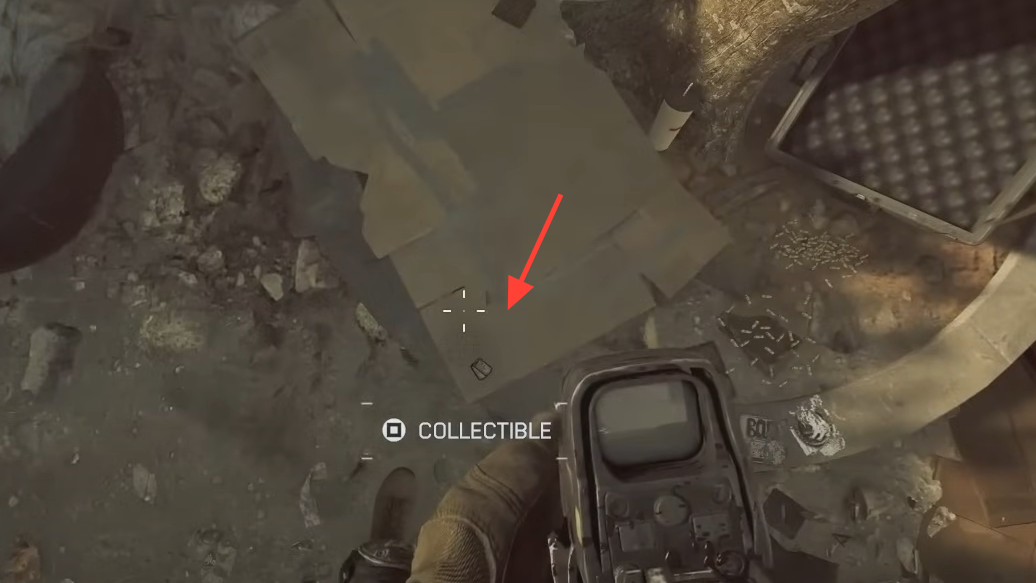
- Dog tag 2: During the approach to the construction site, scan tool benches and interior corners in the transitional buildings. The tag sits in plain view on mission‑critical clutter.
- Dog tag 3: Before you engage in the big firefight at the construction zone, look inside the lit shipping container on your right — the tag is on a crate near a utility lamp.
Moving Mountains (4 dog tags)
- Dog tag 1: In the fire station safehouse after meeting President Fernandez. Before heading to the rooftop LZ, go to the second floor’s back‑right kitchen area; the tag is on the countertop.
- Dog tag 2: In Prospect Park, after eliminating the first two drone operators. At the construction area entrance, enter the one‑room building on the left — the tag lies on the floor between chairs near a pair of boots.
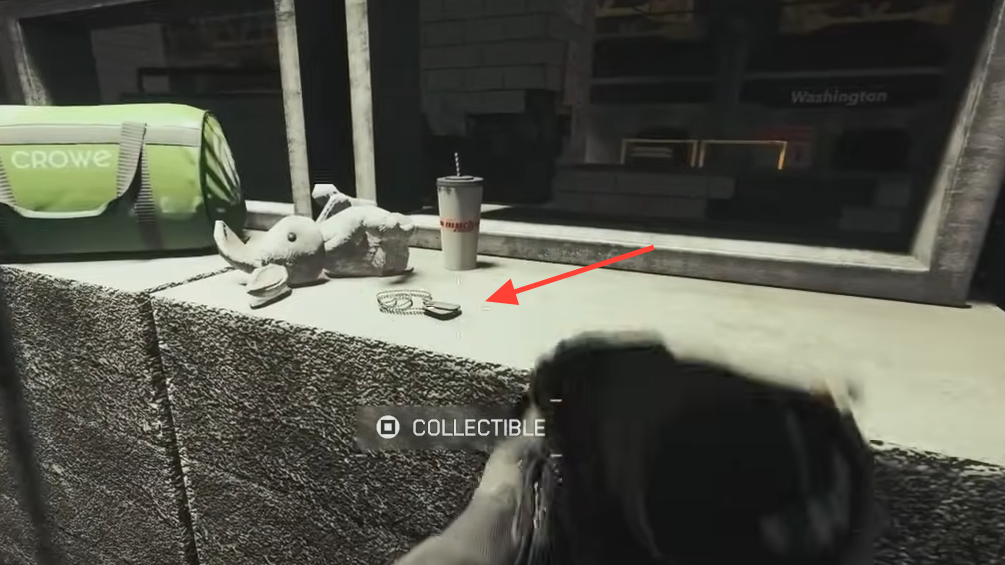
- Dog tag 3: In the subway station, after you drop into the tunnels and clear the platform fight. Between the pillars, check the left side of the central concrete block with the station boards — the tag sits beside a toy rabbit and a green sports bag labeled “Crowe.”
- Dog tag 4: After exiting the subway and heading toward the Brooklyn Bridge. Cross to the park on the far side of the road, follow the left path up a short stair, and check the left side near a corpse — the tag is on the ground roughly 80 meters from your next objective marker.
Nile Guard (2 dog tags)
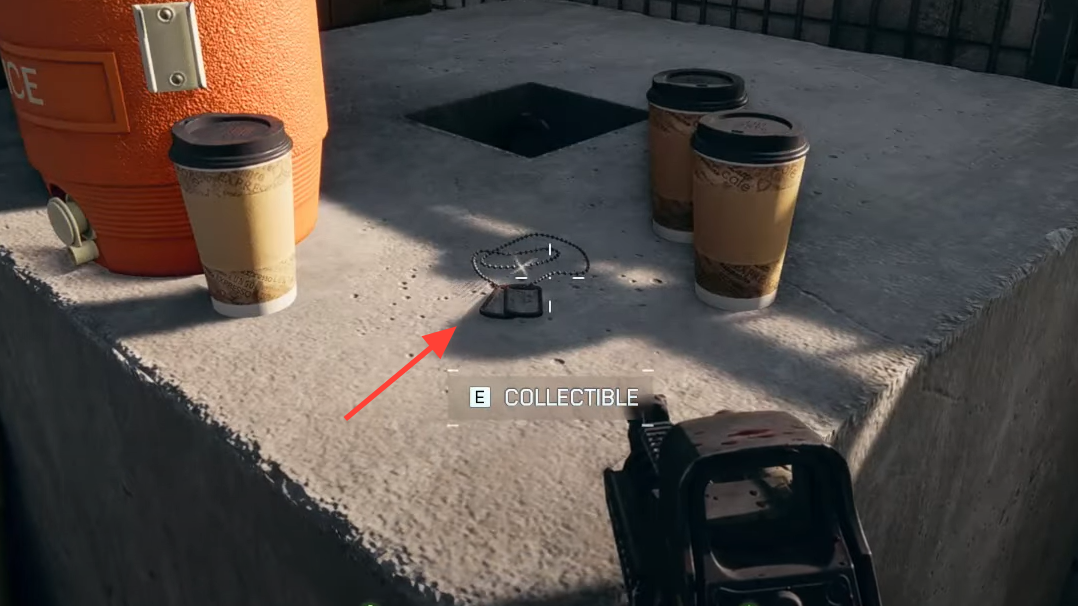
- Dog tag 1: After you step out of the tank, move through the first building into a small courtyard with a tree on the right. At the tree’s base, the tag rests on cardboard near an open black gear case and a disposable cup with a straw.
- Dog tag 2: Shortly after the market firefight on the way to the helicopter. On the east side of the courtyard, enter the tall building with the blue doorway and search interior staging surfaces; the tag is on a visible surface along your route upward.
Operation Ember Strike (4 dog tags)
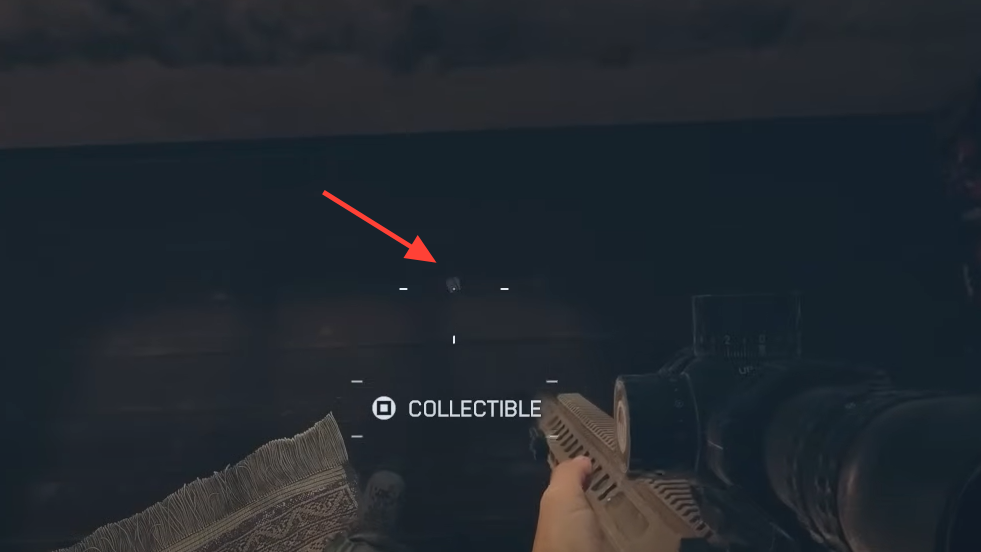
- Dog tag 1: On the route toward the Old Fort objective. Before you reach the marked point, enter the broken building directly ahead — the tag is on the floor by a rug. If you’ve already hit the Old Fort prompt, you’ve gone too far.
- Dog tag 2: As you push up the valley, you’ll pass a small village and cross a river. Immediately after crossing, a trio of buildings sits up the hill. Go into the center building; the tag is on a crate directly beneath the window.
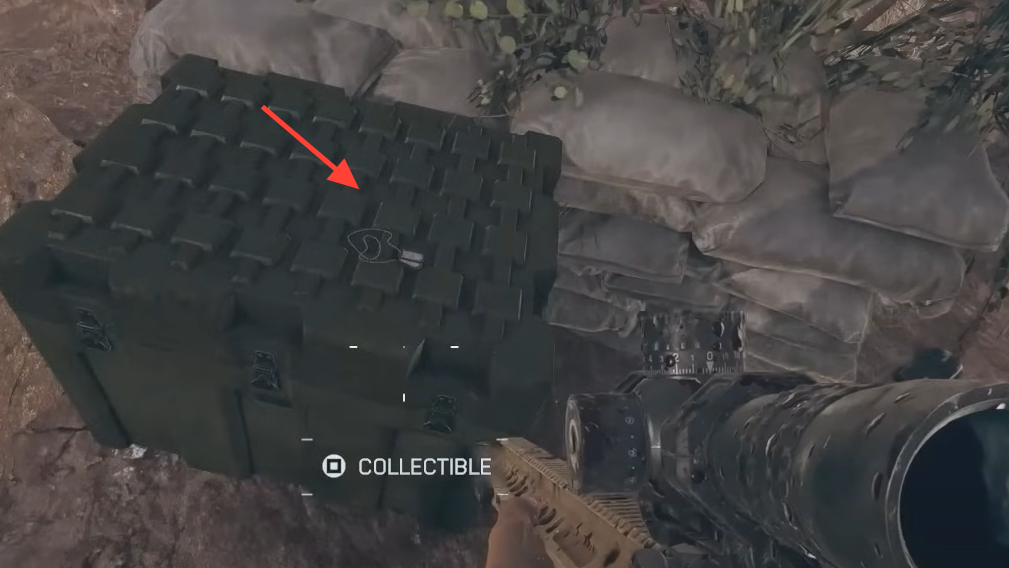
- Dog tag 3: On the road to Datalink Delta after checking on Lopez. Do not initiate the Switchblade sequence yet. Instead, head up to the ridge behind the blue portable toilets; the tag is on a military crate near the sniper’s perch.
- Dog tag 4: After disabling the Delta SAM and regaining control post‑dialogue, climb the hill and check the left side of the road — the tag sits on a crate in the staging area.
Always Forward (4 dog tags)
- Dog tag 1: Near the start, inside the large white‑and‑blue warehouse you clear while breaking through the first outpost. In the big garage, look on the floor near the green trucks — the tag is among scattered gear.
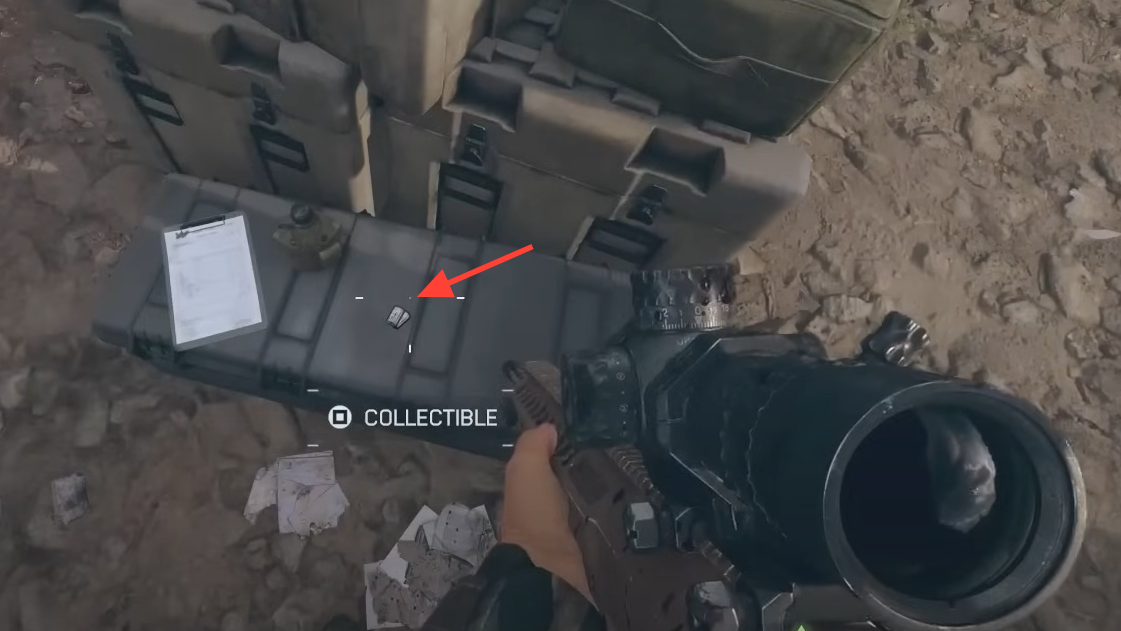
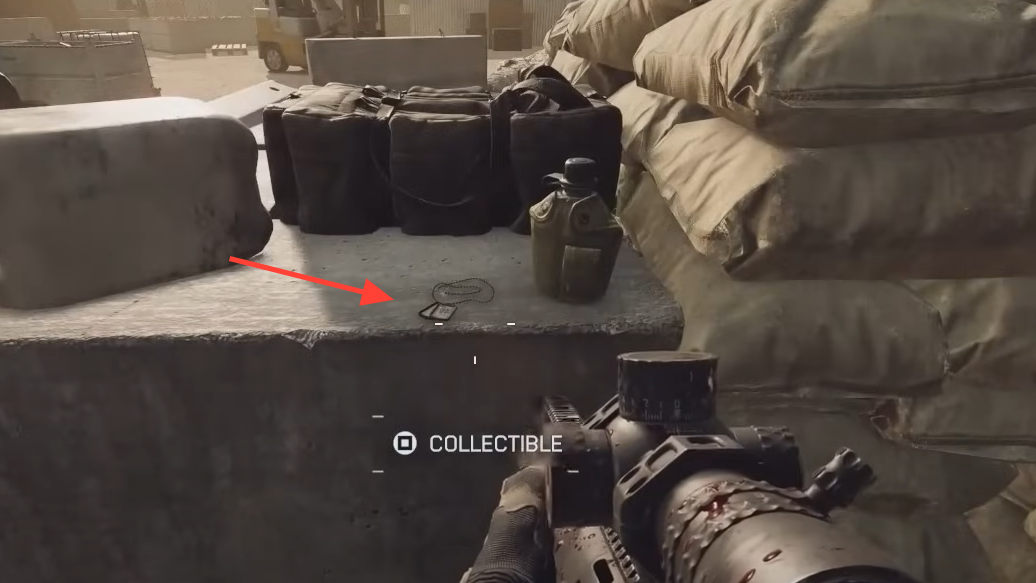
- Dog tag 2: While advancing toward NXC Launcher Alpha, exit the third of the three buildings your squad runs through — it’s blown open with “D‑04” painted in blue on the wall. Immediately to your right outside, the tag sits on a concrete block beside a canteen and sandbags.
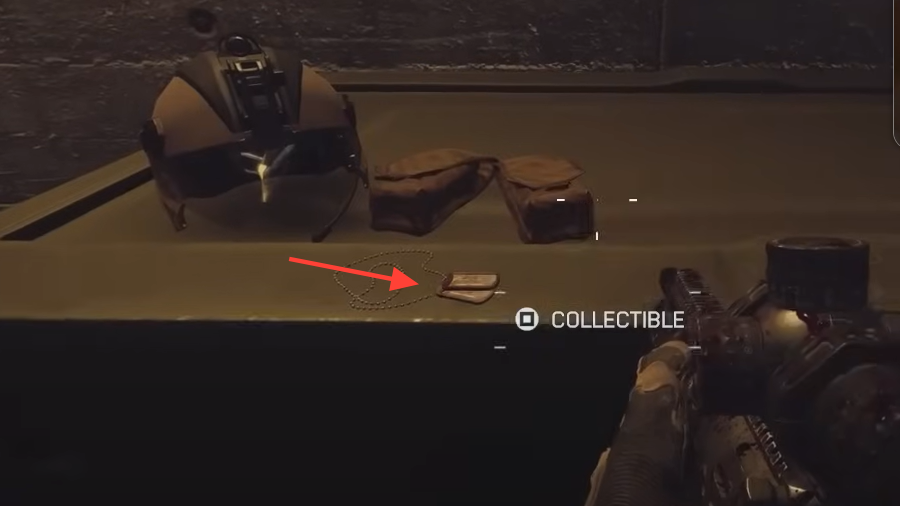
- Dog tag 3: In the bunker that houses NXC Launcher Alpha after you destroy the jet and fight inside. Head straight to the back wall at the top of the interior stairs; the tag is on a container next to a pilot’s helmet.
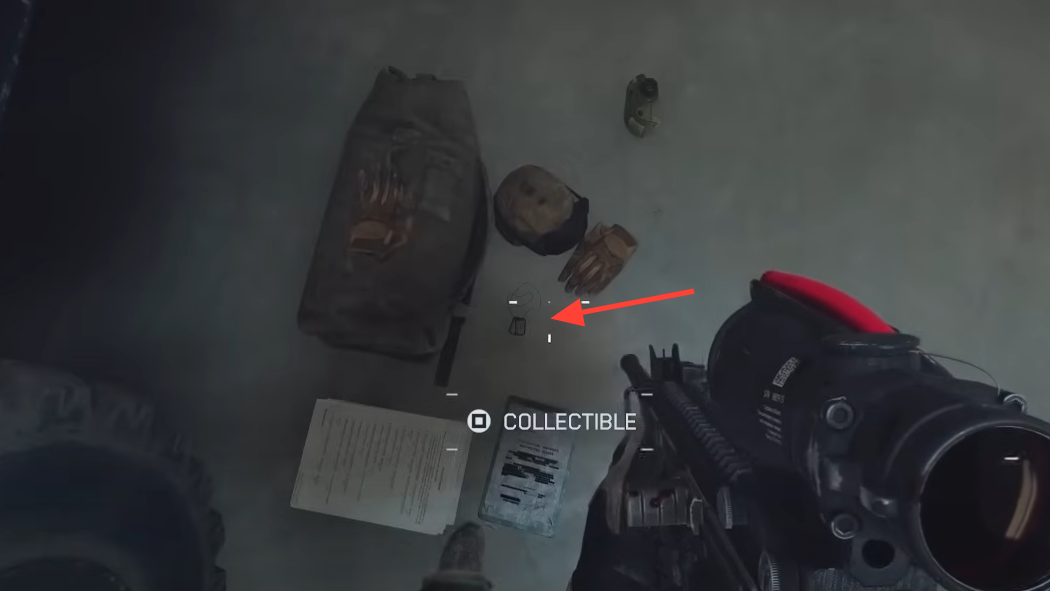
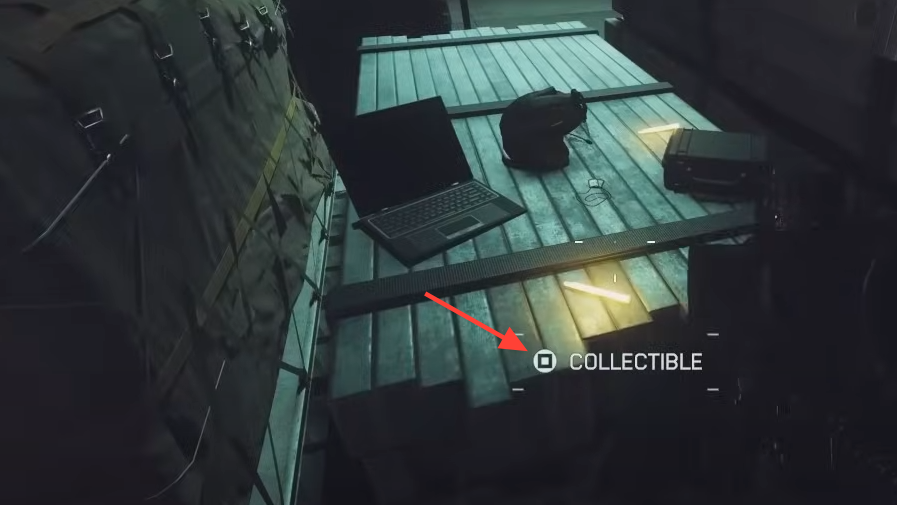
- Dog tag 4: After the NXC missile detonates and Murphy finishes speaking, at the bunker entrance where you regain control. On the left, the tag rests on boxes next to a glow stick, laptop, and helmet.
If you’re working mission by mission, remember the in‑mission tracker lists remaining tags in the order they appear. If you miss one, replaying the mission drops you near the right arena without losing earlier progress. Collecting every tag across all nine missions — plus the toy T‑Rex — clears the full set of campaign collectibles and finishes the associated trophies and multiplayer Challenge rewards.