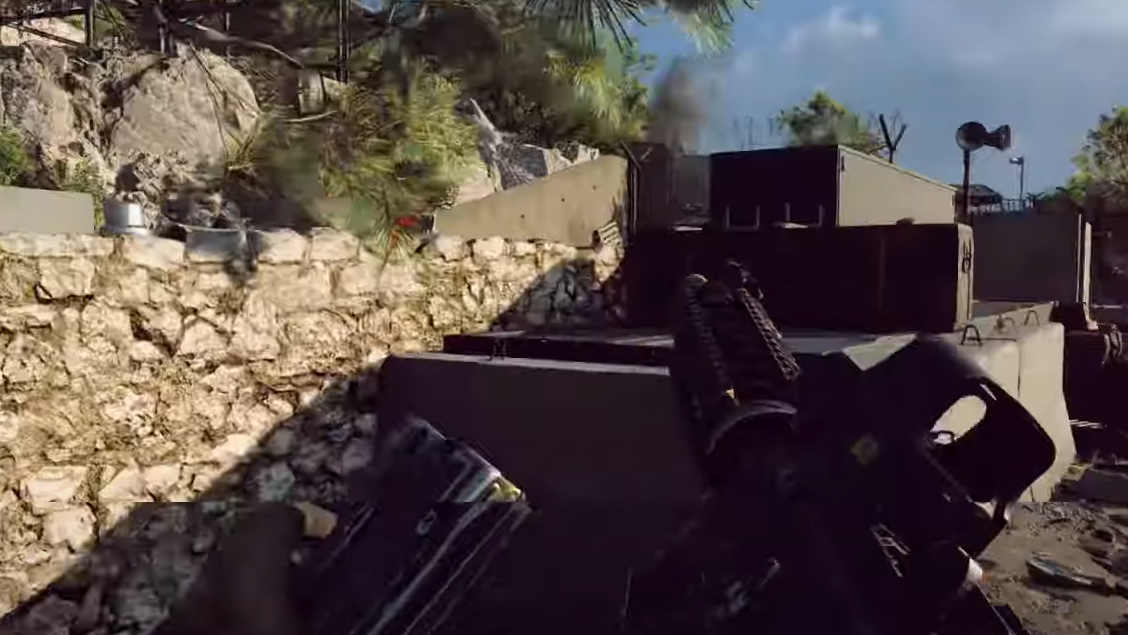
The DRS-IAR is an LMG that behaves like a service rifle: fast to handle, easy to steer, and built for reliable mid-range fights. It’s the Support class’s signature workhorse, and its attachment options let you swing between an assault rifle feel or a true belt-down defender. Below are focused, low-jargon builds that cover mobile pushes, point holds, and a suppressed, control-first setup.
DRS-IAR overview and role
- Weapon type: Light Machine Gun (Support signature)
- Identity: LSW that blurs into carbine/service rifle
- Strengths: Stable recoil, strong mid-range control, flexible attachment budget
- Effective envelope: up to around 40 meters with confident tracking
Pick this if you need Support utility without getting dragged down by heavyweight LMG handling. It’s comfortable on the move, yet it still sustains fire better than most rifles when you need to anchor a lane.

Best DRS-IAR loadout (mobile mid-range)
This build prioritizes recoil discipline and quick re-engagements. It’s the clean, no-drama setup for playing objectives and clearing angles at typical infantry distances.
| Slot | Attachment | Points | Purpose |
|---|---|---|---|
| Muzzle | Convertor | 10 | Clamps horizontal drift so you track up/down only. |
| Barrel | 20" SDM-R | 10 | Keeps the gun steady for sustained bursts at range. |
| Underbarrel | Stippled Stubby | 35 | Heavy recoil control so bullets land where you expect. |
| Magazine | 40RND Fast Mag | 30 | Enough capacity with quick reloads between pushes. |
| Ammunition | FMJ | 5 | Extra penetration for targets behind light cover. |
| Optic | Mini Flex 1.00x | 10 | Clear 1x picture for close to mid-range fights. |
How to run it: pre-aim common sightlines, fire in short to medium bursts, and lean on the fast mag to stay in tempo. The grip and muzzle do the heavy lifting—don’t fight the gun; let it ride straight up and reset.

DRS-IAR loadout (compact assault rifle feel)
If you want even snappier handling without giving up control, this variant swaps to a shorter barrel and a high-cost underbarrel that reins in kick while keeping you quick on target.
| Slot | Attachment | Points | Purpose |
|---|---|---|---|
| Muzzle | Double-Port Brake | 10 | Low-cost precision and recoil control. |
| Barrel | 16.5" LSW Heavy | 10 | Stays steady during longer strings at 20–30m. |
| Underbarrel | Low Profile Stubby | 45 | Big recoil cut with faster ADS; tradeoff while strafing. |
| Laser | 5mw Green | 10 | Stronger hipfire for tight spaces and surprise peeks. |
| Magazine | 30 Fast | 10 | Short reloads to stay aggressive and mobile. |
| Ammunition | Standard | — | Saves points to fund the premium underbarrel. |
How to run it: this is a Support rifle in everything but name. Take on 10–30m duels confidently, burst at 30m+, and rely on the quick reload to chain fights rather than stretching one magazine.
DRS-IAR loadout (anchored heavy LMG)
When it’s time to hold a lane or lock down a flag, this setup leans on the bipod and a heavier front end for laser-stable fire from cover.
| Slot | Attachment | Points | Purpose |
|---|---|---|---|
| Muzzle | Compensated Brake | 20 | High recoil reduction and precision over distance. |
| Barrel | 20" SDM-R Heavy Extended | 10 | Extra stability for long strings from fixed positions. |
| Underbarrel | Bipod | 10 | Mount to edges and barriers for near-zero recoil. |
| Laser | 5mw Green | 10 | A small hipfire cushion if enemies close the gap. |
| Magazine | 50 Round | 45 | Sustained fire to break pushes and cover teammates. |
| Ammunition | Standard | — | Keeps the point budget focused on the core LMG parts. |
How to run it: pick a head-glitch or waist-high barrier, deploy the bipod, and throttle bursts to keep targets pinned. You give up mobility, but you gain the ability to gate entire approaches.

Alternative suppressed control setup
When staying off the radar is the priority, go quiet and steady with a moderate magazine and a 2x sight for confident picks.
| Slot | Attachment | Points | Purpose |
|---|---|---|---|
| Muzzle | Long Suppressor | — | Noise and flash reduction for low-profile plays. |
| Barrel | 16.5" LSW | — | Balanced control at medium range. |
| Underbarrel | 6H64 Vertical | — | Vertical stability for predictable climb. |
| Magazine | 36RND Magazine | — | Practical capacity without heavy handling penalties. |
| Ammunition | FMJ | — | Better penetration on targets behind cover. |
| Ergonomics | Magwell Flare | — | Slicker reload feel to keep you in rhythm. |
| Optic | R4T 2.00x | — | Sharper holds and tap firing at 30–40m. |
How to run it: play edges of fights, pre-aim rotations, and use the 2x to punish crossers without advertising your angle.
Support class pairing (field spec, sidearm, and tools)
| Slot | Pick | Why it fits the DRS-IAR |
|---|---|---|
| Field Spec | Combat Medic | Faster revives and frontline sustain match the gun’s mid-range role. |
| Secondary | P18 | Reliable sidearm if you get caught during a reload. |
| Gadget One | Defibrillator | Quick pickups to keep numbers up during pushes and holds. |
| Gadget Two | GPDIS | Helps secure a position by limiting grenade threats while posted. |
| Throwable | Smoke Grenade | Safe revives, disengages, and lane denial for repositioning. |
| Melee | Combat Knife | Fast swap for last-ditch flanks and quick takedowns. |
Playstyle guidance: with the mobile builds, you’re the point man for entries and quick trades. With the anchored build, you’re the seatbelt—stabilize a lane, keep teammates alive, and punish overextensions.

Unlock requirement
The DRS-IAR unlocks at Rank 9. If you’re not there yet, progress Support challenges and stick close to teammates to rack up revive and resupply points between matches.
The thread across all these builds is control. Whether you pick a fast 30–40 round magazine for tempo or a 50-round can for stand-your-ground play, prioritize the attachments that make the DRS-IAR track straight and reset quickly—then let your class tools do the rest.

