
Healing is handled by the Support class. Drop a Supply Bag (often called a crate or pouch) near injured allies to passively restore health and ammo. It won’t tick while they’re taking damage. Support also carries a Defibrillator to revive downed players. Other classes can’t heal, but they can drag and revive squadmates.
Heal as Support with the Supply Bag/Crate
The Support’s Supply Bag is a combined health-and-ammo source. Place it at or near a teammate’s feet and it will automatically heal and resupply nearby allies who aren’t actively under fire. You’ll see a supply descriptor on your HUD for the player you’re helping; there’s no separate “healing” pop-up in BF6, which is why it often feels like heals aren’t counting.
- Only one Support can heal a given player at a time. If another bag is already healing them, yours may do nothing.
- There may be a short internal cooldown before a bag can trigger healing on the same target again.
- Healing yourself doesn’t count toward teammate-heal challenges.
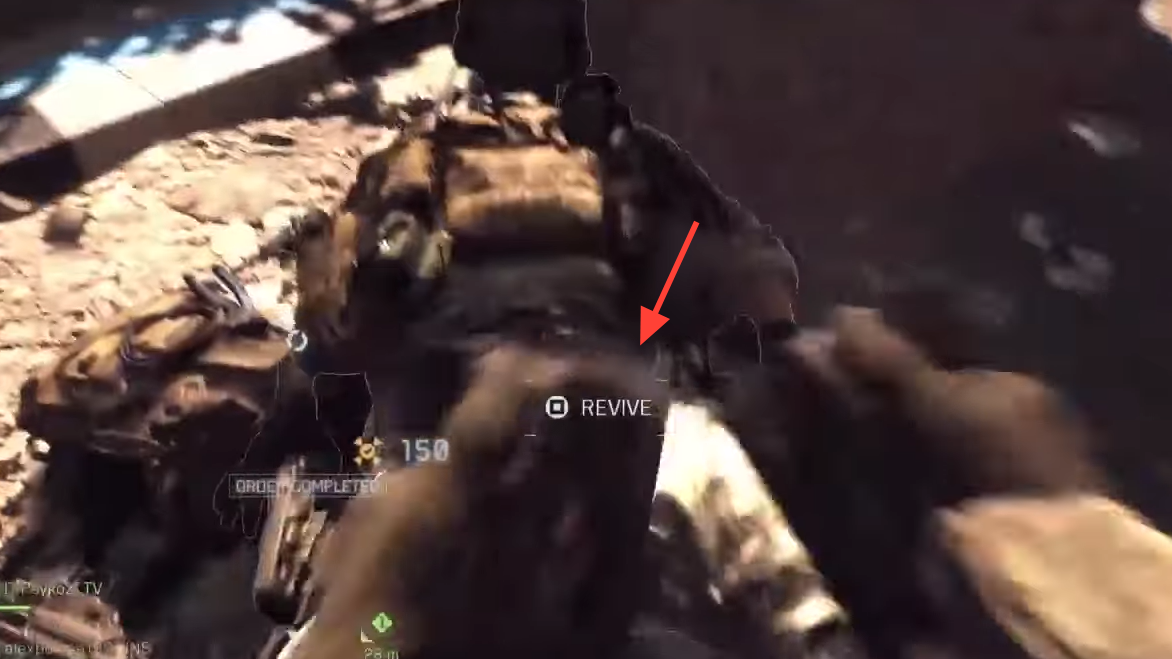
Revive with the Defibrillator (Support)
As Support, you can revive any teammate on your team with the Defibrillator. Swap to the defib, sprint to the downed player, and revive them quickly; then drop a Supply Bag to finish topping up their health. Health on revive can vary by situation, but your bag will complete the heal once they’re safe and not taking damage.
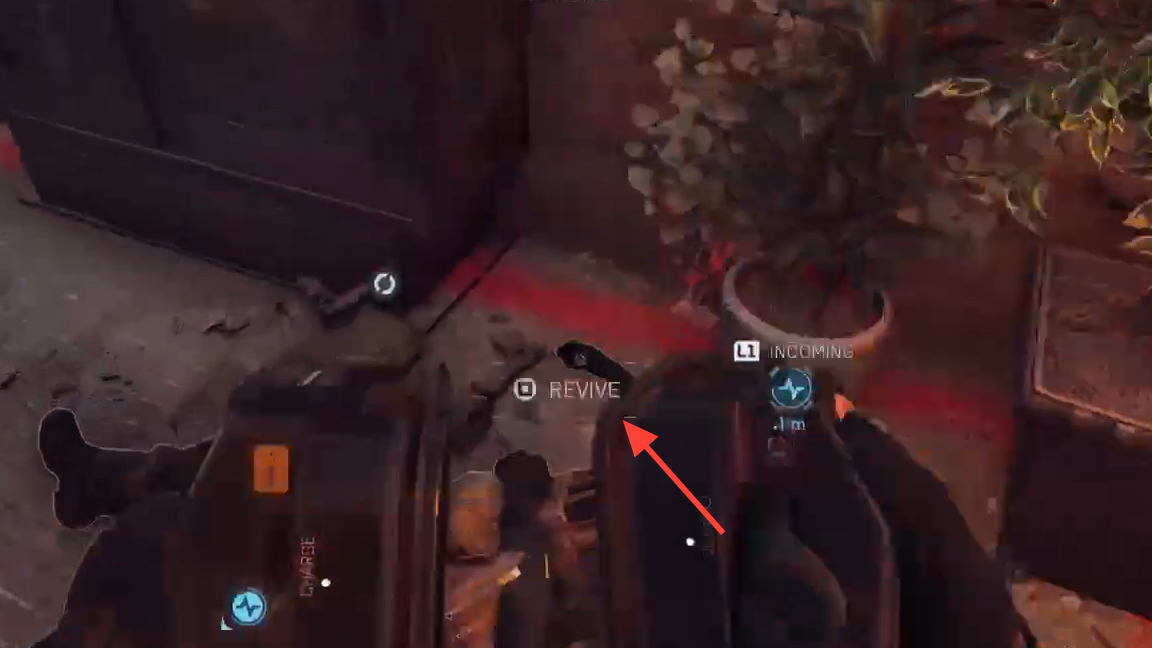
Revive and drag as non‑Support (squadmates only)
If you’re not playing Support, you still play a role in survivability. You can grab, drag, and revive your own squadmates to safety, but you can’t heal them.
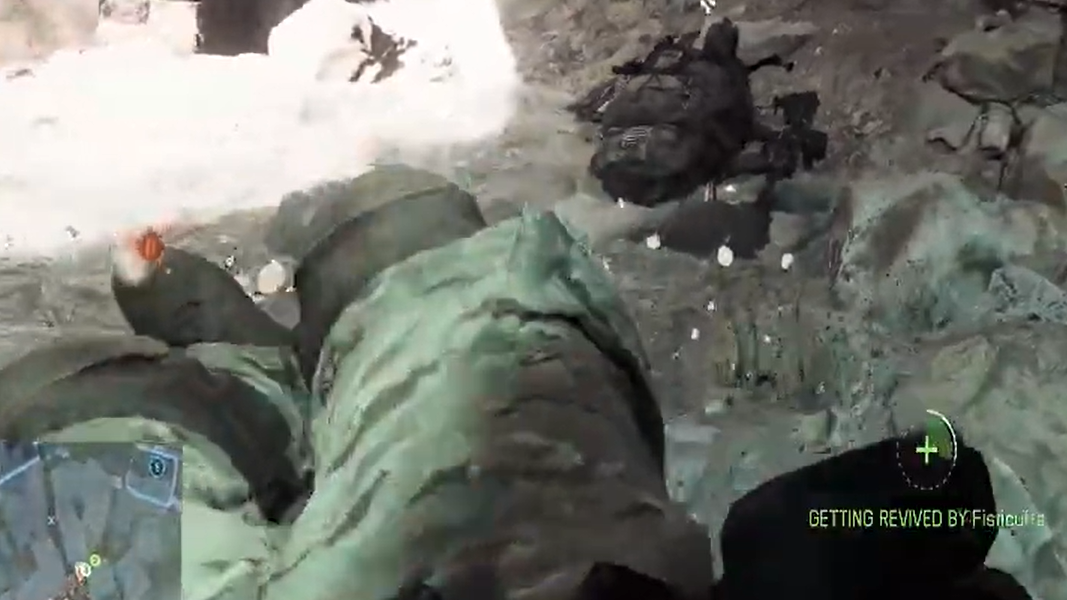
- Approach a downed squadmate and hold the revive/drag prompt (keyboard: E; controller: X/Square) to pull them into cover.
- Once safe, complete the revive. Have a Support drop a Supply Bag to restore their health afterward.
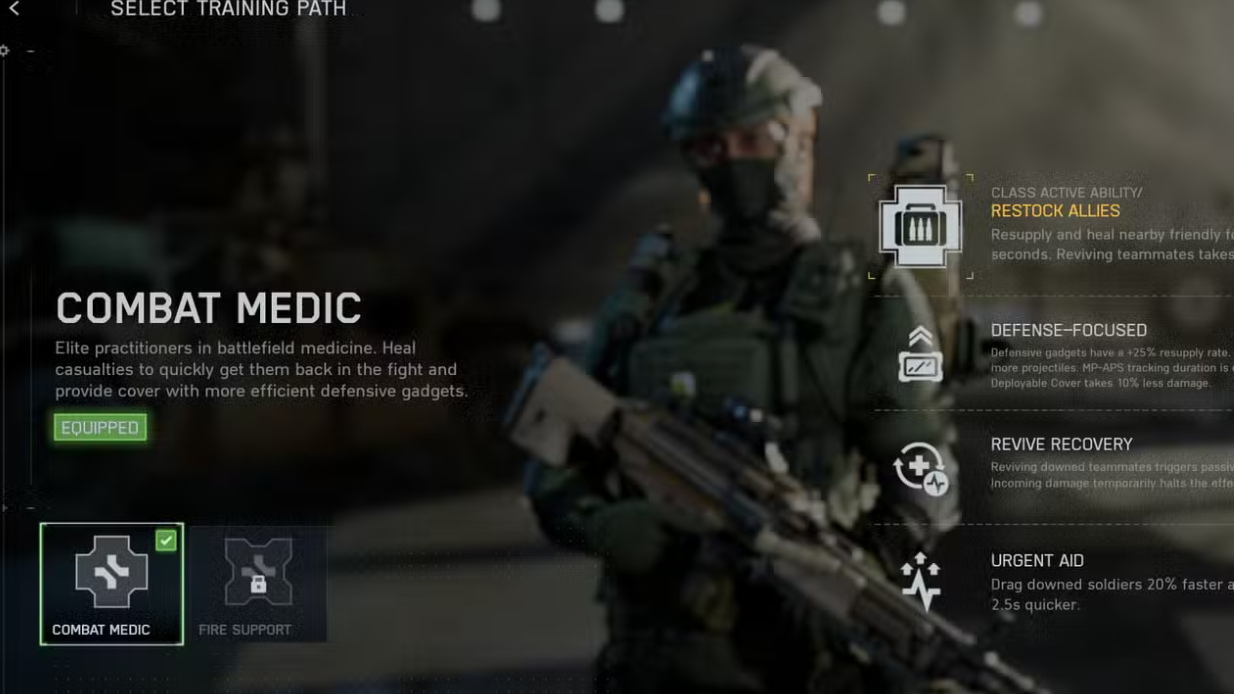
Combat Medic specialization and Support tools that help
Field Specs and traits make Support faster and more reliable in the chaos around objectives:
- Urgent Aid: drag downed soldiers 20% faster and revive 2.5 seconds quicker.
- Restock Allies: briefly turns you into a walking supply source, healing and resupplying nearby friendlies for 10 seconds when activated mid‑match.
- Squad Supplies: squadmates can interact with a Support to pull health and ammo directly if a bag isn’t on the ground.
- Revive Recovery: reviving a teammate triggers passive health regeneration.
What each role can do (healing vs. reviving)
| Action | Who can do it | How it works | Key limitations |
|---|---|---|---|
| Heal teammates | Support | Place a Supply Bag/Crate near injured allies to auto‑heal when they’re not taking damage. | No separate “heal” pop‑up; healing is indicated via supply descriptors. Only one bag heals a target at a time. |
| Revive (any teammate) | Support | Use the Defibrillator on any downed friendly. | Finish healing with a Supply Bag after the revive. |
| Drag and revive (squadmates) | All classes | Hold the revive/drag prompt to pull a downed squadmate to cover, then revive. | Only works on squadmates; doesn’t heal. Pair with a Support’s Supply Bag. |
| AoE heal + resupply burst | Support (Field Spec ability) | Activate Restock Allies to pulse heals and ammo for nearby friendlies for ~10 seconds. | Time‑limited; use during pushes or under heavy pressure. |
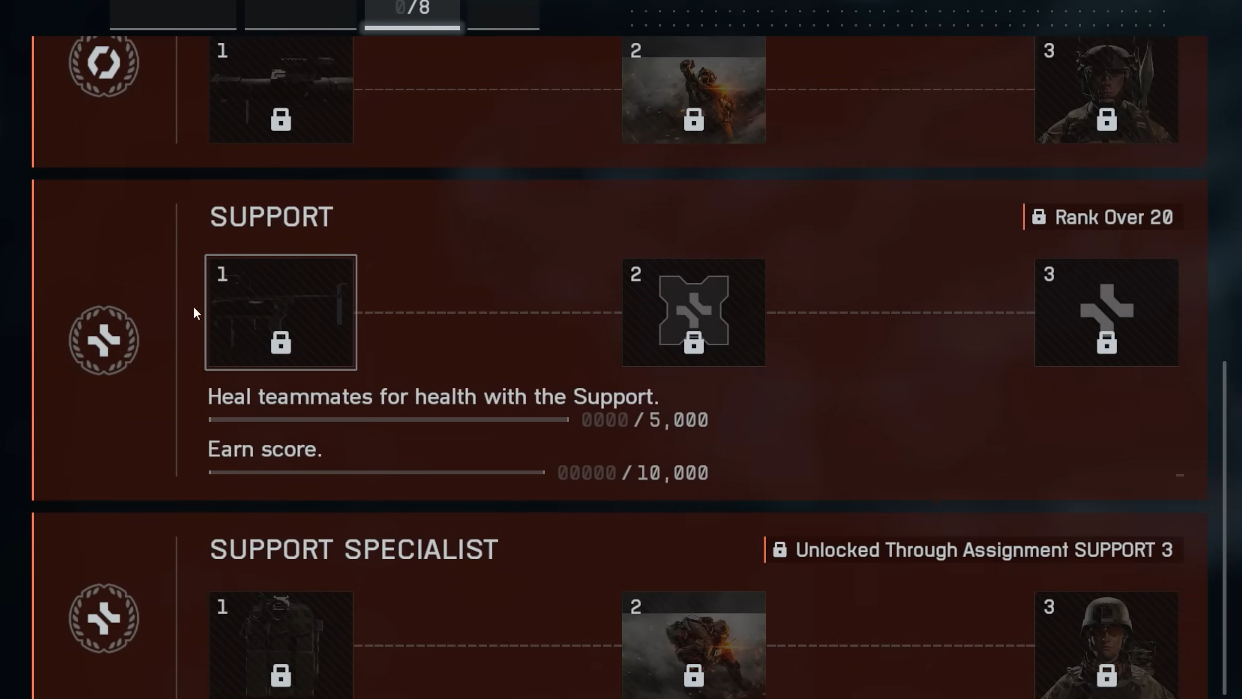
Make “Heal teammates” challenges register
Most early Support assignments ask you to heal a set amount. These common pitfalls prevent progress:
- You’re healing yourself. The counter requires teammates.
- Another Support’s bag is already healing the target. Find unhealed allies or place your bag where yours will be the active source.
- The target is still taking damage. Healing won’t tick until they’re safe.
- Short cooldowns may block immediate re‑heals from the same source.
Fast, reliable setup that counts: drop a Supply Bag on a downed teammate’s position, revive with the Defibrillator, then let the bag finish the heal to full. This sequence reliably adds a meaningful chunk to your progress.
If your assignment still won’t move despite clean attempts, restart the game or your console and try again. Some players report progress returning after a fresh boot.
If you’re unsure your heals are landing, watch for the supply descriptor on your HUD and reposition your bag to cover chokepoints and post‑fight rally spots. Support’s value spikes when you stabilize a lane and keep a push alive—revive fast, heal where it’s safe, and let the meter climb.