
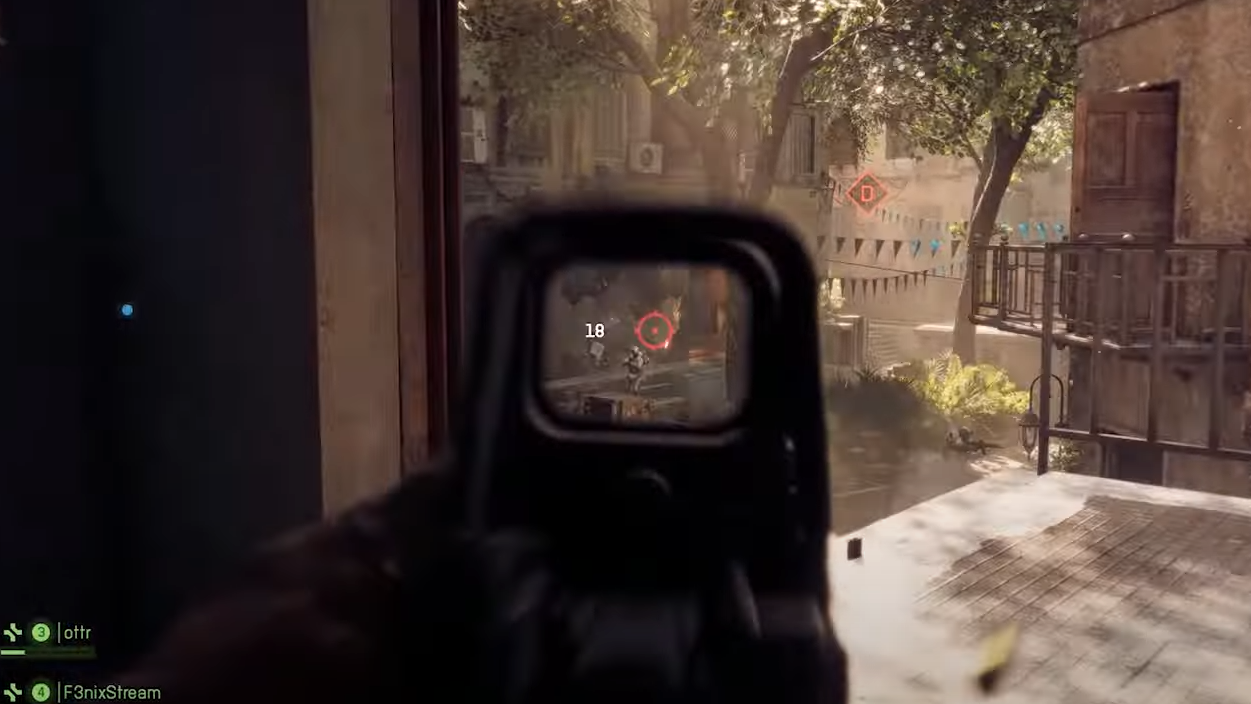
The M4A1 unlocks early at Rank 2 and stays relevant well beyond your first matches. It’s a carbine with fast handling and excellent hipfire, and with the right setup, it holds its own from tight corridors out to controlled mid-range gunfights. Below are two grounded builds: one that prioritizes snap aim, fast reloads, and tight hipfire for close-quarters, and another that steadies recoil and projectile speed for more reliable tap and burst fire at distance.
M4A1 strengths and role
- High rate of fire for the class (fast time-to-kill up close).
- Clean handling and strong hipfire make it forgiving in hectic fights.
- Carbine classification means it fits into any class kit.
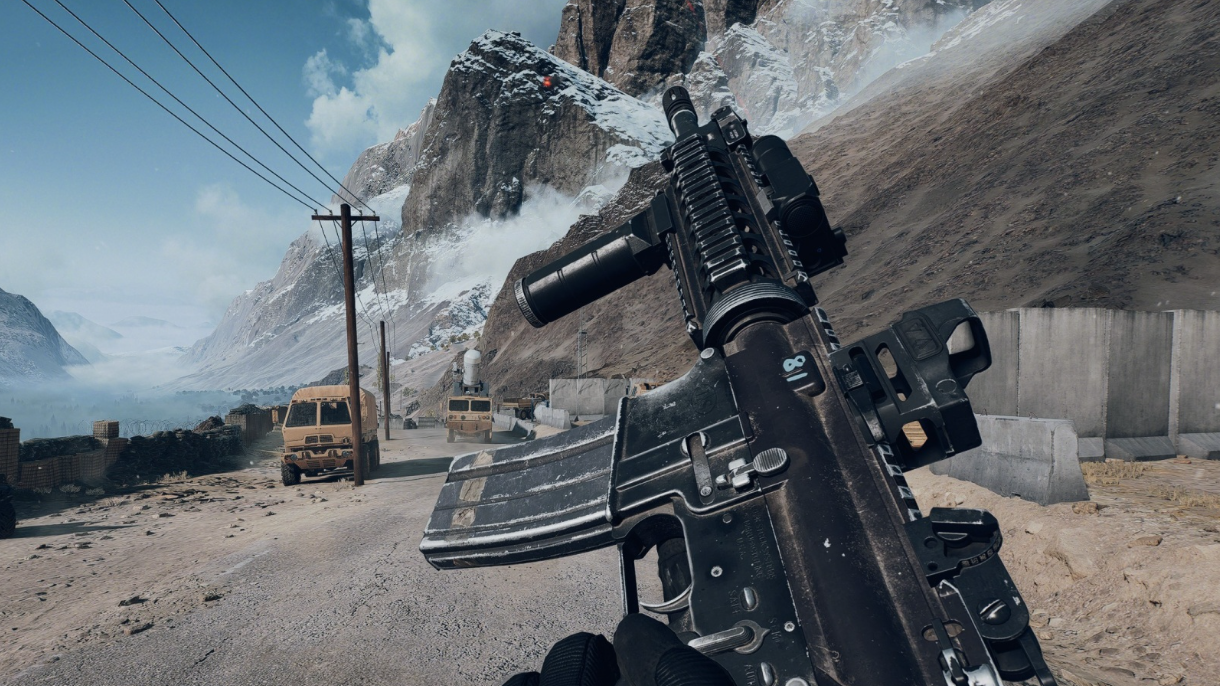
- With a velocity-focused barrel and a recoil grip, it becomes dependable at medium ranges.
On larger maps, burst or short controlled sprays are key; in close-quarters playlists, lean into movement and hipfire.
Best M4A1 close‑quarters loadout (fast handling and hipfire)
| Slot | Attachment | Why it works | Viable alternative |
|---|---|---|---|
| Muzzle | Flash Hider | Hides muzzle flash and reduces how easily you’re spotted while firing, useful for flanks. | Standard Suppressor (quieter but costs more build points) |
| Barrel | 11.5" Commando | Quicker ADS and tighter hipfire at the expense of velocity, which matters less up close. | 12.5" Mid (balanced if you want a touch more reach) |
| Underbarrel | Folding Stubby | Shaves ADS time and trims recoil without slowing movement. | Ribbed Stubby (comparable balance of control and speed) |
| Magazine | 30rnd Fast Mag | Significantly faster reloads to keep you in fights. | 36RND Magazine (more ammo; consider dropping an ergonomics perk to budget points) |
| Ammunition | Polymer Case | Improves movement while aiming for aggressive strafing in tight spaces. | FMJ (Standard) to conserve points |
| Ergonomics | Improved Mag Catch | Stacks with Fast Mag for best-in-class reload speed during chaotic pushes. | Magwell Flare (if you favor more consistent insertions over raw speed) |
| Optic | Mini Flex 1.00x | Clean, unobtrusive sight picture; minimal visual clutter in corridors. | Any 1.00–1.50x micro optic you prefer |
| Top Accessory | 50 MW Green Laser | Greatly tightens hipfire. The beam is visible to enemies, so use smart angles. | 5 MW Green Laser (cheaper option with a smaller benefit) |
This build prioritizes reaction time and target transitions. You’ll sprint, shoulder, and clear rooms faster, yet still be able to drag a short spray onto targets around 20 meters. If you often take on multiple enemies per push, consider the 36RND Magazine; just budget points by downgrading a nonessential attachment.
Best M4A1 mid‑range loadout (recoil control and velocity)
| Slot | Attachment | Why it works | Viable alternative |
|---|---|---|---|
| Muzzle | Double‑Port Brake | Meaningfully reduces recoil for controllable bursts at range; trades stealth for stability. | Compensated Brake or Single‑Port Brake (slightly weaker but cheaper) |
| Barrel | 14.5" Carbine | Higher projectile velocity and snappier ADS for cleaner hits at distance (around 787 m/s with this barrel). | 12.5" Mid if you want a middle ground |
| Underbarrel | Classic Vertical | Strong vertical recoil damping; steadies sustained fire. | Alloy Vertical (slightly less control, keeps mobility high) |
| Magazine | 30rnd Fast Mag | Faster reloads while holding angles; you’re rarely dumping full mags at range. | 36RND Magazine (if you anchor objectives and expect chain engagements) |
| Ammunition | FMJ (Standard) | Reliable baseline performance without heavy point cost. | Soft Point for close emphasis; reserve for specialized builds |
| Ergonomics | Improved Mag Catch | Shaves tenths off reloads when you’re trading across lanes. | Magwell Flare as an alternative cadence tweak |
| Optic | Baker 3.00x | Extra precision without blocking peripheral vision; ideal for medium sightlines. | 2.00x or 1.50x if you prefer less zoom |
| Top Accessory | 5 MW Green Laser | Modest hipfire help for emergencies without overcommitting points to CQC. | 50 MW Blue/Green if available and you still want stronger hipfire |
This setup turns the M4A1 into a lane holder. Fire in short bursts, pull down and just a touch left to counter the climb, and let the velocity upgrade do the work on moving targets. You won’t outduel snipers, but you’ll consistently disrupt pushes and pick heads off cover at medium ranges.
Recoil control and firing technique
- Close range: center chest and let the fast fire rate carry the duel; hipfire when surprise is critical.
- Medium range: burst 3–6 shots, pause to reset, repeat. With the mid‑range build, drag slightly down-left.
- Lasers improve hipfire, but the beam is visible. Angle yourself to reduce exposure when shouldering corners.
- Heavier brakes make you louder on the minimap while firing; plan flanks accordingly.
Class pairing and map context
The carbine slot gives you flexibility across classes with no hard specialization bonuses tied to one role. It slots naturally into aggressive assault setups for point takes and works in support roles on objective holds. On Recon, consider whether you’d rather leverage long sightlines and auto‑spot mechanics with a different primary; the M4A1’s strengths are generally better used closer to the fight.
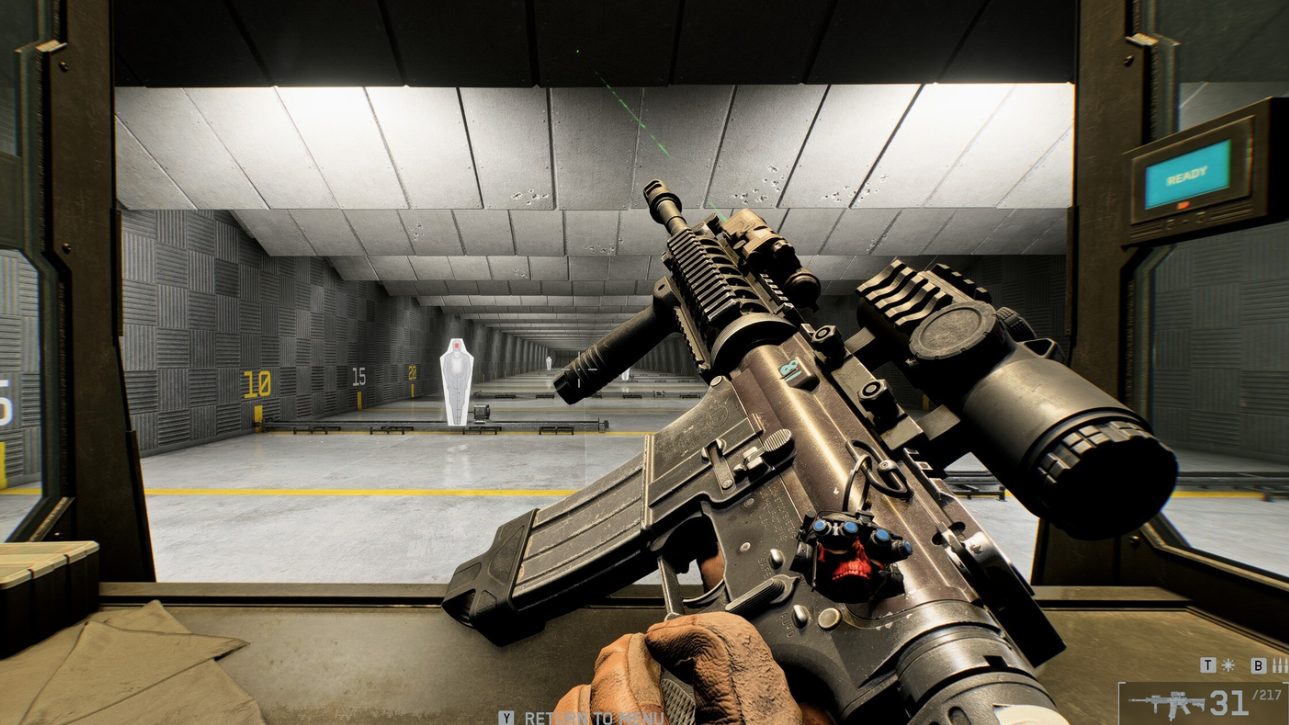
Unlocks and testing your tweaks
Most attachments arrive as you raise the weapon’s Mastery, so expect these builds to come together over time. When you swap parts, use the loadout screen’s firing range to validate recoil and sight picture before you queue—press Z while customizing to spawn a range and iterate quickly. If a specific part isn’t unlocked yet, the alternatives listed above will keep the build’s intent intact.
Quick comparison: when to use each build
| Focus | Close‑quarters build | Mid‑range build |
|---|---|---|
| Handling | Fastest ADS and reloads | Balanced ADS, steadier sight picture |
| Recoil behavior | Manageable for 10–20 m sprays | Short bursts land reliably at range |
| Map visibility | Lower firing visibility (Flash Hider) | Higher firing visibility (Brake) |
| Hipfire | Very strong (50 MW laser) | Adequate backup (5 MW laser) |
| Best use case | Tight corridors, rapid trades, multi‑enemy pushes | Lane holding, crossfire support, larger maps |
The M4A1’s appeal is that you don’t have to drop it as the matches stretch out and the sightlines open up—swap a few parts and it adapts. Start with the close‑quarters setup for early unlocks and infantry maps, and keep the mid‑range variant saved for bigger layouts and objective defenses.