
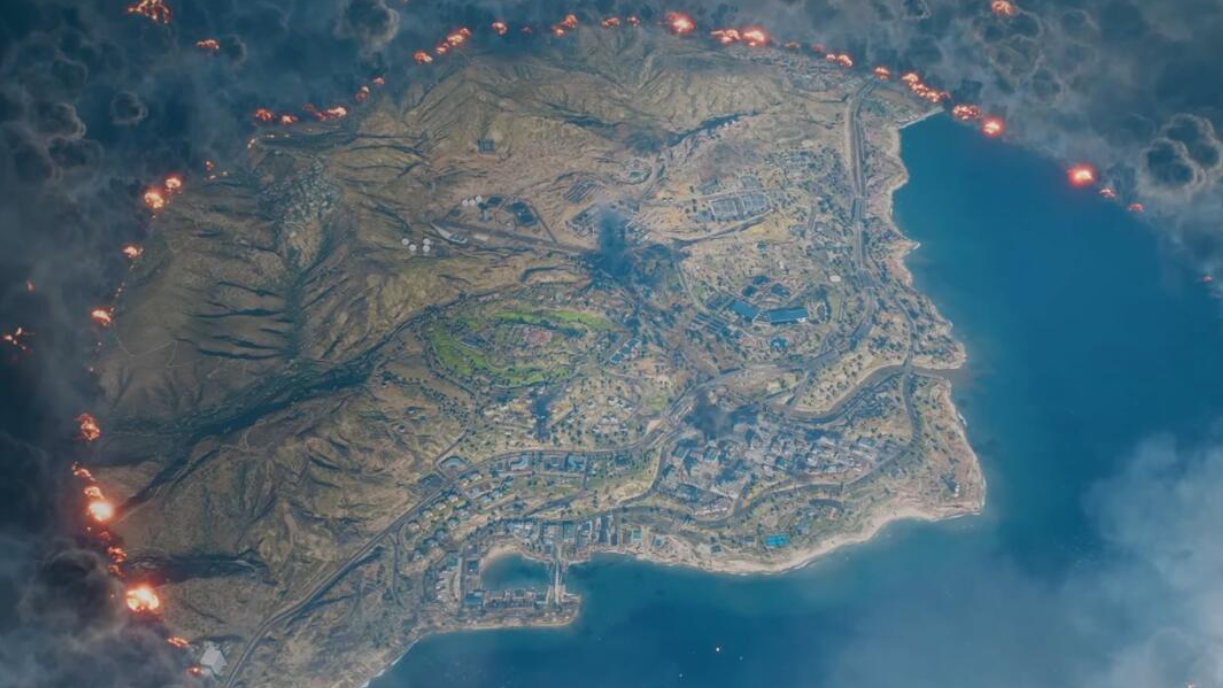
RedSec’s Fort Lyndon is a sprawling Southern California sandbox: dense urban blocks, industrial yards with destructible cover, quiet residential streets, coastal inlets with boats, and high ridgelines built for overwatch. There are 21 named POIs tuned for 100-player matches, and the terrain forces constant tradeoffs—verticality versus sightlines, vehicles versus stealth, elevation versus exposure.
Two map traits shape every decision: elevation and exposure. Elevated zones like Radar Site and The Seal dominate long sightlines and make early recon simple; exposed industrial corridors around Lyndon Oilworks and Redline Storage favor mid-range fights; urban pockets such as Downtown and Boutique District reward fast entries and rooftop control.
Best landing spots by playstyle
| POI | Why land here | Risk profile (early) | Clean rotation ideas |
|---|---|---|---|
| Downtown | High loot density, rooftop starts, constant CQC opportunities. | High | Push into Boutique District or hold high ground to scout south/west. |
| Boutique District | Plenty of enterable buildings, vertical flanks, premium chest spawns. | High | Sweep into Downtown once stabilized; control building-to-building routes. |
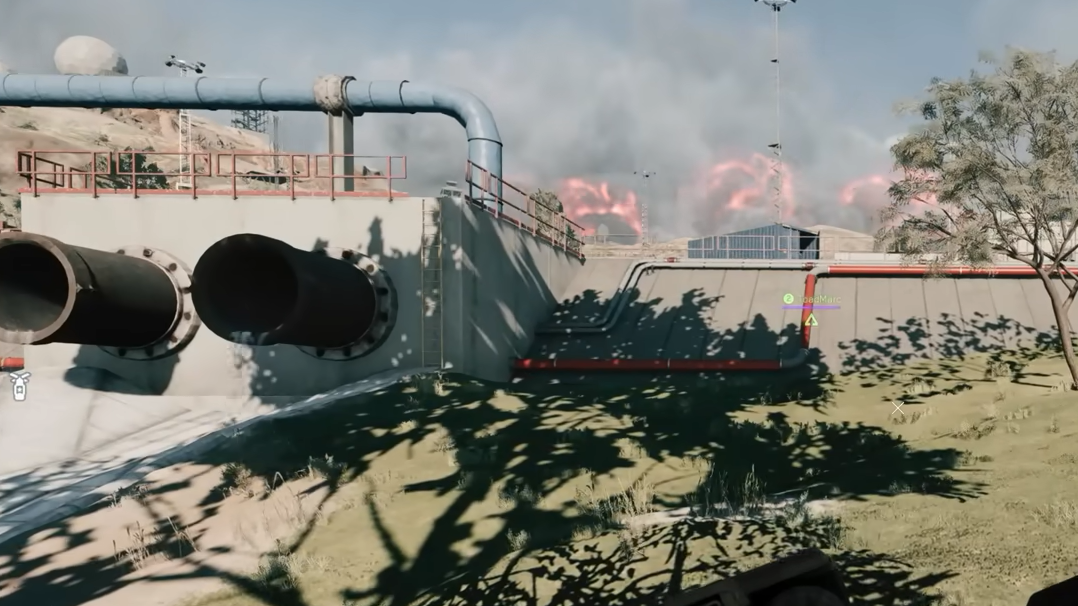
| Chemical Storage | Stacked vertical play and destructible cover, frequent class chests. | High | Cut toward Treatment Plant using scaffolds and containers for cover. |
| Lyndon Oilworks | Solid loot, vehicles for flexible rotations, clear mid-range sightlines. | Medium | Pair with Redline Storage to gear; decide on vehicle or foot rotate. |
| Redline Storage | Balanced early fights, predictable lanes, access to industrial vaults. | Medium | Work toward Chemical Storage or hold east for circle reads. |
| Vista Hills | Spread-out houses, safe looting, easy threat spotting between yards. | Low–Medium | Slide south toward Golf Course along cover-rich residential lanes. |
| Golf Course | Clean sightlines between cover points, straightforward rotations. | Low–Medium | Rotate toward Vista Hills or Boutique/Downtown if you need action. |
| Lighthouse | Edge start, quieter loot, access to boats on the western coast. | Low | Boat-hop between Marina and Ocean Park, then cut inland. |
| Combat Training | Peripheral loot with fewer squads, time to set up your plan. | Low | Track circle lean, then vehicle rotate before mid-game congestion. |
| Marina | Multi-story buildings and boat spawns for water flanks. | Medium | Use boats to reposition along the coast before turning inland. |
| Radar Site | Unmatched elevation for recon and long-range control. | Medium | Establish high-ground holds early if the circle leans north. |
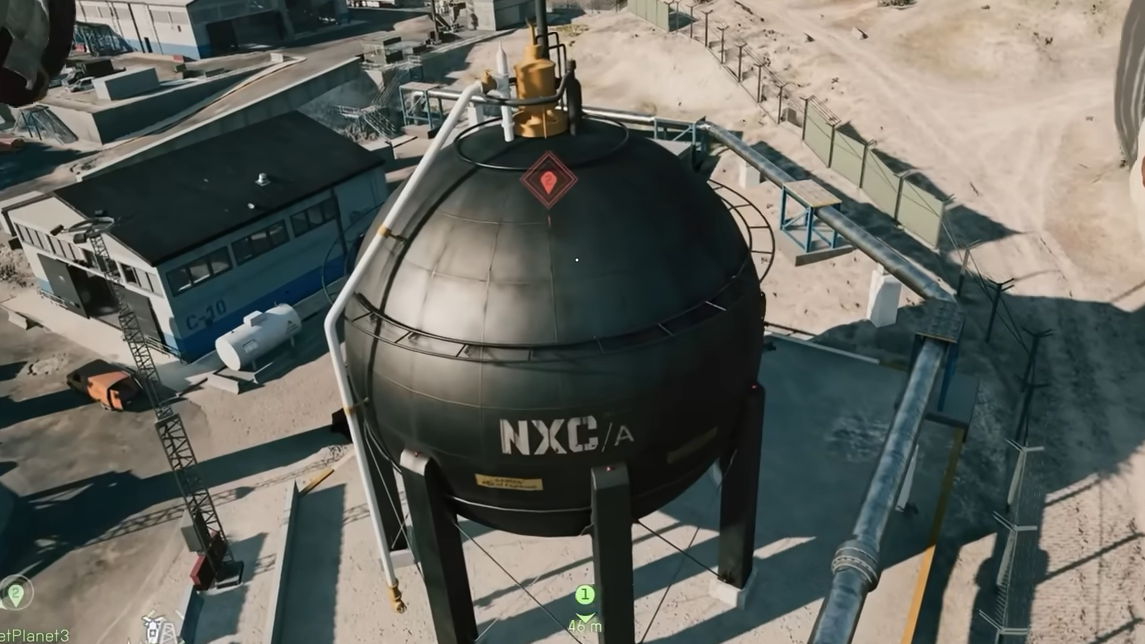
| The Seal | Military silo complex with elevation and specialized loot. | Low–Medium | Scout from height, then drop to industrial lanes as circle shifts. |
For a slow, learn-the-map start, Vista Hills and Golf Course keep early pressure down while providing enough gear to compete. If you want to fight immediately for high-tier kits, Downtown, Boutique District, and Chemical Storage deliver the quickest action and the most class chest opportunities.
Loot patterns, class chests, and vaults
Loot across Fort Lyndon follows a few consistent rules:
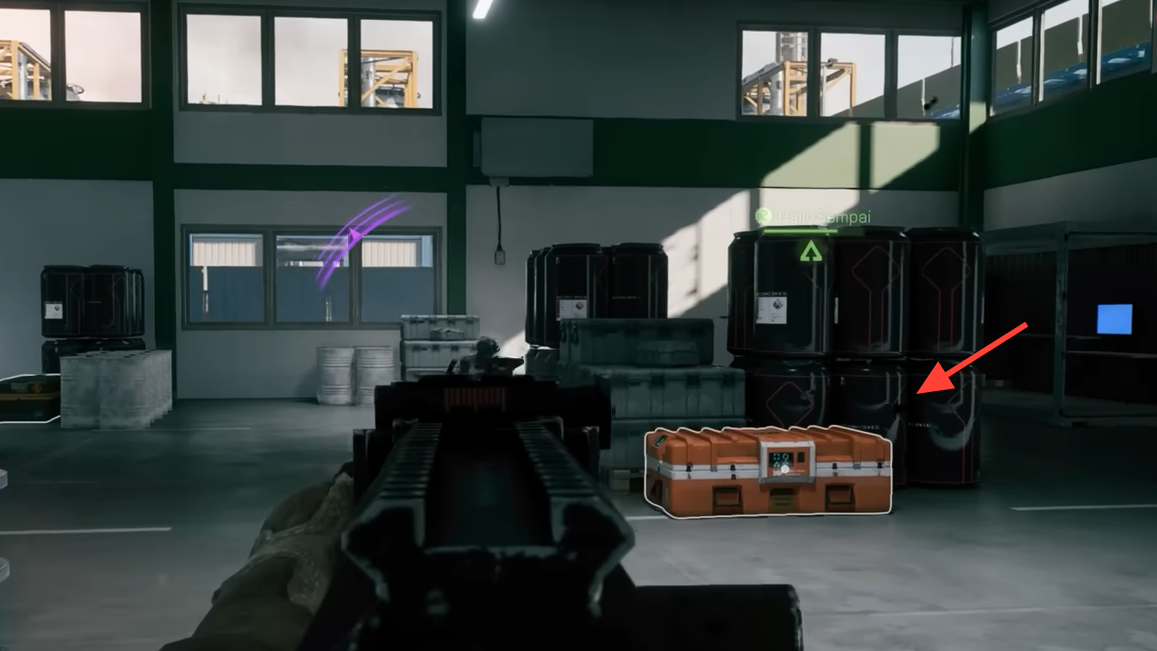
- Class chests appear at fixed points within POIs, and they’re most common in Downtown and Chemical Storage. Expect role-specific gadgets and weapons.
- Standard crates are color-coded: green for basic weapons/consumables; red/black for rarer attachments and upgrades; crates marked with a class icon for premium, role-tuned items.
- Engineers can open scattered vaults in industrial and military zones using the Repair Tool, trading time for top-tier loot.
Vehicles double as mobile loot considerations. Some can be driven; others act as themed caches that fit the setting. Heavier armored vehicles require a key earned through squad missions and can swing late-game positioning—if you bring them in safely.
Circle behavior and rotation planning
The collapse doesn’t shrink perfectly evenly. Early circles often hint at a directional lean, with Radar Site and Downtown seeing frequent pulls. Read the first collapse and re-route before you’re forced into a bad uphill sprint or a dead zone of cover.
- Favor edge rotations over center cuts. Keeping the circle at your back reduces crossfires and clarifies where threats can come from.
- Use natural corridors: Treatment Plant → Chemical Storage keeps you behind hard cover; Vista Hills → Golf Course threads safer residential and fairway lines.
- If the circle trends toward elevation (Radar Site or The Seal), move early. Late climbs into held high ground are rarely winnable.
Typical pacing: the first two circles spread squads across all 21 POIs with localized fights; circles three and four compress traffic and increase vehicle usage; circle five and beyond reward teams that already hold height, cover, and a clean exit path.
Evac Alpha and Bravo: how extraction fights play out
Evac Alpha and Bravo open only in late phases, on timers, and instantly re-shape objectives. Arriving early matters more than flashy pushes. Set firing lanes on the approaches, then cycle utility to keep control.
- Recon: layer Motion Sensors and use the Recon Drone for overwatch and vehicle disruption.
- Support: stock Smoke Launcher charges for last-ditch repositions or to block enemy sightlines on your final approach.
- Assault: use the Assault Ladder to create unexpected angles and HE Launchers to clear entryways.
- Engineer: hold Aim Guided Launchers for vehicles and Thermite Sabotage to deny hard cover—or the helicopter itself.

Class-by-class landing guidance
| Class | Where it shines | Early priorities |
|---|---|---|
| Assault | Downtown, Boutique District—vertical entries, tight corridor fights. | Secure ladders/HE; start from rooftops and clear down. |
| Engineer | Chemical Storage, Lyndon Oilworks, Treatment Plant—vault access and vehicle control. | Grab Repair Tool, path to vaults, deny vehicles with guided launchers. |
| Support | Defense Nexus, Area 22B—anchoring positions where resupply radius helps the squad. | Build a stable hold, plan smoke routes across open fairways and yards. |
| Recon | Radar Site, The Seal—elevation for information and picks. | Establish sightlines, seed Motion Sensors on likely rotation lanes. |
Advanced map knowledge that wins fights
- Industrial destructibility is a weapon. In Chemical Storage, coordinated fire on containers and scaffolds opens angles and strips enemy cover.
- Water routes along Marina and Ocean Park enable low-profile flanks. Boats are faster than running and subtler than roaring engines inland.
- Downtown is three-dimensional. Expect threats in windows and on rooftops, not just at street level; plan escapes that use height changes, not just alleys.
- Crash Site’s wreckage creates odd cover geometry. Use the debris to break sightlines mid-rotation and to bait peeks.
Quick POI reference (what they’re best for)
| POI | Primary draw | Landing intent |
|---|---|---|
| Downtown | Loot density, rooftops, nonstop CQC | Hot drop |
| Boutique District | Premium spawns, urban verticality | Hot drop |
| Chemical Storage | Class chests, vertical cover, vaults nearby | Hot drop |
| Lyndon Oilworks | Balanced loot, vehicles, mid-range lanes | Mid-tier |
| Redline Storage | Structured fights, access to industry | Mid-tier |
| Vista Hills | Safer looting, clear sightlines between houses | Safer start |
| Golf Course | Open fairways, simple rotations | Safer start |
| Lighthouse | Edge location, boat access | Safer start |
| Combat Training | Low contest on the periphery | Safer start |
| Marina | Boats and multi-story buildings | Flexible start |
| Radar Site | High ground and recon | Setup/anchor |
| The Seal | Elevation, specialized loot | Setup/anchor |
Fort Lyndon rewards decisiveness. Pick a drop that fits your squad’s strengths, read the first circle lean, and rotate along cover—preferably uphill and early. If extraction lights up, get there first, spend utility like it’s ammo, and don’t be precious about the helicopter if denying it wins you the fight.