
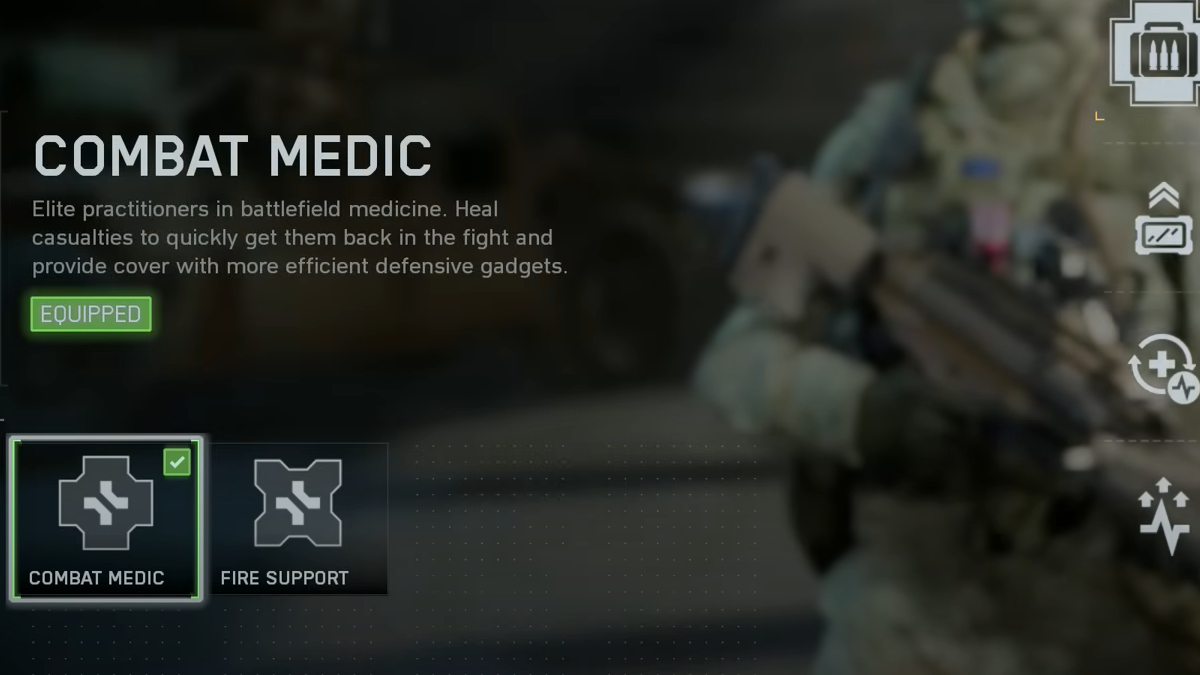
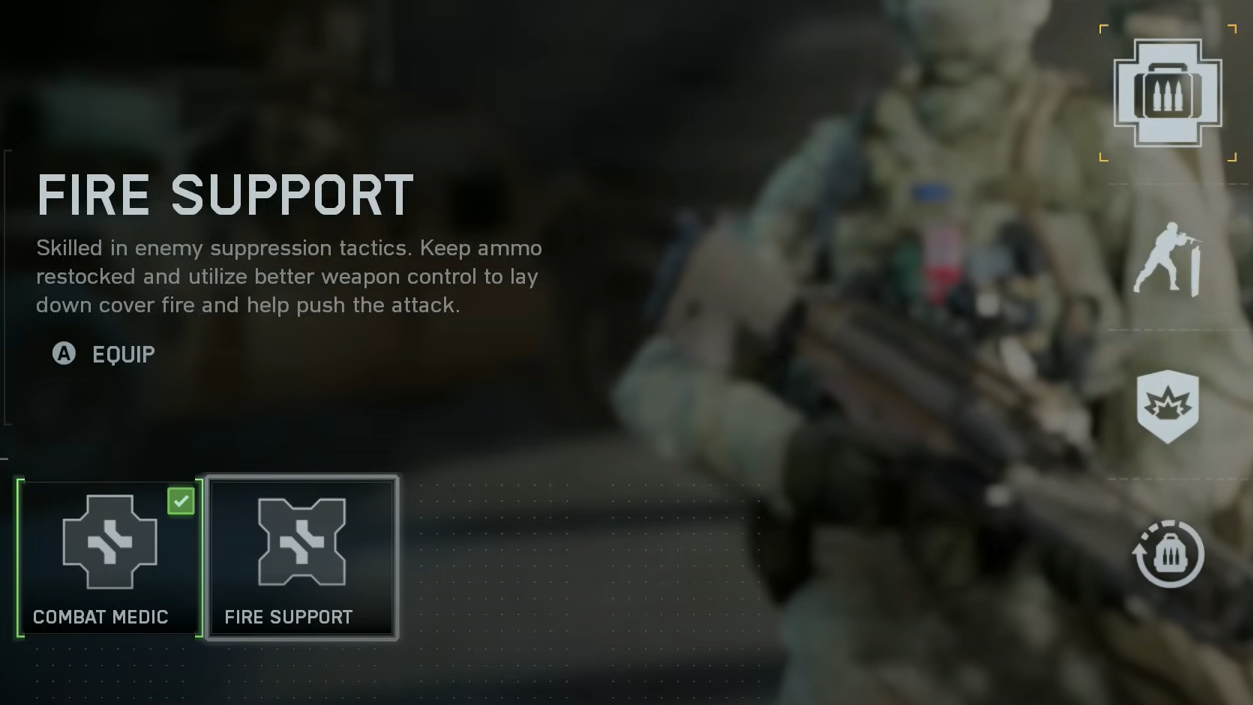
The Support class is the backbone of a squad in Battlefield 6. It keeps guns fed, teammates alive, and sightlines controlled—but it isn’t a vehicle counter. The class splits into two Training Paths. Combat Medic is available from the start and revolves around rapid revives and survivability. Fire Support unlocks later and favors sustained, mounted fire and defensive utility.
Combat Medic progression brings concrete, match-winning buffs as you score:
- Urgent Aid: drag downed allies 20% faster; complete revives 2.5s quicker.
- Revive Recovery: reviving triggers passive health regeneration (paused for one second if hit).
- Defense-Focused: +25% resupply rate for defensive gadgets; GPDIS intercepts two extra projectiles; MP-APS tracks five seconds longer; Deployable Cover takes 10% less damage.
- Restock Allies (Active): for 10 seconds, heal and resupply nearby teammates; revives take only 1.7s. Use the active with R1+L1 (PS5), RB+LB (Xbox), or Q/mouse wheel (PC).
Fire Support emphasizes steadier weapon handling from a mounted position, faster ammo resupply, and better resistance to explosive damage—ideal for holding lanes and supporting pushes.
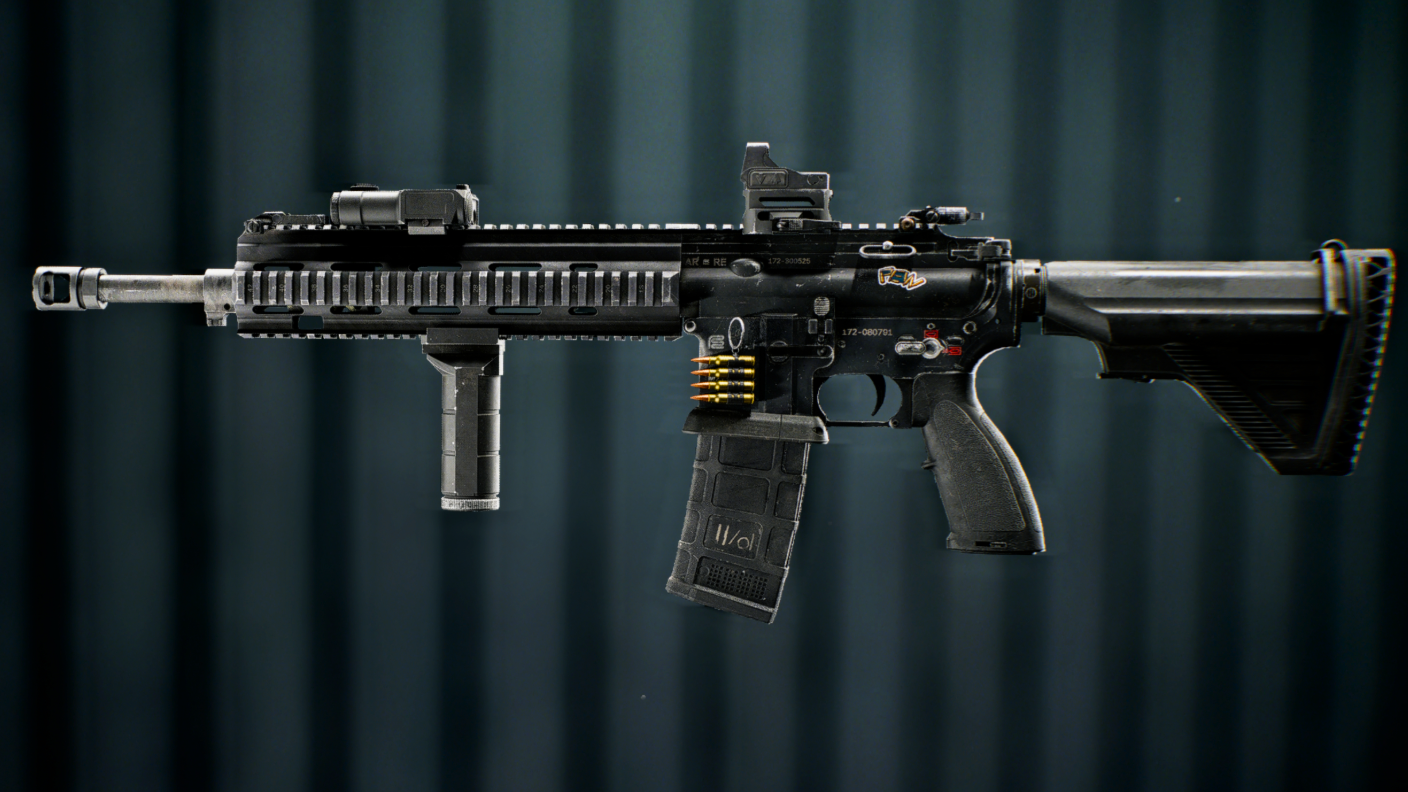
Aggressive Combat Medic Support loadout (frontline revive build)
| Weapon | Rifle, carbine, or SMG of choice; Support signature LMGs like RPKM or DRS-IAR also work |
|---|---|
| Gadget 1 | Supply Pouch |
| Gadget 2 | Defibrillator |
| Throwable | Smoke Grenade |
| Training Path | Combat Medic |
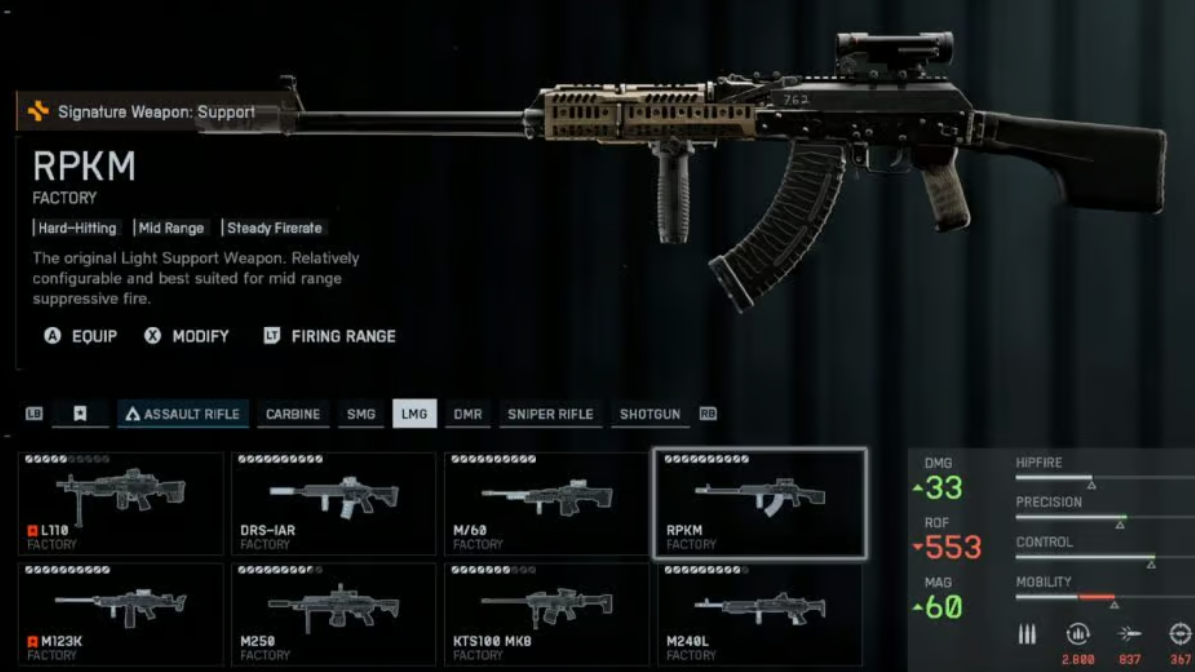
This build stays shoulder-to-shoulder with the assault line. Keep ammo and health flowing, smoke off sightlines, and chain revives as your team trades. Rifles, carbines, and SMGs let you adapt as fights swing from rooms to alleys; RPKM and DRS-IAR give you “AR-like” control with LMG magazines if you prefer the class’s signature weapons.
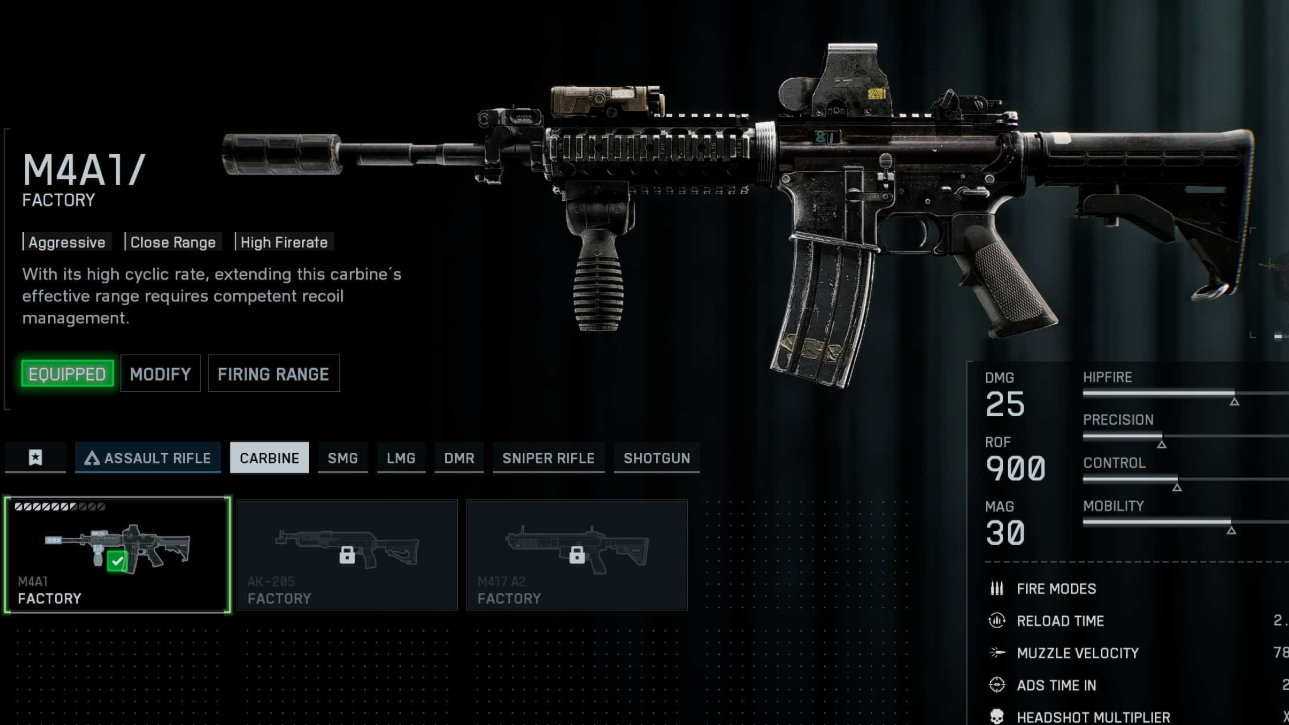
If you want a concrete starting point, the M4A1 carbine is a reliable close-to-mid option with recoil-focused parts:
- Muzzle: Compensated Brake
- Barrel: 12.5" Mid
- Underbarrel: Ribbed Stubby
- Magazine: 30RND Fast Mag
- Ammo: Hollow Point
- Optic: preference
Use smoke and your Ballistic Shield to break lines of sight before a revive. Drag-revive when exposed bodies can be pulled to cover; the Combat Medic path speeds both the drag and the revive, which adds up over a match.
Variant: If your team already has enough ammo, swap Supply Pouch for Deployable Cover to create temporary protection during revives.
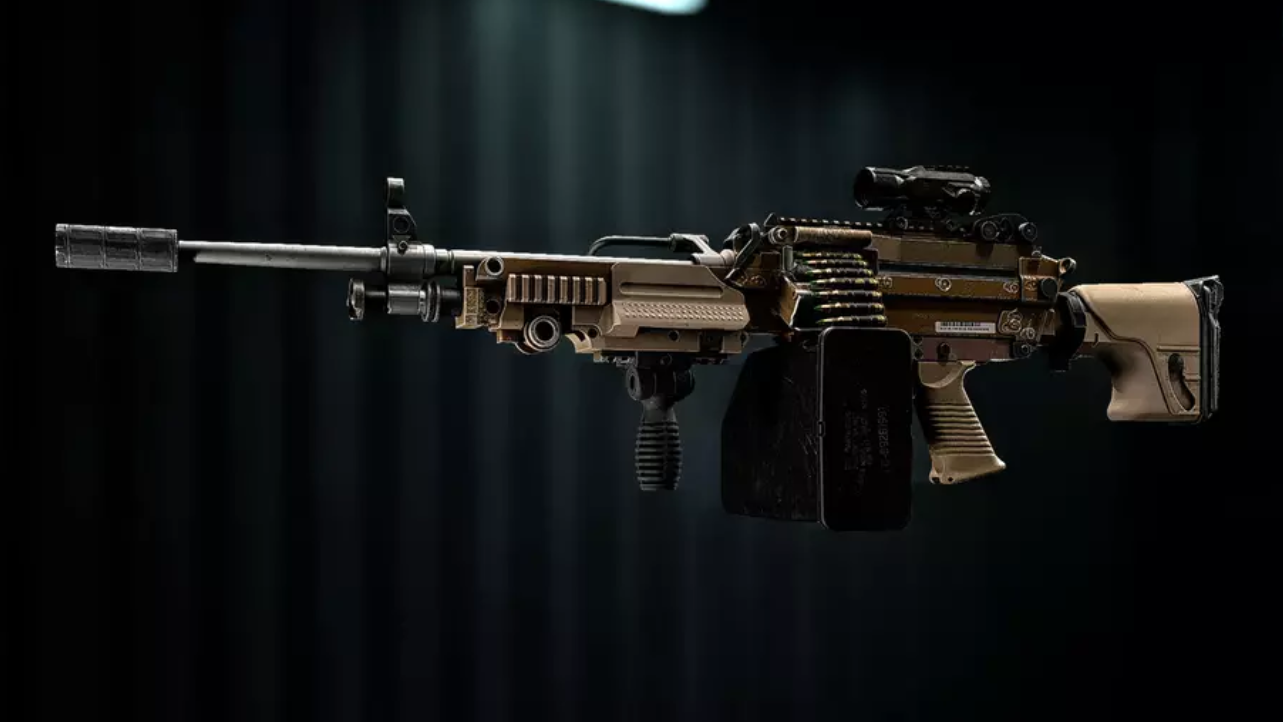
Defensive Fire Support loadout (LMG/sniper and mortar)
| Weapon | LMG or sniper rifle of choice (run a bipod) |
|---|---|
| Gadget 1 | Maxguard 900 Deployable Cover |
| Gadget 2 | LWCMS Portable Mortar |
| Throwable | Smoke Grenade |
| Training Path | Fire Support |
Think of this as a pressure-and-protect kit. Anchor on a flank or rear angle, deploy cover to form a firing position, and mount your weapon for steadier bursts and faster follow-ups. The mortar softens entrenched enemies and disrupts a defense before your team crashes an objective.
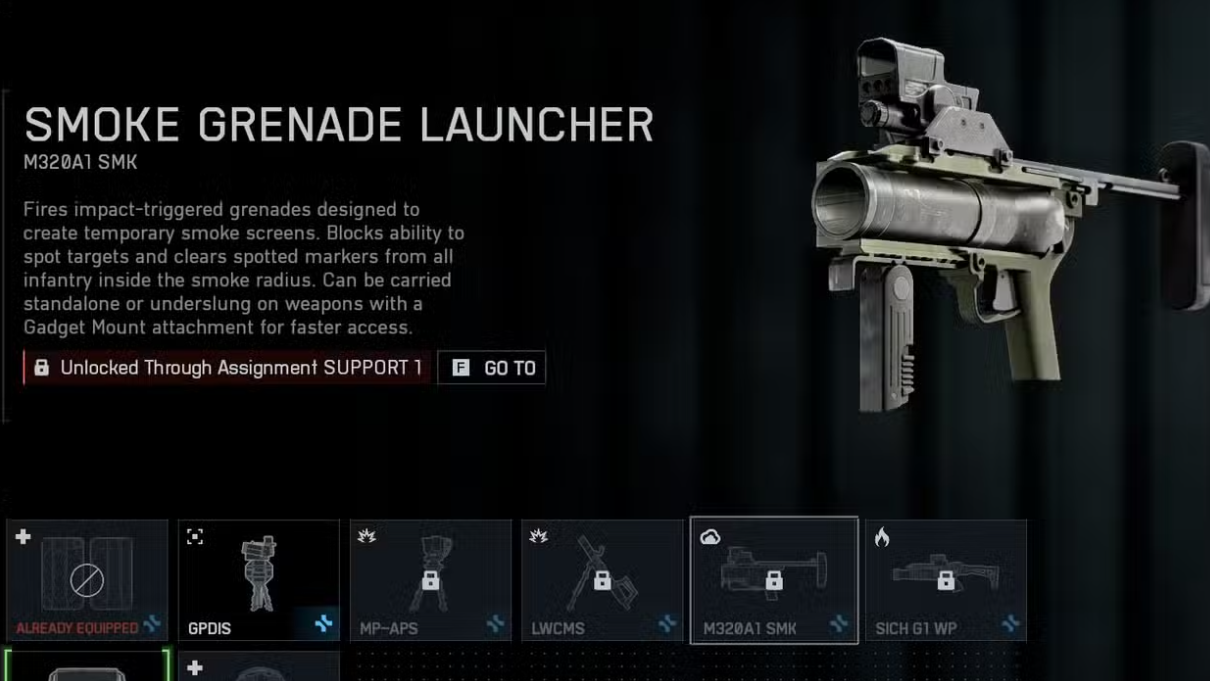
Grenadier Support loadout (smoke and incendiary control)
| Weapon | Rifle, carbine, LMG, or SMG of choice |
|---|---|
| Gadget 1 | M320A1 SMK Launcher |
| Gadget 2 | SICH G1 WP Airburst Launcher |
| Throwable | Frag Grenade |
| Training Path | Fire Support or Combat Medic |
This kit wins space with area denial and line-of-sight control. Fire smoke to block angles for a push or a revive. Follow with white phosphorus airbursts to pin defenders in place or flush them out of cover. It pairs well with aggressive LMG play when your squad is crashing through tight lanes.
Support can refuel its own kit: drop a GOLIATH Supply Bag to restock grenades and ammo before the next breach.
Low-level Combat Medic loadout (levels 1–20)
Combat Medic is the only Support Training Path early on, and it’s strong right out of the gate. This setup uses launch-available gear and excels on most maps:
| Primary | M/60 |
|---|---|
| Secondary | P18 |
| Gadget 1 | Defibrillator |
| Gadget 2 | GPDIS |
| Throwable | Smoke Grenade |
| Melee | Sledgehammer |
The M/60 trades rate of fire for higher damage and reach—useful for backing your line from just behind it. On smaller, tighter maps, switch to the DRS-IAR for faster handling. GPDIS protects revive zones from frags; smoke directly on a body when you can’t safely drag. The sledgehammer can open routes and sightlines for safer revives.
Support playstyle tips (reviving, smoke, resupply)
- Not every revive is worth it. If a downed ally is covered by multiple angles, weigh the risk of trading your life and a second death for them.
- Spam smoke. It blinds enemy sightlines and wipes spotted markers; use it on objectives and over downed bodies before you commit.
- Mix defib and drag-revive. The defib is fastest, but dragging into cover first saves both of you from immediate re-downs.
- Feed Assault players. They carry limited ammo compared to other classes—throw supply bags to keep their pressure up.
- Expect chaos after destruction. Collapsing structures create sudden damage spikes and fresh angles; be ready to heal and reposition.
Pick a role for your squad—frontline medic, anchored gunner, or lane-denial grenadier—and slot gadgets accordingly. Swap in GPDIS when explosives are heavy, lean into Deployable Cover and a bipod when you’re holding ground, and keep smoke on cooldown no matter what you’re running.