Savage Beastfly appears twice: first in Hunter’s March (Chapel of the Beast) and later as a Grand Hunt in Far Fields. The encounter is demanding because the boss tracks your height, fills the arena with adds, and punishes contact. Solid preparation and disciplined add control turn both fights from chaos into a manageable routine.
Preparation and route notes (both fights)
The Chapel fight requires the Drifter’s Cloak to ride air currents and glide through spike gauntlets. Open the shortcut just before the arena so runbacks take seconds instead of minutes, and disarm the trapped bench nearby to set a safe respawn. The Beastfly’s kit is compact: long horizontal charges, repeated downward slams, and periodic summons. The difficulty spike comes from add pressure and tight space, not from move variety.
For loadouts, prioritize reach, burst add clear, and recovery. Useful picks include a longer-reach crest, a silk-generating crest to refill quickly after binds, and a needle upgrade before you commit to the fight. Tools that clear or tag multiple targets are excellent here; area skills can delete or soften add waves on spawn. Poison application on tools steadily ticks down adds and boss alike while you focus on survival. For the Far Fields rematch, bring fire mitigation and high mobility to survive lava and platform breaks.
- Clear adds fast: a radial silk skill reliably wipes small spawns or brings them to chip range.
- Poisoned tools: a poison pouch applied to traps/shards steadily chips the field.
- Reach and safety: a longer-strike crest reduces contact damage incidents.
- Rematch-specific: fire mitigation bell lowers lava and fire hit punishment; double jump and a grappling line help bridge platform gaps.
Method 1 — Chapel of the Beast (Hunter’s March)
Goal: reach the arena quickly, then control adds while using the boss’s own slam to thin the crowd and score safe damage.
Step 1: Approach via Deep Docks into Hunter’s March and take the air current to the left-side bench room. Do not sit until you find and hit the hidden lever to disarm the trap; then rest to set your spawn.

Step 2: Follow the chapel’s loop of air currents and seed-pod bounces. On the last descent, glide through the spike tunnel slowly, then drop to the right to pull the shortcut lever beside the bone door. This compresses the runback to under a minute.

Step 3: Start the fight by reading the first charge. Stay grounded during wind-up whenever possible; jumping early often baits a mid-height charge that is too low to run under and too high to pogo safely.

Step 4: Use pogo over low charges and upslash high charges to score quick, low-risk hits. After a pass, turn and clip its flank once—don’t chase; reset center to see the next angle clearly.

Step 5: Prioritize crowd control the moment they appear. Use a radial silk skill to clear or soften the wave, then finish survivors with one or two needle strikes. Poisoned tools placed pre-emptively also keep the field from snowballing.
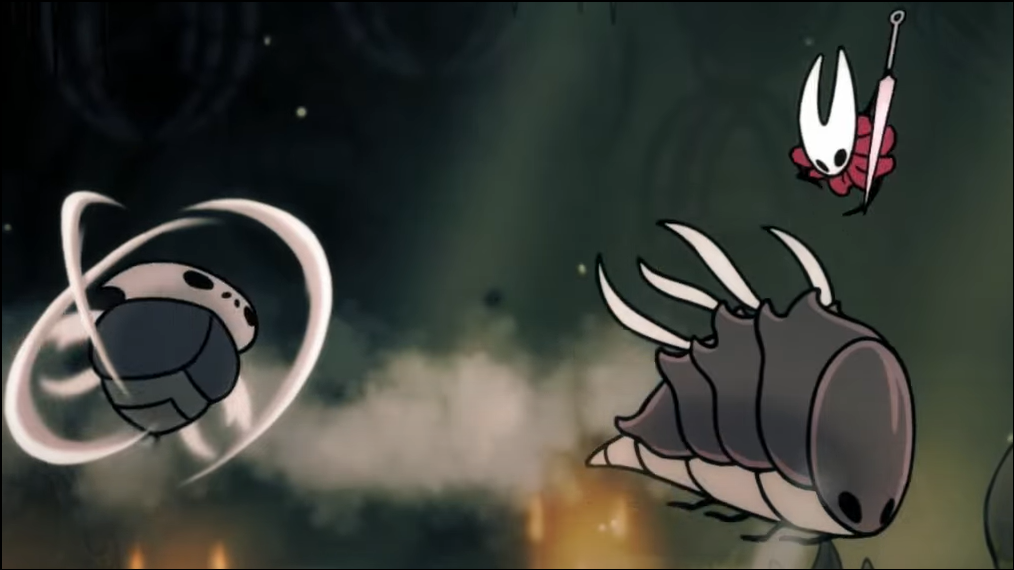
Step 6: Leverage the boss’s downward slams to kill adds. Kite slightly so the slam lands where adds are congregating; the ground impact can delete them, opening space for you to bind or counter-hit.
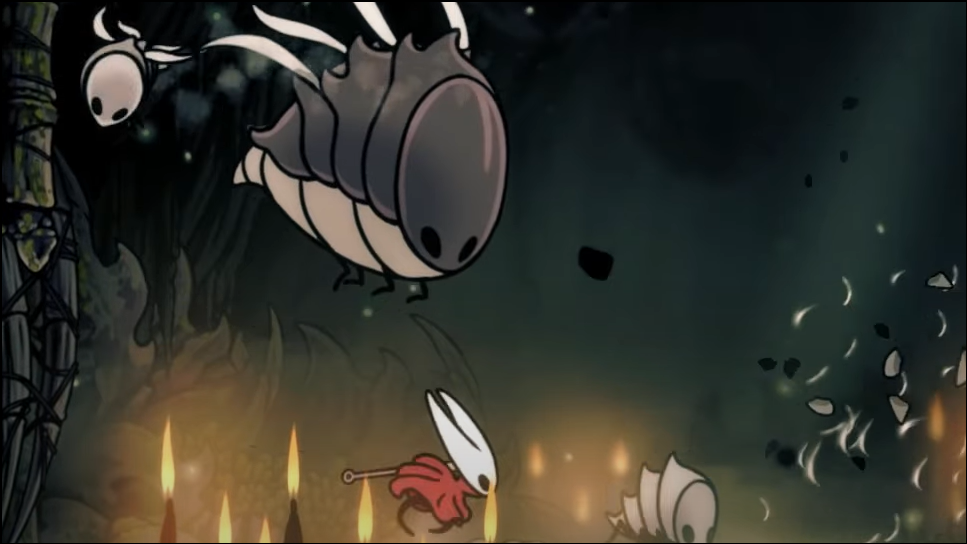
Step 7: Heal only at the room’s edges during a slam lull or immediately after a long pass across the arena. Keep at least one silk charge banked so a surprise charge doesn’t strand you at low health.
Step 8: Maintain cadence: 1–2 hits on a pass, clear adds, then punish slam with flank hits. The faster you stick to this rhythm, the fewer add cycles you face before the final stagger.

Result: you secure the victory and claim the Beast-aligned crest in the right-side binding shell afterward. Expect a long health bar; consistency matters more than greed.

Method 2 — Grand Hunt rematch (Far Fields, Fourth Chorus arena)
Goal: manage destructible platforms and fire-spitting fliers while repeating the same safe punish windows. This hunt becomes available after Act 2 progression and accepting the wish at Bellhart; set your bench at Far Fields for quick attempts.
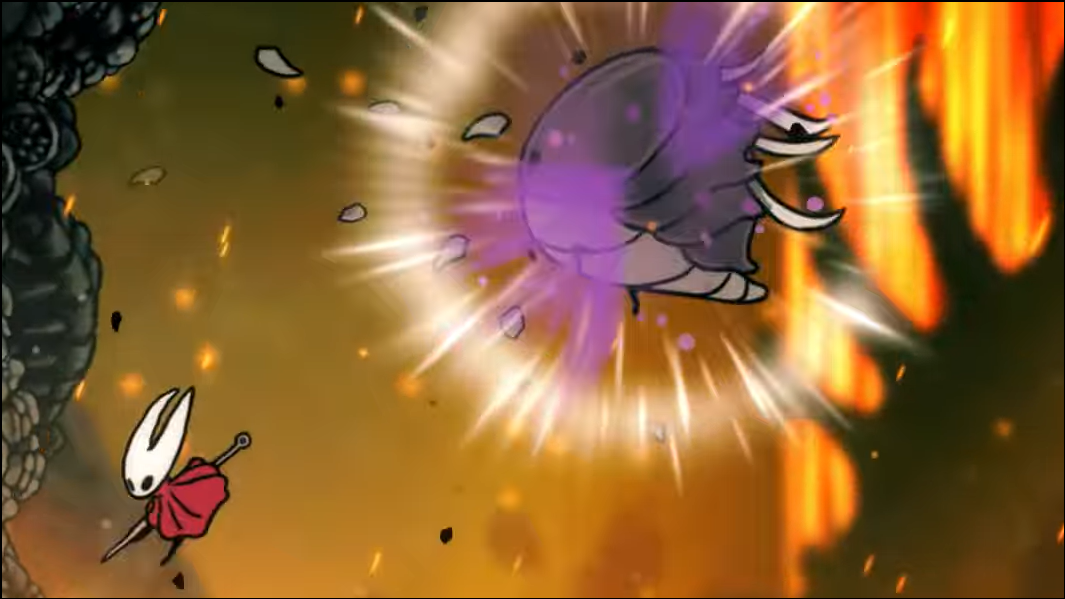
Step 1: Equip for hazards. Bring a fire mitigation bell to cut lava and fire damage, and pick mobility (double jump plus a grappling line) to survive back-to-back platform breaks. Keep the same add-clear and poison tools from the first fight.
Step 2: On the first platform break sequence, try to guide the boss into alternating tiles rather than contiguous ones. Float above a hole it just made, so it is more likely to dive into lava and end the chain instead of deleting the last safe foothold.
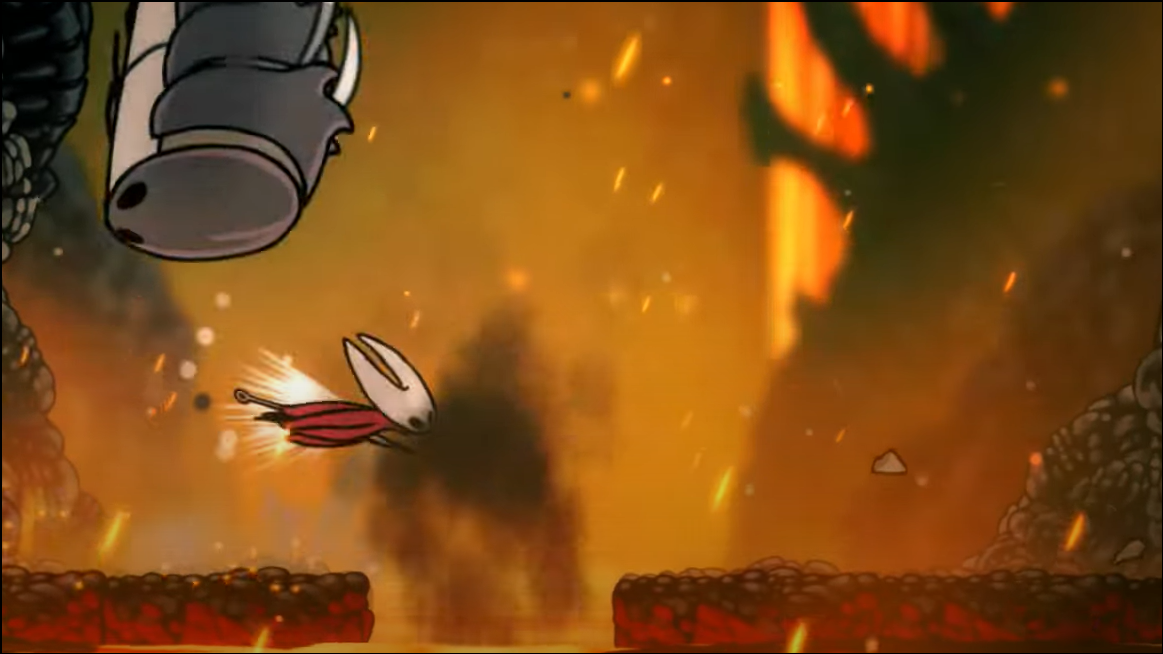
Step 3: When platforms vanish twice in a row, stay airborne with double jump, float, and a grappling pull until a tile respawns. Avoid committing to ground binds until a stable two-tile span returns.
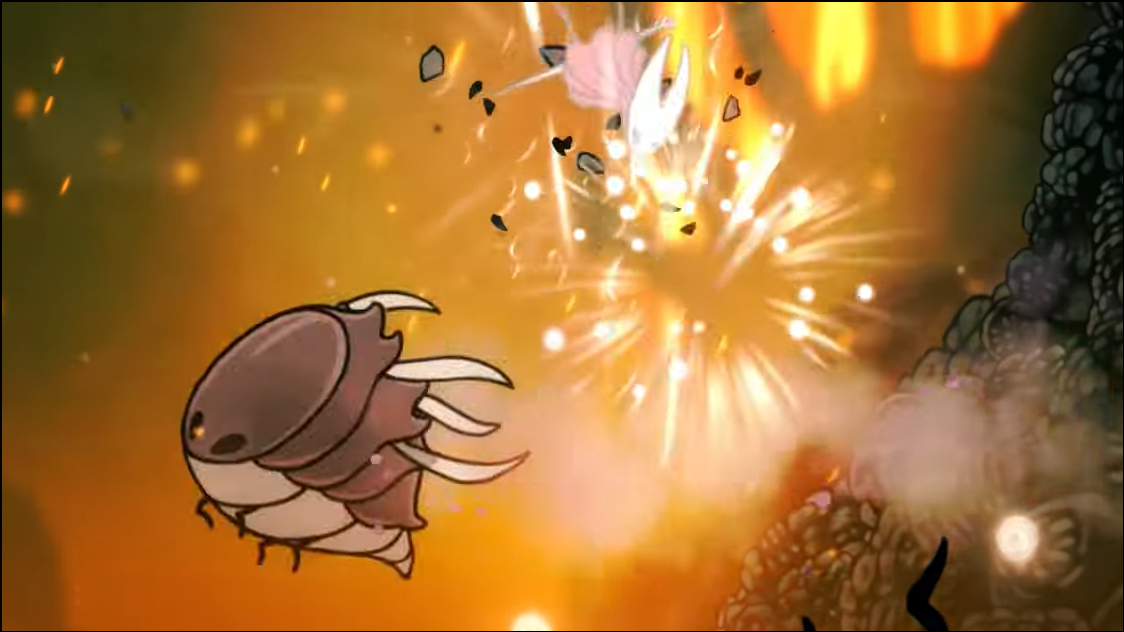
Step 4: Defeat new fire-spitting fliers immediately. A single targeted projectile tool or a short burst from an area skill will remove them before they paint the floor with lingering fire. Do not rely on the boss slam to catch airborne fliers consistently.
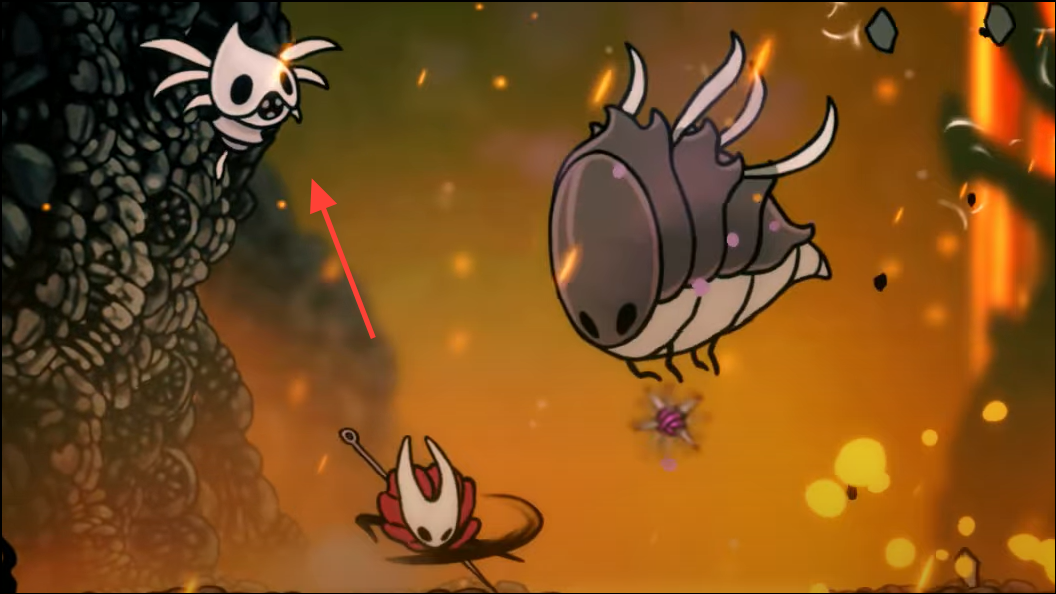
Step 5: Keep your safe punishes: pogo or upslash on passes, 1–2 flank hits after each slam. If the boss goes off-screen, center yourself to buy reaction time on the re-entry height.
Step 6: Use your grappling strike thoughtfully. The hit window can carry you through the boss’s charge without trading, and it doubles as a gap-closer back to safe ground after a break.
Step 7: Heal only when fire pools have cleared and a platform has just respawned. If adds respawn immediately, reset by kiting to the extreme left or right edge outside the arena bounds; adds may despawn, giving you a clean re-entr
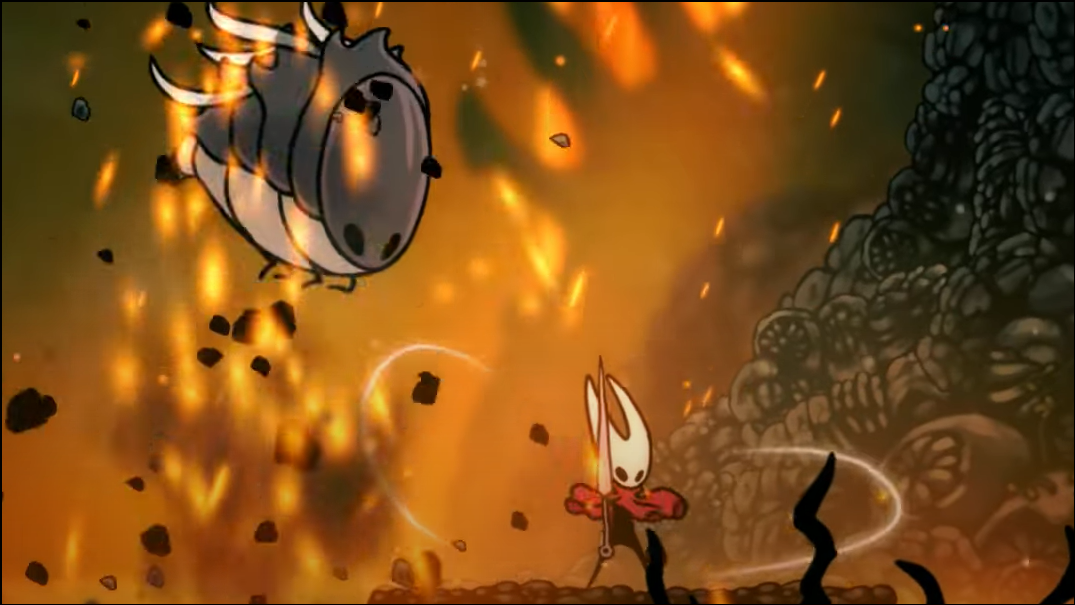
Step 8: Keep poison and traps ticking while you stay disciplined on movement. The boss’s kit hasn’t changed; the arena did. Clearing fliers on spawn and preserving floor tiles decides the fight.
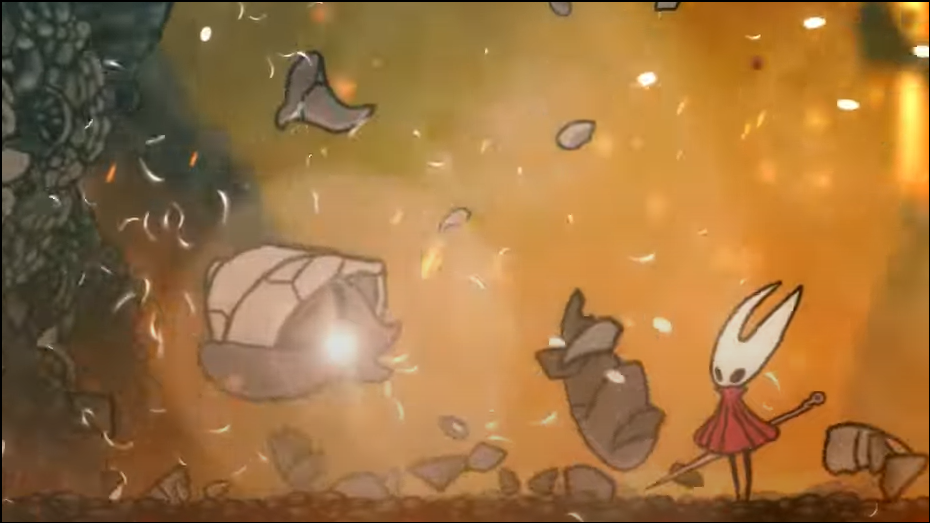
Result: loot the horn fragment and turn in the hunt at the wish board for a Mask Shard upgrade.
Loadouts that consistently work
While individual preference varies, these packages address the fight’s actual failure points—reach, add control, lava/fire, and silk economy.
- Control package: longer-strike crest, silk-generation crest, radial silk skill, poison pouch on tools, and a multi-hit projectile or trap for add waves.
- Safety package (rematch): add a fire mitigation bell, double jump, and a grappling line. These offset platform loss and reduce the penalty of a single mistake.
- Damage package: poison on traps/shards plus a minor chance-to-negate-damage trinket helps squeeze through bad add RNG without changing your core plan.
Common mistakes and reliable fixes
Jumping during charge wind-up. Staying grounded baits more readable charge heights; jump late to pogo, not early to guess.
Over-committing after a pass. One extra slash often trades into contact. Take the single flank hit, then reset center for vision.
Letting add waves stack. Spend silk immediately on a radial clear. It’s safer than trying to thread hits around three airborne targets.
Healing on shrinking platforms (rematch). Bind only after a respawn tick, and never while a fire pool is active on your tile.
Forcing early clears. Both encounters are optional when you first find them. If you lack add-clear tools or mobility, return after a needle upgrade or unlocking area skills; time-to-kill drops and heal windows open up.
With a fast route, a plan to erase spawns on arrival, and tight punish windows, both Beastfly encounters become repeatable. Pace yourself—this fight rewards measured decisions more than flashy strings.

