
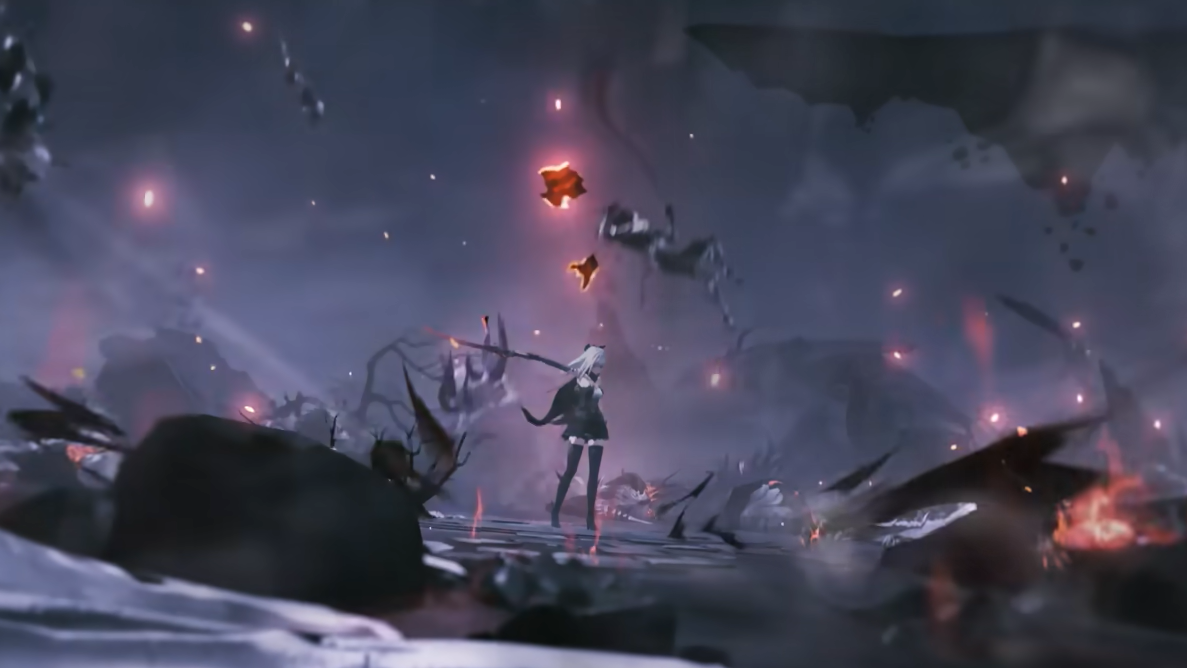
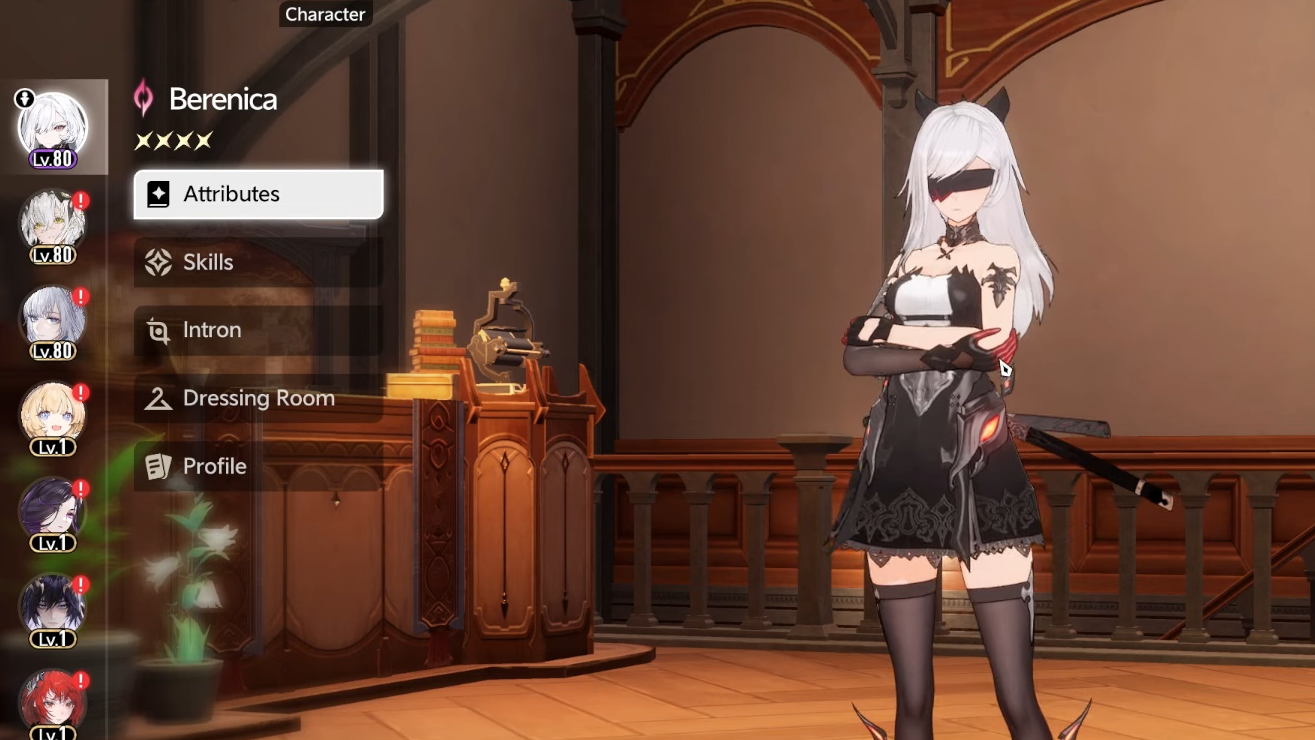
Berenica sits at the center of Duet Night Abyss’ cast for good reason: a sword user who can push out sweeping waves of damage while shrugging off hitstun, all powered by a resource called Sanity. Framed in trailers as “born from the void of Zero,” she straddles close-quarters pressure and mid‑range coverage with a kit that rewards timing and resource control.
Character profile and identity
| Gender | Female |
|---|---|
| Birthplace | Hyperborean Empire |
| Birthday | 31 December |
| Allegiance | Unaffiliated |
| Traits | Adventurer; Impression: Morality; Rapt Attention |
| Signature line | “Since we've survived, let’s commit to each other and live together ever after.” |
She’s positioned as a versatile damage dealer with proficiency in both Sword and Dual Pistols, but her defining state switches her melee weapon to Ymir, unlocking sustained swordwaves that extend her reach and keep pressure on clustered targets.
Voice cast
| English | Alexandra Guelff |
|---|---|
| Japanese | Yui Yamamoto |
| Korean | Kim Ha-Young |
| Chinese | 贺文潇 |
Base stats (Lv. 1)
| Role feature | DPS / Consonance Weapon / Weapon DMG |
|---|---|
| Umbro ATK | 20 |
| HP | 100 |
| Shield | 100 |
| DEF | 300 |
| Max Sanity | 150 |
| Weapon proficiency | Sword / Dual Pistols |
| Skill DMG | 100% |
| Skill range | 100% |
| Skill duration | 100% |
| Skill efficiency | 100% |
| Morale | 0% |
| Malaise | 0% |
Sanity powers much of her kit. Plan around its cost, regeneration, and the windows where she becomes immune to hitstun.
Skills overview and numbers
Faintlight (Skill — DMG)
Berenica dashes forward, dealing area damage four times along the path. It’s a fast engage/evade tool that doubles as reliable burst.
| Sanity cost | 20 |
|---|---|
| Damage | 102.0% |
| Damage radius | 3m |
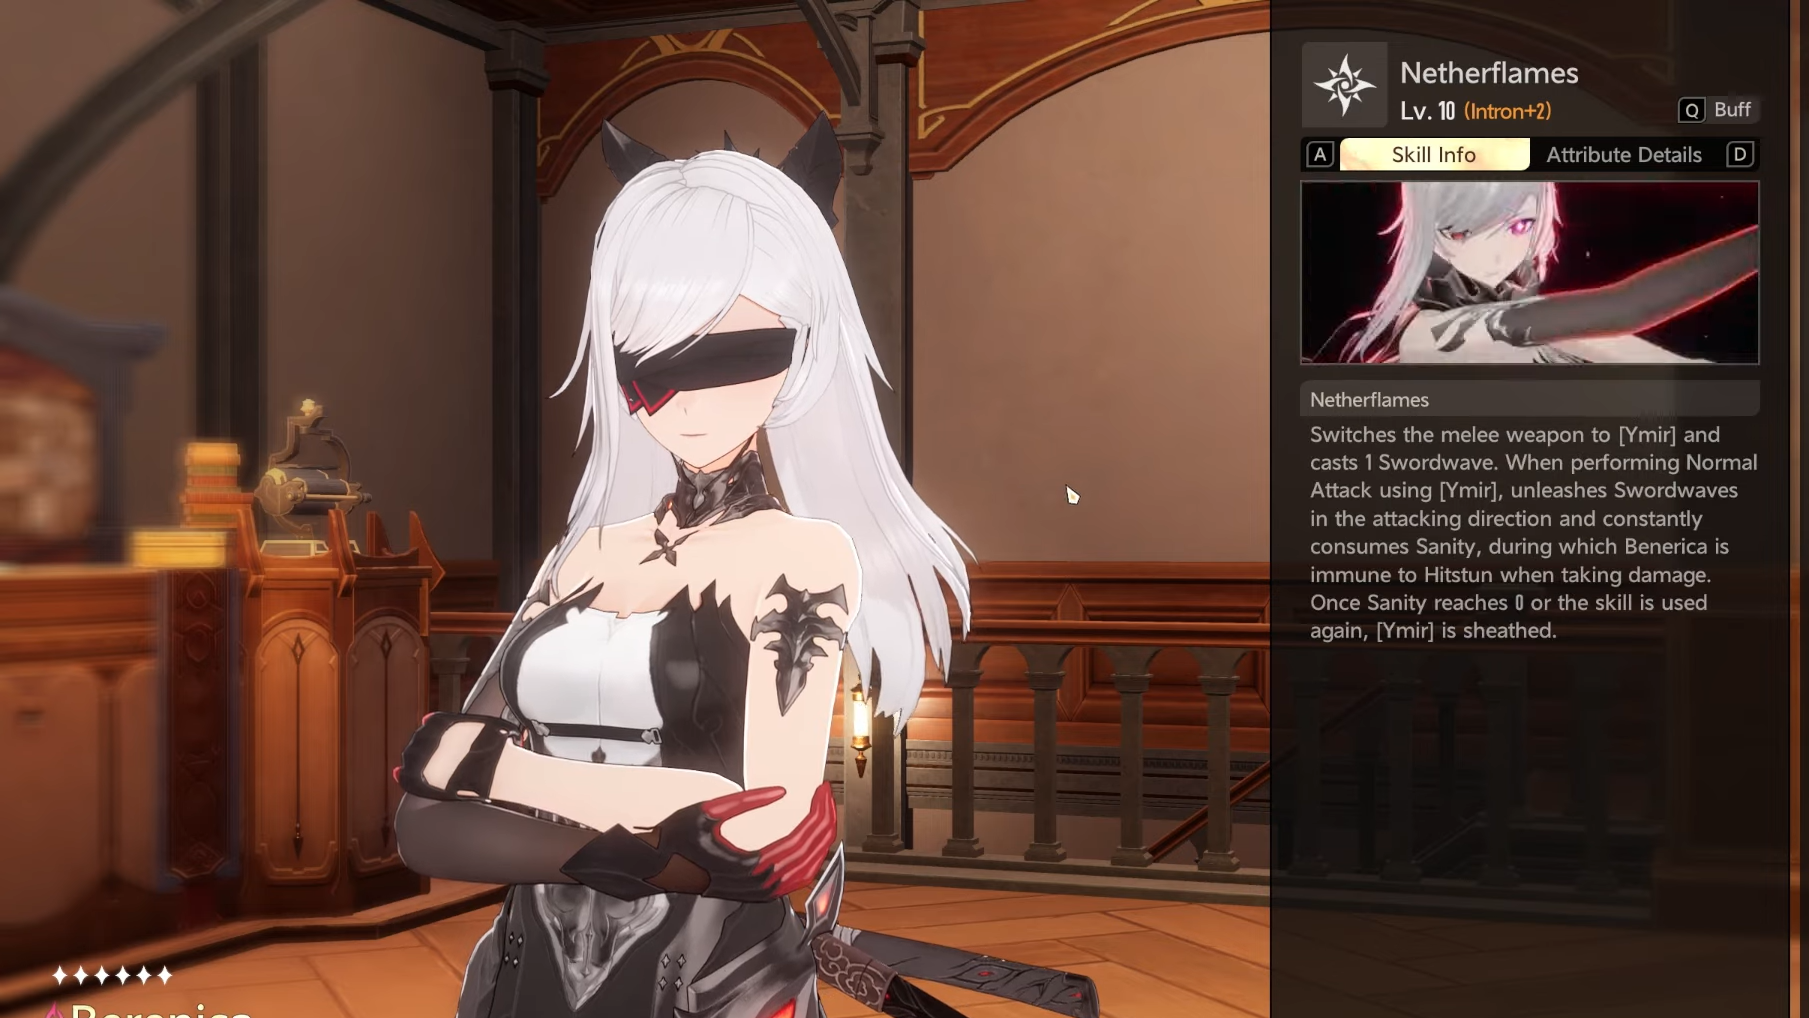
Netherflames (Ultimate — Buff/state)
Activating Netherflames switches her melee weapon to Ymir and immediately emits one swordwave. While Ymir is active, normal attacks release swordwaves in the attack direction and continuously consume Sanity. During this state, taking damage won’t cause hitstun. Ymir is sheathed when Sanity hits 0 or the skill is used again.
| Sanity cost (activation) | 10 |
|---|---|
| Sanity cost per second | 10 |
| Normal attack DMG (1→5 hits) | 12.7% / 15.5% / 17.9% / 23.3% / 25.8% |
| Normal hit radius | 3m |
| Charged attack DMG | 100% |
| Sliding attack DMG | 30% |
| Swordwave DMG (1→5 hits) | 41% / 56% / 59% / 80% / 93% |
| Skill DMG | 41% |
| Swordwave width | 12m |
Use Netherflames to control space and keep combos going while ignoring flinches, but watch the Sanity drain and plan an exit.
Recuperation (Passive)
Dealing damage with Faintlight or a sword attack has a chance to restore Sanity, propping up longer Netherflames windows and more frequent dashes.
| Sanity recovered | 2 |
|---|---|
| Trigger chance | 17% |
Passive upgrades
| Upgrade | Effect |
|---|---|
| ATK | +20% |
| Skill efficiency | +7.5% |
| ATK | +20% |
| Skill efficiency | +7.5% |
| Afterburn | After using Netherflames, the next use of Faintlight will not consume Sanity. |
| Heart Devourer | [Only when deployed as a Combat Partner] Increases ATK by +40% for Berenica and nearby Umbro teammate(s). |

Intron levels (unique passives)
| Level | Effect |
|---|---|
| 1 | Using Helix Leap or Faintlight grants 1 stack that increases Skill efficiency by 8% for 12s, up to 3 stacks. |
| 2 | Deals 40% more damage to targets with a lower HP percentage than Berenica. |
| 3 | Faintlight +2 levels; Recuperation +1 level. |
| 4 | Increases Berenica’s Attack by 20% per Combo Level. |
| 5 | Netherflames +2 levels; Recuperation +1 level. |
| 6 | While in Netherflames, each attack has a chance to unleash 1 extra swordwave; probability equals 30% of Ymir’s trigger probability. |
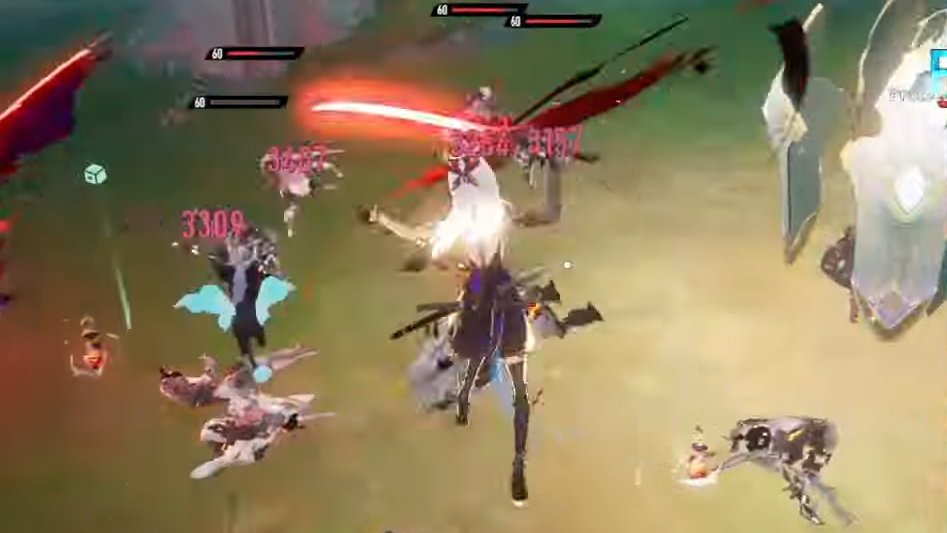
How Berenica plays: pressure, reach, and Sanity management
Berenica’s rhythm revolves around entering Netherflames, riding hitstun immunity to keep attacking, and cashing out with wide swordwaves that cover up to 12 meters. Faintlight sets that up with a quick four‑hit dash that doubles as mobility, gap‑close, or repositioning through packs. The two are glued together by Recuperation’s steady Sanity drip, which translates each hit into more uptime.
Her numbers encourage chaining actions: Intron 1 adds short‑lived efficiency stacks after Faintlight, and Intron 4 converts combo count into flat Attack gains. That loop rewards consistency—dash to set stacks, enter Netherflames, maintain Sanity through Recuperation procs, and keep combos alive while you’re immune to flinches. When Sanity runs low, step out before the auto‑sheathe, or lean on Afterburn to get a free Faintlight and reset space without paying the cost.
Weapon proficiency in Sword and Dual Pistols gives flexibility outside Netherflames. In practice, her most reliable damage comes from swordstrings and the attached waves, but the listed proficiencies make it easy to cover scenarios where you need to poke or stagger foes at a safer distance between bursts.
Quick reference: key numbers at a glance
- Sanity economy: 150 max; Netherflames costs 10 on activation and 10 per second; Faintlight costs 20; Recuperation returns 2 Sanity per proc at 17% chance.
- Faintlight damage: 4 AoE ticks at 102% each with a 3m radius along the dash path.
- Netherflames pressure: normal hits scale 12.7%→25.8%; swordwaves scale 41%→93%; swordwave width 12m; normal hit radius 3m; hitstun immunity while active.
- Team utility (partner slot): Heart Devourer grants +40% ATK to Berenica and nearby Umbro teammate(s).
Where she fits
Built as a straightforward DPS, Berenica anchors teams that can feed her time on target. She converts short windows of safety into reliable area and single‑target damage, and she carries her own survivability through hitstun immunity rather than shields or heals. Lineups that group enemies or create safe lanes make her swordwaves land more consistently. If you value a primary damage dealer who can toggle into an aggressive state and comfortably sustain it with light Sanity returns, she slots in cleanly.

The takeaway is simple: treat Sanity as the throttle. Spend it to enter Netherflames, let Recuperation and your combo sustain do the rest, and time Faintlight to keep the engine spinning. The kit is direct, the numbers are transparent, and the payoff is a blade that reaches farther than it looks.