
Gadgets are the lever that turns a good run into a podium in Sonic Racing: CrossWorlds. Each Gadget Plate is a six-slot puzzle, and every piece you slot meaningfully changes how your machine accelerates, drifts, survives chaos, and converts ring economy into top speed. You unlock more Gadgets as you race and rank up, and SEGA’s features page outlines the system and sample effects such as Quick Charge and Item Stock Plus (official overview).
Prioritize ring economy (your top speed lives here)
Your maximum speed scales with your current ring count, so any tool that helps you gain, hold, or quickly regain rings stabilizes pace after hits.
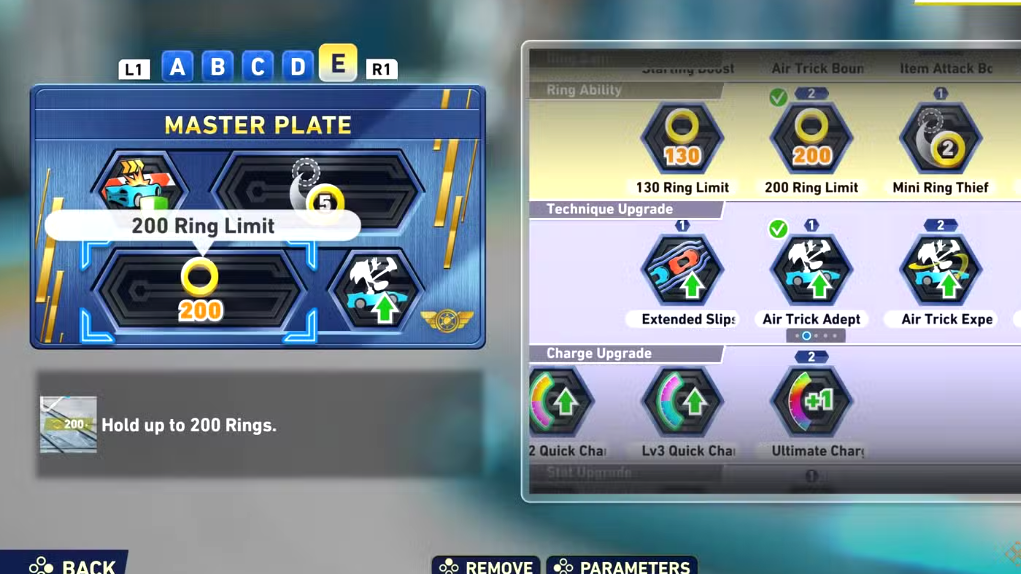
- 200 Ring Limit (2 slots): Doubles your ring cap to 200, giving you more headroom to maintain max speed after skirmishes or mistakes.
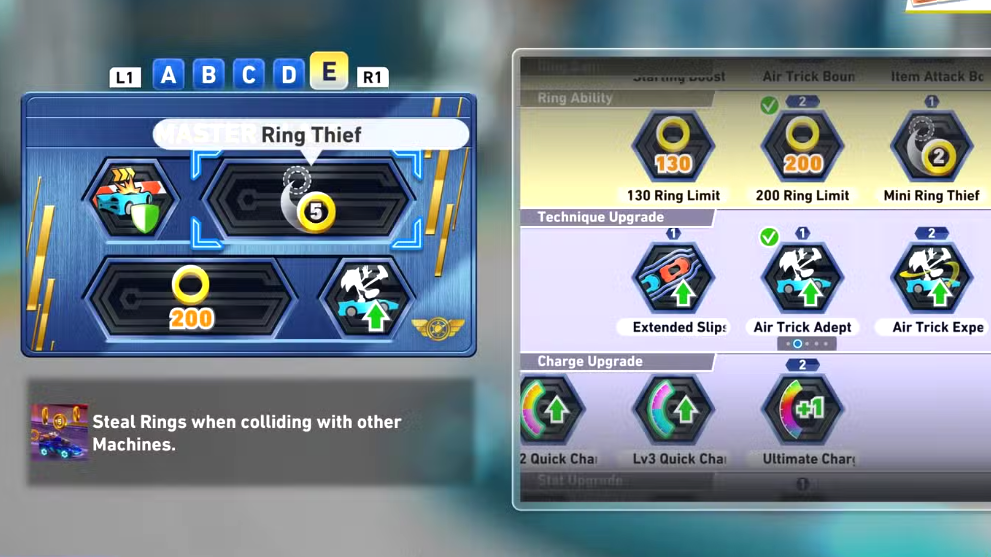
- Ring Thief (2): Steals rings on contact. It fuels your economy while denying rivals, and it pairs naturally with collision-focused builds.
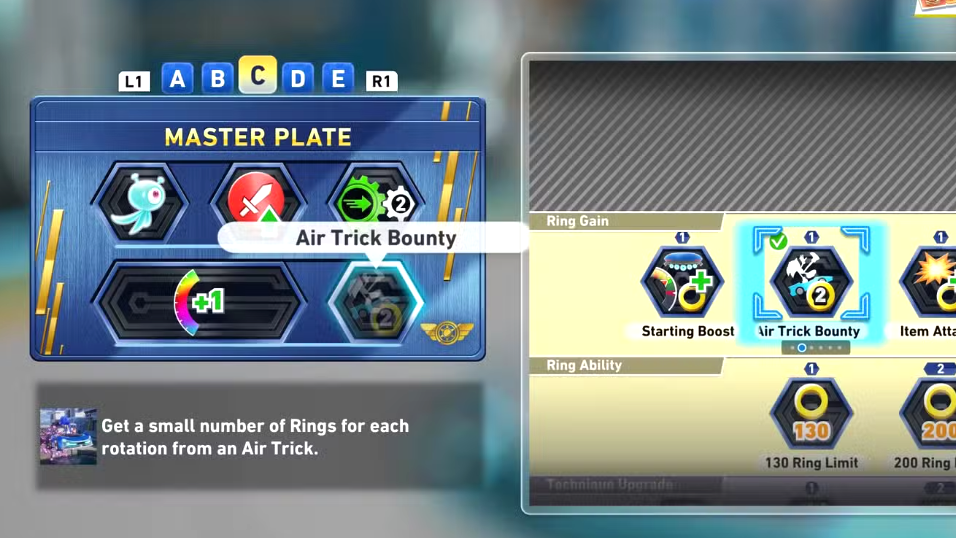
- Air Trick Bounty (1): Grants rings per full midair rotation. It shines on tracks with big airtime (for example, Dragon Road or White Space) and often pays for itself.
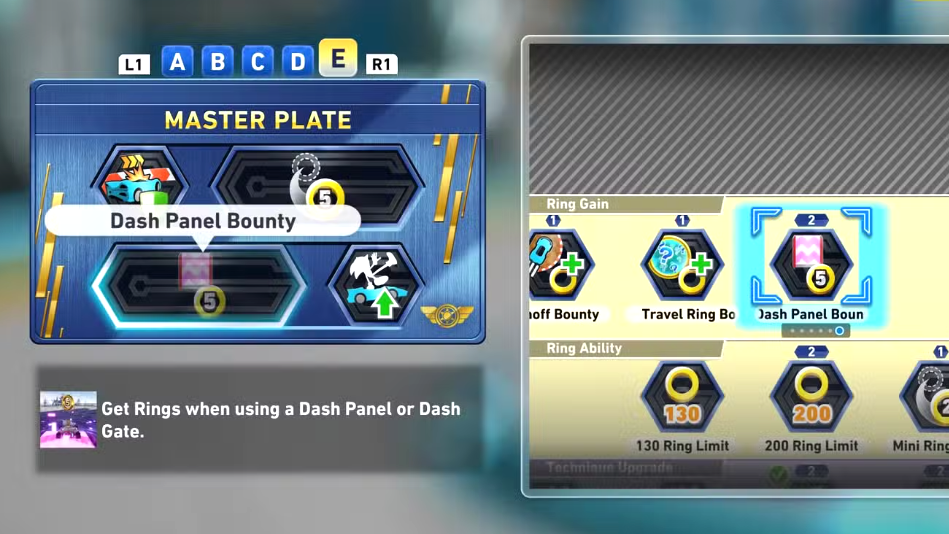
- Dash Panel Bounty (2): Awards rings on panels and gates. Consistent return on sprint-heavy circuits or lap-one catch-up routes.
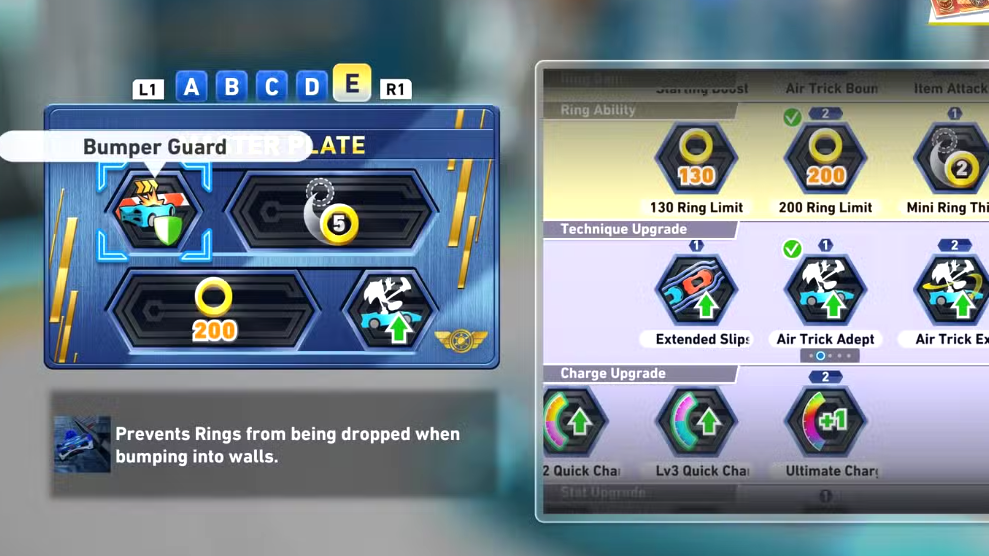
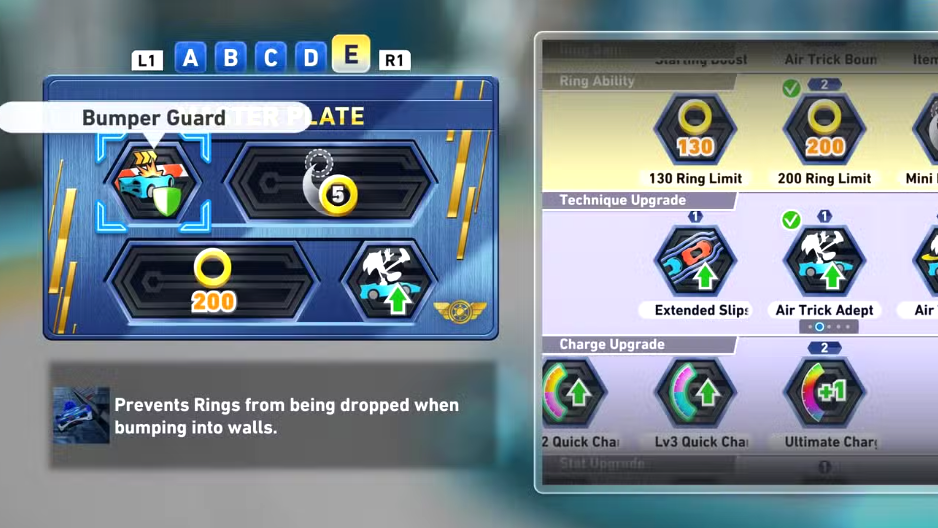
- Bumper Guard (1): Prevents wall bumps from shedding rings. It’s an efficient safety net while you learn lines or tackle tight courses.
Win the drift game (reliable, repeatable speed)
CrossWorlds rewards drifting constantly. Faster charge rates create frequent boosts you can chain into items and tricks.
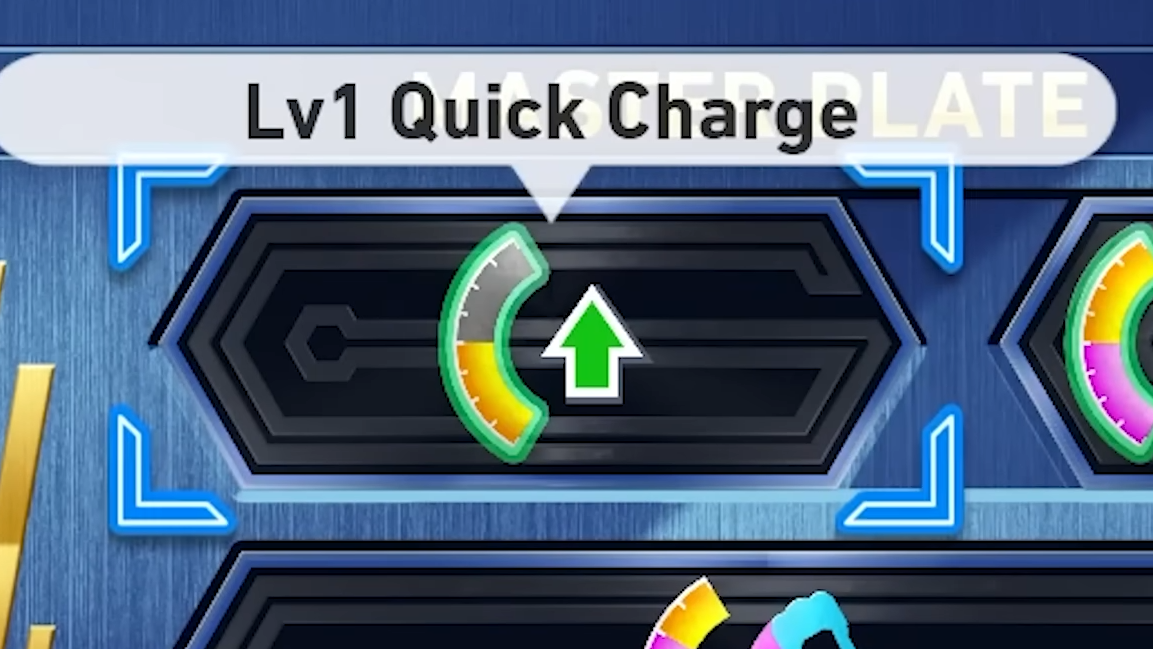
- Lv1 Quick Charge (2) and Lv2 Quick Charge (1): Together they compress drift timing so you release boosts more often and with less track width.
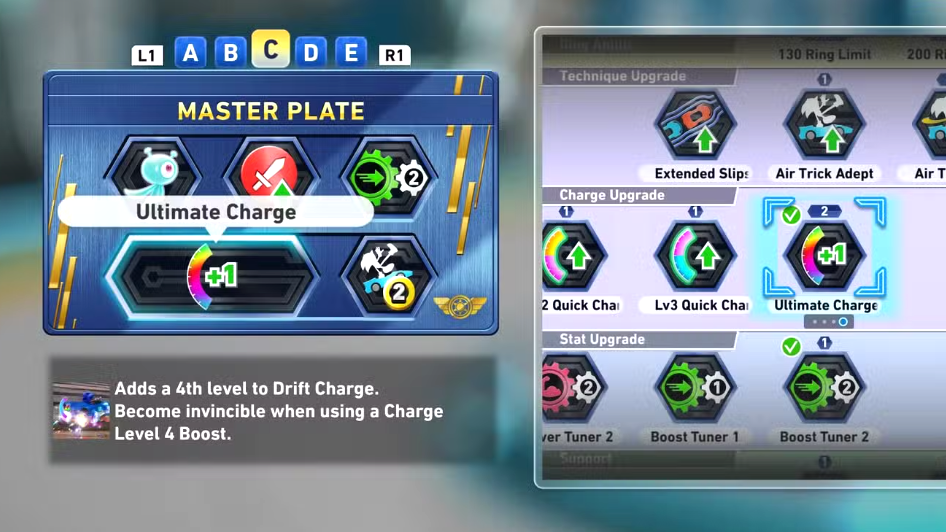
- Ultimate Charge (2): Adds a fourth drift tier and grants invincibility during its boost. It’s powerful but slot-hungry, best for courses with long, clean charge windows.
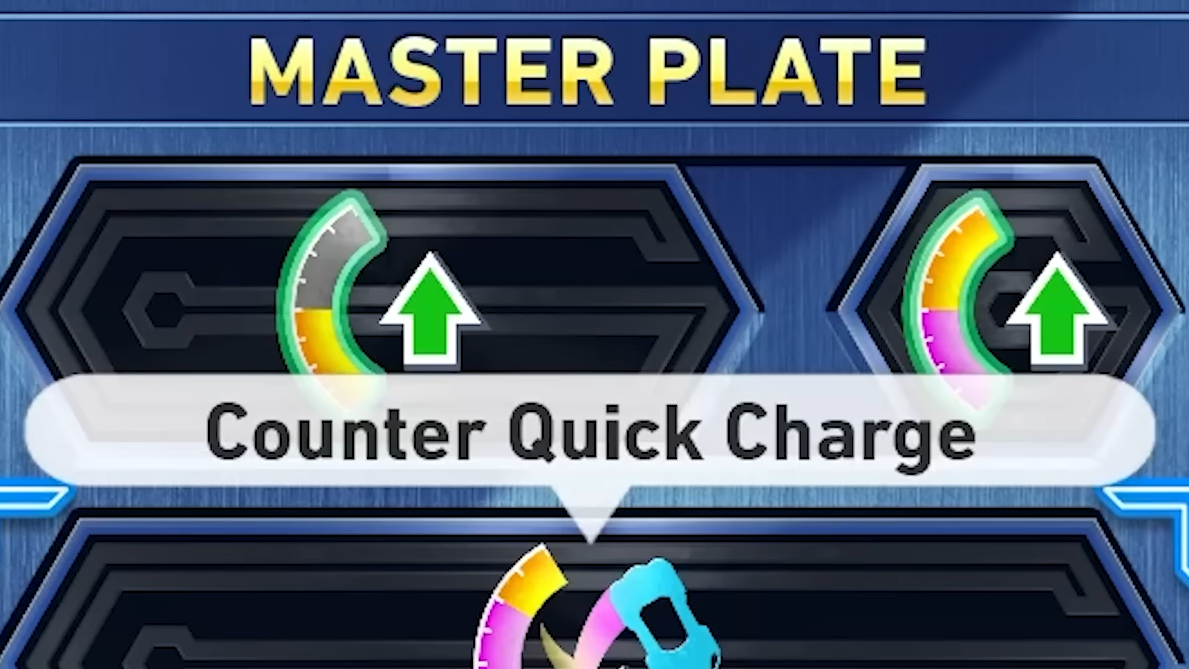
- Counter Quick Charge (3): On land, a quick drift switch fills a charge tier instantly. This is a high-skill option for chaining boosts in time trials or long straights.
- Technical Drift (2): Raises charge speed at the cost of stability; consider it if you’re comfortable managing slides, especially on Handling machines.
Make contact racing work for you
The pack bunches up often, and smart collision picks convert inevitable contact into momentum.
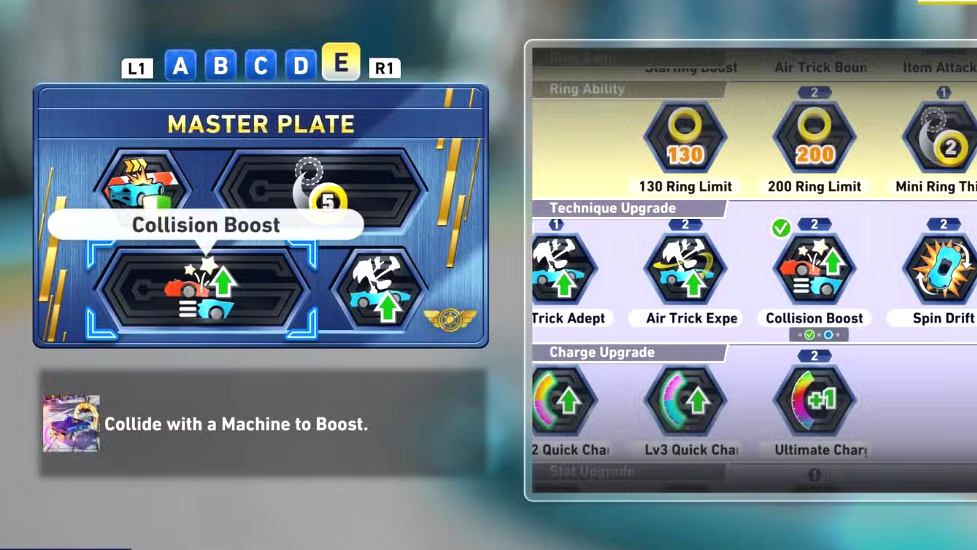
- Collision Boost (2): A dependable speed burst whenever you trade paint. It turns traffic into acceleration and is particularly effective with Power-type machines and on crowded online lobbies.
- Ring Thief (2): The natural partner to Collision Boost; you gain a burst and the rings to sustain the speed you just earned.
- Extended Slipstream (1): Broadens the draft window so you can sit longer in a rival’s wake before slingshotting past. It complements contact builds if you can spare the slot.
Reduce item chaos (and keep your plan intact)
When the item game heats up, a few defensive staples keep you moving and preserve resources.
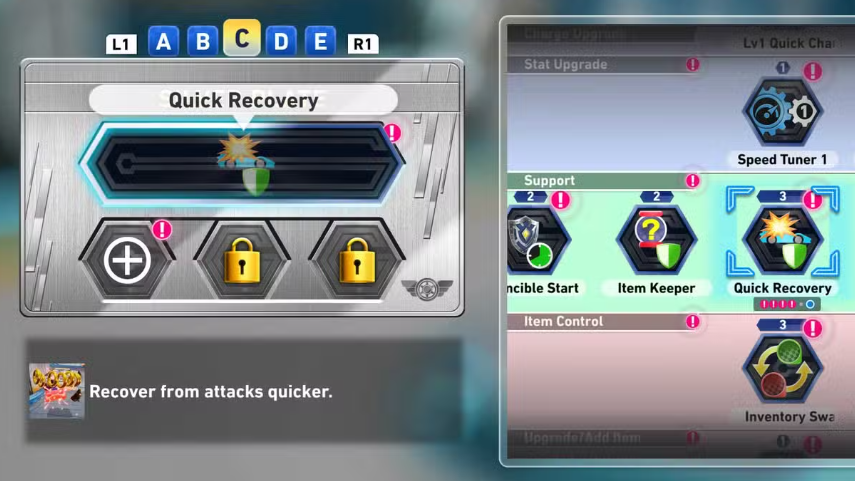
- Quick Recovery (3): Shortens downtime after getting hit by items or hazards. Online, this is one of the most impactful anti-tilt picks you can make.
- Item Keeper (2): Prevents dropping your held items on hit. Consider it if you plan late-lap saves or rely on stockpiled defense.
- Bumper Guard (1): As above, it converts wall brushes from race-enders into minor corrections by protecting your rings.
- Defense Item Chance Up (1): If you’re consistently targeted, biasing your pulls toward protection can be worth a slot.
Control the opening and your pulls
Getting out of row 12 matters in Grand Prix and online lobbies; shaping item drops can sustain leaders or fuel comebacks.
- Boost Starter (1): Start with a Boost item. Combined with a clean launch, it helps you carve through early traffic.

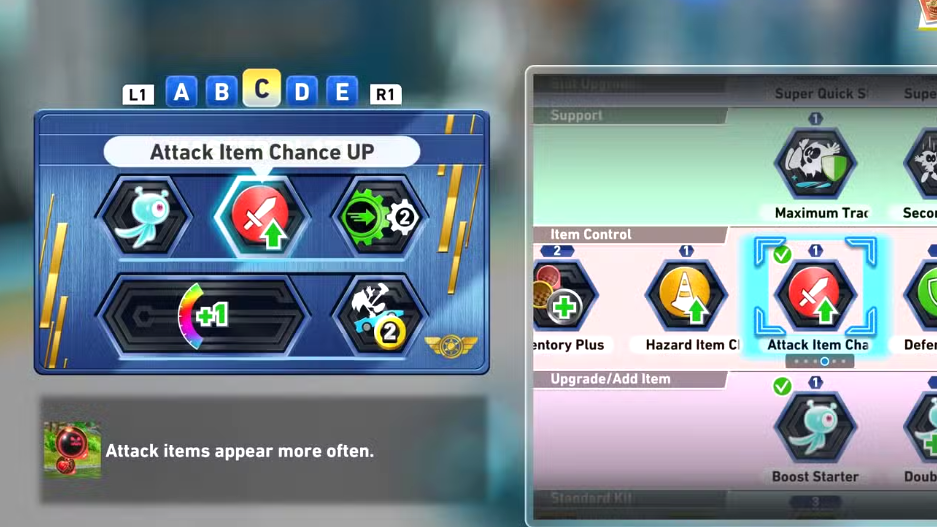
- Attack Item Chance Up (1) or Speed Item Chance Up (1): Tilt the box odds toward aggression or acceleration depending on your role in the pack.
- Inventory Swap / Item Hoarder (cost varies): Item management Gadgets (swapping or holding a third slot) are niche but strong if your game plan hinges on late-race boosts.
Stat tuners are the glue
One-slot stat tuners (Speed, Acceleration, Handling, Power, Boost) patch weaknesses or reinforce strengths for your chosen character and machine. Doubling up is viable if your plate has a free column, and pairing a tuner with its matching machine type magnifies its effect.
Plate templates (6 slots each)
Use these as starting points and swap a single piece to match the track.
- Drift chain (general)
Lv1 Quick Charge (2) + Lv2 Quick Charge (1) + Ultimate Charge (2) + Air Trick Adept (1).
What it does: High-frequency boosts with occasional tier-four bursts and quick trick execution for extra lift and rings. - Collision and steal (crowded lobbies)
Collision Boost (2) + Ring Thief (2) + Lv1 Quick Charge (2).
What it does: Turns traffic into speed and economy; the faster drift fill keeps you chaining out of bumps. - Ring-first (air and panel routes)
200 Ring Limit (2) + Air Trick Bounty (1) + Dash Panel Bounty (2) + Bumper Guard (1).
What it does: Builds and protects a big ring bank; swap Bumper Guard for a stat tuner on wide, low-risk tracks. - Anti-item (ranked and GP consistency)
Quick Recovery (3) + Item Keeper (2) + Defense Item Chance Up (1).
What it does: Minimizes time loss and preserves inventory in chaotic midpacks and late-lap pileups. - Opening sprint (front-load position)
Boost Starter (1) + Speed Item Chance Up (1) + Lv1 Quick Charge (2) + two Stat Tuners (2).
What it does: Punches through lap-one congestion, then leans on drift and stats to hold position.
When to swap plates
- Big jumps and vertical routes: favor Air Trick Bounty and trick speed Gadgets.
- Short sprints and many panels: bring Dash Panel Bounty or Speed-biased stats.
- Tight, wall-lined sections: keep Bumper Guard and Handling-minded tuners.
- Item-heavy rooms: prioritize Quick Recovery and Item Keeper over greed.
Notes on naming and effects
Some Gadget names and slot costs vary by unlock tier or plate set, and descriptions for a few similarly named ring Gadgets can differ between previews and in-game text. In play, Ring Thief is the collision-based steal, while halving ring loss on damage is a separate support effect. If you see overlap, check the icon and category on your own Plate before committing slots.
CrossWorlds makes your loadout matter without overshadowing skill. Build for how you actually drive on a given course, and don’t be afraid to keep five plates ready: a drift chain for time trials, a contact-and-steal kit for online packs, and a ring-first setup for airtime routes will cover most situations.