
Start with a simple, reliable structure: pair a Lancer for mid‑range control with a Longshot for distant threats, then fill your third slot based on the next encounter. That loadout covers nearly every campaign firefight and reduces risky weapon swaps during pressure moments.
The recommendations below are grounded in the weapon set confirmed for Gears of War: Reloaded and community-tested tier placements. You’ll find practical steps for making the strongest loadouts first, followed by situational choices and multiplayer pickup priorities.
Method 1: Core S‑Tier Loadout for Campaign (Most Reliable)
Step 1
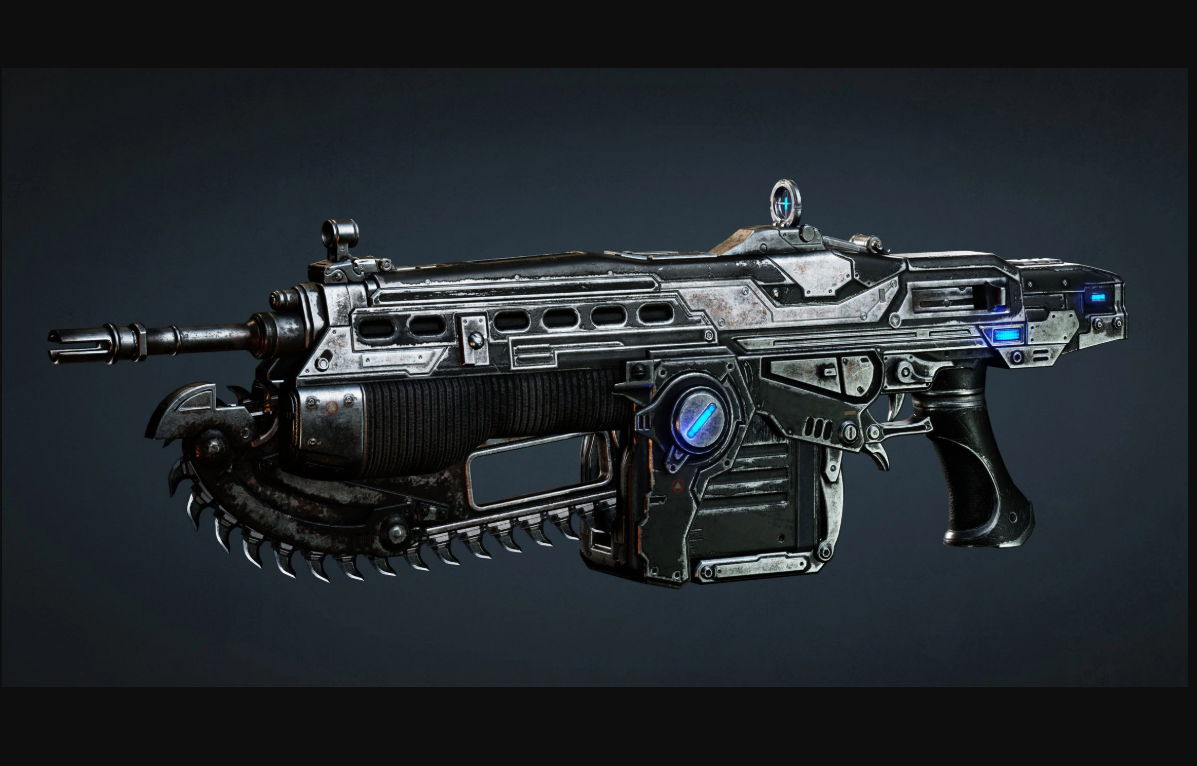
Equip the Lancer as your primary rifle. Its low recoil keeps rounds on target at mid‑range, so you spend less ammo downing standard Drones from cover. As enemies rush with shotguns, hold the melee button to rev the chainsaw and secure instant close‑range kills without exposing yourself to prolonged hip‑fire. You’re on track if you consistently stop pushes and finish encounters with spare magazines.

Step 2
Anchor your long‑range slot with the Longshot. Use ADS and the extra zoom via R3 to land reliable headshots on entrenched enemies and Troika gunners from safety. This reduces attrition and prevents chip damage while you hold cover. You’re on track if priority targets drop in one clean shot and you rarely need to push into their lanes.
Step 3
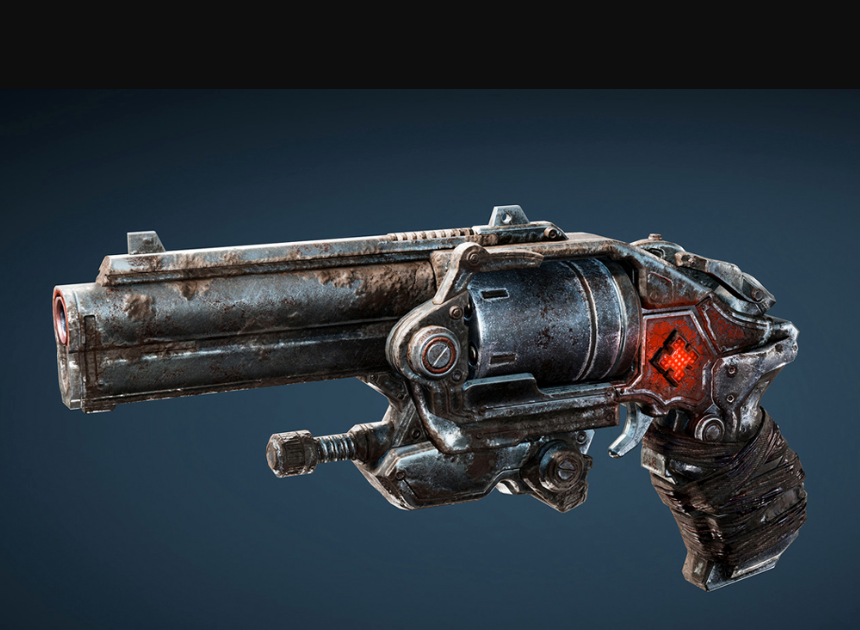
Carry the Boltok as your precision sidearm for high‑damage follow‑ups. Treat it like a pocket marksman pistol—deliberate headshots delete Wretches and quickly down standard foes while conserving rifle ammo. Expect a slower cadence; the payoff is fewer shots to kill. You’re on track if controlled headshots routinely save primary ammo without stalling fights.
Step 4
Swap in the Gnasher for tight interiors and short corridors. Use it to punish enemies that crease your cover or funnel through chokepoints, but avoid replacing the Longshot on open maps where ranged threats dominate. You’re on track if close pushes end in one blast and you’re not forced to chase outside safe cover.
Method 2: Multiplayer Power-Weapon Priority and Map Flow
Step 1
At spawn, ping weapon spawns and teammates to plan your route. Press L1/LB to grey‑out the screen and reveal markers for pickups—move early to contest top‑value weapons before the first fights. You’re on track if you reach a power‑weapon spawn at or before the enemy and deny their initial tempo.
Step 2
Prioritize Longshot on maps with strong sightlines, and Torque Bow on contested mid‑lanes. Longshot anchors lanes and forces rotations; Torque Bow punishes peeks with explosive sticks if you can time the charge.
- Longshot examples: War Machine, Gridlock, Mansion, Rooftops, Bullet Marsh.
- Torque Bow examples: Sanctuary, Canals, Tyro Station.

Step 3
Control Frag Grenades to break stubborn cover and force resets. Time a cooked throw to clear power positions or tag surfaces that opponents must pass, then collapse with rifles. You’re on track if frags either secure downs or open safe pushes without trading multiple lives.
Step 4
Fallback to a rifle (Lancer or Hammerburst) between power-weapon cycles. Hammerburst is often plentiful on Locust carriers and rewards disciplined tapping at range; Lancer stabilizes mid‑lane fights and wins assist battles. You’re on track if your team retains lane control even after power‑weapon ammo is spent.
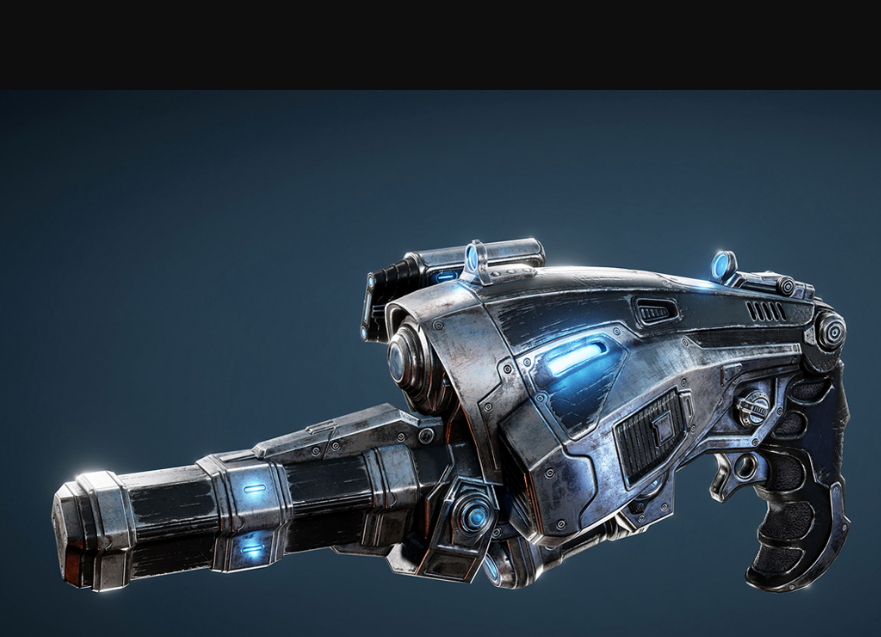
Method 3: High‑Damage Power Weapons (Use Selectively)
Step 1
Pick up the Torque Bow when you can manage the charge safely. Hold the draw just long enough to stick a target, peeking only to release; its explosive bolts delete elites and clustered foes. On higher difficulties you risk being one‑shot while exposed—keep charges behind cover and commit only when you have a clean timing window. You’re on track if shots consistently down priority targets without trading your position.
Step 2
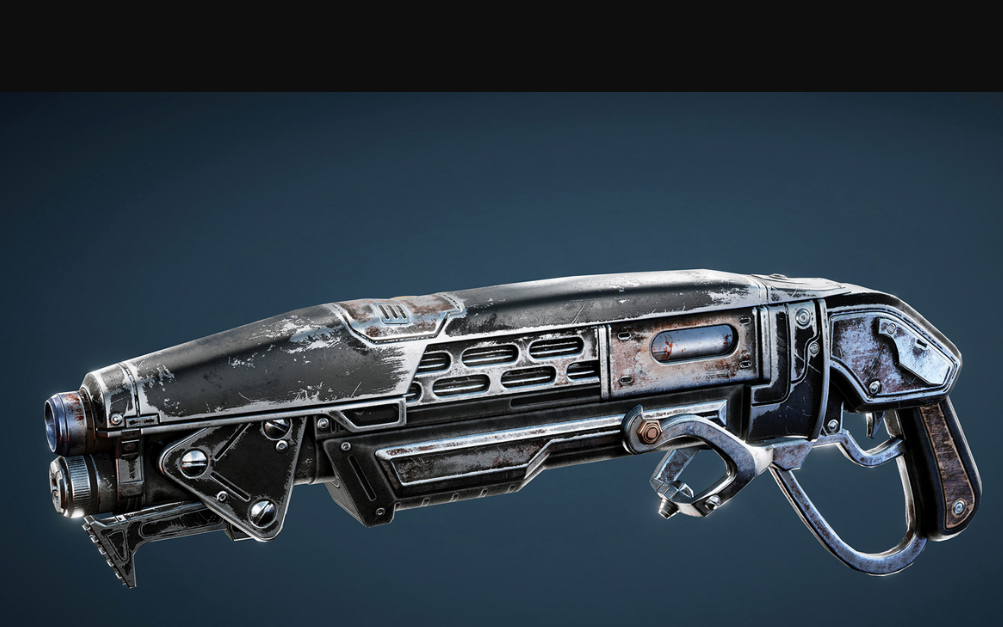
Reserve the Boomshot for Boomers or single, exposed heavies. Its splash can fail to multi‑kill spread‑out packs and ammo is scarce, so aim for direct hits or tight corners where the blast can’t be dodged. You’re on track if each shell removes a high‑value target rather than fishing for crowd clears.
Step 3
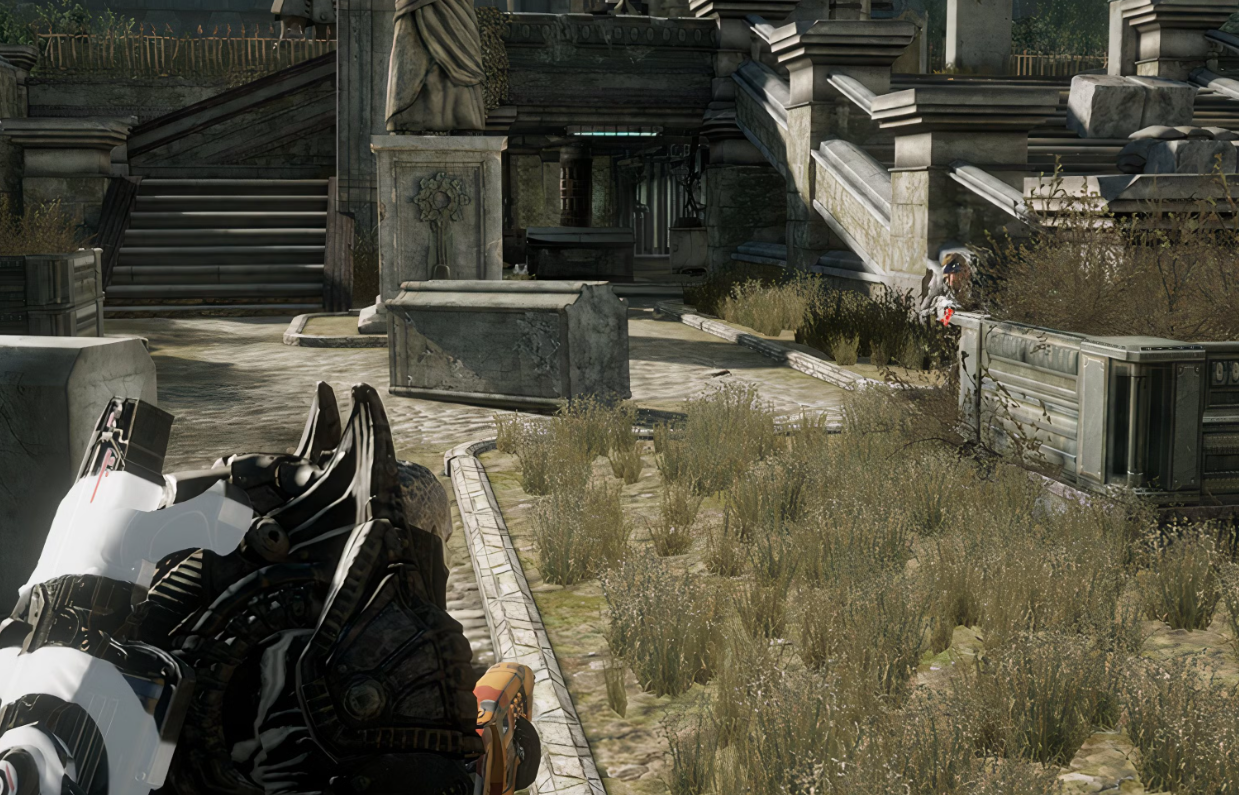
Use the Hammer of Dawn only when the game enables it and the sky is unobstructed. The orbital beam melts bosses but is often offline and won’t fire under a roof; carrying it outside those sections leaves you under‑gunned. You’re on track if you swap to it only in scripted moments and otherwise keep a rifle or Longshot equipped.
- Works outdoors with clear overhead lines.
- Expect the campaign to provide it when required.
Method 4: Grenades and Sidearms for Utility
Step 1
Seal Emergence Holes immediately with Frag Grenades. Toss one into the opening to stop continuous Locust spawns and stabilize the area before you’re overwhelmed. Time the throw as the hole opens so the detonation lands while it’s active. You’re on track if reinforcement waves stop and your team can reposition safely.

Step 2
Use Frag Grenades to flush entrenched enemies before pushing. Tag walls or cover edges to force movement, then punish with rifles as they displace. This approach saves health and reduces shotgun scrambles. You’re on track if foes leave strongholds or get downed attempting to dodge the blast.
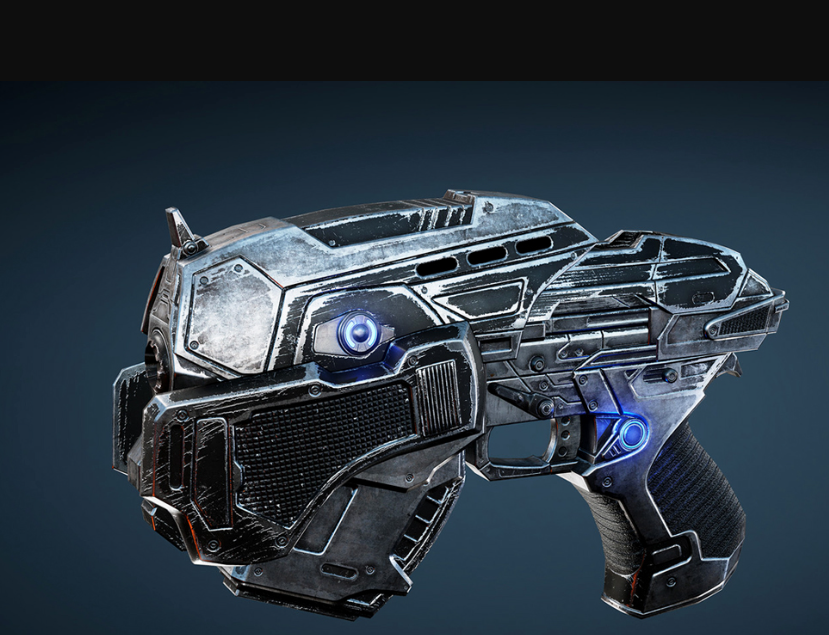
Step 3
Treat the Snub Pistol as an ammo safety net and finisher. Its low per‑shot damage makes it a poor primary choice, but it’s reliable for last‑hits or when rifles run dry mid‑fight. You’re on track if it saves you during lean ammo stretches rather than becoming your default weapon.
Keep your default pair (Lancer + Longshot) whenever possible, then rotate in situational tools only when the map or encounter demands it. This approach reduces risk, conserves ammo, and keeps you in control across difficulties and modes.