
Directive‑0 sits at the end of Ironwall Resolve, an Order Bunker in the Terminus District of Dominion. It’s a repeatable boss with a tight arena, layered defenses, and a concentrated loot pool of three legendary assault rifles. Here’s how to get inside, route the bunker quickly, and take the fight cleanly on every run.
Where to find Directive‑0
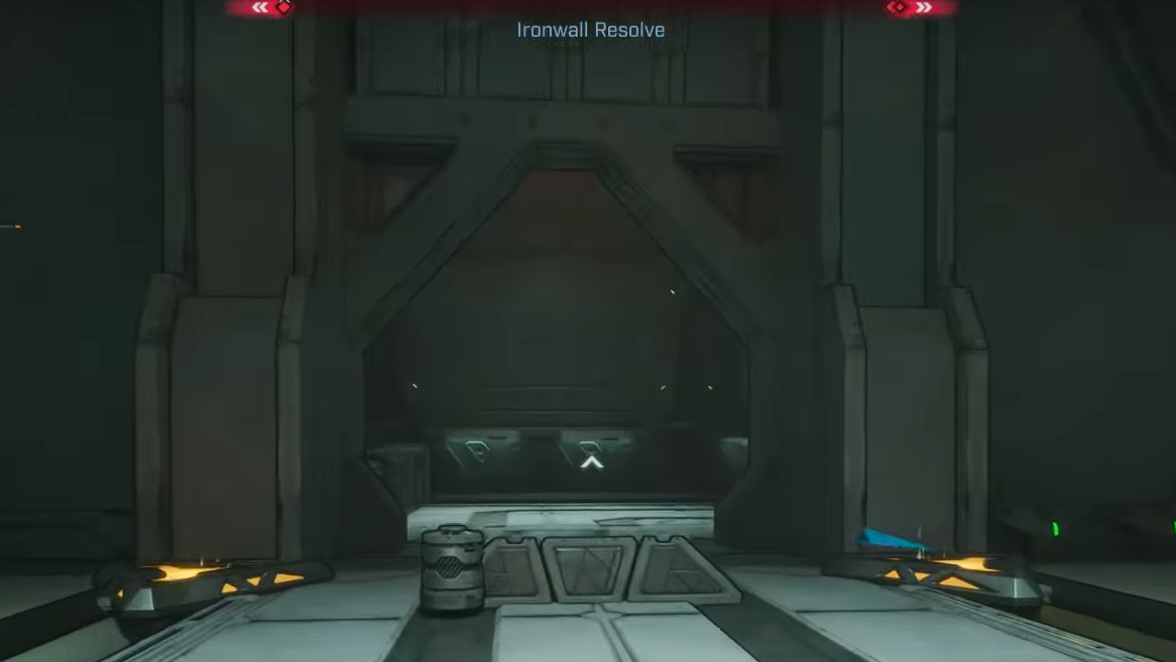
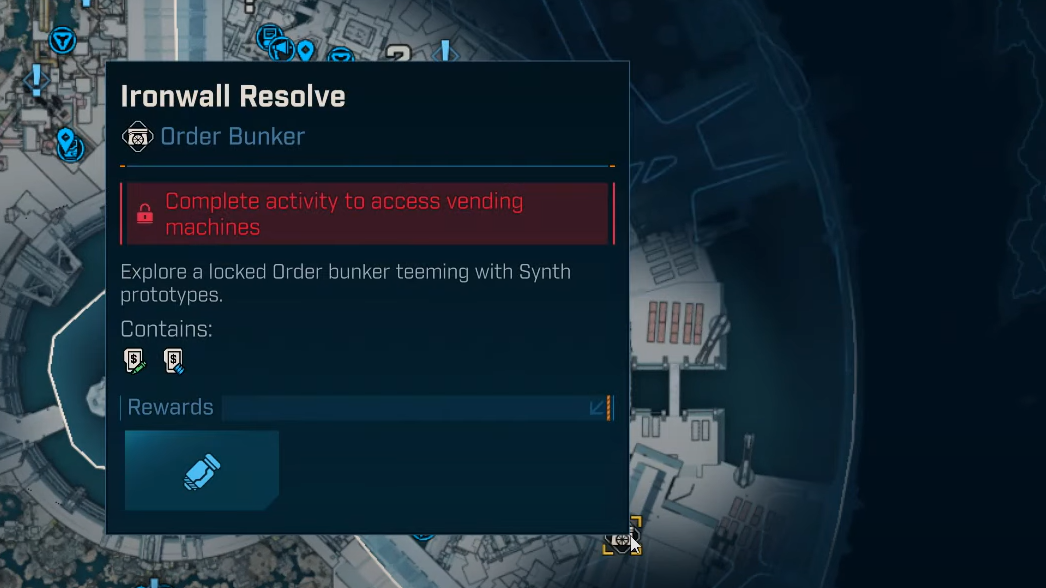
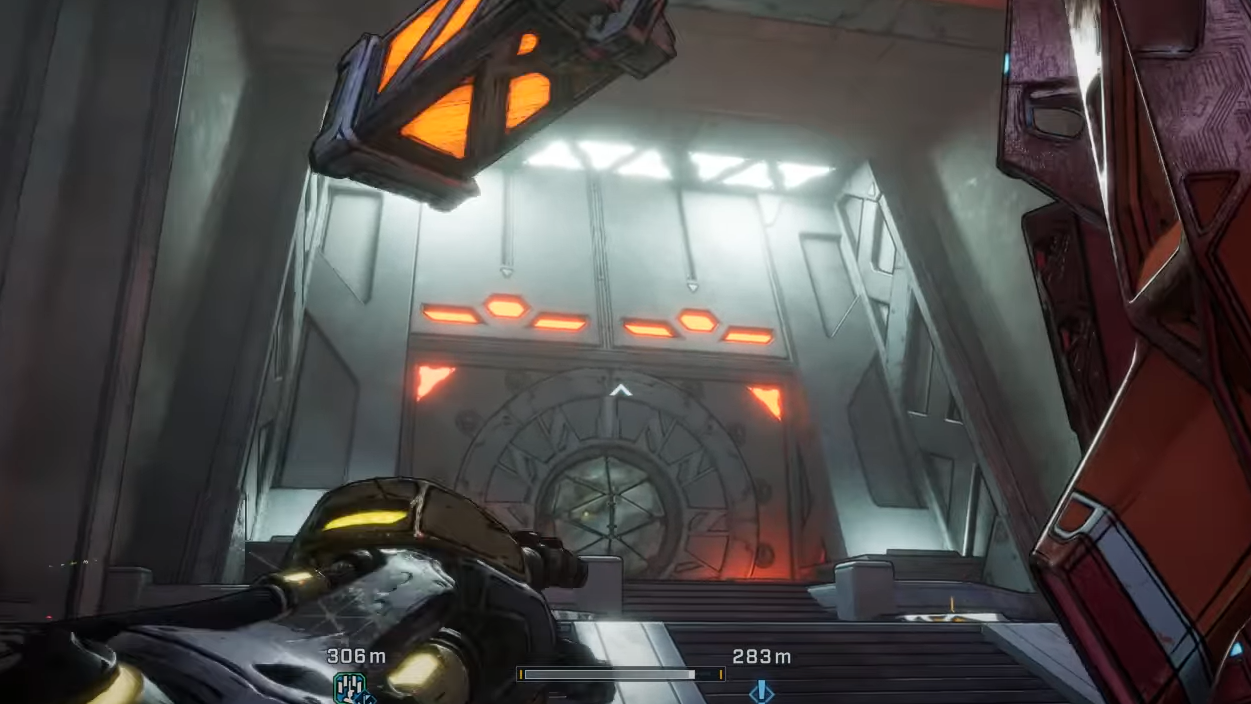
Head to Ironwall Resolve in the Terminus District (Dominion). The bunker door is sealed on arrival and requires a one‑time environmental unlock before you can reach the boss.
Unlock Ironwall Resolve (one‑time setup)
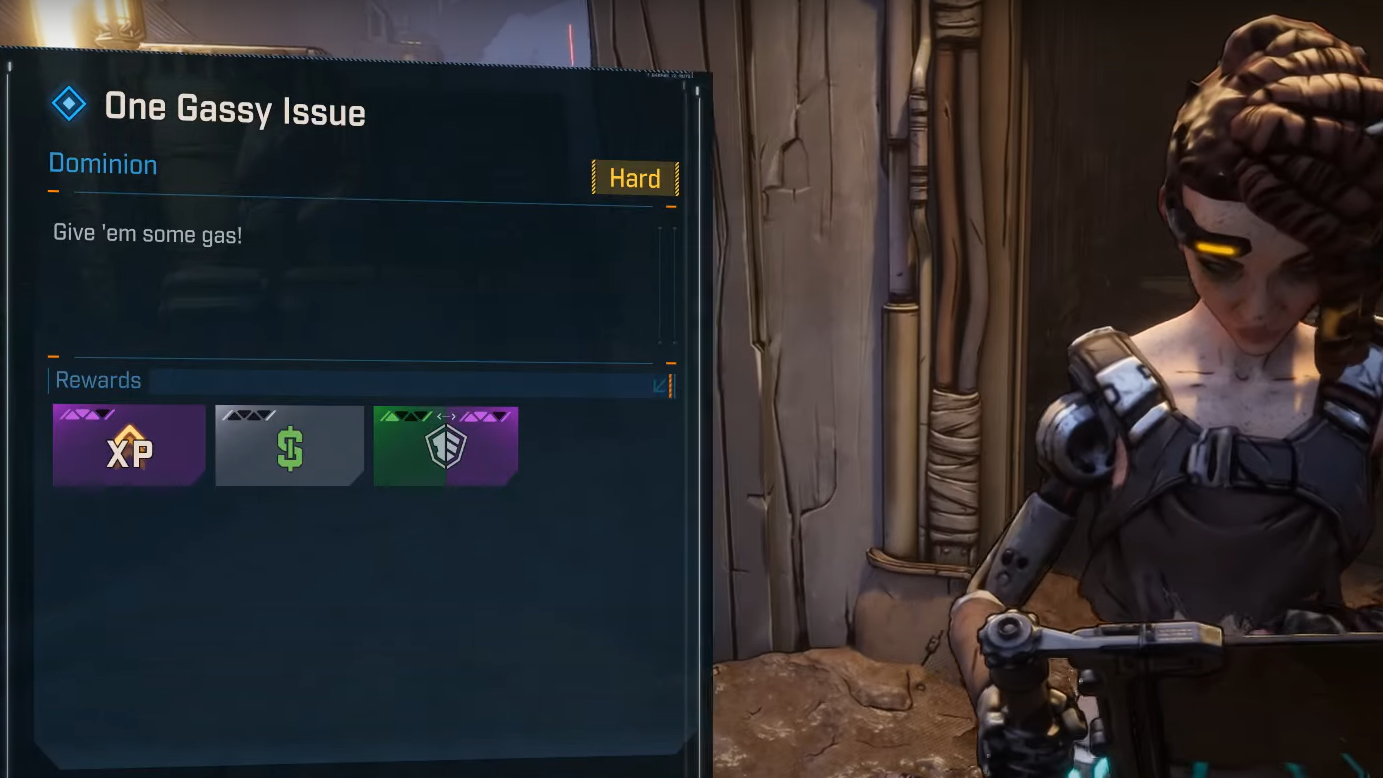
You need to complete the side mission One Gassy Issue. That enables Locust canisters around Dominion, including the dispenser near Ironwall Resolve.
- Go to the Ironwall Resolve entrance at the top of the stairs.
- Turn back off the landing. On a nearby trash pile off the stairs, find the Locust canister dispenser.
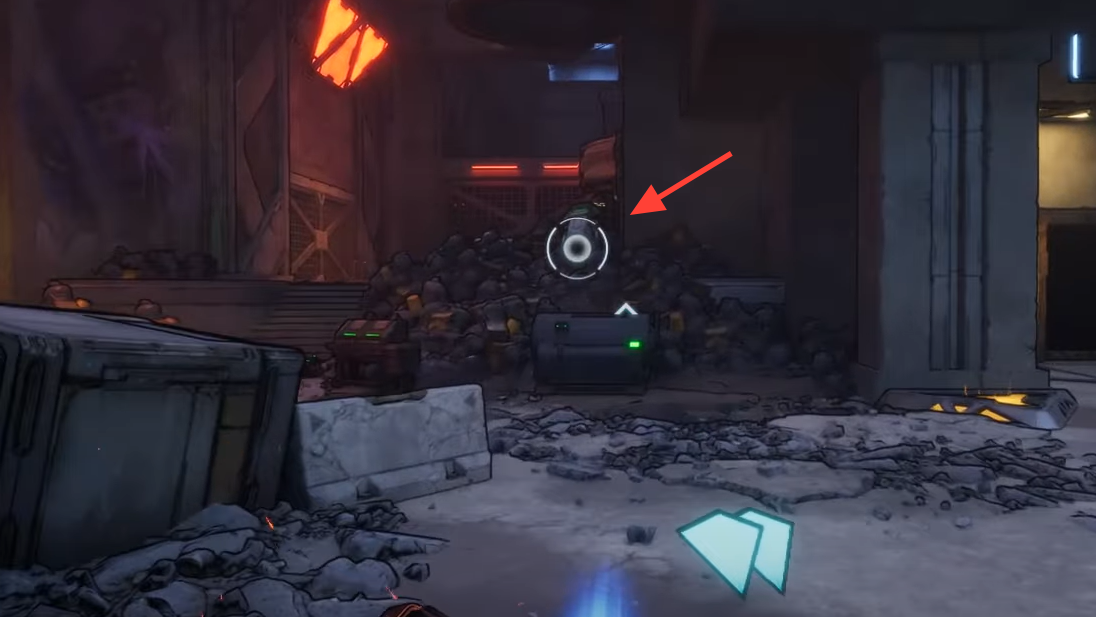
- Grab a canister (pick up or pull with your grapple), sprint it to the bunker door, and throw it at the plating. The canister has a short fuse; don’t dawdle.
Once the door melts, the bunker remains permanently accessible on that character.
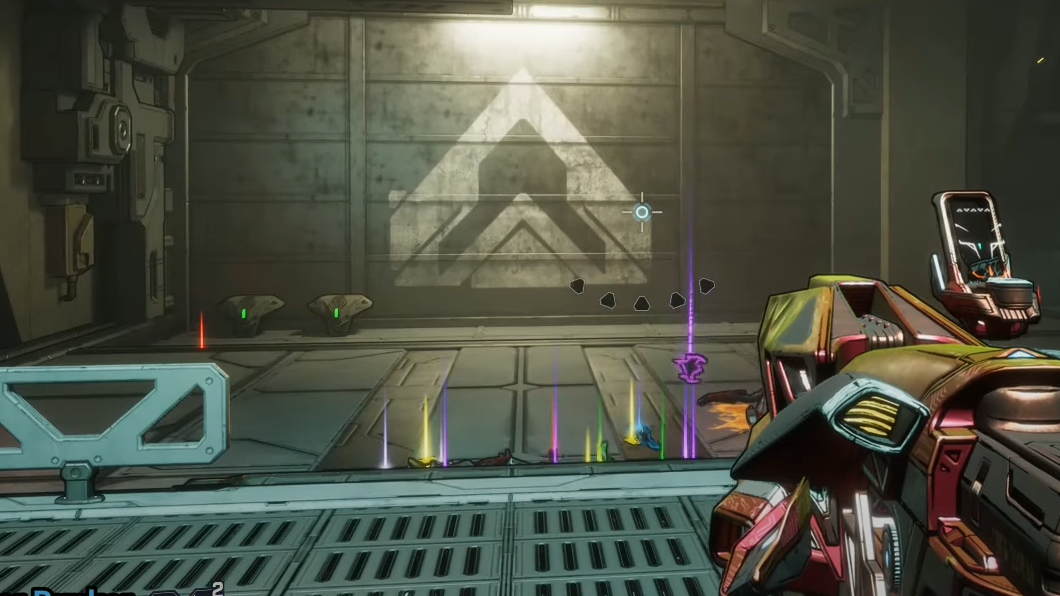
Clear the bunker (the three cores)
Ironwall Resolve is a simple three‑switch route. You’re opening the middle path to the boss by destroying power cores on the left and right wings.
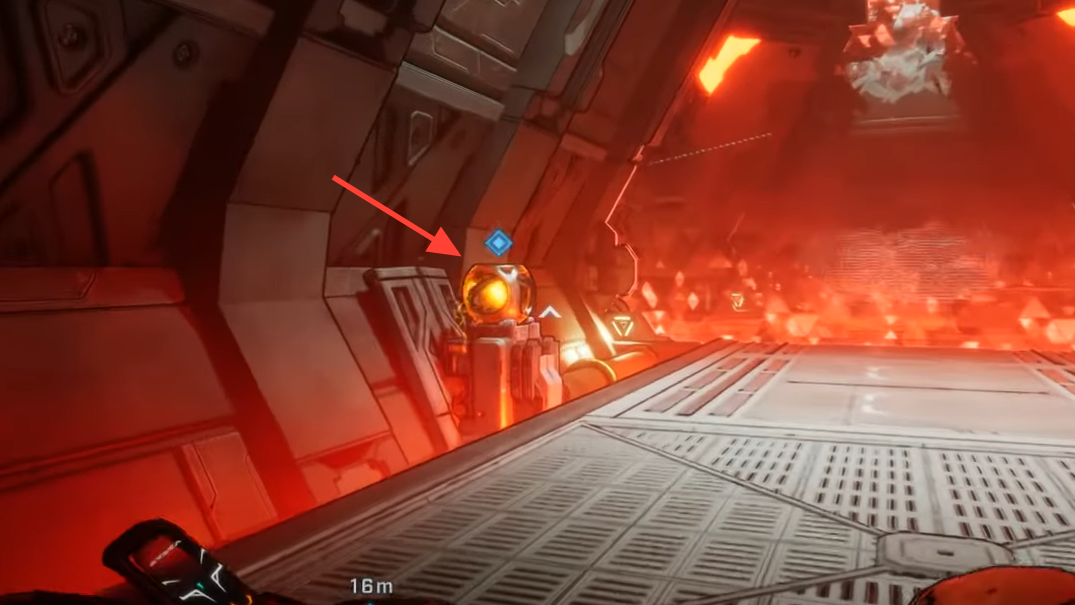
- Entrance: Shoot the visible power core on the left wall to drop the initial barrier.
- Left wing: Enter the large chamber, use the grapple node on a pillar to reach a high catwalk, then jump across to a small room and destroy the left core.
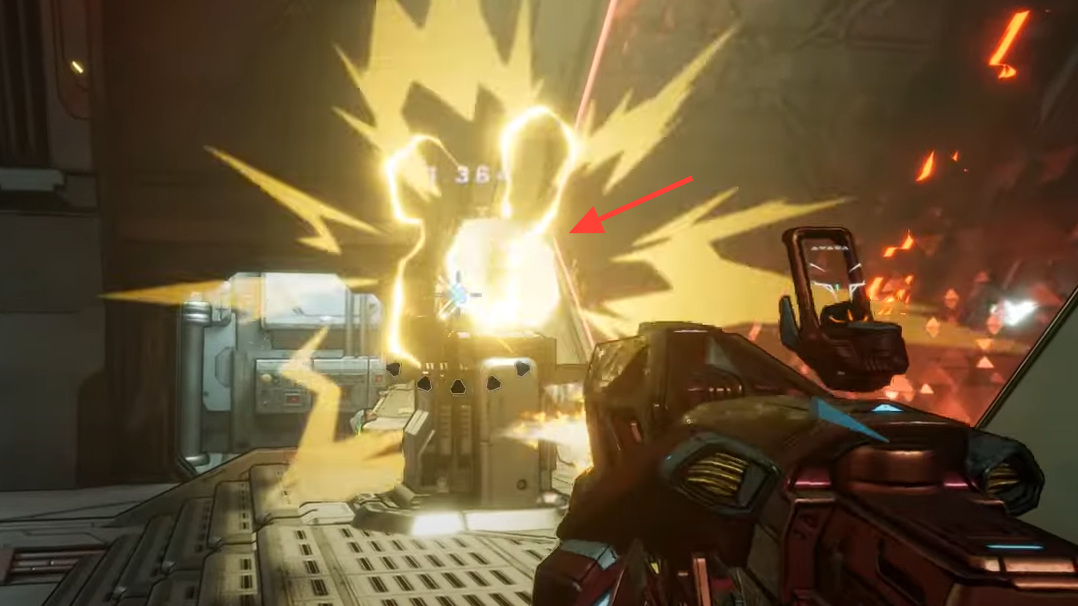
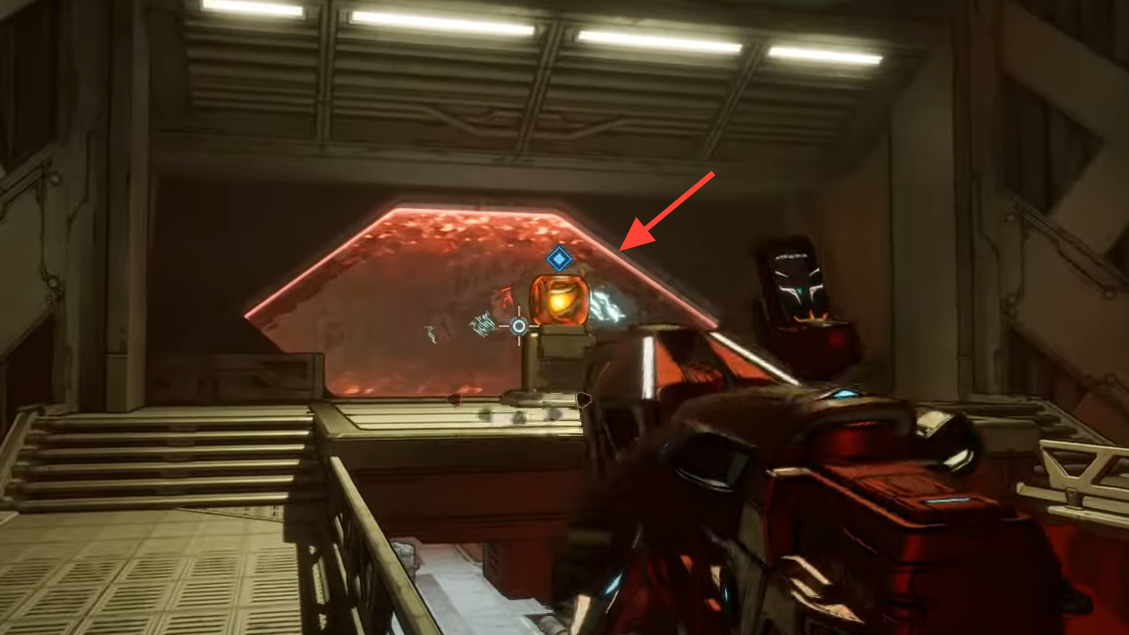
- Right wing: Follow the corridor to a ladder at the back. Climb up and shoot the right core.
Return to the central path. Vending machines sit directly before the boss arena for a quick refill.
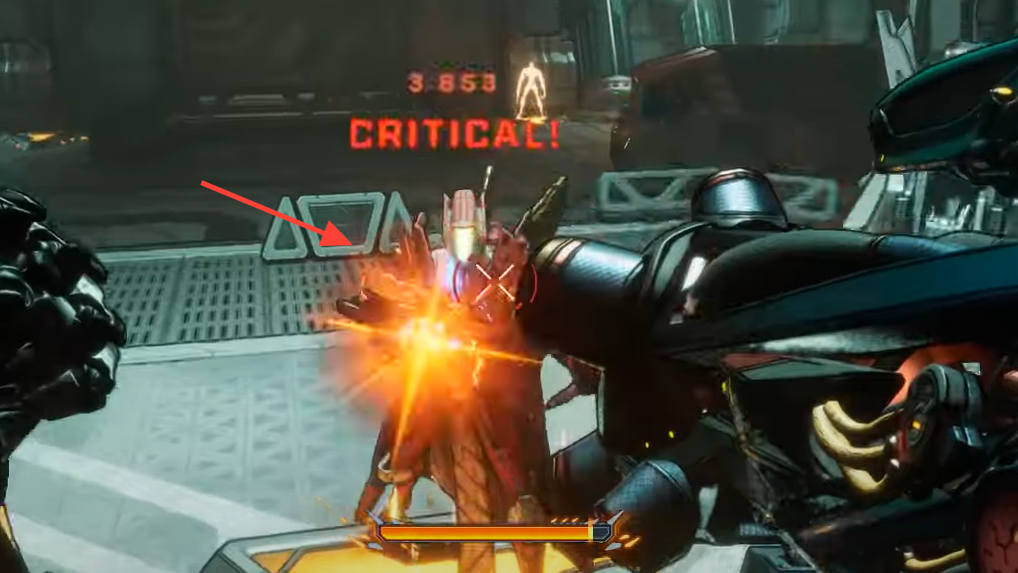
Beat Directive‑0 (elements, mechanics, positioning)
Directive‑0 runs two layered defenses: shield first, then armor. Build and swap accordingly.
- Elements: Use Shock to strip the shield bar quickly, then switch to Corrosive to burn through armor. Keep both on your loadout.
- Weak spot: The head. Aim high once defenses are down to accelerate each phase.
- Front barrier: Directive‑0 periodically raises a frontal shield wall. Focus it to break, or rotate to its flanks/back to keep DPS rolling.
- Turret orbs: Floating orbs deploy into Rail Liner turrets. Prioritize them; their charged shots will delete your health if ignored.
- Projectiles and grenades: Expect volleys and clustered red bombs. Use arena machinery and pillars to line‑of‑sight incoming fire and sidestep blast patterns.
- Second Wind safety: Don’t wipe every add. Leave a couple of lesser enemies alive to secure a fast revive if you go down.
Directive‑0 legendary drops
All three drops are assault rifles. Each has a strong, easy‑to‑feel perk, so it’s worth farming until you land a roll that fits your build.
| Legendary | Type | Key effect |
|---|---|---|
| Whiskey Foxtrot | Assault Rifle | Overdrive: swaps to a secondary magazine that fires full‑auto; some variants add a shrapnel underbarrel that increases damage taken on targets briefly. |
| Bonnie and Clyde | Assault Rifle | On kill, massively boosts damage for the gun’s alternate firing mode and refills its magazine. |
| Rowan’s Charge | Assault Rifle | Chance for shots to count as critical hits; refunds ammo on crit. |
If you’re deciding where to start, Whiskey Foxtrot offers flexible crowd control and sustained output; Rowan’s Charge is a natural fit for crit‑focused builds; Bonnie and Clyde rewards fast target chaining.
Farm Directive‑0 efficiently
Directive‑0 can be replayed. After a kill, return to the arena entrance and use the Moxxi’s Big Encore machine to spend cash for another run. This keeps reset time short and lets you target specific parts on the loot table without re‑clearing the bunker route.

Loadout checklist (quick)
- Shock primary for the opening shield bar.
- Corrosive secondary for the armor bar.
- A fast‑handling weapon for turret orbs and adds.
- Mobility or survivability pick (movement skill, emergency shield) to escape bomb clusters and regain angles.
Once Ironwall Resolve is open, this becomes a reliable late‑game loop: two cores, a refill, a clean boss burn, then a quick Encore to try again. With Shock and Corrosive on tap and a plan for turret orbs, you’ll stabilize the fight and pivot to hunting the roll you want.