
Where to find Driller Hole (mission and arena)
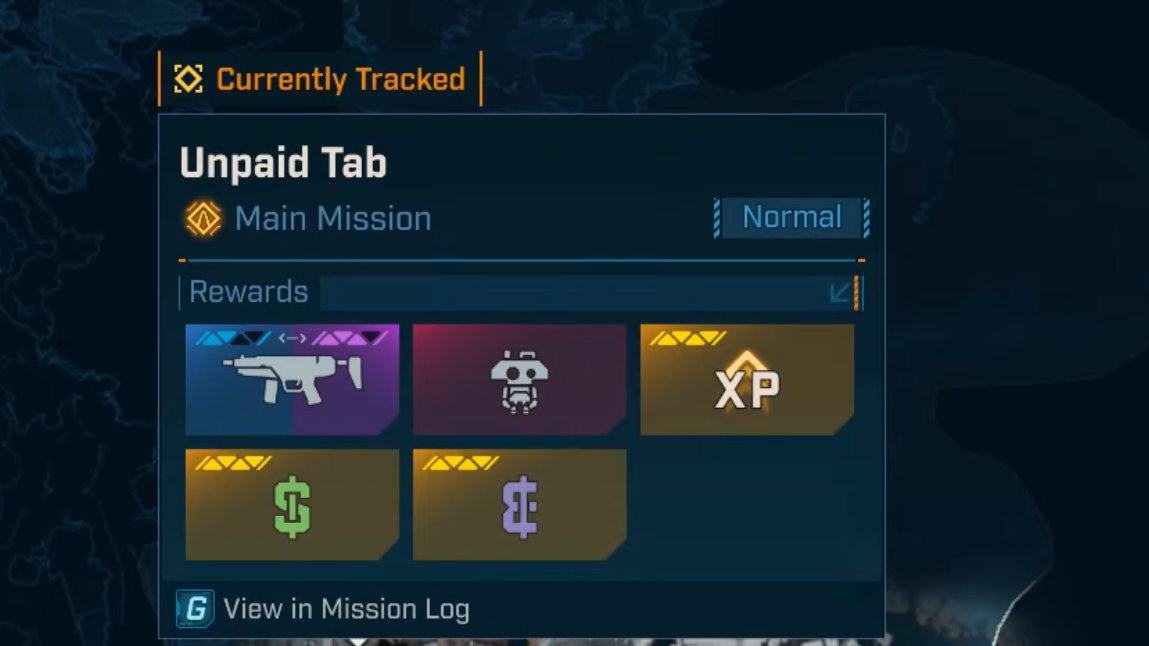
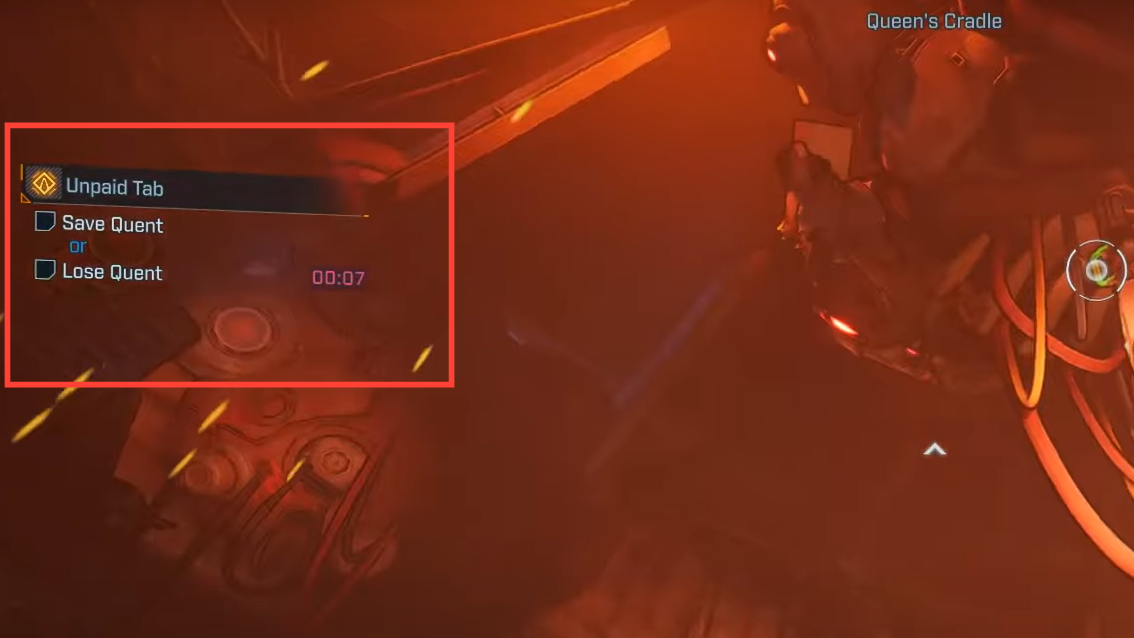
Driller Hole is the boss at the end of the Unpaid Tab main mission. You fight it in the Queen’s Cradle base in the Tonnage Peel area of Carcadia Burn. The arena is a circular pit with a large machine in the center—use that structure for cover throughout the fight.
After completing the mission, you can refight Driller Hole using Moxxi’s Big Encore machine placed near the boss entrance. It’s there specifically so you can farm the drop table without replaying the whole mission.

All Driller Hole legendary drops
| Legendary | Type | Key effect |
|---|---|---|
| Katagawa’s Revenge | Sniper rifle (Maliwan) | “Stormcloud” special effect (elemental-focused sniper) |
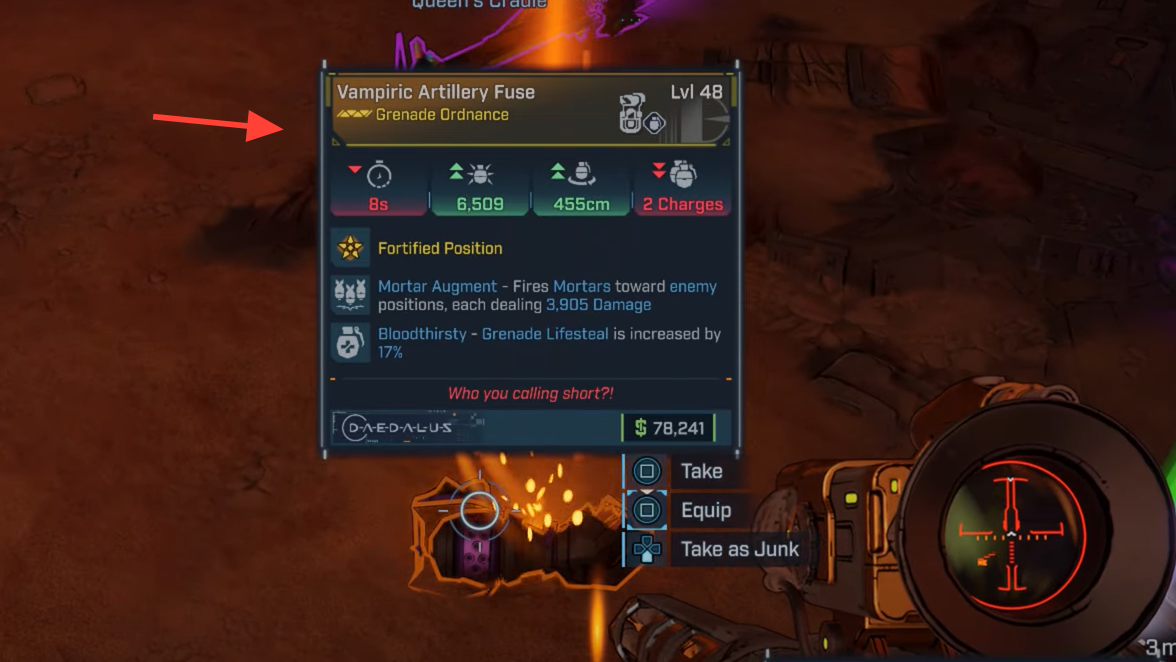
| Fuse | Grenade ordnance (Daedalus) | “Fortified Position” defensive grenade behavior |
| G.M.R. | Assault rifle (Order) | Zoomed shots deal roughly double damage, cost double ammo, and fire at about half the rate |
These are dedicated boss drops tied to the Unpaid Tab encounter. If you’re farming, expect to run multiple clears for a specific roll.
Recommended damage types and loadout
- Elements: Driller Hole has two health bars—Armor then Flesh. Use Corrosive to burn down the Armor bar, then switch to Incendiary for Flesh.
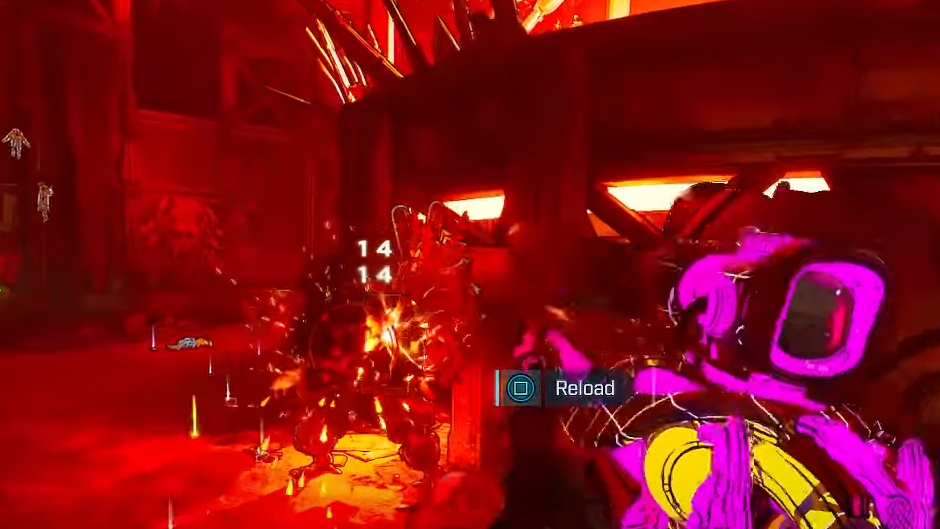
- Positioning: Bring a mid‑ to long‑range primary and something accurate for headshots; the weak point is a small head module.
- Survivability: A quick‑recharge shield helps between missile waves; grenades that deny ground or stagger adds keep space clear.
Phase overview and what to watch for
Driller Hole is slow but relentless. The fight scales up from single patterns to denser, multi‑wave barrages as its Armor breaks. Most of its threats are avoidable if you keep moving and maintain cover.
| Attack | What it looks like | How to avoid |
|---|---|---|
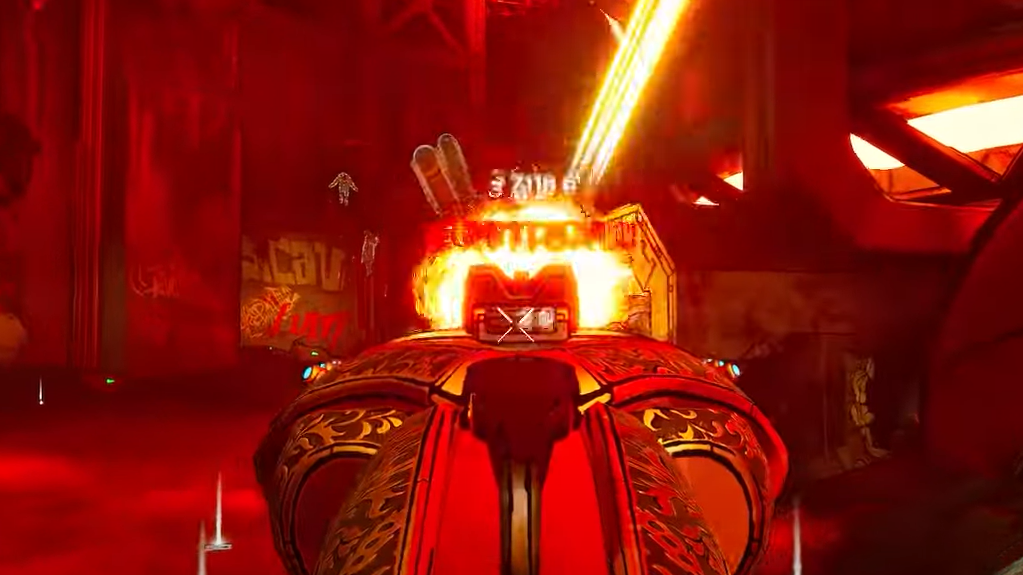
| Back‑mounted rockets (arc) | Rockets fire upward, then fall onto your position, leaving elemental hazards | Strafe laterally or back up to move out of the landing zone; don’t stand in the hazard puddles |
| Homing rockets (left‑hand gun) | Direct volleys traveling fast toward you | Sprint to solid cover; breaking line‑of‑sight is safer than trying to out‑strafe homing shots |
| Burrowing explosives | Glowing trail snakes through the floor toward you | Watch the ground and jump or dash at the last moment to clear the detonation |
| Charge lunge | Brief wind‑up, then a straight rush | Time a sideways dash; don’t backpedal in a straight line |
Phase 2 repeats these patterns with larger barrages—more rockets per wave and chained burrowing explosives. Splash damage and ground hazards become the real risk, so hug cover and reposition sooner rather than later.
Fight plan that works
- Open by circling the arena’s center machine counter‑clockwise (or clockwise) while shooting the head. The boss is too slow to cut you off if you keep moving.
- Break Armor fast with Corrosive, then immediately swap to Incendiary for the Flesh bar.
- Use the machine to reset line‑of‑sight during homing volleys; step out only when rockets commit to a path.
- Jump the ground‑trailing explosives late; an early jump can land you on the blast.
- If you see the charge wind‑up, dash perpendicular—not backward—to avoid getting clipped.
Farming Driller Hole efficiently
- Use the Moxxi’s Big Encore machine placed by the boss entrance to re‑run the fight after your first clear.
- Set a comfortable difficulty you can clear quickly; consistent clears beat risky one‑shots for targeted drops.
- Prioritize survivability over pure DPS in Phase 2—downtime from Second Winds stretches runs and lowers efficiency.
Mission timing and loot pickup
When Driller Hole falls during Unpaid Tab, a timed sequence involving Quent triggers immediately. Focus on the objective; you can handle loot right after without risking mission failure.
Quick troubleshooting (why a run goes wrong)
- Getting chipped by splash behind cover: You’re too close to edges. Tuck fully behind the center machine and slide to its wider panels.
- Burrowers still hit you: You’re jumping too early. Wait until the trail is nearly under your feet, then jump or dash.
- Homing rockets feel unavoidable: Don’t strafe in the open; break sight with cover, then re‑engage.
Once you’ve internalized the patterns, Driller Hole becomes a reliable farm—an easy lap for a shot at Katagawa’s Revenge, Fuse, or G.M.R. Keep a Corrosive opener handy, swap to fire on cue, and let the center machine do the defensive heavy lifting.