
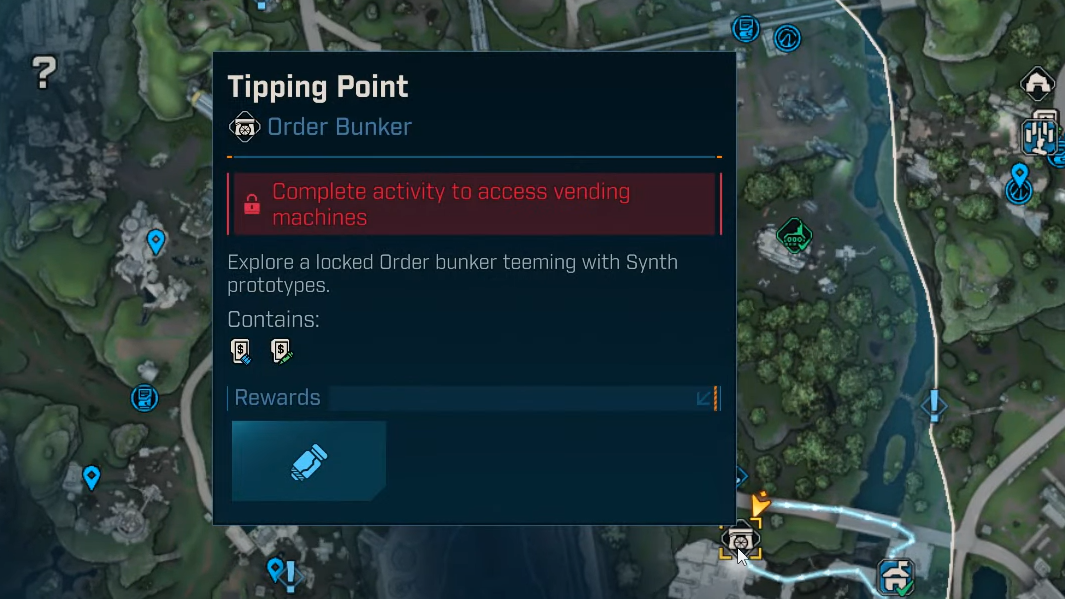
Mimicron location (Tipping Point Order Bunker)
Mimicron is housed in the Tipping Point Order Bunker in Idolator’s Noose, within the Fadefields. The bunker becomes accessible after finishing the One Fell Swoop main mission. Once unlocked, you can re-enter the arena at any time to farm the boss.
| Quick reference | Details |
|---|---|
| Point of interest | Tipping Point (Order Bunker) |
| Area / Region | Idolator’s Noose / Fadefields |
| Damage weaknesses | Shock (shields), Corrosive (armor) |
How to reach the Tipping Point arena
Tipping Point opens with a short environmental route rather than a straight hallway. The loop is fast once you’ve done it once or twice:
- From the main door, head left into the ventilation shaft to reach a side corridor.

- Climb up and grab the explosive charge; use it to blow open the bunker’s main entrance.
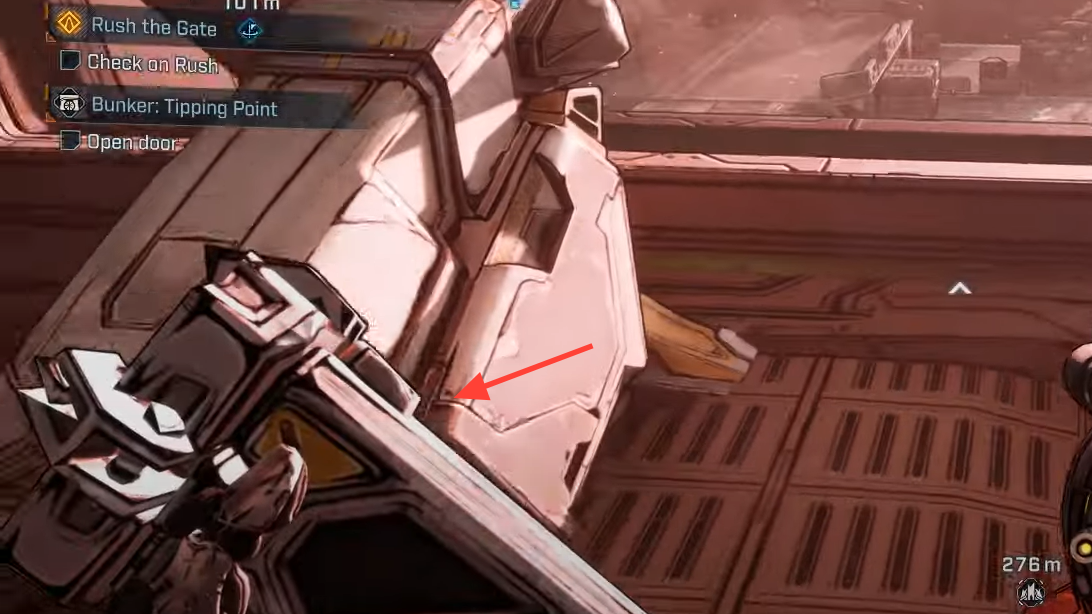
- Inside, slot the nearby power capsule into the console to unlock the next door.

- Advance to the tall elevator shaft and climb to the upper level; Mimicron waits on the top floor.
Mimicron dedicated drops (what the boss can drop)
Mimicron draws from a focused pool of three Legendaries. If you’re targeting any of these, the boss is the most direct farm:
| Item | Type | Manufacturer | Legendary effect |
|---|---|---|---|
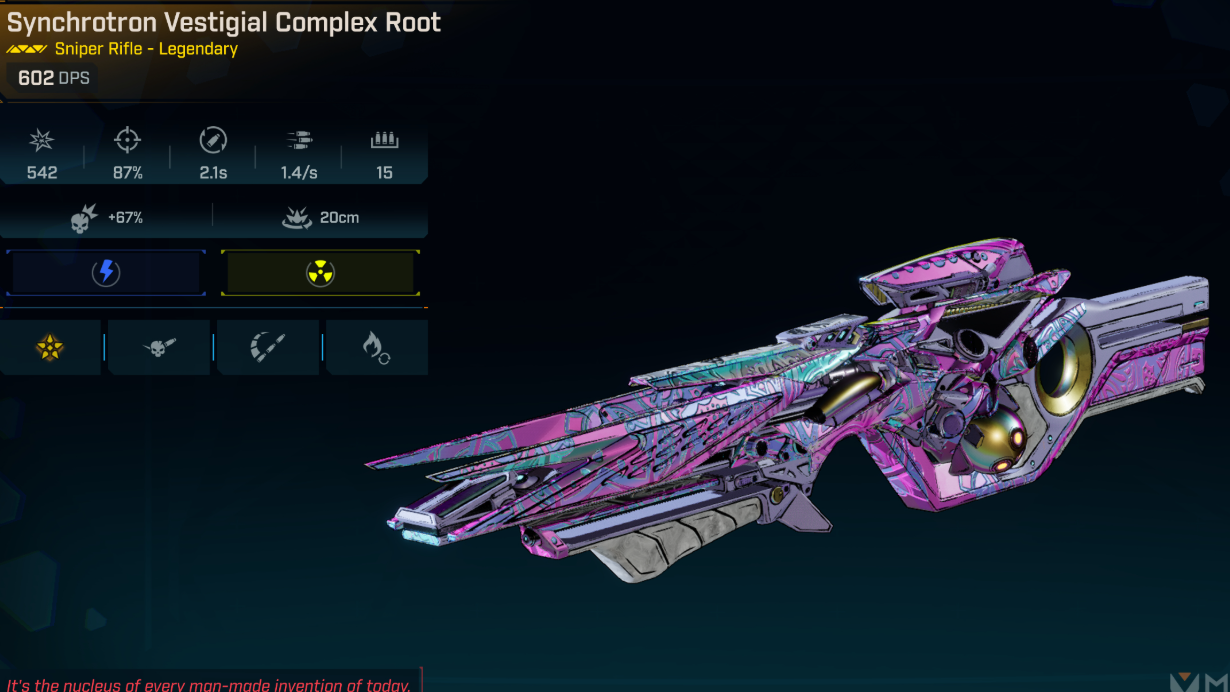
| Complex Root | Sniper Rifle | Maliwan | Sierpinski: the main shot forks into diverging projectiles along its path for wide coverage. |
| Luty Madlad | SMG | Daedalus | Homemade Ingenuity: heats rapidly but sheds heat just as fast, enabling aggressive burst fire. |
| UAV | Grenade (Ordnance) | Tediore | Death From Above: calls in a homing drone that drops explosives on clustered targets. |
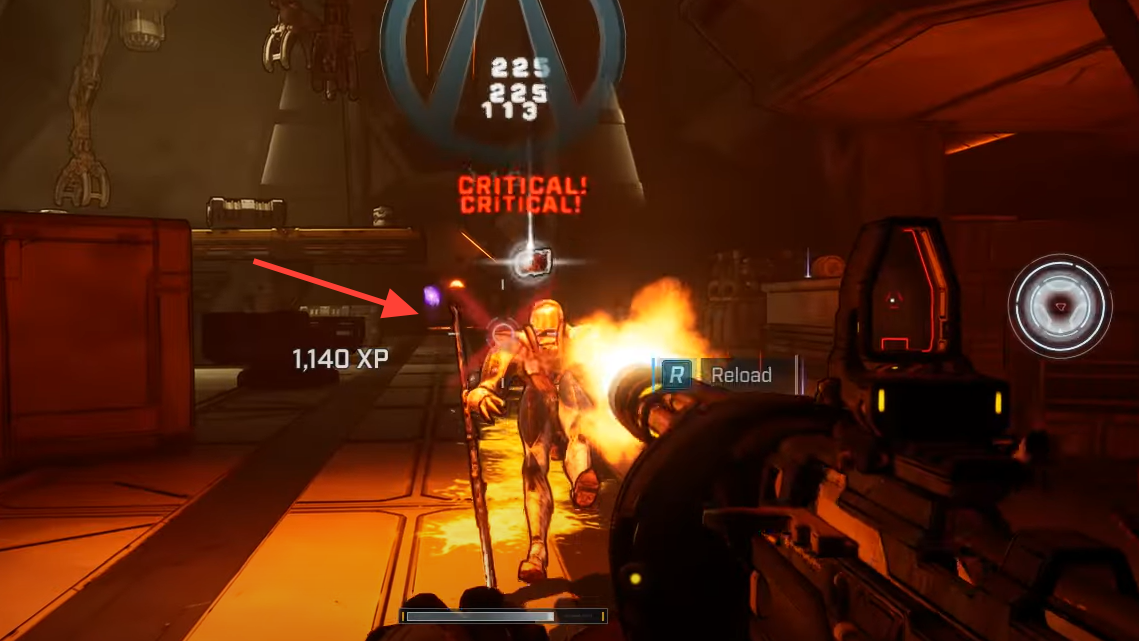
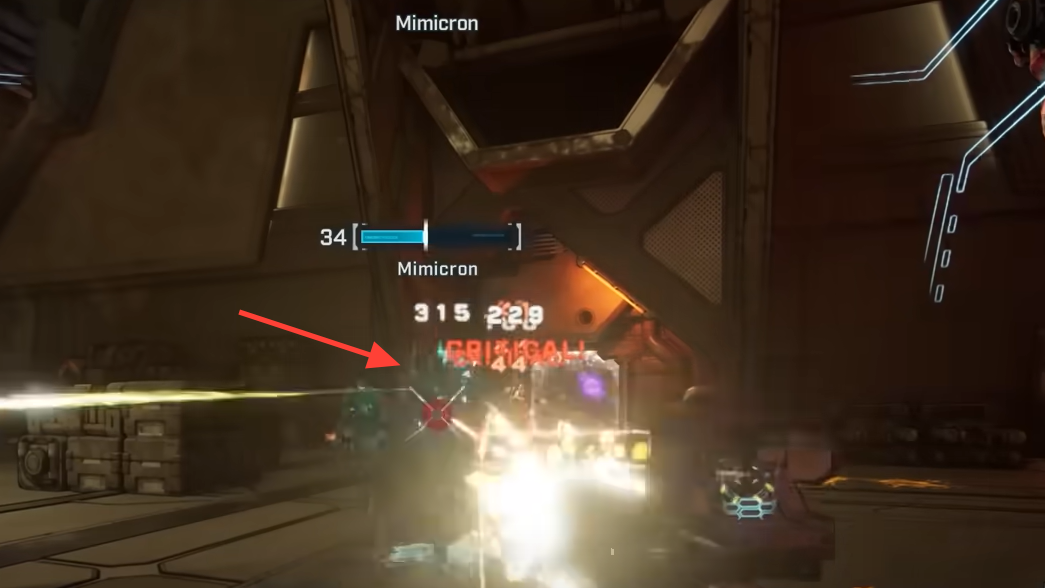
Fight plan: elements, weak points, and patterns
Mimicron runs multiple health bars and complicates the arena with copies. Keep the flow simple and disciplined:
- Strip the blue bar first with Shock to remove shields quickly.
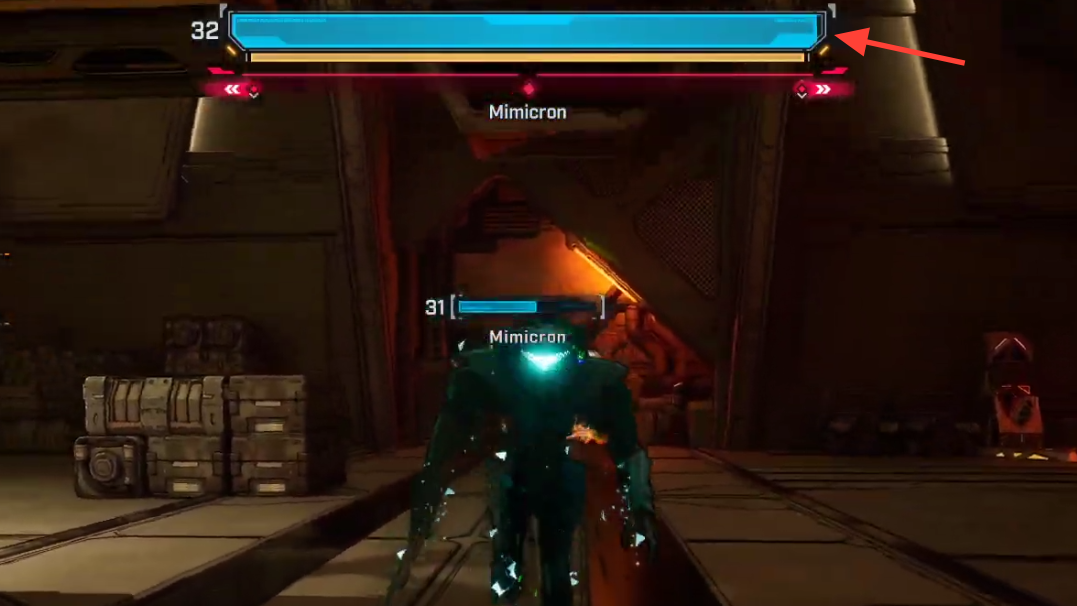
- Swap to Corrosive once the yellow armor bar is exposed to sustain damage through the rest of the health.

- Prioritize the clone when it spawns. The copy mirrors attacks and crowds the arena; clearing it restores control.
- Headshots matter. Mimicron’s weak point is the head — land crits whenever the angle is clear.
- Watch for the leap. When Mimicron commits to a jump, dash laterally to avoid the impact.
Positioning helps as much as raw DPS. Use cover and elevation breaks to keep sightlines manageable when the clone is active, and keep moving to avoid overlapping splash damage.
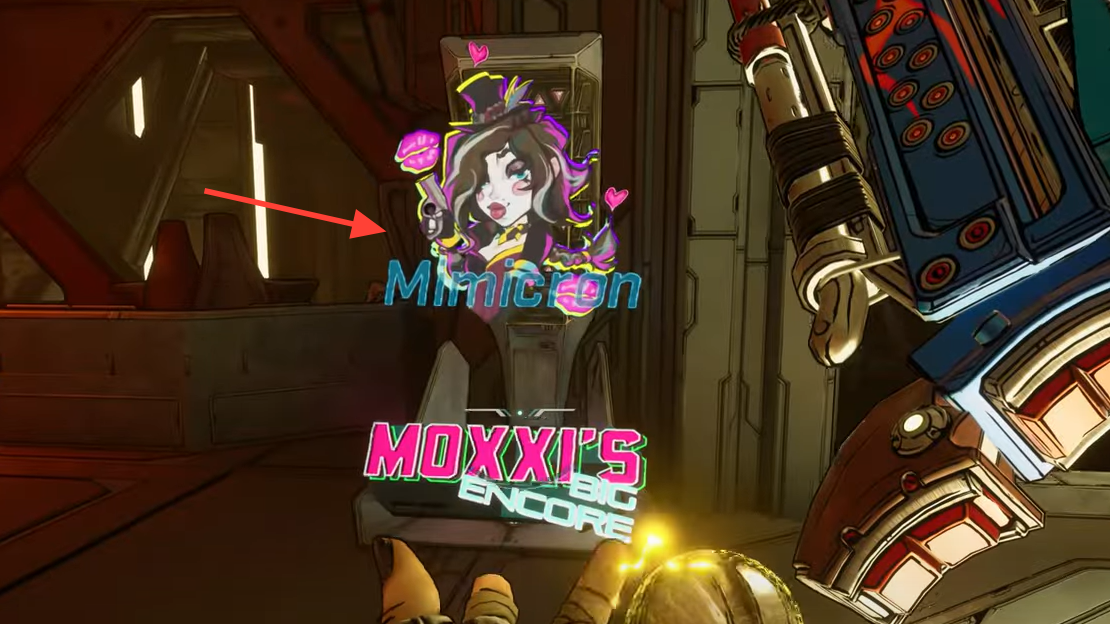
Fast farming loop (repeat runs in minutes)
Once Mimicron is down, the arena supports quick back-to-back attempts:
- Use the purple teleporter orb that appears after the kill to return to the entrance and reset quickly.
- Moxxi’s Big Encore machine sits near the arena entrance; pay to immediately restart the fight without leaving the bunker.
Loadout suggestions that consistently work
- Carry one Shock primary to delete shields, and a Corrosive primary to handle armor. Swapping on the bar break will save time and ammo.
- Equip at least one accurate option for headshots; Complex Root, if it drops for you, is excellent for multi-hit lanes.
- Bring a reliable crowd-control grenade — UAV is strong here thanks to its autonomous targeting when the clone is out.

Why farm Mimicron
Mimicron is an early, low-friction farm with a tight loot table and fast reset options. Complex Root can clear groups from a distance, Luty Madlad provides sustained pressure despite its heat curve, and UAV offers set-it-and-forget-it ordnance for mobbing. If you want dependable Legendary attempts with minimal travel and setup, Tipping Point is a smart first stop once One Fell Swoop is complete.