
Splashzone is one of the earliest story bosses in Borderlands 4. You’ll meet him during the Recruitment Drive mission, just before you unlock the Glide Pack. He’s also the kind of boss you’ll want to revisit: his arena is next to a repeat-run trigger and he has three dedicated legendary drops that remain useful well past the opening hours.
Splashzone location (Riptide Grotto, Coastal Bonescape)
You’ll fight Splashzone at Riptide Grotto in the Coastal Bonescape area of The Fadefields. This encounter is part of the main story path, so you’ll reach it naturally during Recruitment Drive. After the mission, the arena remains accessible for farming at any time.
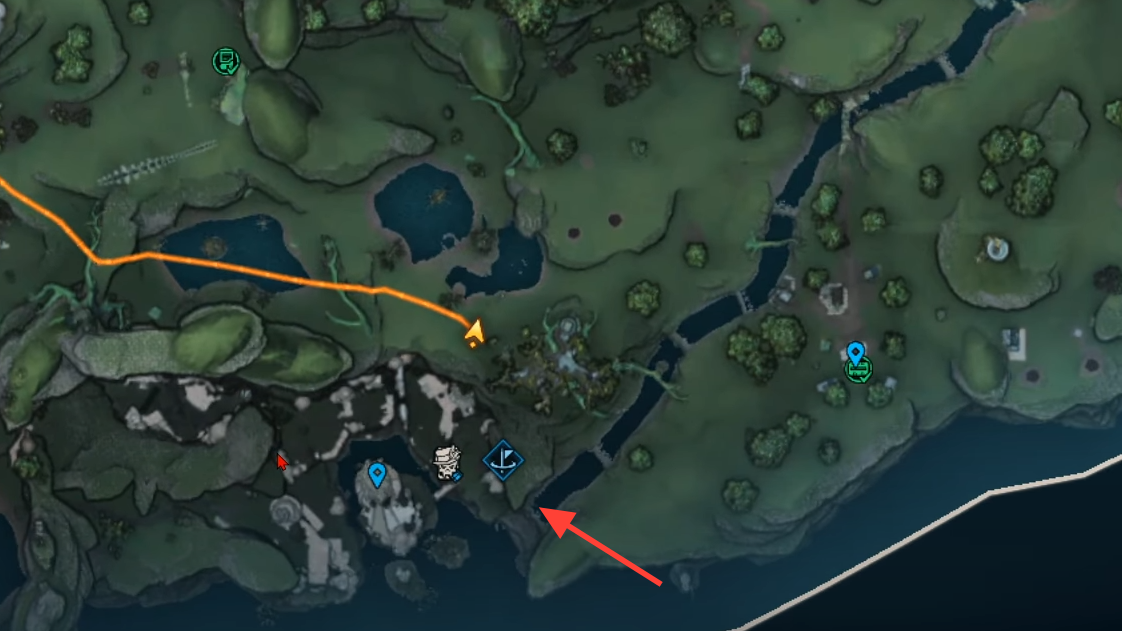
How to reach Riptide Grotto quickly (Abandoned Post route)
- Fast travel to Abandoned Post in The Fadefields.
- Head east until you pass a cluster of ponds.
- Turn south and drop down into Riptide Grotto.
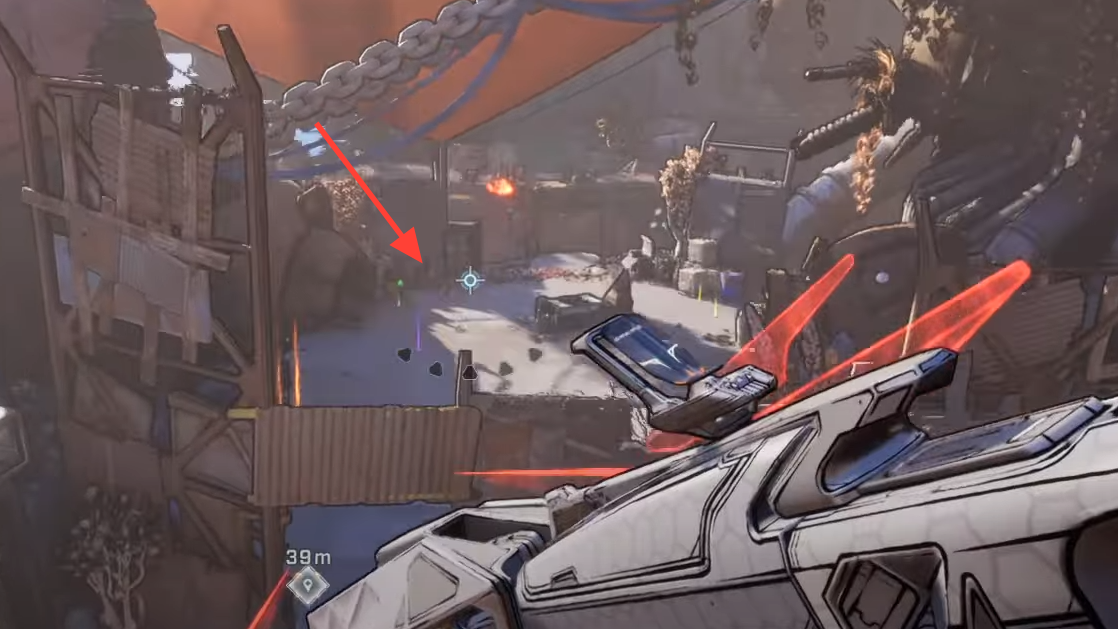
Once you’re in the camp, you can ignore most enemies and glide straight to the central arena. The boss space sits across a broken bridge, which also makes it easy to reset runs.
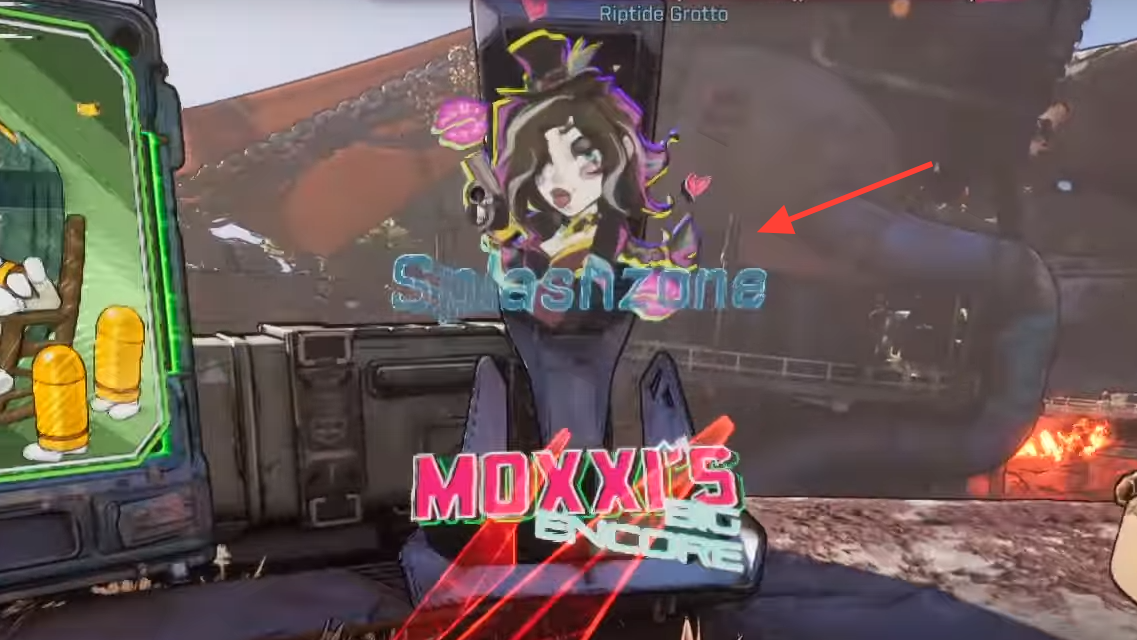
Enable repeat farming with Moxxi’s Big Encore machine
On the safe side of the broken bridge at Riptide Grotto, there’s a Moxxi’s Big Encore machine beside vending machines. Use it to start the encounter, hop the gap into the arena, defeat Splashzone, then jump back across and hit the machine again to instantly queue another run. The nearby vendors make it simple to restock ammo and sell junk between attempts.
Splashzone legendary drops
Splashzone has three dedicated legendaries. All are strong early picks and worth revisiting later as their level scales with yours.
| Legendary | Type | Key effect |
|---|---|---|
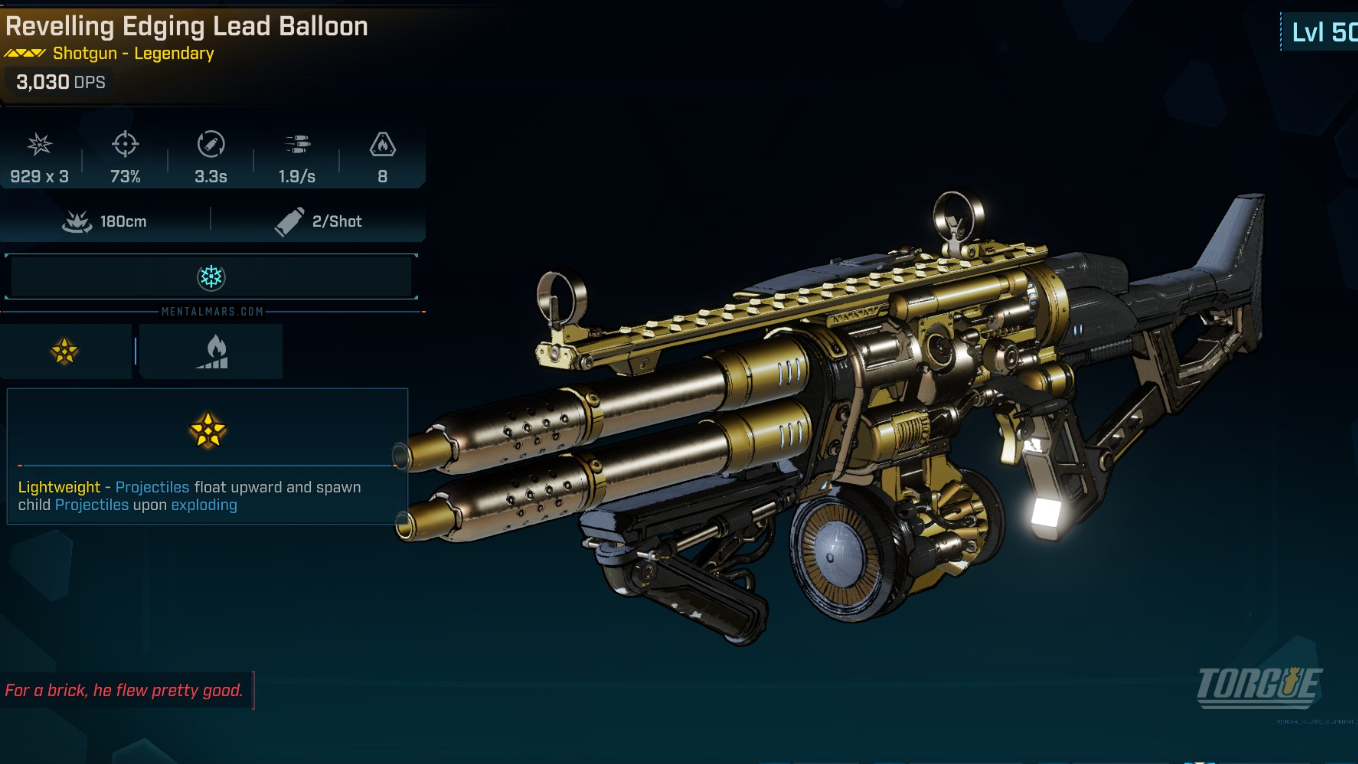
| Lead Balloon | Shotgun (Torgue) | Fires balloon-like rounds that float upward and burst into child projectiles. |
| Firewerks | Shield | On kill, launches homing missiles that seek nearby enemies and deal elemental splash. |
| Jelly | Grenade | Bounces and explodes, then duplicates to bounce and detonate again; can stick to surfaces. |
Fight basics and quick tips
- Story timing: Splashzone is the second boss in the main campaign and appears right before you receive the Glide Pack.
- Behavior: He moves a lot. Weapons that track targets or apply crowd control help keep damage on him.
- Element: Incendiary damage is especially effective.
Because he’s an early boss, a straightforward high-damage loadout will clear the arena quickly. The faster your kill, the faster the loop back to the Big Encore trigger for the next run.
Why this farm is efficient
The arena’s layout cuts out travel time: the trigger, bridge, and vendors are all within a few steps. Every reset is only a jump and a button press away, so you can chain attempts with almost no downtime. It’s an easy way to stockpile early-game power, cash from vendor dumps, and gear that stays relevant as you level.
If you’re pushing through the story, clear the encounter once and move on when you get the Glide Pack. When you hit a gear wall later, fast travel back to Abandoned Post, sprint south to Riptide Grotto, and loop Splashzone until you land the versions of Lead Balloon, Firewerks, or Jelly that fit your build.