
| Item | Details |
|---|---|
| Activity type | Abandoned Auger Mine (short dungeon with a farmable boss) |
| Region | Fadefields — Coastal Bonescape |
| Unlock requirement | Complete the main mission “Shadow of the Mountain” (typically around level 18–20) |
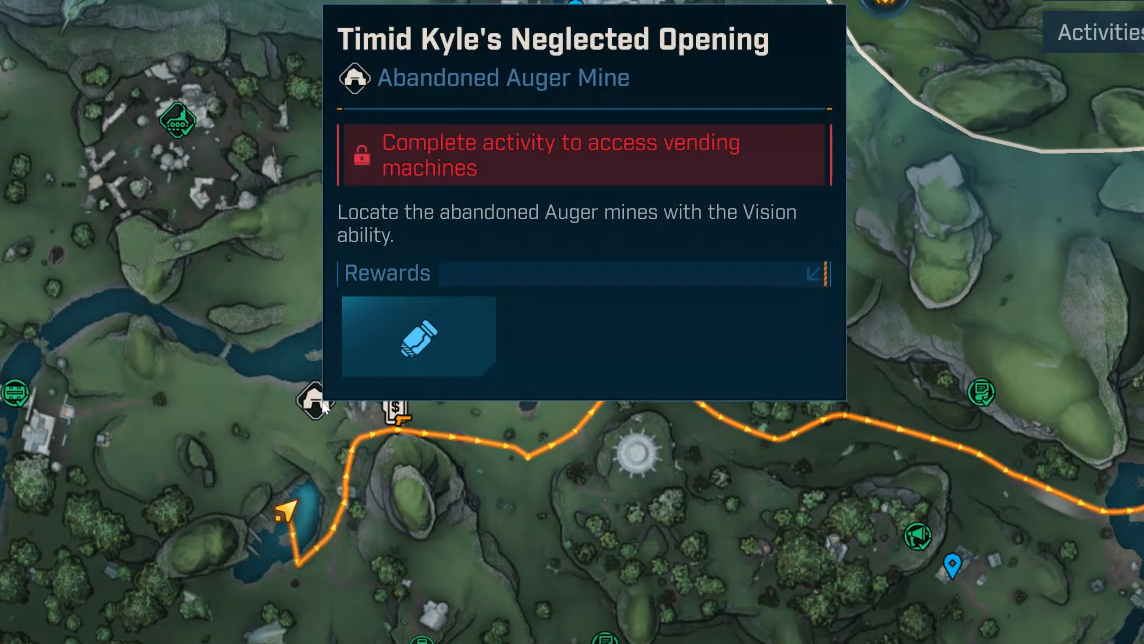
| Entrance quirk | Map “?” pin sits slightly north; the actual entrance is just south at a shallow pond |
| Boss | Voraxis (Wyrm Thresher variant) |
| First-clear reward | 40 Storage Deck Upgrade (SDU) units, plus gear |
| Farmable drops | Includes Darkbeast (SMG), Potato Thrower IV (Assault Rifle), and Buoy |
How to unlock Timid Kyle’s Neglected Opening
Auger Mines open up after finishing “Shadow of the Mountain.” You can stumble on the cave earlier, but the entrance will be sealed with a red “Clave-Locked” notice that prompts you to “find your clave and earn your name.” Once the mission is complete, the forcefield opens and the activity becomes available like any other side dungeon.
Where to find the entrance (Coastal Bonescape)
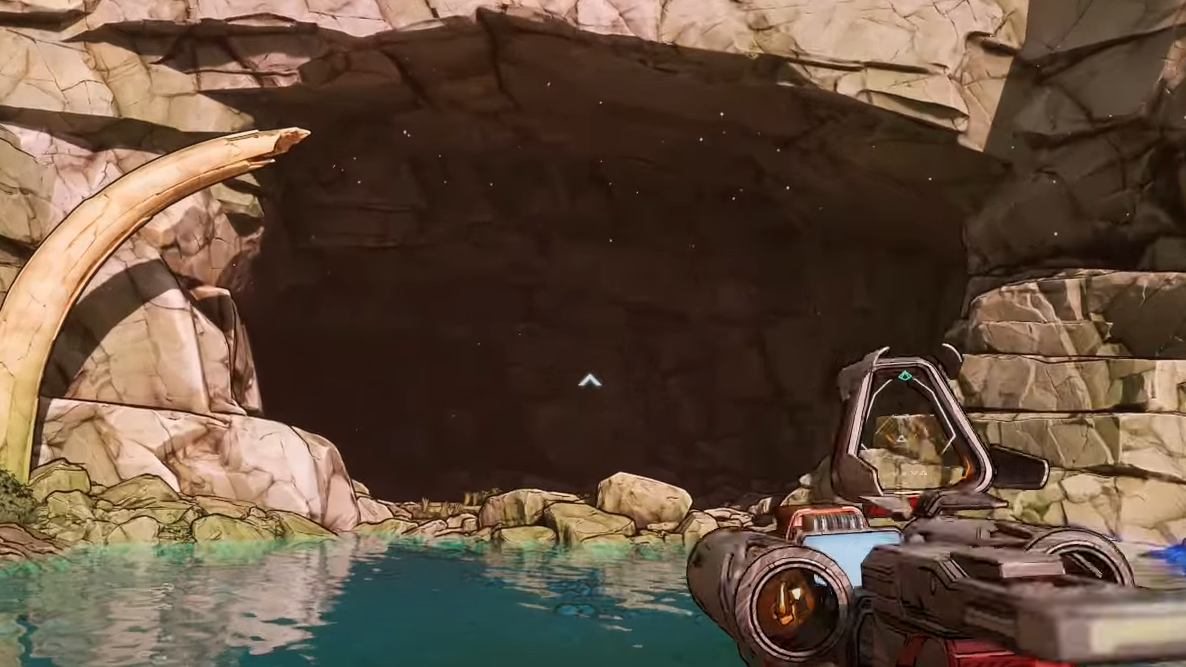
The mine sits in the Coastal Bonescape of the Fadefields. The map’s “?” pin is misleading—don’t head to the cliff north of it. Instead, drop to the pond just south of that marker and look for the cave mouth down by the water.
A direct route if you’re exploring from the west: start at the Fishin’ Spot point of interest, cross the lake southwest to a small lakeside town with a Zane’s Munitions vending machine, then continue southwest to a ledge. Drop to the smaller lake below and enter the rocky opening on the northern wall.
Walkthrough: clean, fast route to the boss
Inside, the flow is brisk and mostly linear. Expect two compact combat rooms, light platforming, and a final arena.
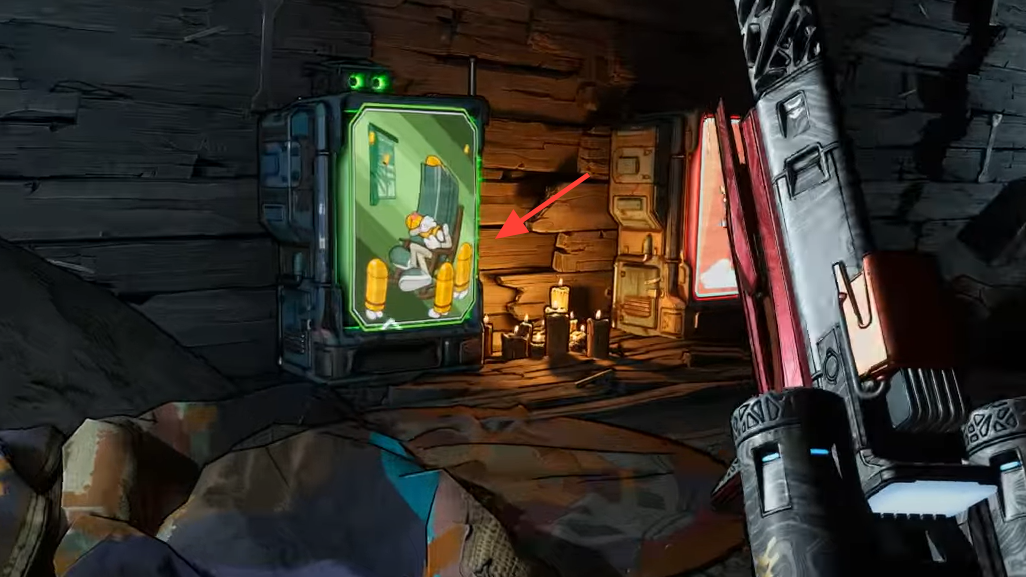
- Drop into the initial cave and pass the ritual site. Loot up; there’s usually ample ammo here.
- Head north to the now-open forcefield (“Clave-Locked” previously). It leads to a mine track that slopes down and left into the first open cavern.
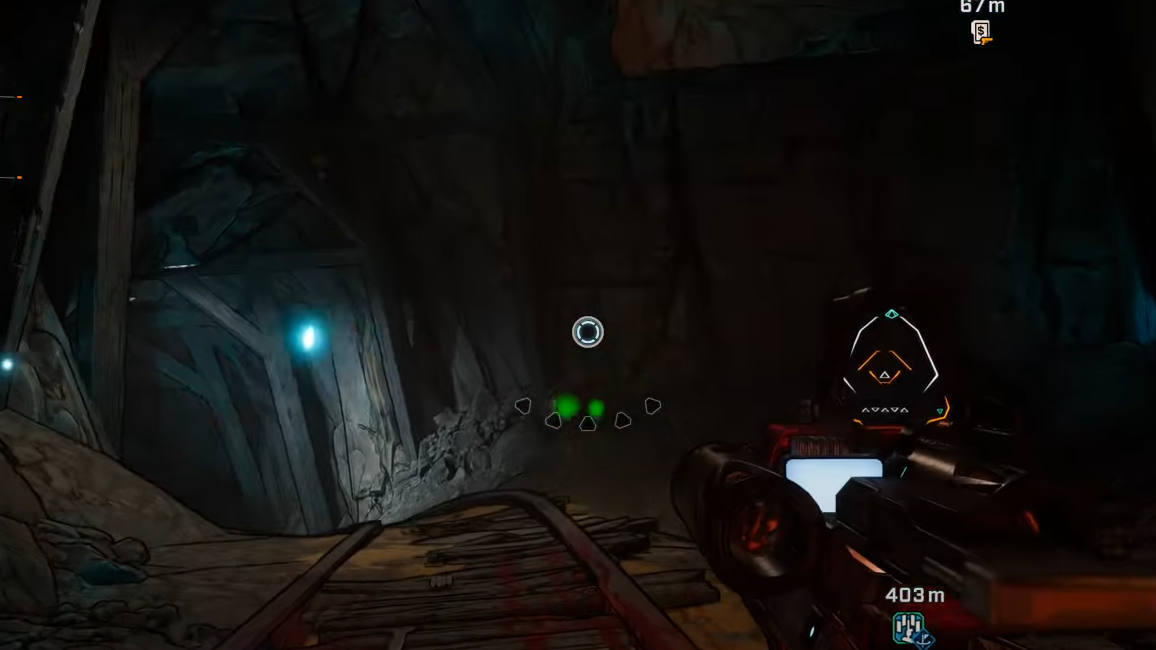
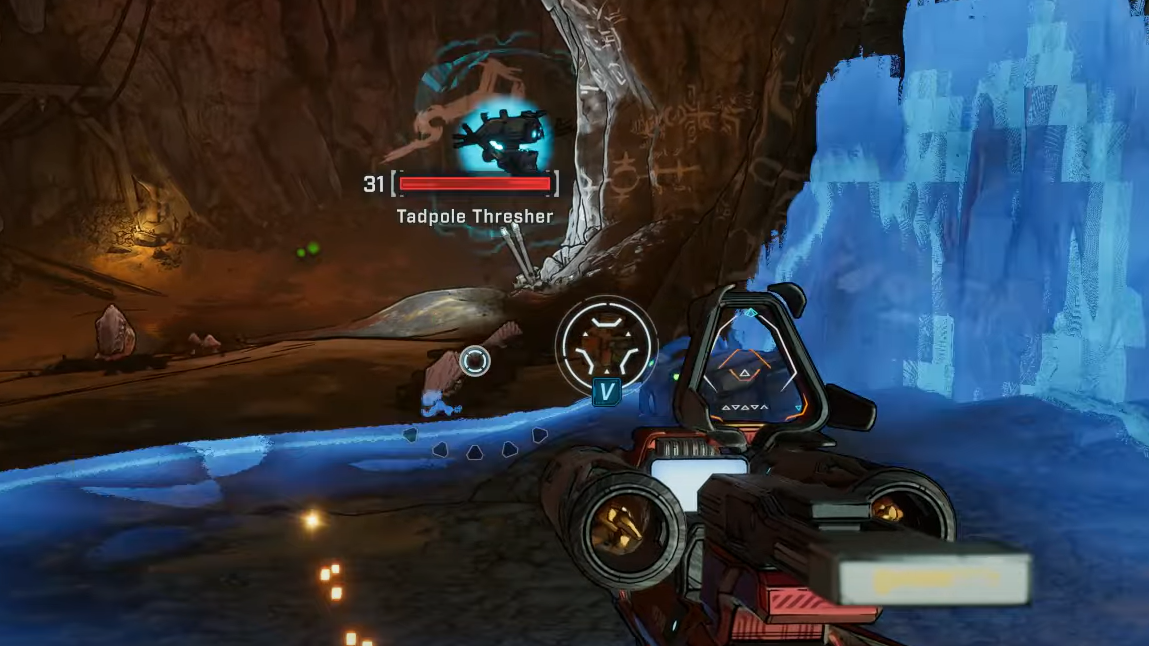
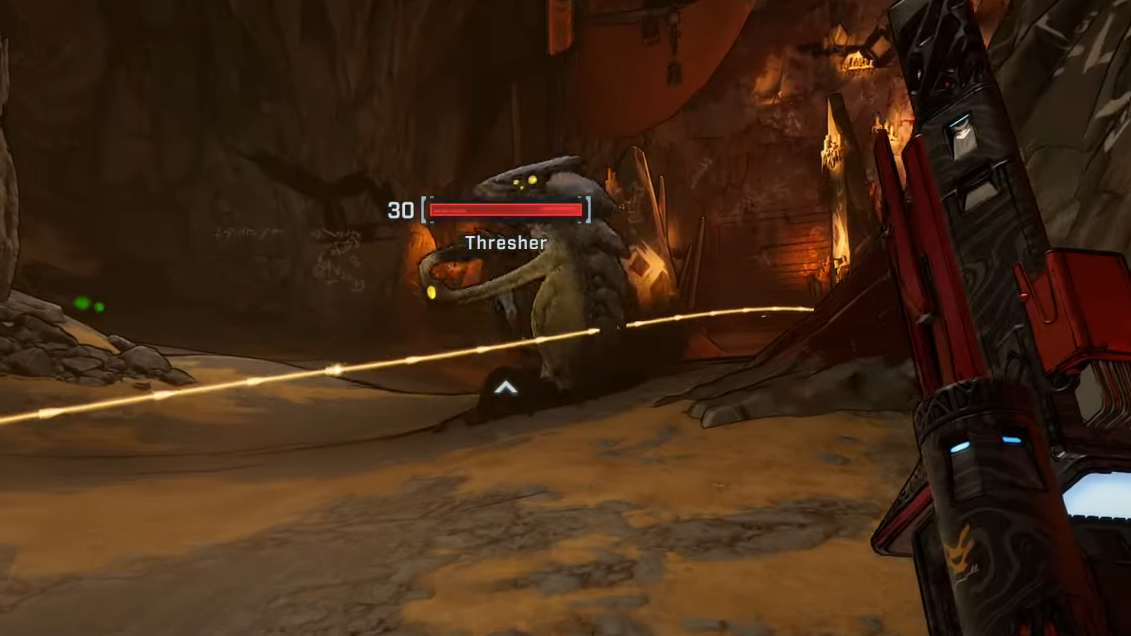
- First Thresher room: enemies burrow and resurface. You can damage them while they’re underground, so keep firing and keep moving—don’t get trapped in corners.
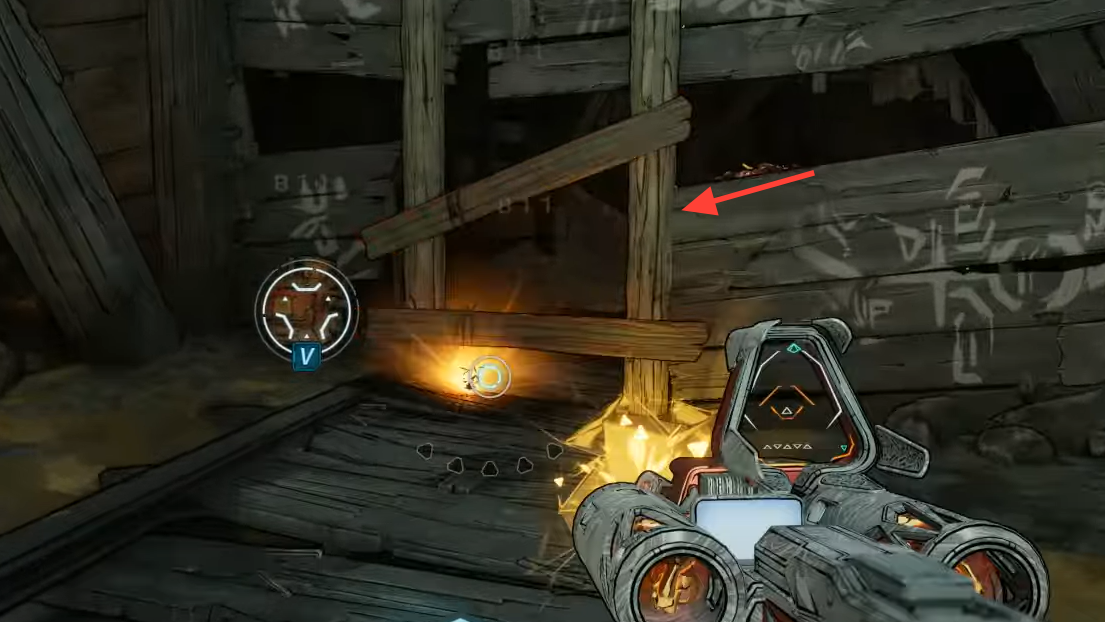
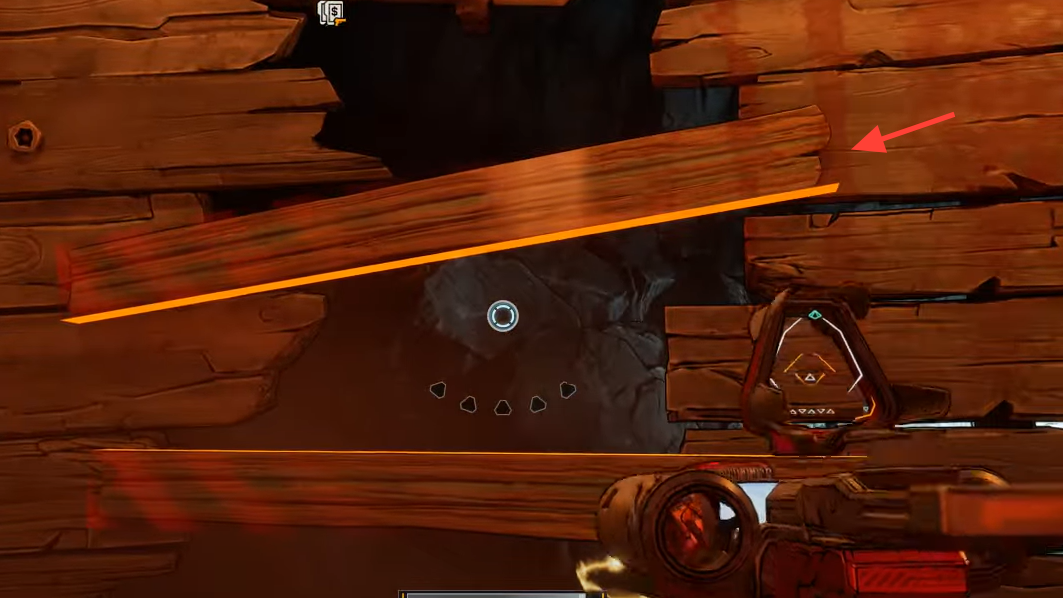
- Exit by shooting two planks on a wooden wall on the northeast side; crouch or slide to squeeze through.
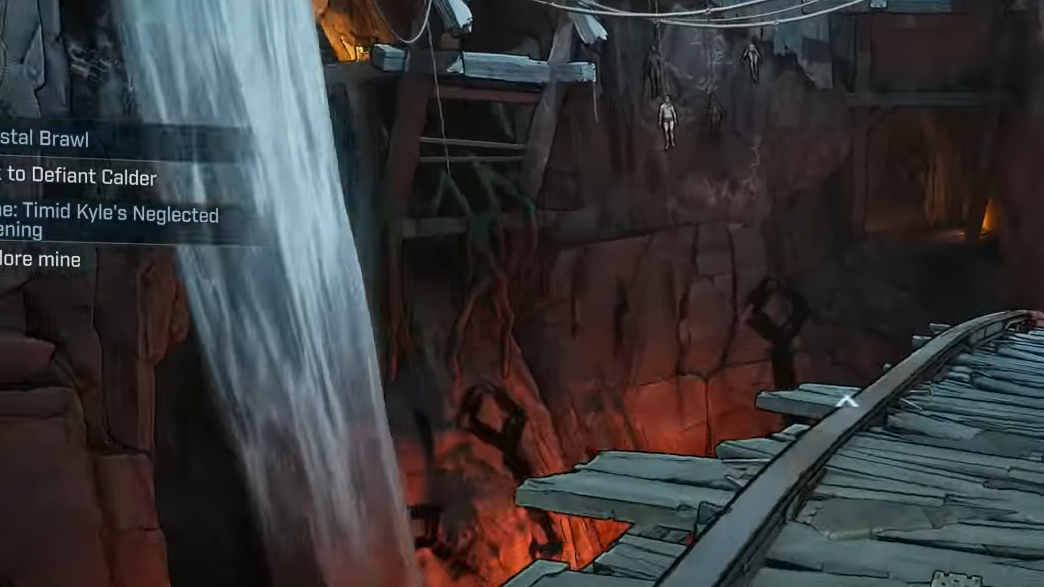
- Follow the tunnel down to a waterfall chamber. Use the mine-cart platform to jump across to the yellow-lit room, then take the right-hand opening. Crouch under beams, climb the stairs and ladder to return near the waterfall, then glide-jump to the opposite platform.
- Optional detour: before advancing, swing right to pop a weapons chest.
- Second Thresher room: similar pattern—space to kite, damage while they’re submerged, and prioritize staying mobile.
- Break more wooden panels to continue. The path then becomes straightforward: use a grapple point to climb, then single-jump to a central pillar and correct with your double-jump if needed for the next platform.
- Stock up at the vending machines in the antechamber. The boss is through the next drop.
Voraxis boss guide
Voraxis is large, quick for its size, and spawns add waves. Movement and awareness matter as much as damage.
| Attack | What it looks like | How to handle it |
|---|---|---|
| Headbutt rush | Closes distance, dips or winds up, then charges | Double-jump or dash laterally; don’t backpedal into walls |
| Burrow and resurface | Dives underground, relocates, spines may protrude | Keep moving; shoot exposed spines for safe damage while it’s under |
| Explosive spit | Lobs multiple orbs that detonate on landing | Strafe and jump through gaps; chain dodges to avoid multi-hits |
| Spinning leap | Hurls itself in a wide, spinning arc | Maintain distance and lateral movement; avoid center lines |
Additional notes:
- Add management: Voraxis will summon Threshers of different sizes. Clear down adds to avoid pressure, but consider leaving one weak enemy alive—if you go into Fight For Your Life, it’s your Second Wind target.
- Critical hits: aim for the eyes. Maintaining an offset angle on either side of its head helps you land head crits consistently.
- Uptime while burrowed: don’t stop shooting when it dives. If spines or segments show, they take damage; it shortens the downtime between true windows.
Rewards and post-fight loop
First-time clears grant 40 SDU units along with gear from the chest and boss pool. The fight is designed for farming: use the purple teleporter at the back of the arena to return to the pre-boss room, then hit the Moxxi vending machine to reset Voraxis and run it again.
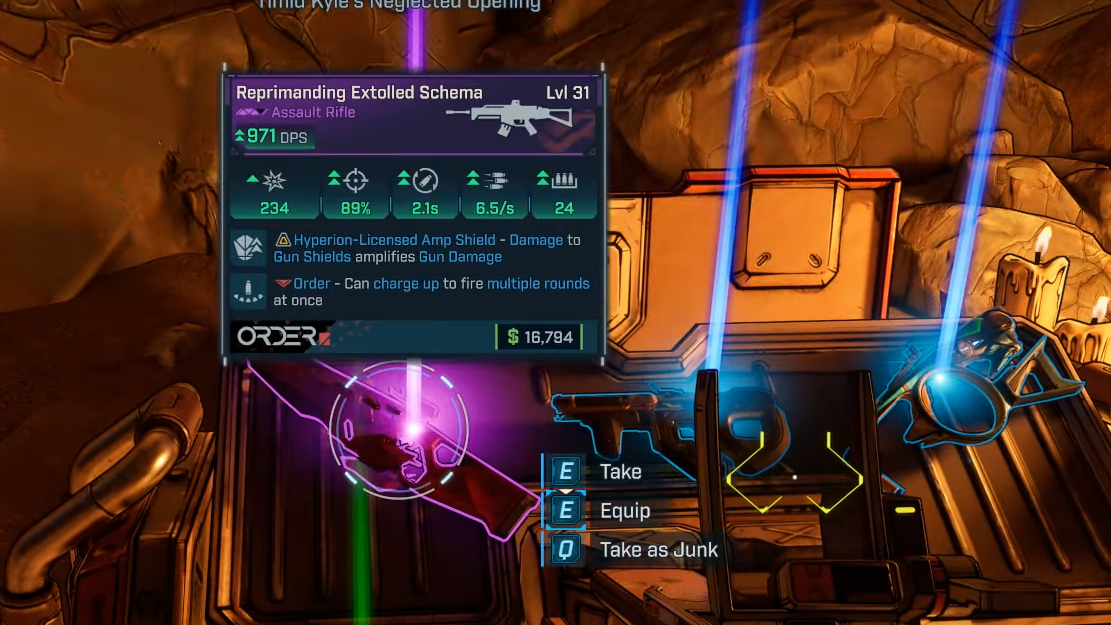
Farmable drops tied to this encounter include Darkbeast (SMG), Potato Thrower IV (Assault Rifle), and Buoy. Expect standard variability in parts and anointments; if you’re target-farming specific rolls, short runs via the teleporter keep the cadence quick.
Common pitfalls and quick fixes
- Can’t enter the mine: you haven’t finished “Shadow of the Mountain.” The red seal with “???” and the “Clave-Locked” prompt means you’re early.
- Can’t find the door in the first cavern: shoot the two planks on the northeast wooden wall and crouch through.
- Missing the jump near the pillar section: take a single jump first and use the double jump to correct your arc midair.
- Lost at the map pin: approach from the pond south of the marker; the mouth is at water level.
Why this Auger Mine is worth your time
This is one of the fastest Auger Mines to clear, which makes it an efficient early farm once you’re through “Shadow of the Mountain.” The layout has minimal backtracking, vending is right before the arena, and the built‑in return teleporter trims downtime between runs. If you’re pushing SDU capacity early or chasing the listed legendaries, Timid Kyle’s is a smart loop to add to your route.