
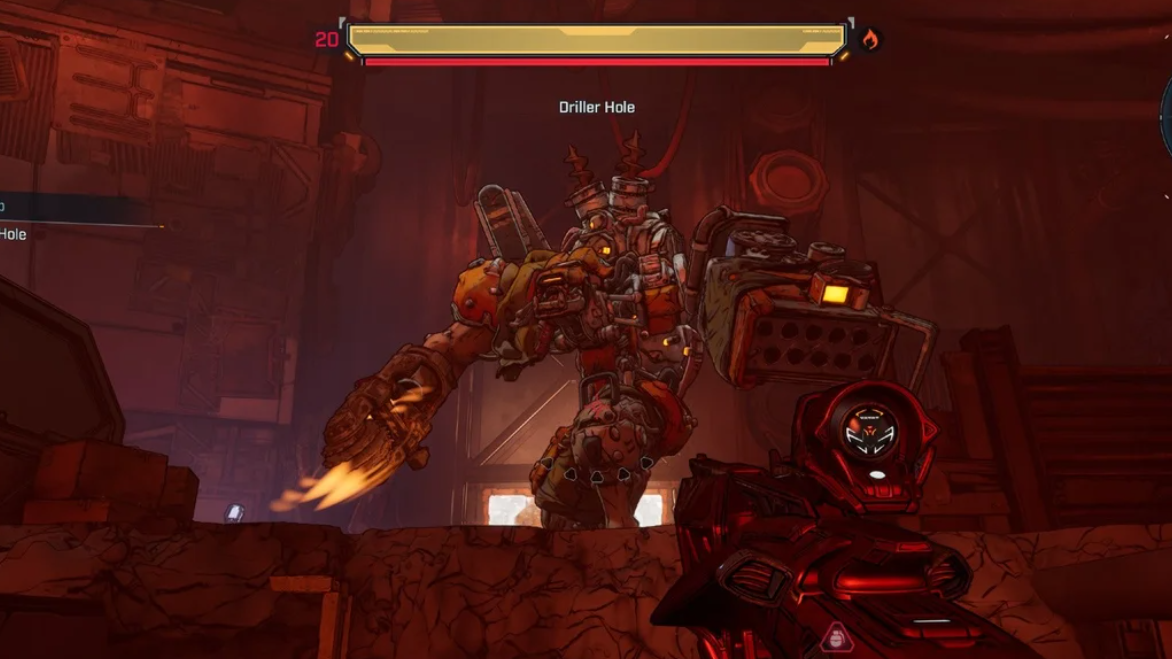
Driller Hole is a mid‑game story boss in Borderlands 4 that caps the Unpaid Tab mission. The fight happens at the bottom of Queen’s Cradle inside the Tonnage Peel region of Carcadia Burn. On first clear, the encounter gates a follow‑up sequence tied to Quent, and it’s also one of the easier bosses to refight for dedicated legendaries.
Driller Hole location and mission trigger
You’ll reach Driller Hole at the very end of Unpaid Tab after descending through Queen’s Cradle. The arena sits beneath the facility; the first time you enter, clear a wave of Rippers before the boss emerges. You can return to the arena later for farming without replaying the whole mission.
Driller Hole legendary drops (dedicated pool)
Driller Hole has three dedicated legendaries in its drop table. These aren’t guaranteed on every kill, but they’re the items to target when farming this boss.
| Item | Type | Key effect | Manufacturer |
|---|---|---|---|
| Katagawa’s Revenge | Sniper Rifle | Stormcloud elemental behavior on shots | Maliwan |
| Fuse | Grenade Ordnance | Fortified Position area control on detonation | Daedalus |
| G.M.R. | Assault Rifle | Big Name Hunter: zoomed‑in shots do +100% damage with reduced fire rate and doubled shot cost | Order |

Boss attacks and how to avoid them
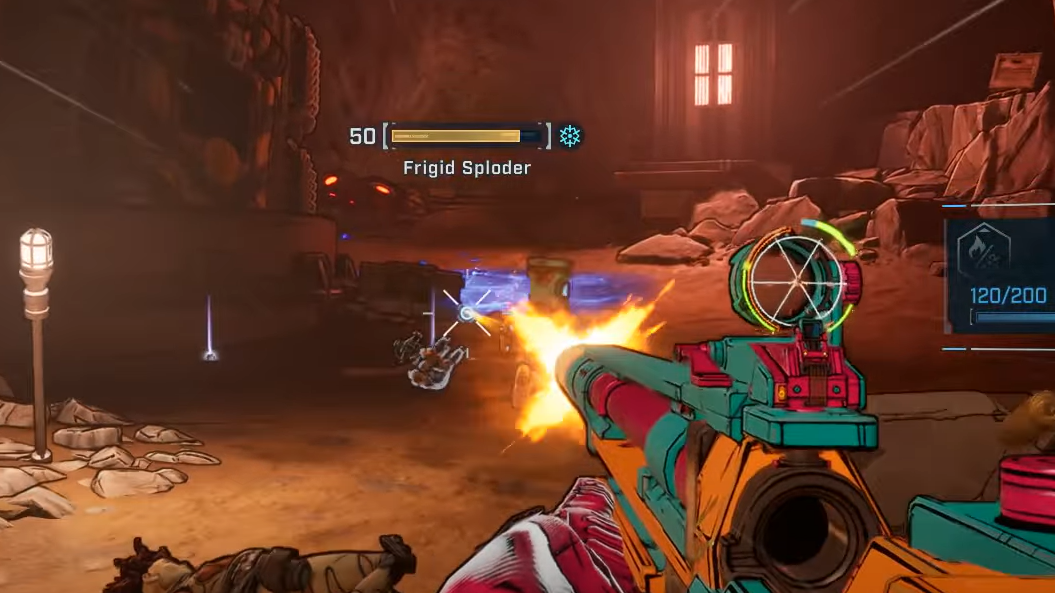
Driller Hole telegraphs heavily and moves slowly, which lets you control the fight if you respect the splash damage.
- Back‑mounted rockets (arc and dive): Rockets fire upward, then drop toward your position. Strafe or backpedal and watch for ground hazards left behind by elemental explosions.
- Homing rockets (hand cannon): Direct, tracking volleys out of the left‑hand weapon. Break line‑of‑sight behind cover to drop lock‑on; don’t try to outrun them in the open.
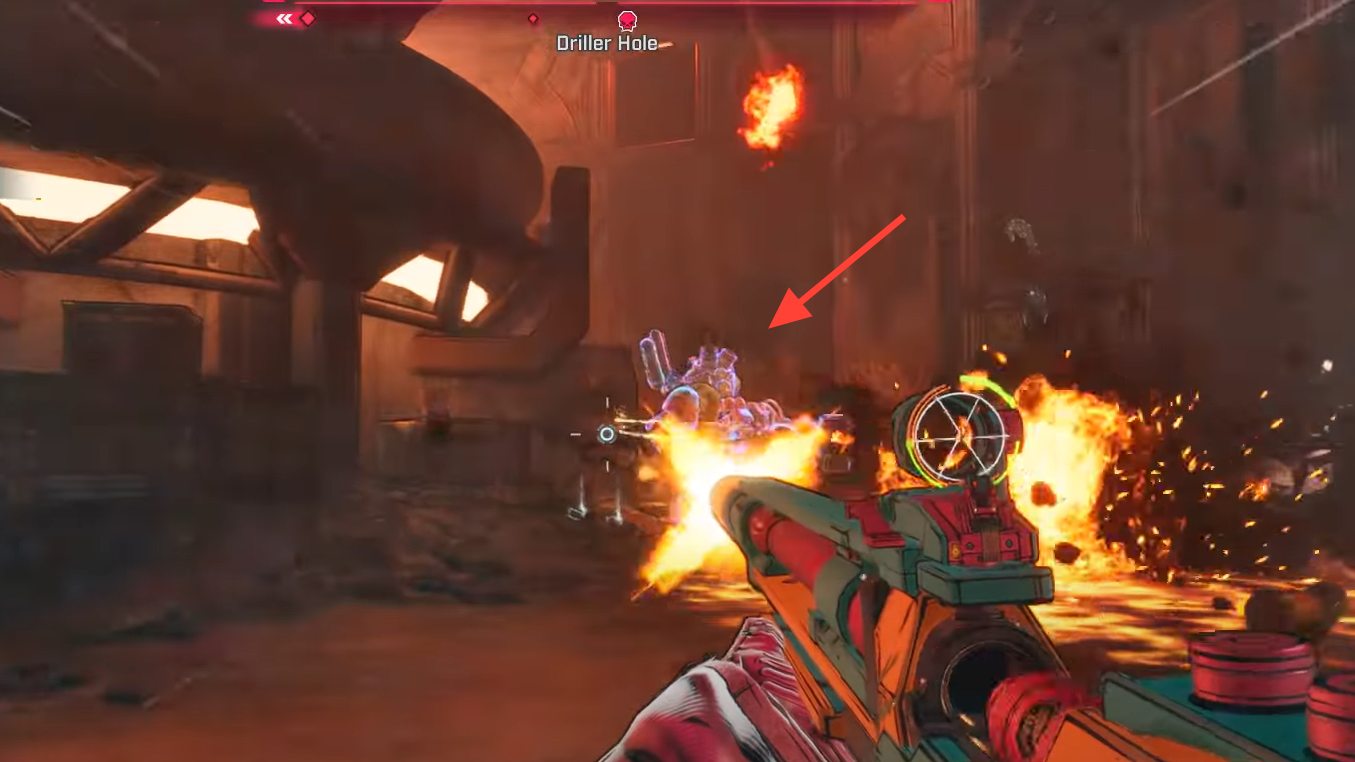
- Underground drill explosives: Projectiles burrow, leaving a visible trail as they travel toward you. Keep eyes on the floor, then jump or dash perpendicular to the trail as it closes in.
At half health, the boss leans into volume: more back rockets landing in clusters, multi‑wave hand volleys, and drill shots in back‑to‑back bursts. The arena’s central machine provides reliable cover, but expect splash to wrap around corners—stay mobile.
Damage types and quick takedown loadouts
Driller Hole runs two bars: yellow armor followed by red health. Corrosive weapons shred the armor bar quickly, then incendiary cleans up the flesh bar. Aim at the small head for consistent criticals and keep cover between you and the hand‑fired rockets.
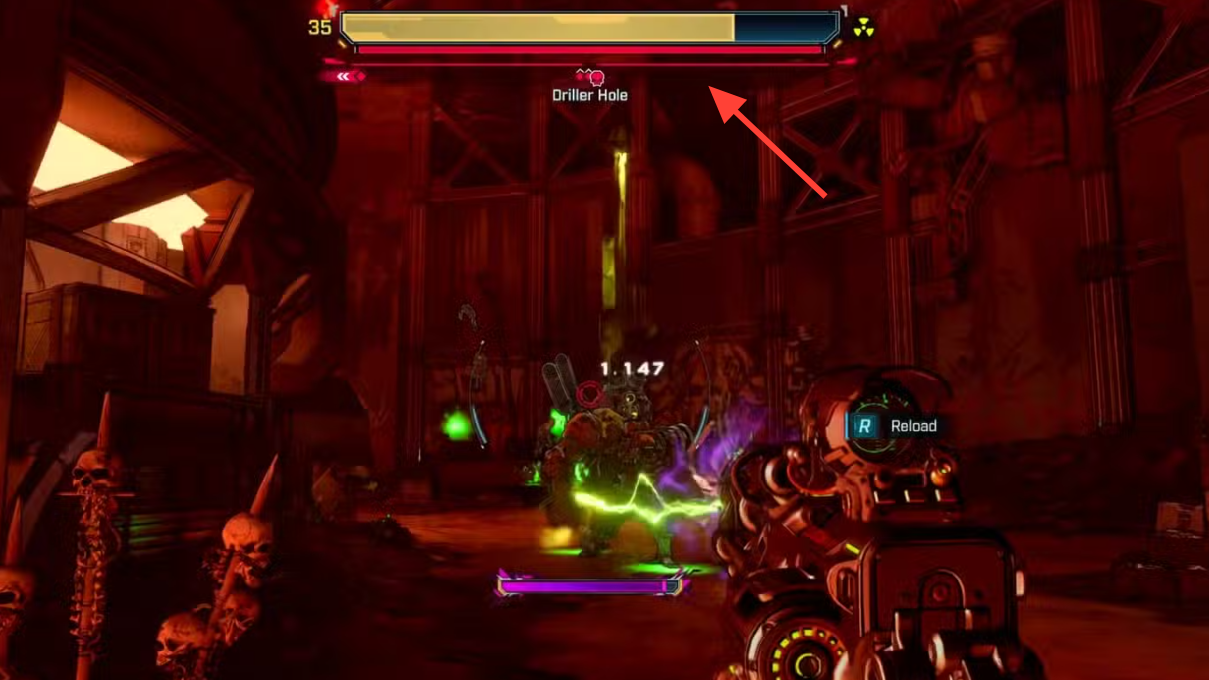
Positioning beats DPS in this fight. You can kite in a slow circle around the center machine; the boss’s speed won’t keep up, which gives you time to swap elements and line up headshots.
Farm Driller Hole efficiently
A Moxxi’s Big Encore terminal sits near the boss entrance, letting you instantly respawn Driller Hole for a fee. The machine’s proximity is the difference between an occasional farm and a quick loop: clear the fight, check drops, then use the terminal and re‑enter. Co‑op helps you churn runs faster and control aggro while someone keeps rockets baited behind cover.
Do this immediately after the kill (story run)
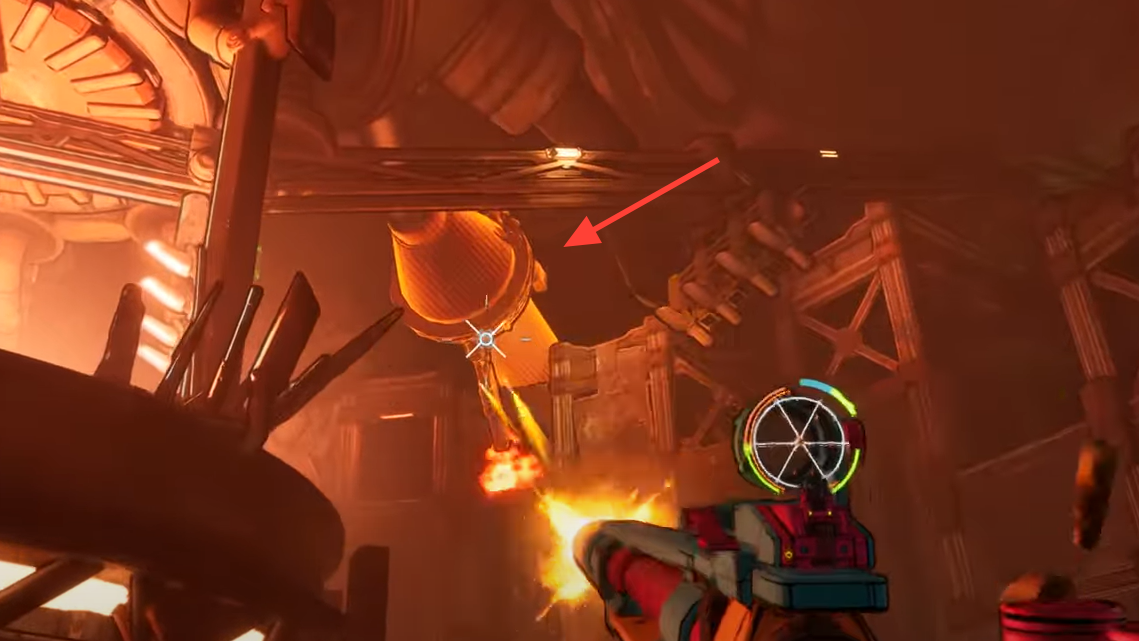
On your first clear during Unpaid Tab, prioritize the Quent event before rummaging through loot. Look up toward the ceiling machinery around the central apparatus and:
- Grapple the glowing green handles.
- Shoot the glowing orange pipes.
You have one minute to hit them all. Pick a direction around the circular room and move methodically; missing this window determines Quent’s outcome for the mission.
If the door is locked back to the arena
If you leave the area mid‑mission and find the boss door locked, a quick workaround is to join a friend’s session who is past that point, use their open door to enter the area, then return to your own session. This preserves your progression and gets you back to the terminal and boss room without replaying a long segment.
The reason Driller Hole is such a popular farm is simple: the arena is safe to route, the Big Encore terminal is a few steps away, and the loot pool includes three legendaries that fit a wide range of builds. Once you have a corrosive opener and a fire finisher, this fight drops into a 60‑ to 90‑second rhythm that’s easy to repeat.