
Bridger Western blends JoJo-style Stand combat with Wild West gunplay in a Roblox action RPG where build decisions matter. Stands, weapons, utilities, and cards all interact, and picking the wrong combination can leave you outgunned in both PvP and PvE. Below you'll find rankings for every major category, plus a primer on how to obtain and reroll Stands.
Quick answer: The World, TWAU, and D4C are the strongest Stands. Maverick 88, Malcom.70, Tommy Gun, and Mare's Leg lead the weapon meta. For utilities, run Knife, Tonic, and Poncho. Top cards are Show Me A Good Time, Quick Draw, Free Runner, Time Heals All Wounds, and Too Tired to Fall.
Bridger Western Stands Tier List
Stands are the supernatural backbone of your build. Equipping one generally lowers your base gun damage, so the Stand itself needs to justify that trade-off through kill pressure, fight control, or strong utility like mobility, zoning, or healing. Time Stop Stands sit at the top because freezing an opponent is inherently powerful, but skilled players can match them with combo-heavy alternatives.
| Tier | Stands | Notes |
|---|---|---|
| S | The World, TWAU, D4C | Time Stop dominance plus D4C's quest-exclusive power. These provide the most reliable kill pressure in nearly every matchup. |
| A | Star Platinum | The World, Star Platinum, Silver Chariot, Gold Experience, Killer Queen, Mandom, Tusk Acts 1–3 | Strong kits that reward mechanical skill and setup. Can outplay S-tier in the right hands. |
| B | Hierophant Green, Magicians Red, Crazy Diamond, Purple Haze, 20th Century Boy, Hermit Purple, Tubular Bells | Situationally useful but carry more weaknesses. Effective when paired with the right weapon and utility loadout. |
| C | Hey Ya | The weakest Stand in the current meta. Minimal fight impact compared to every other option. |

Bridger Western Weapons Tier List
Raw damage numbers only tell part of the story. Effective range, fire rate, reload speed, accuracy under pressure, and synergy with your Stand and utility slots all matter. A weapon that looks mediocre on paper can overperform when it fills a gap in your loadout, and a high-damage option can underperform if it's too slow or too short-ranged for your playstyle.
| Tier | Weapons | Why They're Here |
|---|---|---|
| S | Maverick 88, Malcom.70, Tommy Gun, Mare's Leg | Best combination of damage, reliability, and versatility. The Tommy Gun's fire rate creates constant pressure; the Maverick 88 and Malcom.70 hit hard at multiple ranges. |
| A | Sabre, DB Shotgun, Winchester Repeater, Colt Ocelot | Solid picks. The Winchester Repeater excels at range and pairs well with Stands. The Colt Ocelot is a dependable sidearm. The Sabre offers a melee parry option (press M1 before getting shot). |
| B | Bow, Whitney Dragoon, Mauser, Dual Derringers | Functional but less consistent. The Dual Derringers offer wide coverage, and the Mauser is a lightweight pistol with decent output, but all four require you to compensate for lower range or damage. |
| C | Schofield 6, Taurus.357 | Weakest options in the current pool. They can work, but other weapons do the same job better. |
At Tier 3 progression, you unlock the ability to carry one primary and one secondary weapon simultaneously, which opens up pairing strategies like a Winchester Repeater primary with a Colt Ocelot backup.
Bridger Western Utilities Tier List
You only get three utility slots, so every pick needs to pull its weight. The best utilities either save your life, help secure kills, counter common threats, or create strong synergies with your weapon and Stand choices.
| Tier | Utilities |
|---|---|
| S | Knife, Tonic, Poncho |
| A | Silver Ammo, Dynamite, Cowboy Hat |
| B | Lasso, Molotov, Coin |
Knife, Tonic, and Poncho deliver the most consistent value across the widest range of fights. Knife adds burst damage and combo potential (especially relevant for Stands that lean into knife-based play), Tonic provides survivability, and Poncho enables defensive tech that works in almost every matchup. The A-tier options are solid but more situational — Silver Ammo shines against specific enemies, Dynamite requires setup, and Cowboy Hat is a nice defensive bonus but less impactful slot-for-slot. The B-tier utilities like Lasso and Molotov are too niche or clunky to justify a slot in most builds.
Bridger Western Cards Tier List
Cards occupy limited slots, so the ranking comes down to one question: how often does this card actually help you win a fight? Cards that improve survivability, movement, weapon handling, or general pressure outperform cards that only matter in narrow situations.
| Tier | Cards |
|---|---|
| S | Show Me A Good Time, Quick Draw, Free Runner, Time Heals All Wounds, Too Tired to Fall |
| A | Cards with decent utility but slightly more conditional application |
| B–C | Highly situational cards that only work with specific weapons, utilities, or timing windows |
The S-tier cards are broadly useful or extremely strong inside clearly good builds. Quick Draw speeds up your weapon handling, Free Runner improves mobility, Time Heals All Wounds adds passive recovery, and Too Tired to Fall gives clutch survivability. Show Me A Good Time rounds out the top tier with reliable pressure value. Lower-ranked cards tend to require very specific setups to pay off, making them harder to justify when your card slots are limited.
How to Get Stands in Bridger Western
There are two primary methods for obtaining a Stand, plus a quest-based path for specific Stands like D4C. Once you have a Stand, use the Stand Tool from your inventory to summon it. You cannot hold two Stands at once.
Step 1: Look for Corpse Parts on the map. They spawn randomly and are marked by a loud sound effect and a yellow beam of light. Corpse Parts only appear when at least three players are on the server, and the spawn chance increases with more players, maxing out at a 1/40 chance with 25 players.
Step 2: Pick up the Corpse Part and hold it for several seconds to absorb it. Be cautious — other players can attack you during this window and steal it.
Alternatively, you can fish for Stand Arrow Shards, which drop at a 0.5% rate. Purchase a fishing rod and bait for 150 Moola from the Tackle Bait/Fishing Goods NPC. Arrow Shards are lost if you die or leave the server, so use them immediately.
How to Reroll Stands in Bridger Western
If you want a different Stand, you need to wipe your current one and then obtain a new Corpse Part or Arrow Shard.
Step 1: Obtain a Dogbane Herb, which has a 4% drop chance from chests that appear after encounters.
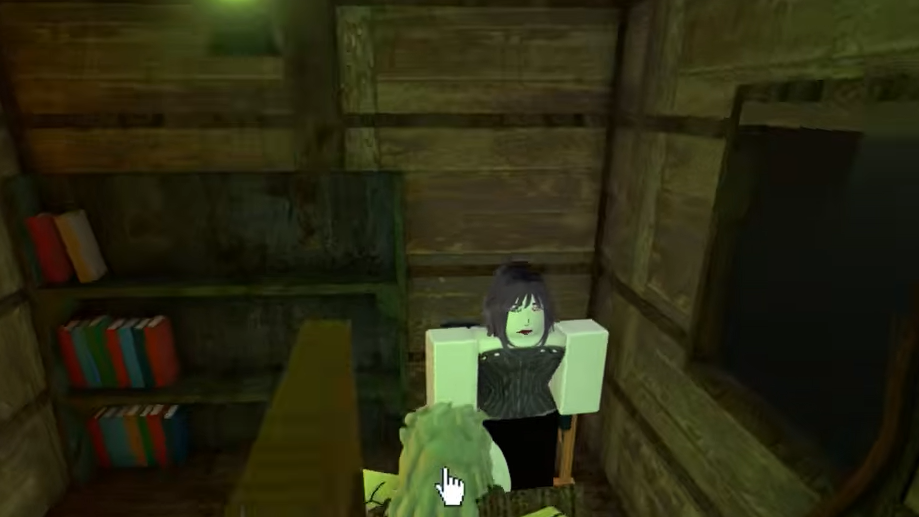
Step 2: Travel to the Mud Witch's Hut in the Swamp area. Bring the Dogbane Herb to the Mud Witch and request a Stand wipe.
Step 3: After your Stand is removed, find a new Corpse Part or Arrow Shard to roll a different Stand.
The Dogbane Herb is also useful for other purposes at the Mud Witch's Hut. You can exchange it for 2,500 Moola or use it to reduce your character's age by 20 years.
Age Mechanic and Why It Matters
Your character ages each time you die or clog. This isn't just cosmetic — at age 75 and above, you lose the ability to run. At 85 and above, there's a chance of an instant wipe from a heart attack. You can reverse aging by bringing a Dogbane Herb to the Mud Witch's Hut and requesting an age reduction, which removes 20 years per herb.
Bridger Western's meta rewards flexibility. The strongest builds pair an S-tier Stand with a complementary weapon, fill utility slots with Knife, Tonic, and Poncho, and round things out with broadly useful cards. But even lower-tier Stands and weapons can compete if your aim, positioning, and combo execution are sharp — skill still matters more than tier placement in most fights.