
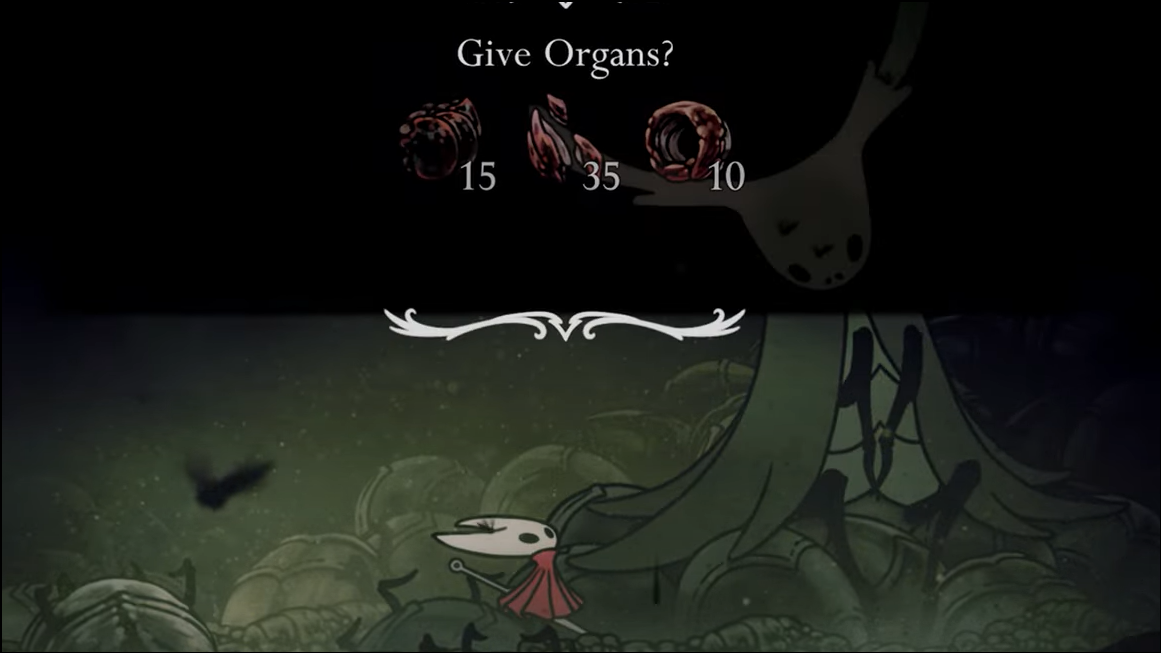
Speak to the Huntress in the Putrified Ducts to start Broodfeast in Hollow Knight: Silksong. The wish is straightforward once you know the rule: defeat living enemies with specific tools, delivering the final hit to collect 15 Seared Organs, 35 Shredded Organs, and 10 Skewered Organs.
Start the wish and reach the Huntress
The Putrified Ducts sit in Pharloom’s upper‑right. Reaching and surviving this area is much easier once you have Clawline and the Faydown cloak. The cleanest approach is via Memorium to the Citadel roof, then into the Ducts through the upper‑left entrance. Activate the nearby Bellway station and rest at the bench to set a safe respawn.

Drop down the long vertical shaft to the bottom, break the left wall, and enter the room with the hut. Inside, the Huntress gives Broodfeast and asks for Seared, Shredded, and Skewered Organs.

How organ drops work (and where to farm)
Any organic enemy (not mechanical constructs) can drop the items, but the killing blow must come from the relevant tool type. Pilgrims in early‑game areas are ideal targets due to low health and tight grouping.
- Requirement summary: 15 Seared Organs, 35 Shredded Organs, 10 Skewered Organs.
- Best loops: the corridor to the right of Greymoor’s Halfway House bench has six Pilgrims and a fast reset; alternatively, the bench beneath the High Halls entrance offers a similar loop. Both put you close to a bench for quick tool refills and respawns.
- Efficiency tip: upgrading your Tool Pouch reduces the number of uses needed, cutting shard costs and time per run.
Seared Organs (15) — fire tools
Seared items drop when a fire source lands the final hit. Three tools work well; pick based on what you have.
Method 1 — Flintslate (most controllable)
Step 1: Acquire Flintslate from Deep Docks (behind a Simple Key gate). It temporarily ignites your needle, adding burn to your slashes.
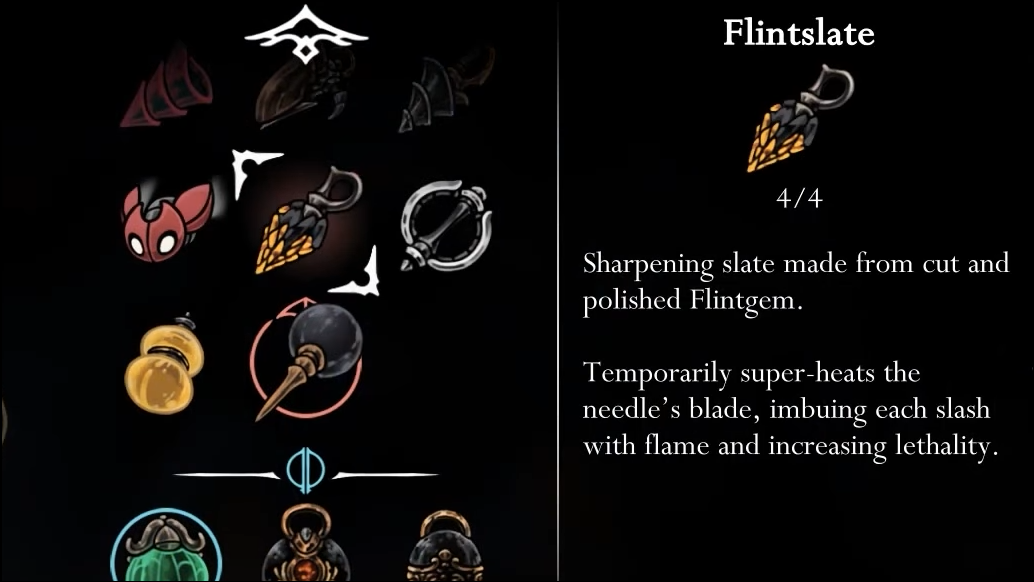
Step 2: Engage weak enemies and confirm the flaming needle gets the last hit. If other damage sources finish the kill, no Seared Organ drops.
Step 3: Run your chosen Pilgrim loop, refreshing Flintslate as needed at a bench to maintain a consistent kill cadence.
Method 2 — Pimpillo bomb (simple to craft, situational)
Step 1: Equip Pimpillo. It bounces before exploding, so position throws to catch clustered targets.
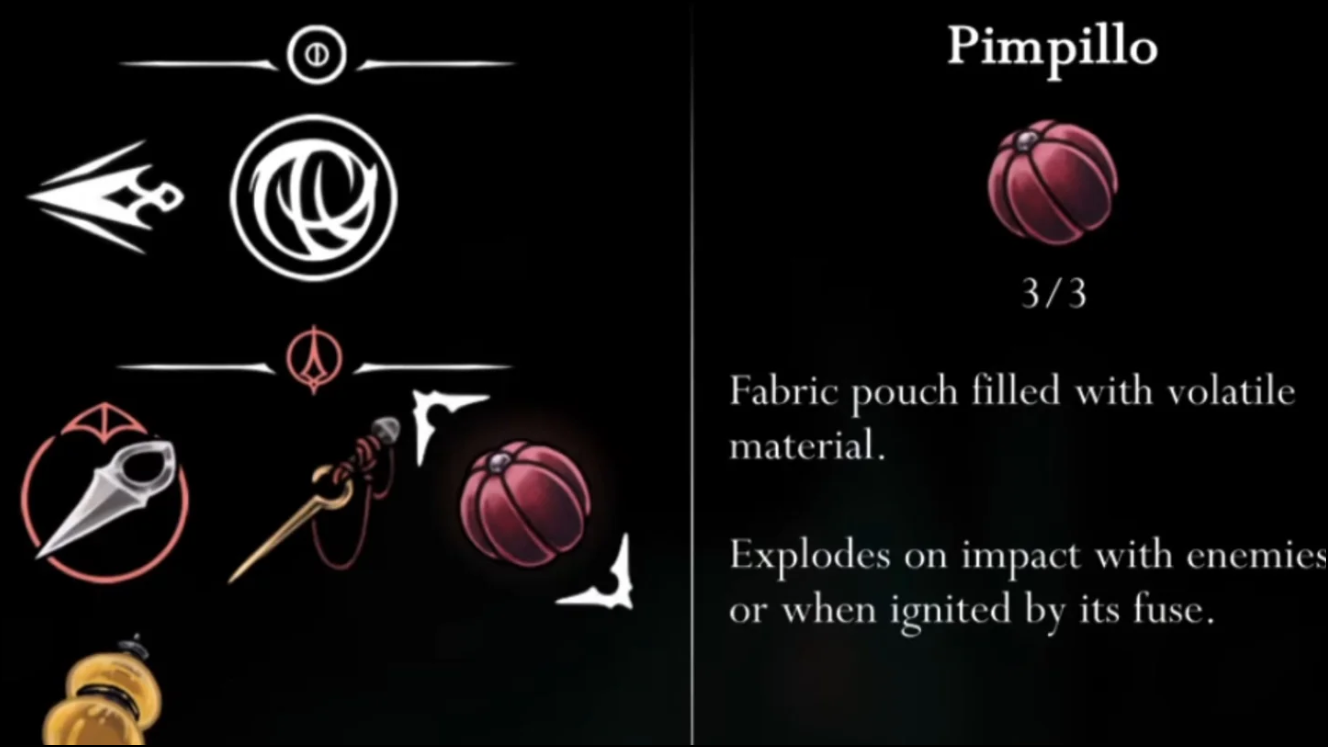
Step 2: Weaken enemies with standard attacks, then land the killing blow with the explosion. Favor narrow passages so the blast tags multiple Pilgrims.
Step 3: Reset at a nearby bench to restock and repeat until you reach 15 Seared Organs.
Method 3 — Wispfire Lantern (hands‑off, slower)
Step 1: Equip Wispfire Lantern to summon a homing fire wisp.
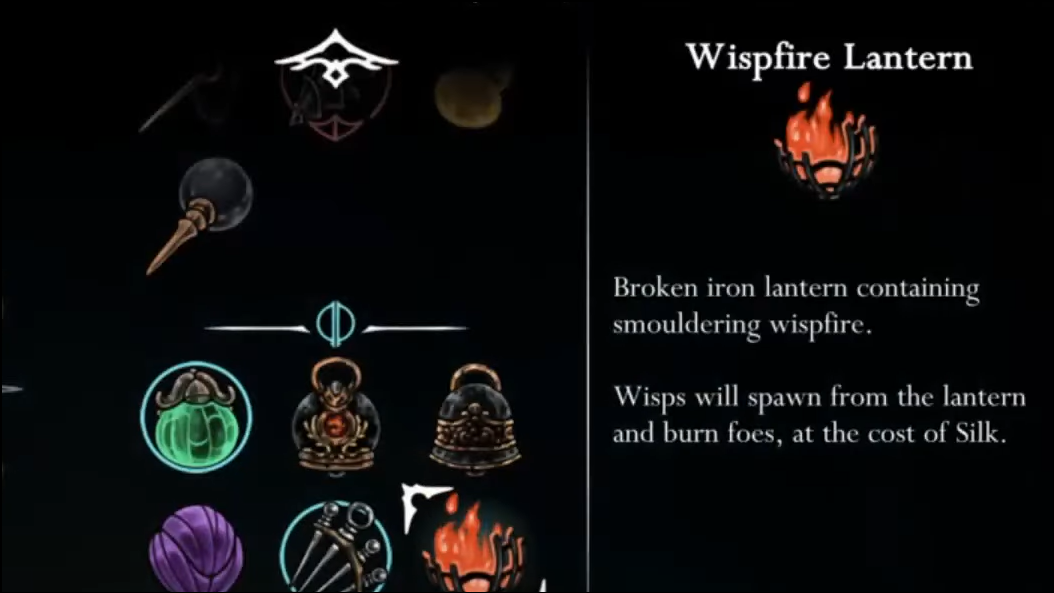
Step 2: Let the wisp finish enemies. It deals modest damage, so focus on low‑HP targets and small packs.
Step 3: Loop a short route near a bench to replenish silk and continue the farm.
Shredded Organs (35) — cutting/saw tools
Shredded items drop when a shredding tool or shredding‑type crest attack deals the finishing blow. The following methods are consistent and fast.
Method 1 — Cogwork Wheel (fastest clear on weak mobs)
Step 1: Buy Cogwork Wheel from the Twelfth Architect in the Underworks (costs Rosaries and 1 Craftmetal). It projects a spinning blade forward.
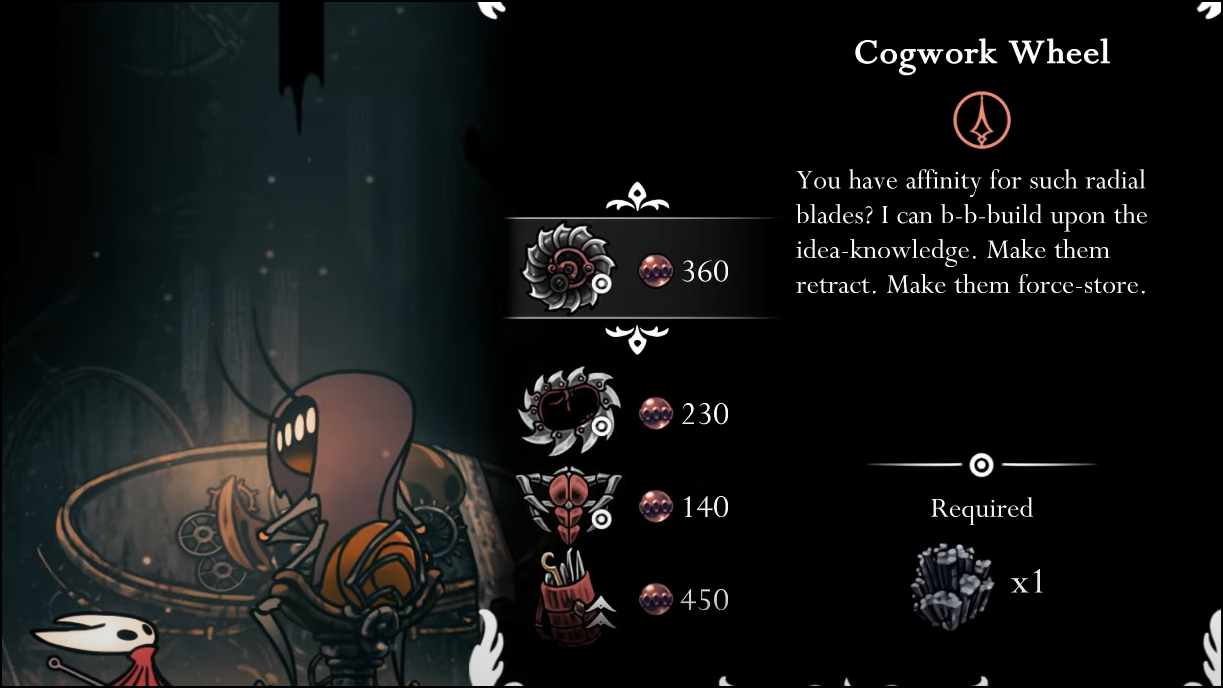
Step 2: Soften enemies if needed, then let the wheel secure the kill. It cleaves through small groups efficiently.
Step 3: Farm a short corridor with a bench nearby, refilling tools between passes until you reach 35.
Method 2 — Architect’s Crest (charge and aerial attacks)
Step 1: Equip Architect’s Crest. Its charged needle and certain aerial attacks count as shredding.

Step 2: Use a charged strike or downward drill‑style attack to land the last hit on low‑HP targets.
Step 3: Repeat on clustered Pilgrims; rest when silk or health runs low to keep the rhythm.
Skewered Organs (10) — piercing tools
Skewered items drop when a piercing trap or thrusting tool finishes the enemy. Two tools stand out.
Method 1 — Longpin (reliable line pierce)
Step 1: Find Longpin hidden behind a wasp nest in Shellwood (just above the lower Bellhart entrance). It fires a heavy pin that pierces through enemies.
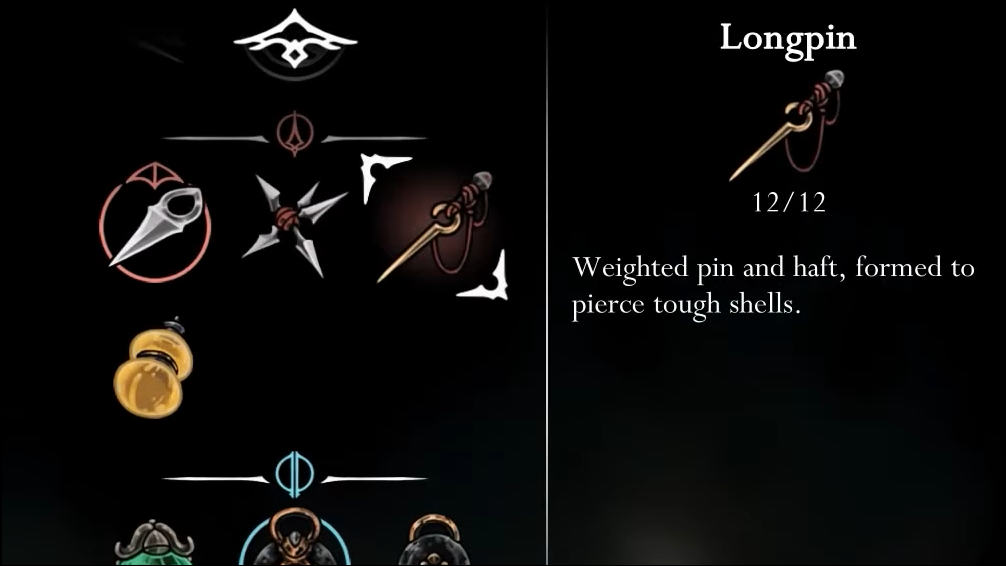
Step 2: Line up targets so one shot can finish multiple weakened foes. The linear path makes last‑hits predictable.
Step 3: Repeat in a short loop near a bench, restocking shards as needed until you have 10 Skewered Organs.
Method 2 — Sting Shard (harder to control, high damage)
Step 1: Purchase Sting Shard from the Forge Daughter in Deep Docks (requires Rosaries and Craftmetal). It forms a spiky trap that bursts into blades.
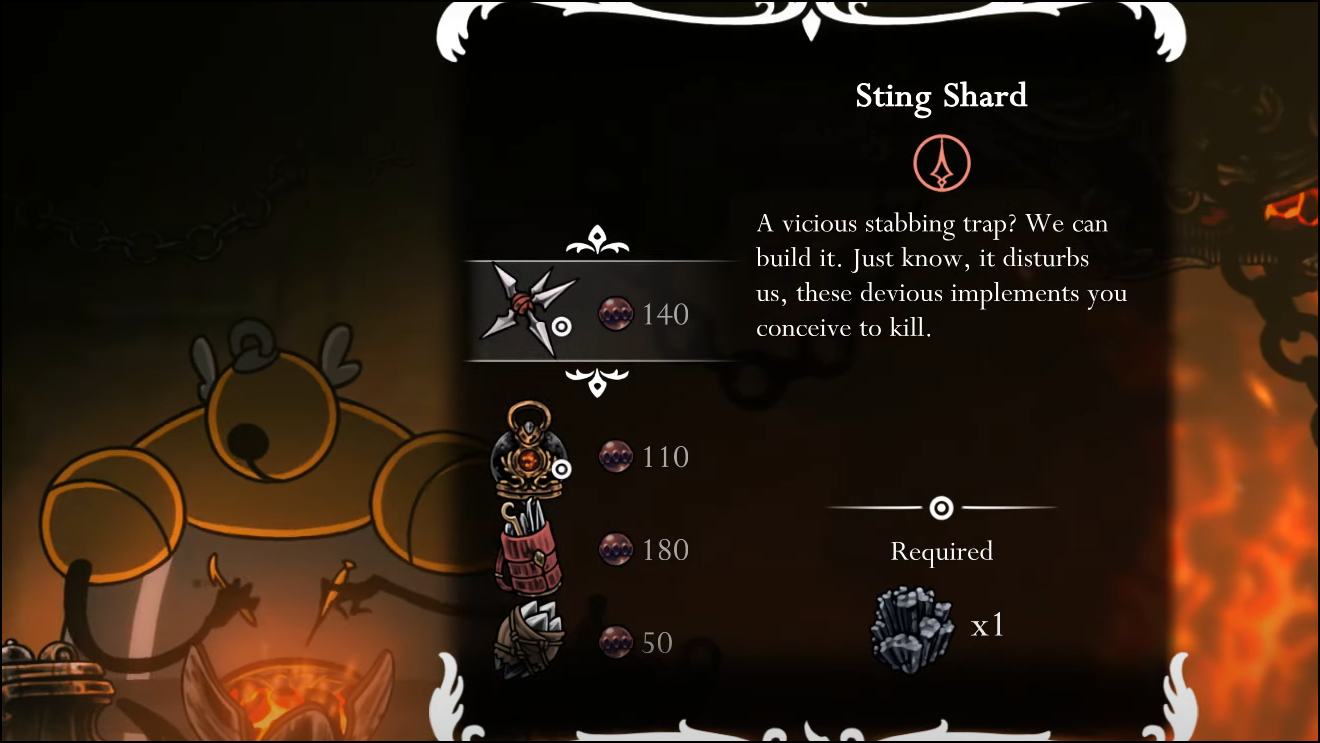
Step 2: Place the trap where enemies will walk through, and arrange kills so the trap’s damage finishes them. Be mindful: early triggering can scatter blades harmlessly.
Step 3: Use tight corridors to force contact and repeat the loop until you reach 10.
Efficient farming loop examples
Two consistent spots minimize downtime and shard use:
- Greymoor Halfway House corridor: six Pilgrims between the bench and the Greymoor entrance, quick restocks, plus incidental Rosaries and Shells.
- Bench beneath High Halls entrance: short walk to recurring Pilgrims, then immediate reset at the bench.
In both cases, weaken enemies first with your needle, then swap to the relevant tool to land the final hit. This cuts tool consumption while preserving drop consistency.
Turn‑in, variant, and reward
Return to the Huntress in the Putrified Ducts to hand in the three organ stacks. If you reach this point in Act 3 without claiming Broodfeast, you’ll instead meet its variant, “Runtfeast”; objectives and reward are the same.
Reward: Longclaw (blue tool) extends the reach of your needle, improving spacing in nearly every matchup and pairing cleanly with most Crests.
Set a bench spawn near your chosen farm lane, keep the target tool delivering the last hit, and you’ll finish Broodfeast in a handful of short runs.