
The Builder's Workbench is an early crafting station in Hytale focused on structural and decorative parts for bases and buildings. It sits alongside other specialized workbenches and becomes important as soon as you move beyond simple shelters and start putting together more permanent structures.
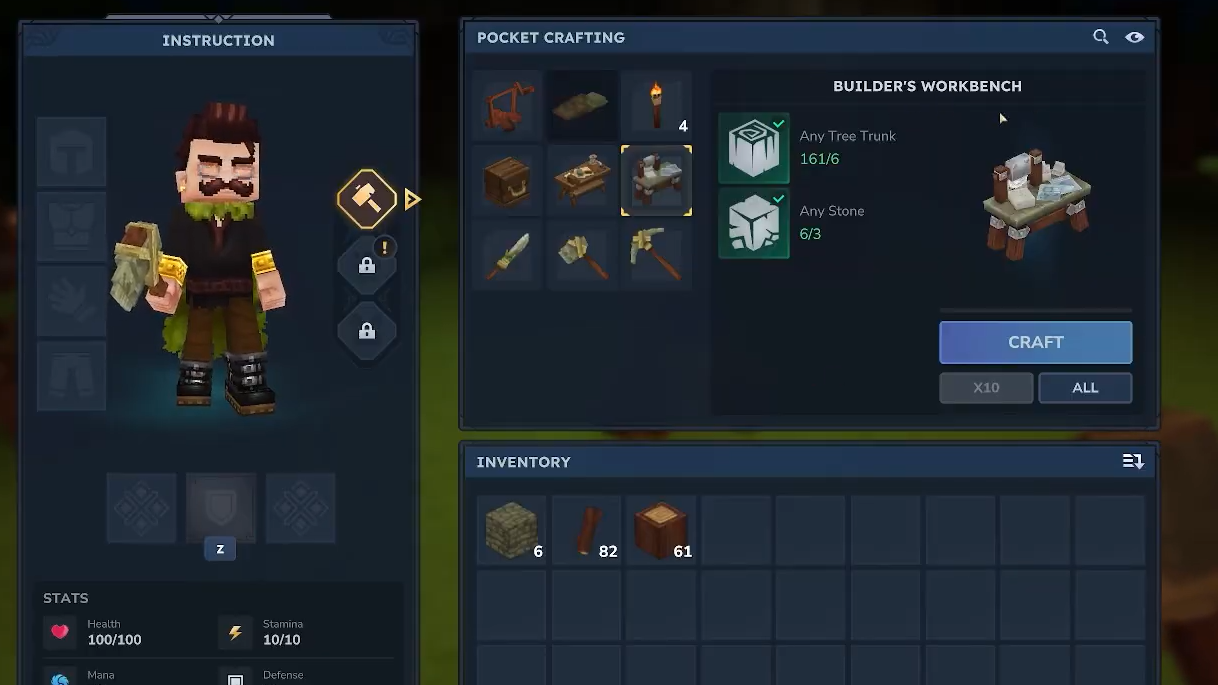
Builder's Workbench crafting recipe in Hytale
The Builder's Workbench is crafted from basic early-game resources. You do not need rare drops or advanced tools to make it, which makes it a natural upgrade once you have a basic Workbench running.
| Workbench | Primary use | Crafting materials |
|---|---|---|
| Builder's Workbench | Base-building items | 3x Stones, 6x Tree Trunks |
| Farmer's Workbench | Food and crop items | 6x Tree Trunks, 20x Plant Fiber |
Stone and tree trunks are common environmental materials, so the limiting factor is usually having enough gathered at once rather than access to the biome itself.
How to make a Builder's Workbench
The Builder's Workbench is created at a basic Workbench using the materials listed above. The process is short, but it helps to keep actions separate to avoid misclicks or wasted resources.
Step 1: Place or access a level 1 Workbench. This is the standard early crafting station and is required before you can produce more specialized workbenches, including the Builder's Workbench.
Step 2: Gather at least 3 Stones and 6 Tree Trunks in your inventory. Any type of tree trunk can be used where "Any Tree Trunk" is specified, and generic stone counts toward the stone requirement.

Step 3: Open the Workbench crafting interface. Locate the recipe category that contains functional stations and select the entry for the Builder's Workbench once the recipe highlights as available.
Step 4: Move the 3 Stones and 6 Tree Trunks into the required slots if they are not auto-filled, then confirm the craft. The finished Builder's Workbench will appear in the output slot and then in your inventory.
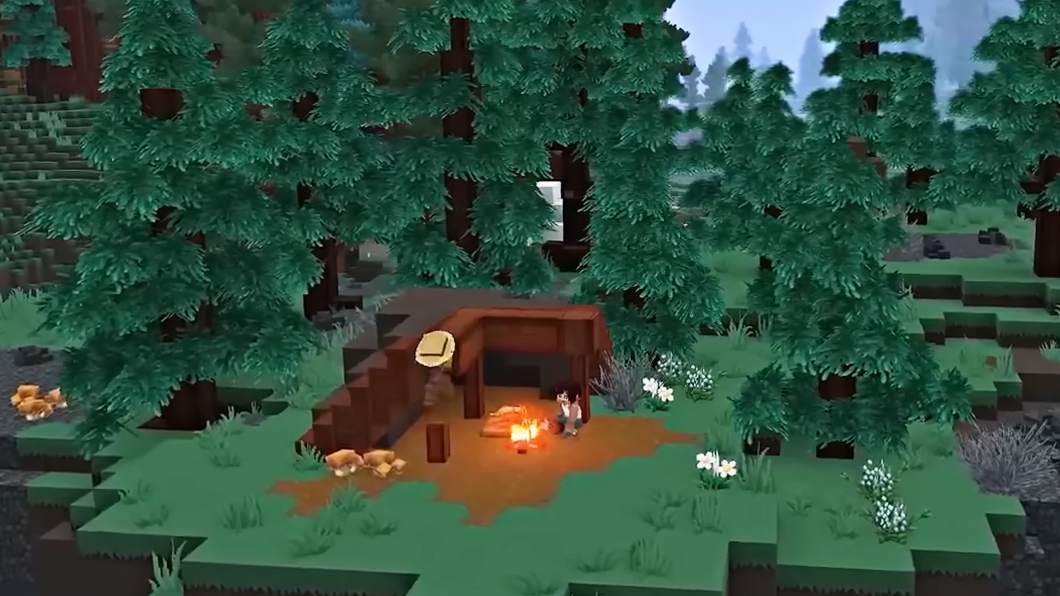
Step 5: Place the Builder's Workbench in the world at your base. Make sure there is clear space in front of it so you can access the interaction prompt without obstruction from other blocks or stations.

How the Builder's Workbench works
Once placed, the Builder's Workbench acts as a dedicated station for creating building components. Its interface is similar to other workbenches but has a few interaction details worth knowing.
Step 1: Interact with the Builder's Workbench to open its crafting menu. The UI shows a set of recipes tied to structural and decorative building parts and a small input window where you place materials.
Step 2: Look for recipes that appear highlighted. Highlighted items indicate that you have the required materials in your inventory and that the recipe is currently craftable from this bench.
Step 3: Place the needed materials into the small input window. You can drag and drop them manually or use shift-click to move matching stacks quickly into the slot, which speeds up repeated crafting.
Step 4: Once the input window is filled with the correct items, confirm the craft. The finished building part moves to the output slot and then to your inventory when you collect it.
Step 5: Close the interface and place your newly crafted parts in the world as you would other blocks. Use them to form walls, roofs, trims, or other details of your base layout.

What you use the Builder's Workbench for
The Builder's Workbench focuses on base-building items rather than tools, weapons, or consumables. It is the station you return to repeatedly whenever you want to:
- Produce structural blocks that are more visually refined than raw stone or wood.
- Create building pieces that fit together cleanly for walls, floors, and roofs.
- Craft decorative or supporting components that make a base feel finished rather than temporary.
In practical terms, that makes the Builder's Workbench the backbone of more permanent bases. While a basic Workbench gets you through the first night, the Builder's Workbench supports longer-term construction projects you are likely to revisit over many sessions.
How the Builder's Workbench fits with other workbenches
Hytale splits crafting into different stations so that each one handles a narrow category of items. The Builder's Workbench shares space with other specialized benches, such as the Farmer's Workbench for food and crop-related items.
That separation has a few consequences for how you design your base:
- The Builder's Workbench covers base-building materials, so you return to it for walls, supports, and decorative structure pieces.
- The Farmer's Workbench, which uses 6 Tree Trunks and 20 Plant Fiber, is oriented around crops and food preparation instead, so it does not replace the Builder's Workbench.
- A central crafting area benefits from placing these workbenches close together, with enough room to move between them without overlapping interaction prompts.
Grouping your Builder's Workbench with storage chests that hold stone, wood, and related building supplies keeps crafting loops short, since you can refill materials and craft more blocks without long trips.
Once the Builder's Workbench is placed and stocked with basic resources like stone and tree trunks, it quickly becomes the main way to turn raw materials into structured, repeatable building parts. Learning its simple input window and recipe highlighting makes crafting smoother and lets you concentrate on planning and expanding your base rather than wrestling with menus.