
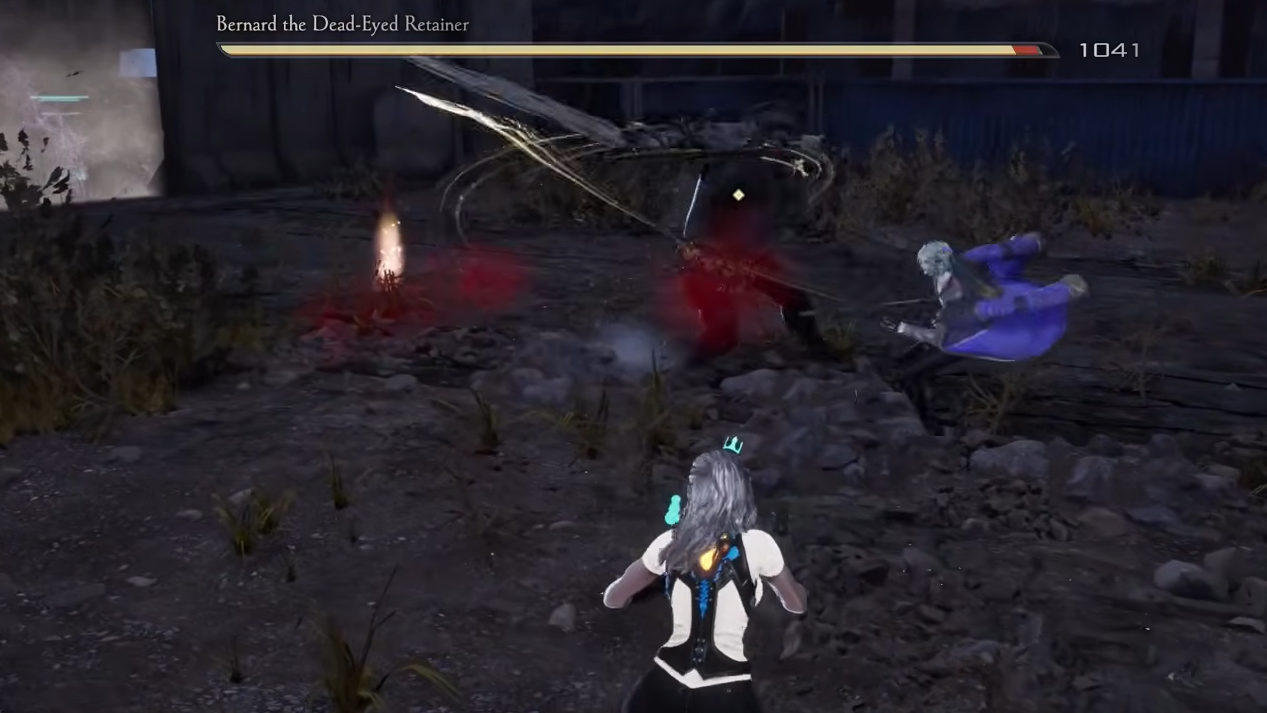
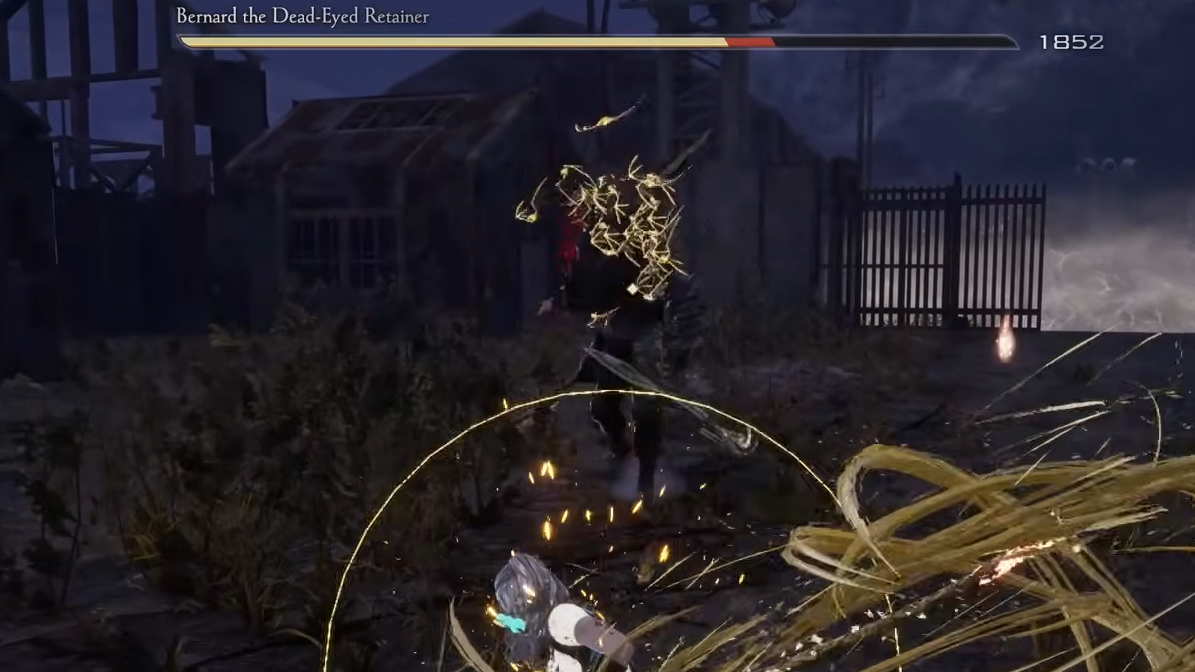
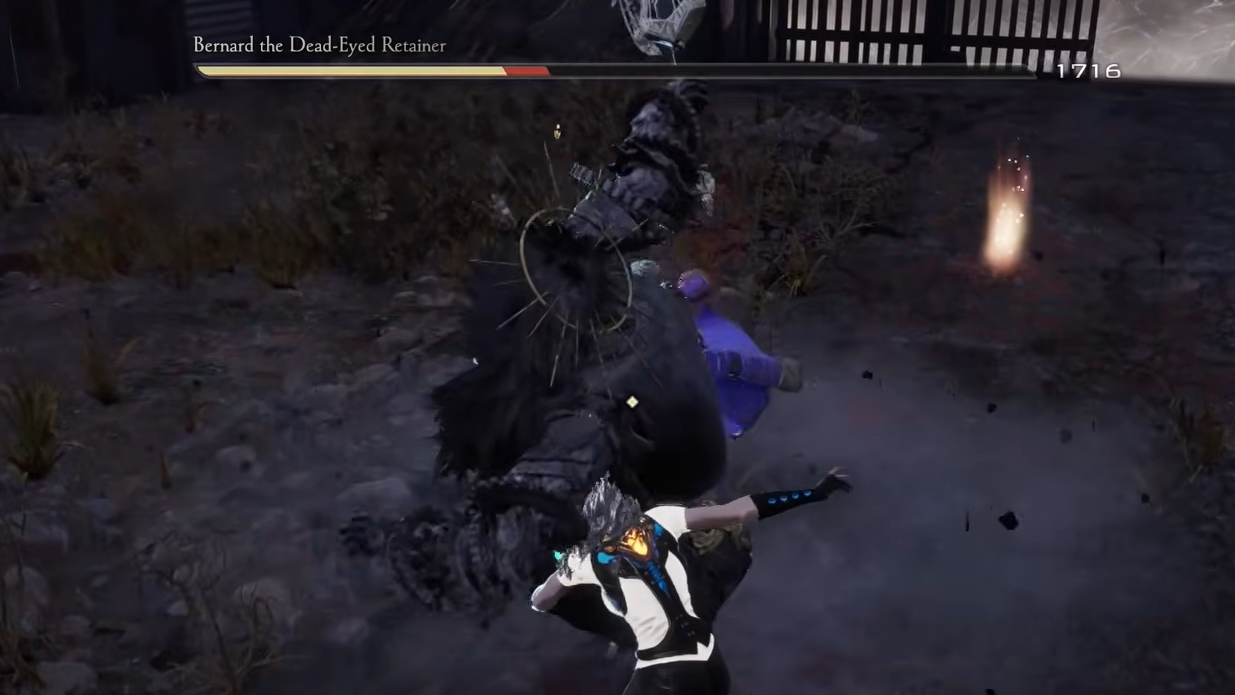
Bernard the Dead-Eyed Retainer is a large humanoid mini-boss in Code Vein 2, fought at the end of the Abandoned Land in the Corroded Scar during the 2178: The Hero Lyle's Era timeline. He wields a greatsword, hits extremely hard, and mixes slow melee strings with lightning-based area attacks, but his animations are deliberate and can be read consistently once you know what to look for.
Quick answer: Stay just outside Bernard’s melee range, dodge sideways or backward on each telegraphed swing or leap, then punish his long recovery after Red Energy Projectile, Charged Leaping Slam, the third hit of 3 Hit Swings, the end of Spinning Overhead Slam, Rain of Lightning, and Normal Sword Thrust; use charged or Formae attacks to stagger him, and circle for backstabs whenever he whiffs a combo.
Bernard the Dead-Eyed Retainer location and role
Bernard appears in the Corroded Scar region, at the end of the Abandoned Land. The encounter is tied to Lyle’s quest in the past, serving as the final obstacle in that section of the Corroded Scar. Defeating Bernard opens access to the northern part of the region and advances Lyle’s story arc. The fight rewards 4,165 Haze.
Bernard’s core behavior and what you should do
Bernard’s identity as a mini-boss is defined more by his stats than by unique mechanics. He is essentially an elite enemy variant with:
- Significantly more health and defense.
- Very high damage on each hit.
- Predictable, slow animations that can be dodged or parried.
- A susceptibility to stagger when hit with strong or charged attacks.
Functionally, the fight is about three principles:
- Play around his rhythm, not yours. Wait for clear tells, evade, then retaliate in the recovery windows instead of trading hits.
- Exploit stagger and backstabs. Charged swings and Formae attacks can interrupt his actions; circling behind him after big whiffs lets you land backstabs.
- Respect his lightning coverage. His purple electricity attacks control space rather than chase you. Stepping out early is always safer than trying to squeeze in late hits.
Bernard opener and early punish window
Bernard’s first sequence is especially important because it tells you whether you control the pace from the start.
Step 1: As soon as you cross the fog, be ready for a lunging gap-close into a forward leaping slash. He uses this opening every time. Roll sideways out of the line of attack rather than trying to guard through it, since a block can still cost a chunk of health.
Step 2: After you successfully dodge the lunge and the follow-up leap, immediately move toward his flank. This is your first chance to either land a quick charged strike to attempt a stagger or position for a backstab if he over-extends.
Bernard’s attacks and exact punish windows
| Attack | Main tell | Safe response | Punish window |
|---|---|---|---|
| Red Energy Projectile | Raises free arm, red glow in fist (sometimes purple electricity instead) | Dodge sideways as the projectile leaves his hand | After it passes, close distance while he finishes the throw animation |
| Charged Leaping Slam | Holds greatsword, red energy gathers, low stance before jump | Back away during charge, then roll as he descends | He lingers in a brief landing recovery, ideal for 1–2 heavy hits |
| 3 Hit Swings | Two-handed grip, repeated side swings, final spin before last blow | Step or roll with each swing; save stamina for the spin finisher | After the third swing completes, he pauses, giving room for a short combo |
| Spinning Overhead Slam | Rotates with sword then lifts for a one-handed overhead strike | Time a single dodge as the overhead strike starts to drop | Clear, single opening right after the sword hits the ground |
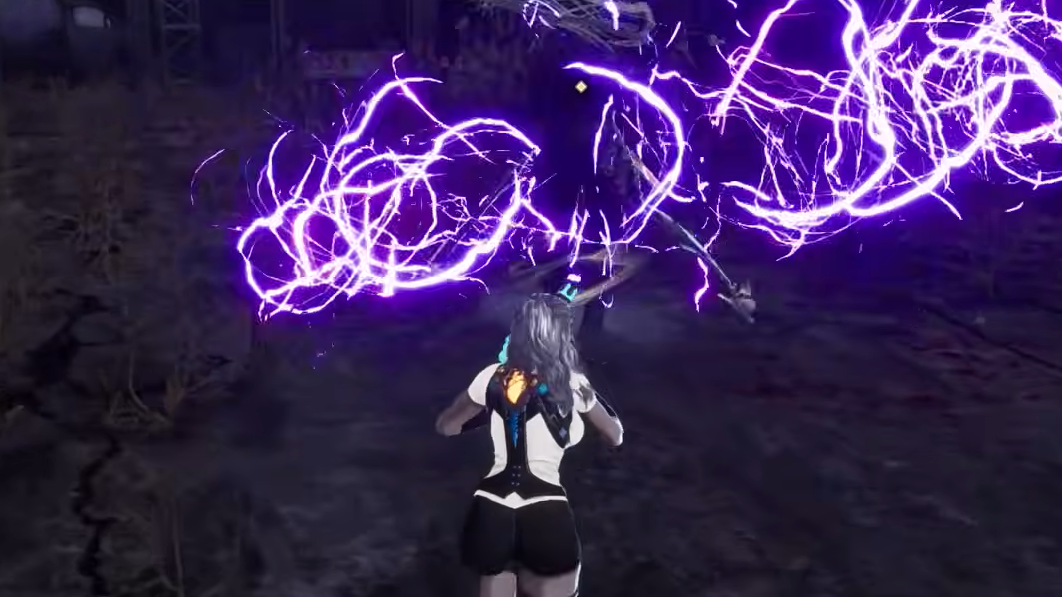
| Rain of Lightning | Free hand up, purple electricity charge, lightning begins to fall around him | Retreat outside the visible lightning area early | He is rooted in place for the full duration, letting you use ranged attacks |
| Normal Sword Thrust | Two-handed thrust, small wind effect gathers around the blade | Step or roll backwards out of the line of the thrust | He ends up close with a short recovery, good for quick counter-hits |
How each major move behaves (and how you exploit it)
Red Energy Projectile and ranged safety
Bernard’s primary ranged tool is a thrown energy or electricity shot.
Step 1: Watch for the free hand rising and a visible charge forming in his fist. The color may be red or shift to purple electricity, but the timing does not change.
Step 2: Dodge to either side as the projectile leaves his hand, not while it is still charging. Rolling too early risks drifting back into the line of fire as your i-frames end.
Once the projectile misses, Bernard spends a short moment finishing the throw motion. That is your cue to either push in from mid-range or place a ranged shot while he is committed.
Charged Leaping Slam and area control
The Charged Leaping Slam combines a telegraphed buff with an area hit on landing.
Step 1: As soon as you see the sword gather red energy and Bernard lower into a preparation stance, start backing away. The goal is to be just at the edge of his landing area, not directly under him.
Step 2: When he leaves the ground, prepare a single dodge that lands as the sword descends toward you. Rolling too early can put you back into the blast radius.
The impact creates an area of effect around the landing spot. After he lands, Bernard needs a beat to reset his posture, which is one of the safest heavy-punish windows in the entire fight.
3 Hit Swings and melee combo traps
Bernard’s 3 Hit Swings are meant to catch greedy players who step in too early.
Step 1: When he shifts into a firm two-handed stance and begins swinging side to side, commit to evasion instead of blocking. Roll in the direction of the swing, staying close enough that you can step back in afterward.
Step 2: Pay attention to the final spin before the last swing. That is the heaviest part of the combo and also the moment many players mistime their dodge. Treat the spin and last hit as a single event and dodge as the spin ends.
After the third swing, Bernard slows down. You can safely land a short chain of attacks, or a single charged hit if your timing is clean, before he restarts pressure.
Spinning Overhead Slam and single-hit punish
The Spinning Overhead Slam is one of his slower, more obvious attacks.
Step 1: As Bernard begins to spin with his sword, wait rather than dodging immediately. The spin has little reach compared to the overhead portion.
Step 2: When his arm lifts and the sword starts to come down, roll to either side. This avoids both the direct hit and the small impact area on the ground.
He recovers slowly from the one-handed overhead impact, which gives you enough time to take a few swings or reposition for a backstab attempt.
Rain of Lightning and when to use distance
Rain of Lightning covers an area around Bernard with multiple descending strikes and punishes players who stay too close when it starts.
Step 1: As soon as his free hand rises again, this time surrounded by purple electricity instead of a compact charge, disengage. Do not try to see the first bolt before reacting; the move is designed to catch late retreats.
Step 2: Once you are outside the obvious lightning zone, maintain that distance and use ranged options to chip away at his health. Bernard remains stationary throughout the attack and cannot adjust for your new position.
When the last bolt lands, he drops the stance and becomes mobile again. This transition has a tiny delay you can use to either push back into melee or continue playing at range if your build supports it.
Normal Sword Thrust and close-range discipline
The Normal Sword Thrust seems simple, but is tuned to punish players who stand directly in front of him for too long.
Step 1: Watch for the brief moment of wind gathering around his blade as he pulls it back. That brief tell is the entire warning for the thrust.
Step 2: Move backward out of his line or roll away just as he lunges. Moving diagonally rather than straight back can help if space is tight.
After the thrust finishes, Bernard ends up in your face with a short recovery window. A quick light combo or a single heavy swing fits comfortably here before he restarts aggression.
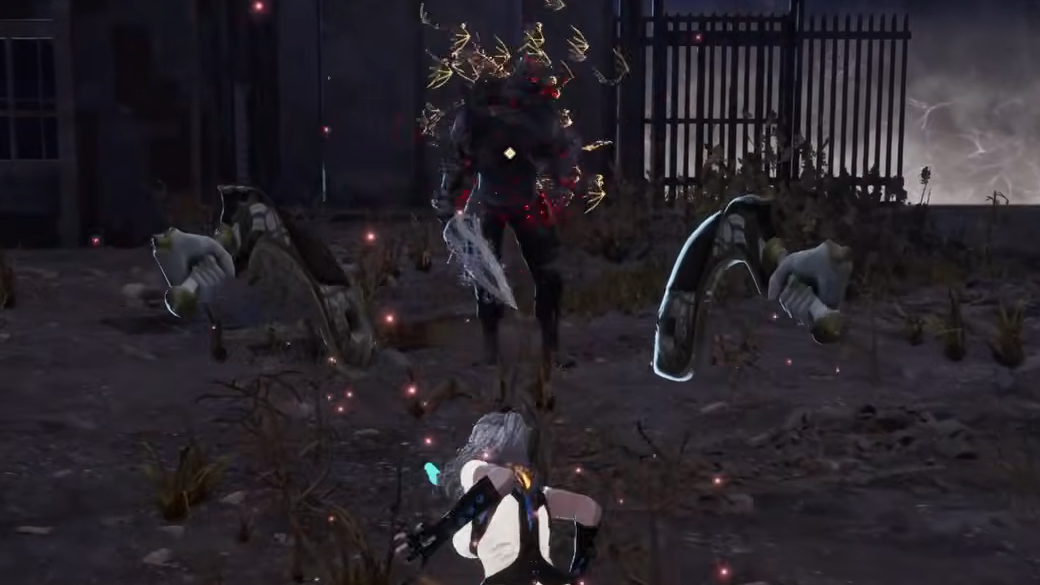
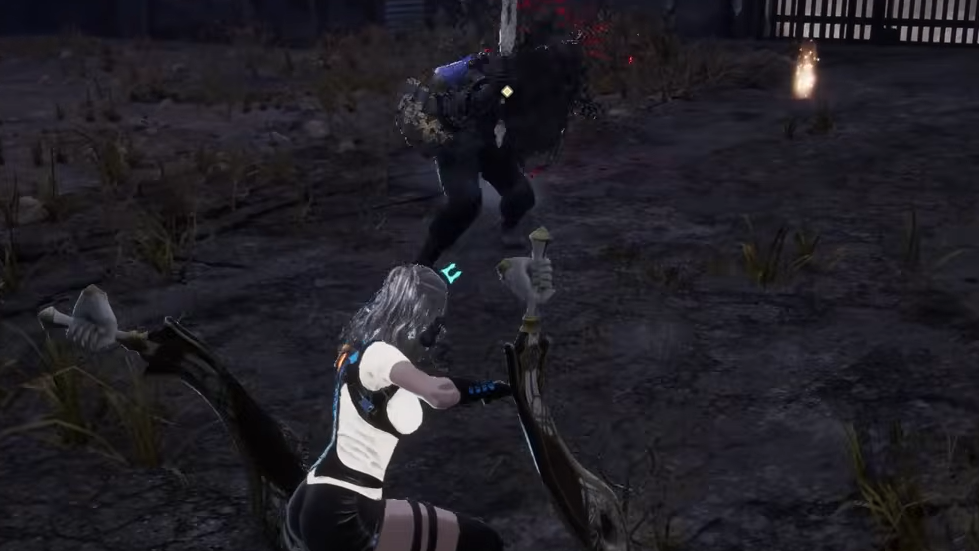
Staggering, backstabs, and Lyle’s involvement
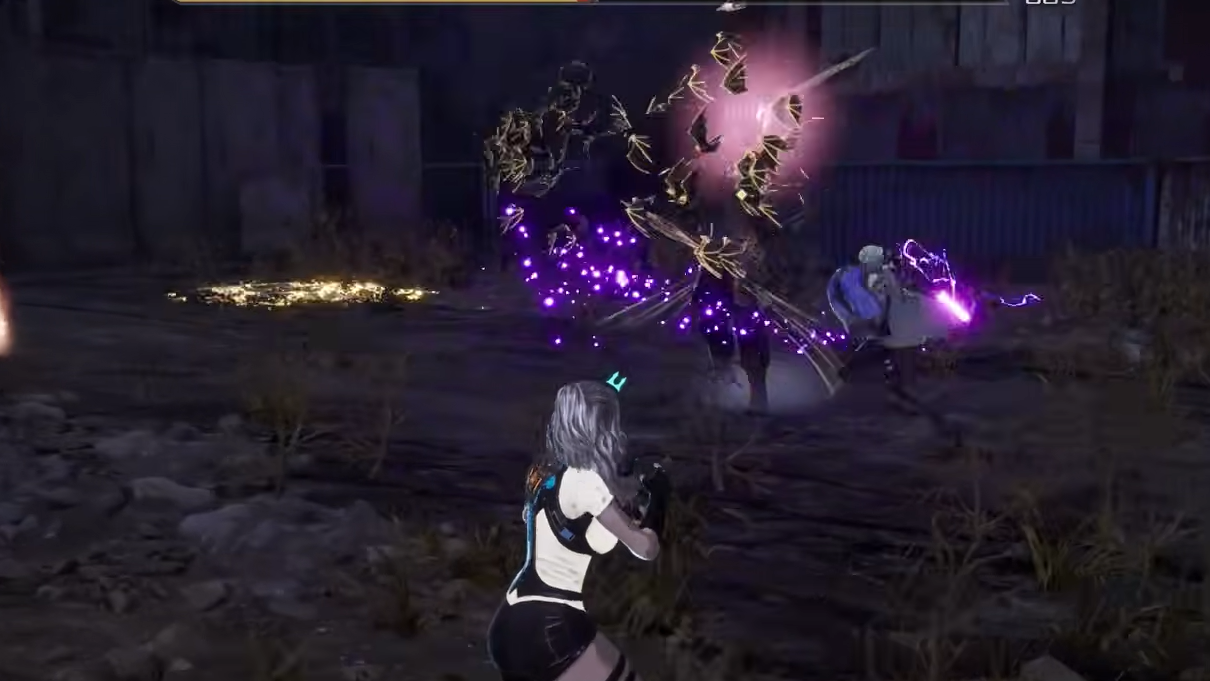
Bernard’s poise is low enough that strong hits will stagger him frequently. Charged weapon attacks and Weapon Formae are particularly effective at forcing interruptions, especially when used after he whiffs a big move like the Charged Leaping Slam or the end of a 3 Hit Swings string.
Several additional points sharpen this advantage:
- Backstabs are available. His long recoveries and commitment to frontal attacks make it practical to circle behind him during openings and trigger backstabs if you position carefully.
- Formae attacks stack pressure. Repeated Formae usage during his recovery windows can chain staggers, preventing him from regaining control.
- Lyle’s presence matters. In this era, Lyle can be summoned for the fight, and using Lyle’s Blood Code increases your stats, improving both survivability and damage throughput.
How you know you are executing the fight correctly
The encounter is on track when the pattern looks like this:
- You only take chip or isolated hits from melee strings, mostly escaping 3 Hit Swings and Spinning Overhead Slam without trading.
- Bernard is interrupted multiple times per health bar segment by your charged or Formae attacks.
- You routinely land punish damage after Red Energy Projectile, Charged Leaping Slam, and the third swing of his main combo.
If you instead find yourself locked in front of him trading blows or repeatedly caught by the leaping slam’s shockwave, you are fighting his weapon instead of his recovery windows. Shift back to the dodge-then-punish rhythm and let his slow animations do the work for you.