
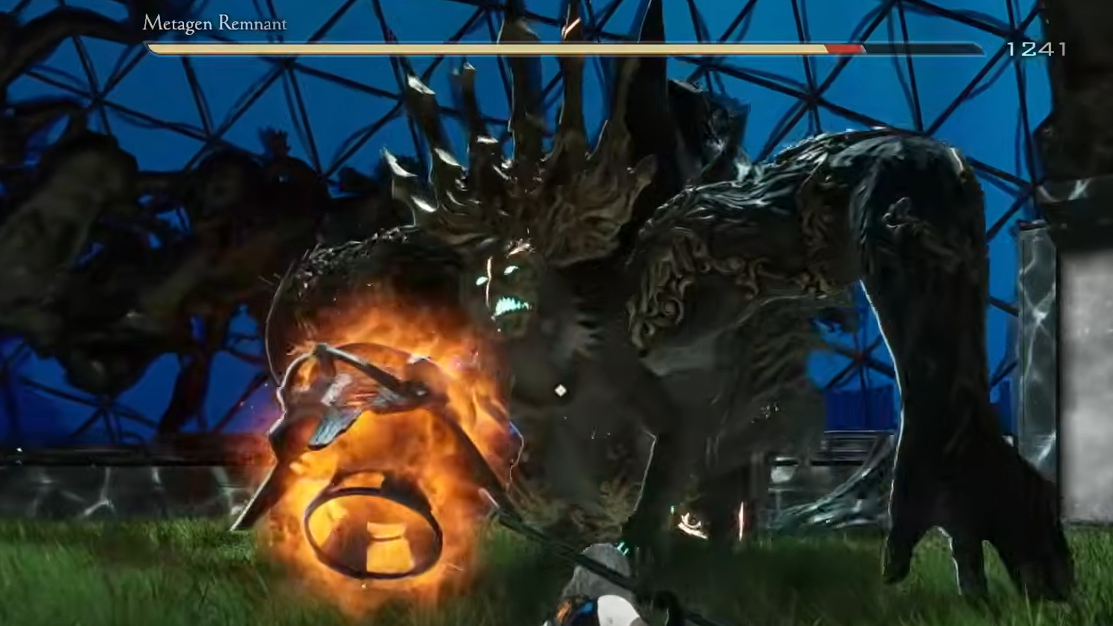
Metagen Remnant is a large, multi-armed boss in Code Vein 2 tied to Josee’s past and later reused as a miniboss in other regions. It combines slow but wide-reaching physical swings with persistent fire and acid attacks, punishing players who keep their distance or stay under its body for too long.
Quick answer: Metagen Remnant is first fought in the Sunken City’s Sunken Pylon during the 2179: The Hero Josee’s Era timeline. The fight is a single phase where the head is the most vulnerable part, its main threats are big-armed slams, fire patterns, and acid around the lower torso, and winning rewards Glutton's Eyes x2 and 6,300 Haze.
Metagen Remnant state: where it appears and when it’s available
Metagen Remnant exists as a boss encounter in a specific time period and then as a recurring miniboss:
- Region — Sunken City.
- Main arena — Sunken Pylon, in a grass-covered arena on the southern edge of the region.
- Timeline requirement — 2179: The Hero Josee’s Era must be active to access the initial boss fight at Sunken Pylon.
- Quest link — It serves as the final objective of the “Slaying the Hero Josee” questline.
Outside Josee’s era, the same enemy model later appears as a miniboss in other locations, such as Undead Forest. Those later versions behave identically to the Sunken Pylon encounter but fight in different arenas.
For the initial story-critical encounter, the fight triggers when you approach Metagen Remnant’s shell at the end of the Sunken Pylon path while you are in the correct timeline. The quest progresses once the boss is defeated.

Metagen Remnant behavior: health, phases, and weak point
Metagen Remnant is built around a single, long phase rather than multiple scripted transitions.
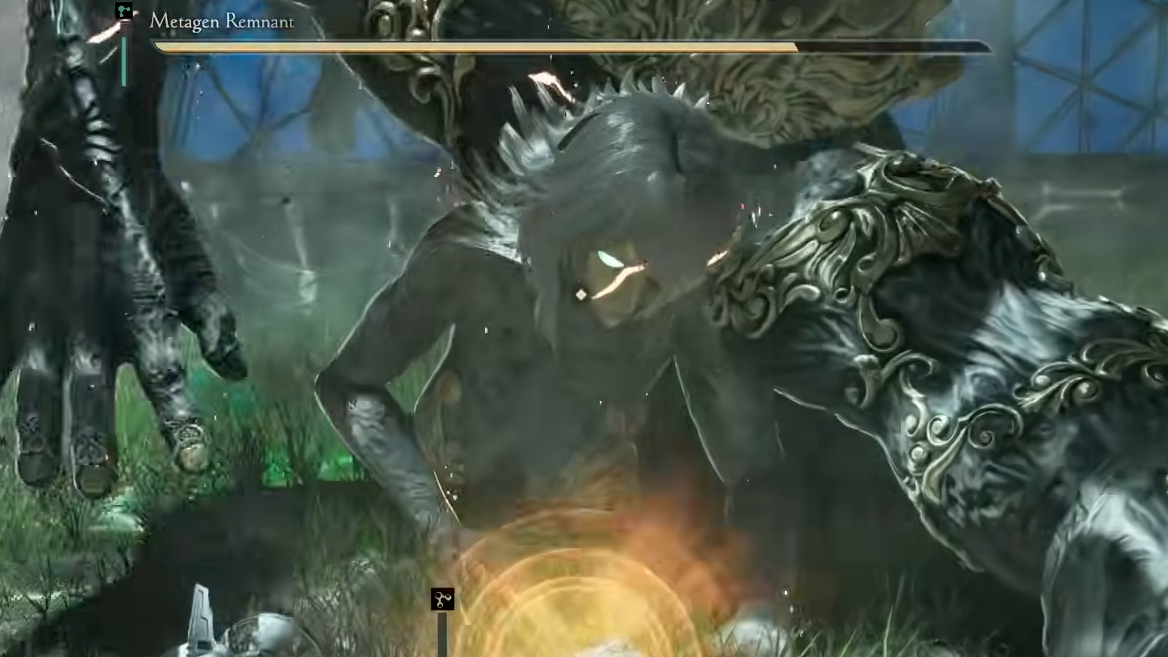
- Body layout — A small “main” torso is fused to a much larger, muscular body with multiple large arms and a long tail.
- Phase structure — Only one phase. Attack patterns remain the same throughout the fight, but animation tempo and aggression increase as HP drops.
- Primary weak point — The head takes the highest damage relative to other body parts. Hitting limbs or torso is significantly less efficient.
- Parry interaction — The boss’s attacks are effectively unparryable; the intended defensive layer is dodging, not blocking or countering.
Because the boss constantly tries to face the player, the head stays accessible as long as you remain in front of it and close enough to avoid forcing the ranged patterns.
Metagen Remnant attacks: full moveset and what each does
| Move | What happens | Key danger |
|---|---|---|
| Fireballs / Fire Breath | Metagen Remnant rises slightly and spits a stream of fireballs that track your position. | Each hit knocks you down; staying in the path can chain-stun you if you try to dodge through every shot. |
| Ground Burst | It breathes fire into the ground, creating delayed eruption markers across the arena, some of which track you before exploding. | Standing on or near markers when they detonate inflicts heavy damage across multiple points of the arena. |
| Fire Laser | Its mouth glows, then a sustained fire beam sweeps: first up from the ground while tracking you, then left-to-right, then right-to-left. | Large horizontal coverage; being mid-range in front of the boss when the sweeps begin is most dangerous. |
| Leaping / Charged Slam | The boss charges, leaps toward your location, then slams into the ground. Sometimes followed by a faster second slam. | Impact causes high damage and knockdown in a small radius around the landing spot, with tight timing needed on your dodge. |
| Elbow Slam | Right-side large arms raise and track you briefly, then the elbow drives into the ground. | Creates a localized shock zone around the elbow; staying too close in front risks being clipped even if you dodge late. |
| Big Arm Slam | While facing you, one large arm comes straight down in front of the boss. | Small but focused hitbox that punishes players standing directly in front of that arm. |
| Continuous Slams | Alternating large-hand slams: one hand, then the other, short pause, then the first again. | Staying in front for too long invites being caught by the final delayed hit. |
| Big Arm Double Swipe | A large arm pulls back then sweeps forward and back in an arc in front of the boss. | Very wide hit area; the backswing can tag you even if you dodge “through” the first swipe. |
| Four Arm Slam + spread follow‑up | All four arms pull back, then slam downward together. At lower HP this is often followed by a quick spread movement. | The spread after the slam adds an extra close-range hit that can catch early counterattacks. |
| Arm Swipe (two-sweep variant) | The right arm pulls back then sweeps side to side twice in front of the boss. | Second sweep punishes players who only dodge once and immediately re-engage. |
| Arm Slam + Outward Sweep | Both arms slam forward, then sweep outwards away from the boss. | Initial point-blank slam followed by wide clearing sweeps that punish remaining in front. |
| Small Arm Swipes | The smaller main-body arms perform several quick, short-range swipes when you are very close at the torso. | Fast sequence can chip you down if you hug the central body instead of focusing on the head. |
| Charge Clap | Both sets of arms rise over the head; the boss lunges toward you and slams its hands together at your position. | Forward lunge plus clap; staying in the lunge line can mean taking the full impact. |
| Tail Slam | If you stand behind the boss, it hops slightly and slams its tail down once, then quickly reorients to face you. | Hard punish for staying directly behind; also forces you back into the frontal zone. |
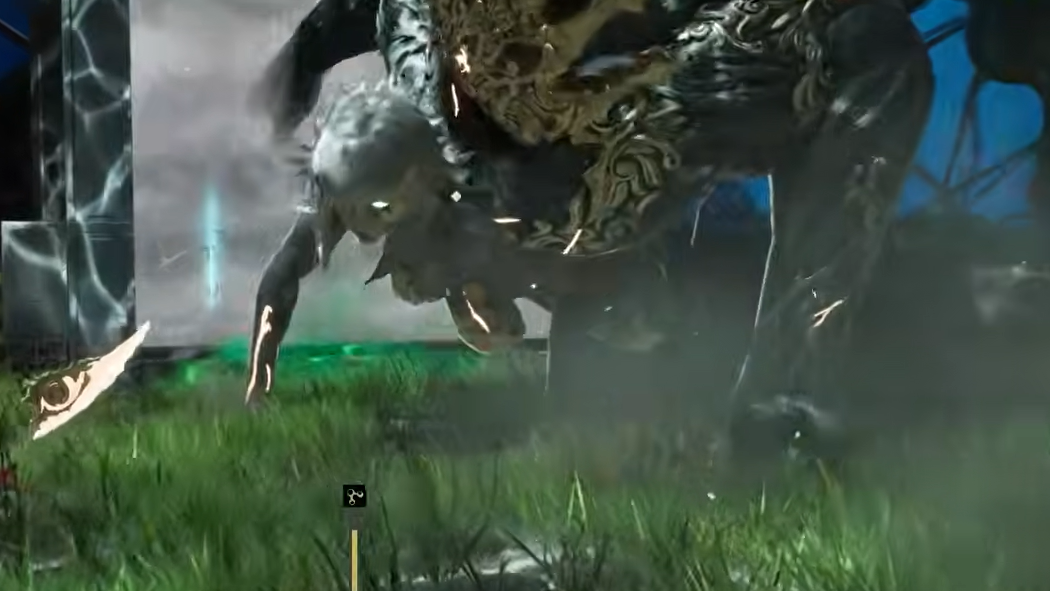
| Acid Spill / Acid torso zone | Acid accumulates under and around the lower torso area and as the boss moves, primarily behind it. | Builds up the Acid status ailment, leading to ongoing damage and debuffs if allowed to fully apply. |
Metagen Remnant mechanics: how to safely deal damage
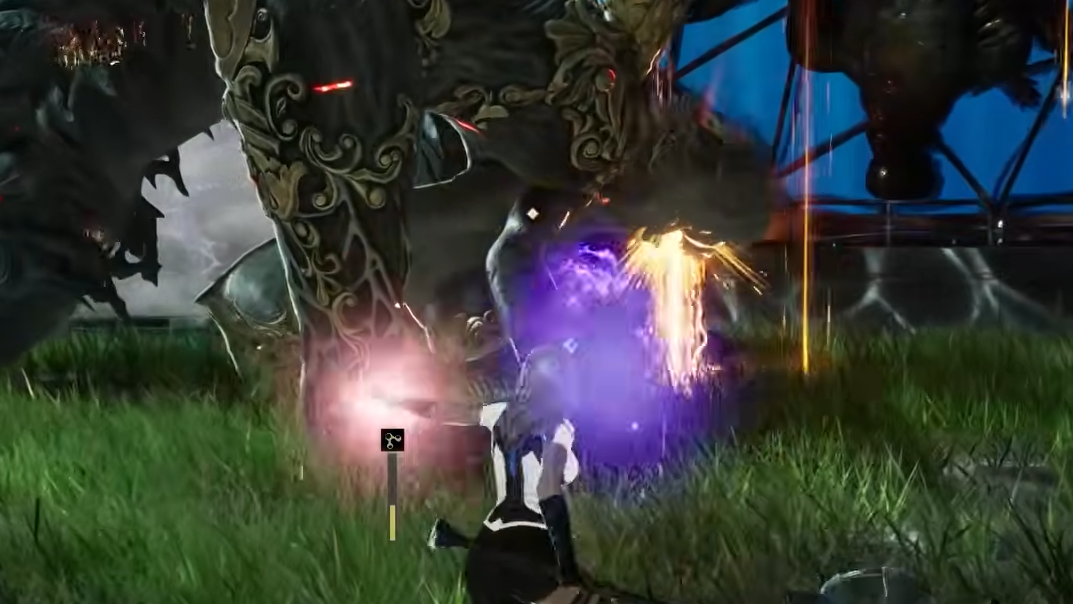
Metagen Remnant is designed around staying close, reading slow but heavy telegraphs, and prioritizing the head as your only consistently efficient target.
Preferred engagement range is tight melee at the front or upper side of the boss. Being too far away triggers fireball and ranged fire patterns more often, while standing directly underneath or behind invites acid buildup and Tail Slam.
Head focus is the main damage rule. Jump attacks, overhead swings with weapons that have good vertical reach, and any ranged or magic Formae that can consistently connect with the head will shorten the fight considerably. Hitting limbs or the tail is mostly a stall tactic.
Dodging behavior is heavily favored over guarding or parrying:
- Dodging into most arm slams and leaps lets you slip through the impact and end up at the boss’s side or front, still in range of the head.
- For Big Arm Double Swipe, dodging into the first swing risks being clipped by the backswing, so rolling away from both motions is safer.
- For Four Arm Slam + follow-up, the initial slam can be avoided by dodging toward one side, but you must be ready for the secondary spread at low HP.
Acid management matters, but mostly as a positioning check. The Acid status comes from being too close to where the smaller torso ends or standing in the spill zones behind the boss. You mitigate this by:
- Staying in front and slightly to one side rather than directly underneath or behind.
- Equipping Wound resistance options and Vaccines to resist or clear Acid if you expect a long fight.
Josee interaction: assimilate versus summon
Metagen Remnant’s attack coverage makes traditional “tank and DPS” positioning less useful because many swings, slams, and fire moves cover wide arcs or large parts of the arena. Partner-based aggro management provides limited benefit in this specific encounter.
Assimilating with Josee is the more efficient setup for this fight because:
- It directly increases your damage and survivability, which helps you chew through the boss’s relatively high HP pool.
- Josee can still revive you even while assimilated, so you do not give up death recovery by choosing the stat boost.
The fight is built around you being proactive at close range rather than letting a partner hold threat, so enhancing your own stats aligns better with the boss’s mechanics.
Metagen Remnant rewards: what you get for winning
Defeating Metagen Remnant in the Sunken Pylon arena yields a fixed set of rewards:
- Glutton's Eyes x2 — used as a specific resource tied to progression and build options.
- 6,300 Haze — added to your current Haze total for leveling and upgrades.
The fight’s completion also advances the “Slaying the Hero Josee” questline and resolves Josee’s confrontation with the creature that killed her sister. On later appearances as a miniboss in other zones, the enemy retains the same move behavior and head weak point, letting you reuse the same positional rules and dodge timings to confirm additional kills.