
Copilot’s new Connectors feature brings your Gmail, Google Drive, Google Calendar, Google Contacts, OneDrive, and Outlook data into a single place, so you can ask for what you need and get it without switching apps. This setup is opt-in and takes just a few minutes per service.
Copilot Connectors availability and requirements (Windows 11)
Connectors are rolling out to the Copilot app on Windows 11, initially for Windows Insiders on app version 1.25095.161.0 and later. The feature is opt-in and supports personal services including OneDrive, Outlook (email, contacts, calendar), Google Drive, Gmail, Google Calendar, and Google Contacts. If you’re in the Insider program, you can check the latest update details on the Windows Insider blog: Copilot on Windows: Connectors and Document Creation.
Connect Gmail, Google Drive, Calendar, and Contacts
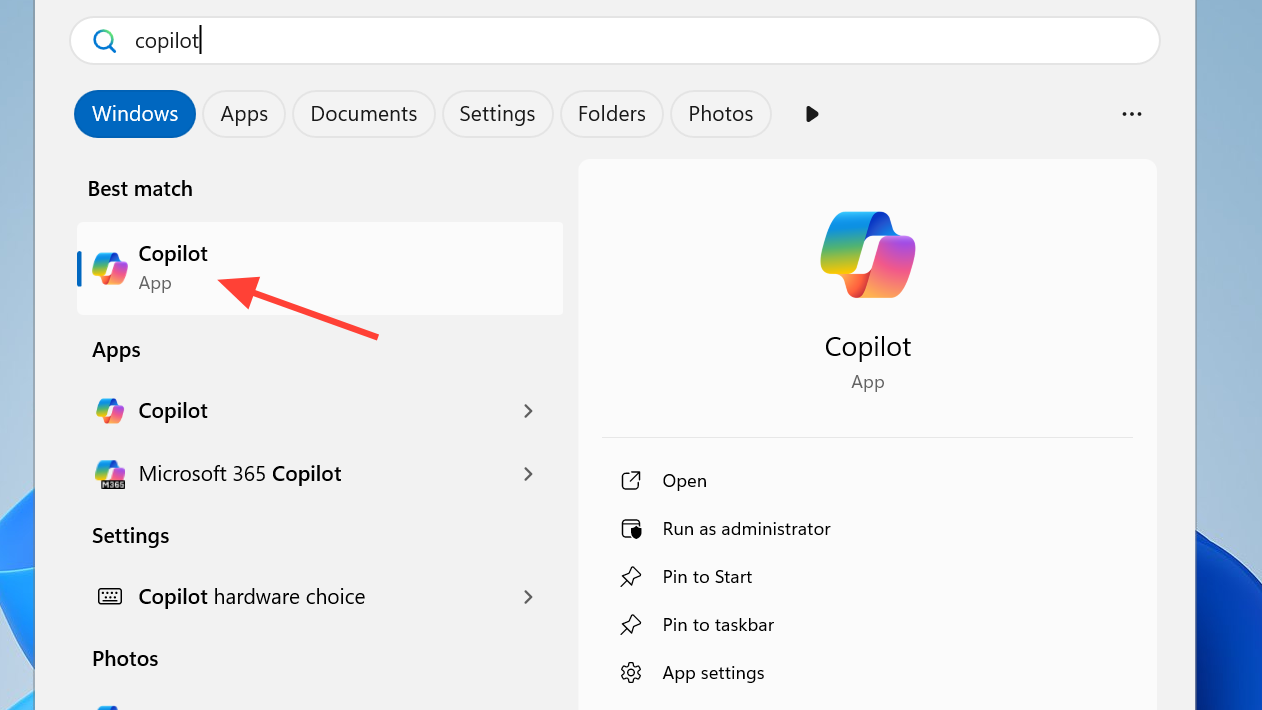
Step 1: Open the Copilot app on Windows. This ensures you’re configuring Connectors inside the desktop experience where your files and emails will be queried.
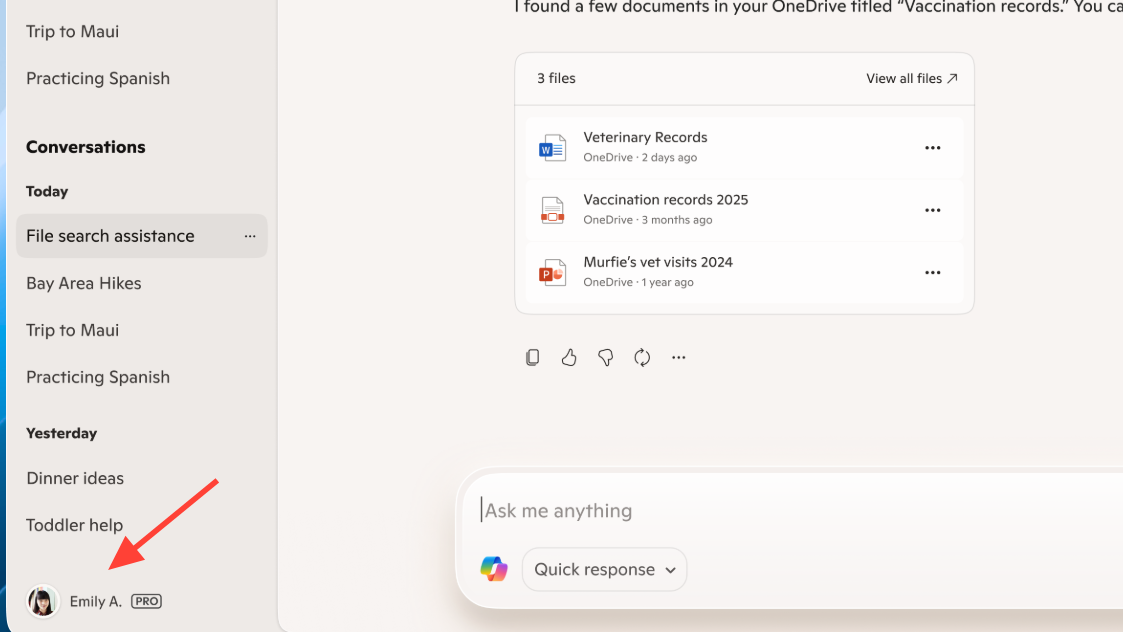
Step 2: Select your profile icon. The profile menu gives you access to the app’s settings, where Connectors live.
Step 3: Choose Settings. This opens the configuration area where you can manage account linking and privacy options.
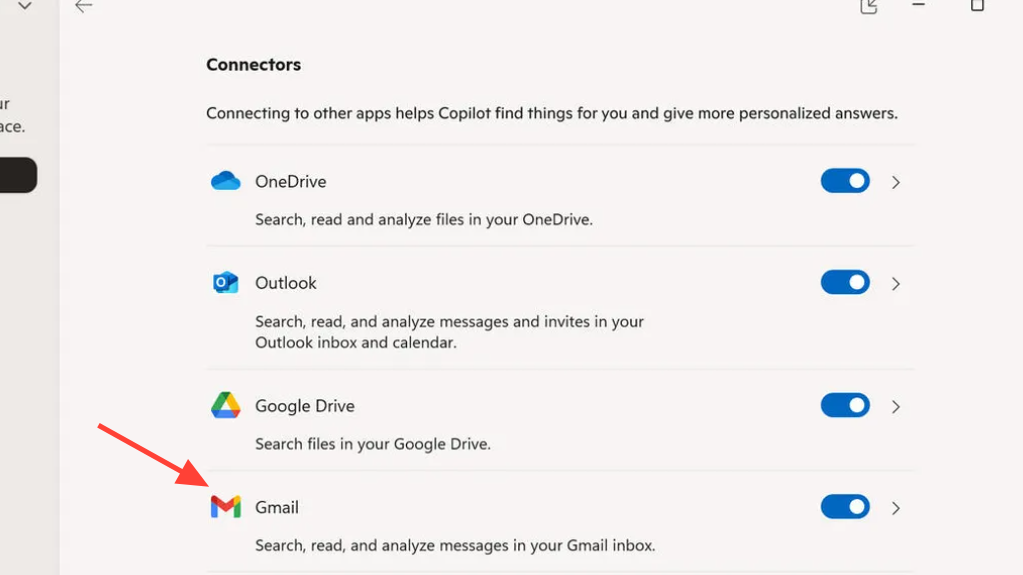
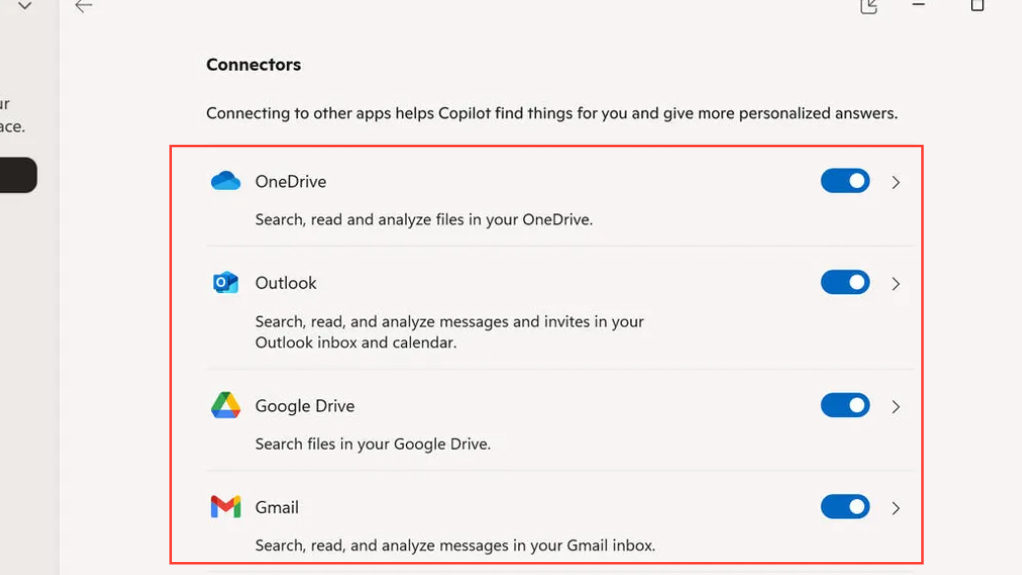
Step 4: Open the Connectors section. You’ll see available services you can link, including Google services and Microsoft accounts.

Step 5: Select Gmail to start linking your Google email. This grants Copilot permission to surface your messages using natural language queries.
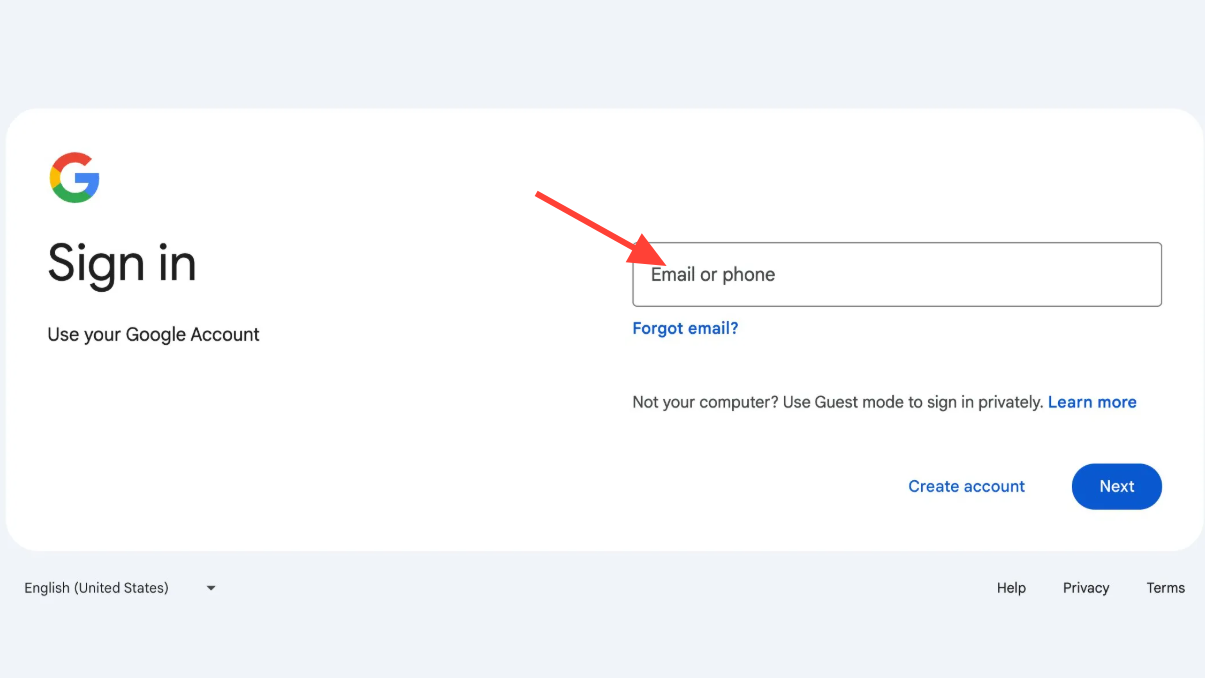
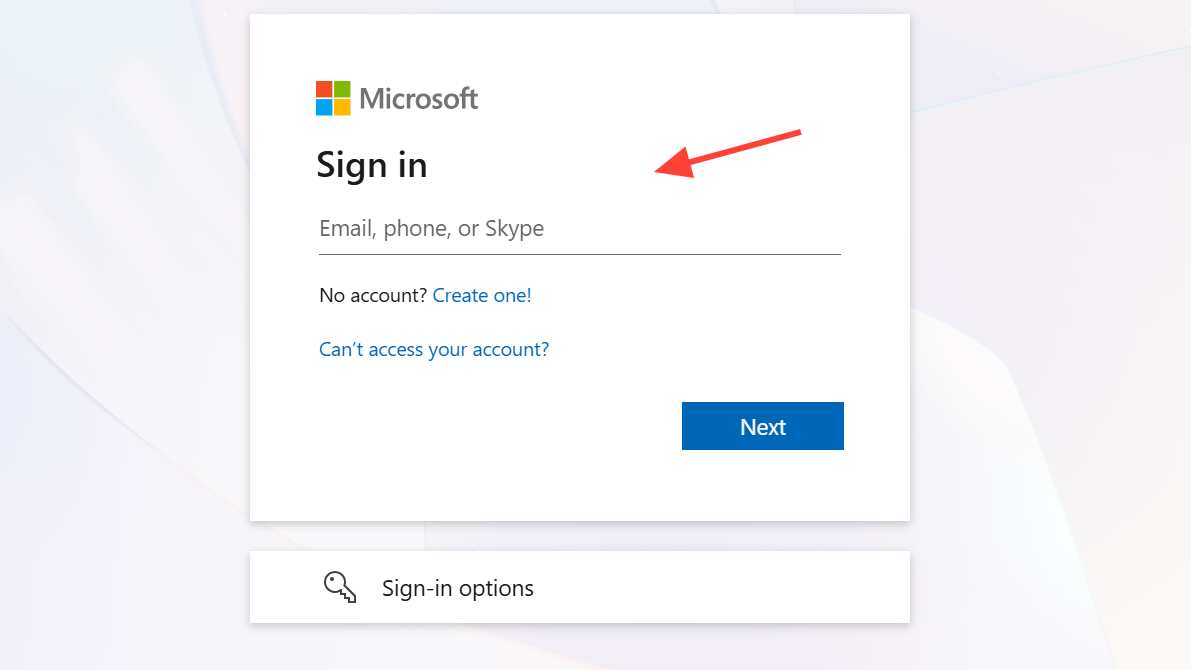
Step 6: Complete the Google sign-in and consent flow. Review what access you’re granting so Copilot can search and reference your emails when asked.
Step 7: Repeat for Google Drive, Google Calendar, and Google Contacts. Link each service you want Copilot to search, so your files, events, and contacts are included in the results.
Connect OneDrive and Outlook (email, contacts, calendar)
Step 1: In Copilot Settings, return to the Connectors section. This is where all available Microsoft services appear alongside Google services.
Step 2: Select OneDrive to link your files. This lets you ask Copilot to find and summarize documents stored in your cloud folders.
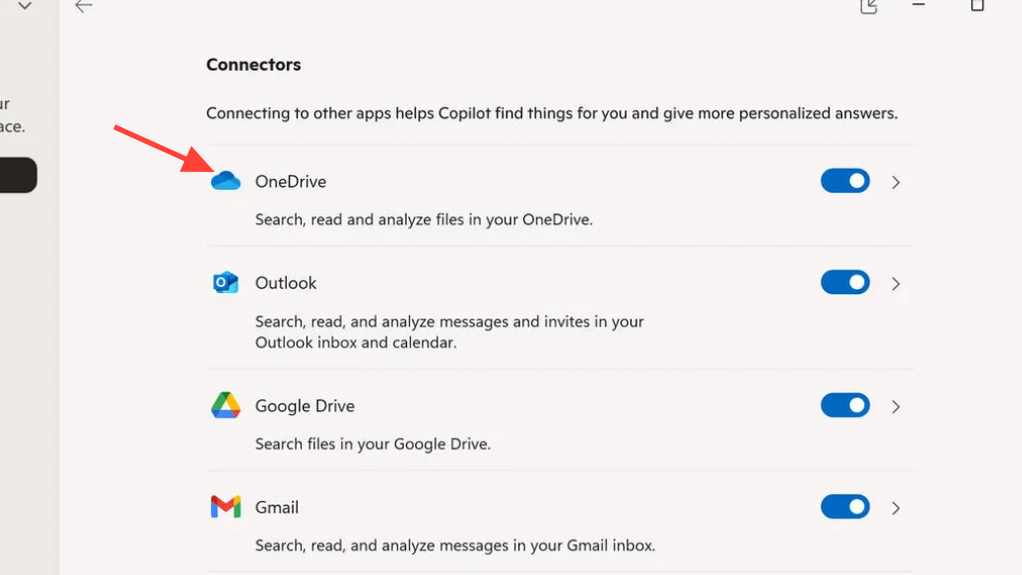
Step 3: Choose Outlook to link your email, contacts, and calendar. Copilot will be able to retrieve messages, people details, and events when prompted.
Step 4: Sign in if prompted and confirm consent. This ensures Copilot can securely access only the data you approve for search and retrieval.
Search connected services with natural language
Step 1: Open Copilot and describe what you need. You can ask about people, files, or emails without specifying where they live.
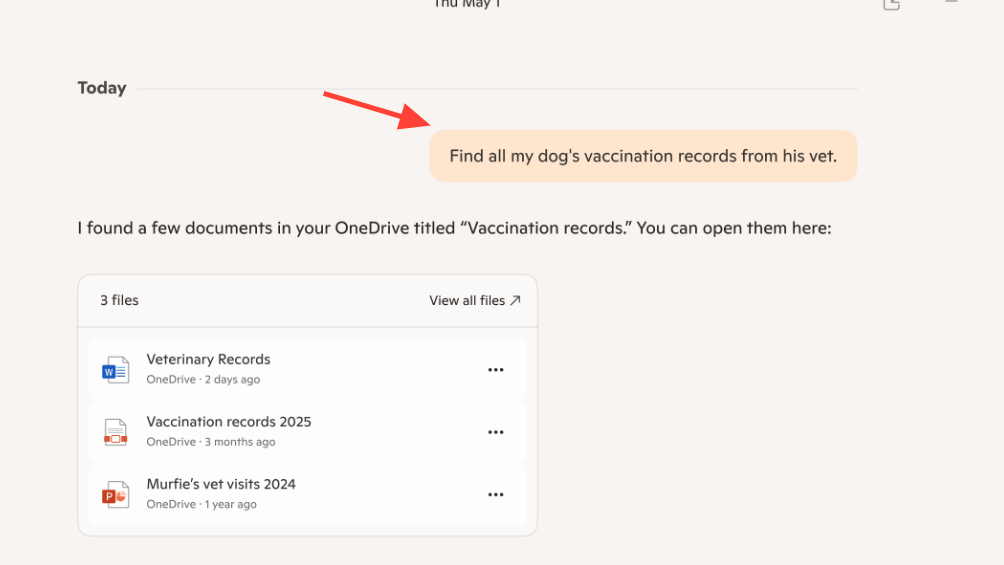
Step 2: Use clear prompts to target details. For example:
What’s the email address for Sarah?
Find my school notes from last week.
Show all invoices from Contoso in my inbox.
Step 3: Refine your request if the results are broad. Add a time window, sender, file type, or keyword to narrow down what Copilot returns.
Create and export Word, Excel, PowerPoint, and PDF from Copilot
Step 1: Draft or paste the content you want to turn into a file in a Copilot chat. This can be text for a document, a table for a spreadsheet, or an outline for slides.
Step 2: Ask Copilot to create the file you need. For example:
Export this text to a Word document.
Create an Excel file from this table.
Step 3: Use the export button on longer replies. When a response is roughly 600 characters or more, an export option appears to send the content directly to Word, PowerPoint, Excel, or PDF.
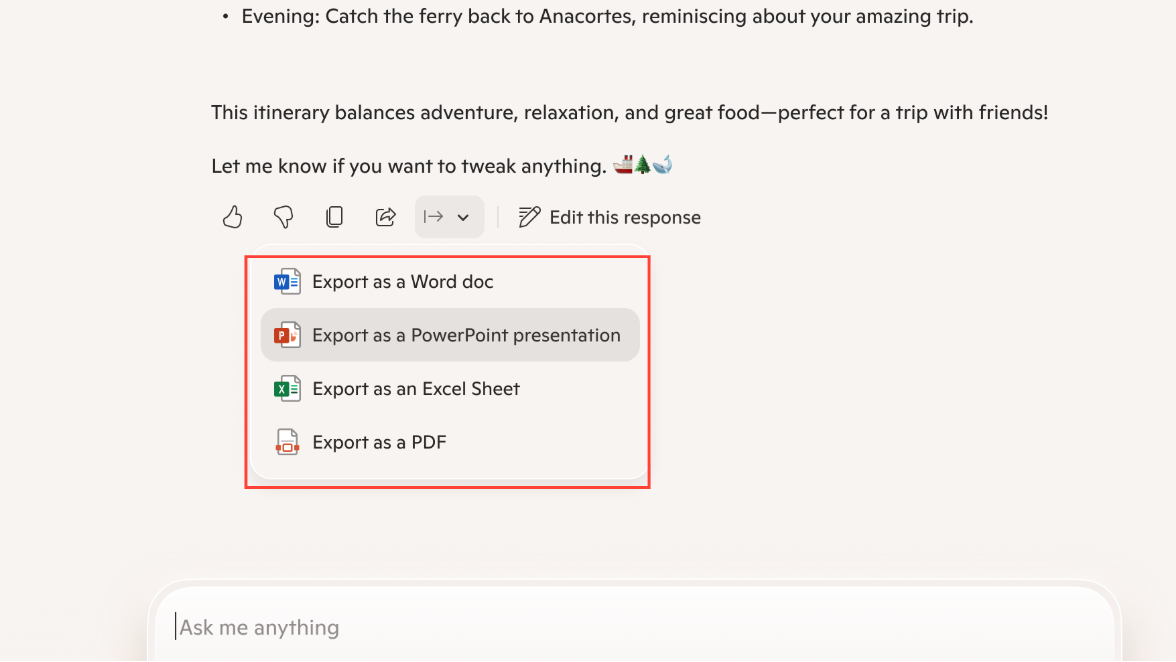
Step 4: Open and save the generated file in the target app. Review formatting and make any edits before sharing.
If Connectors don’t appear or won’t link (troubleshooting)
Update the Copilot app
Step 1: Open Microsoft Store and go to Downloads/Library. This is where app updates are queued.
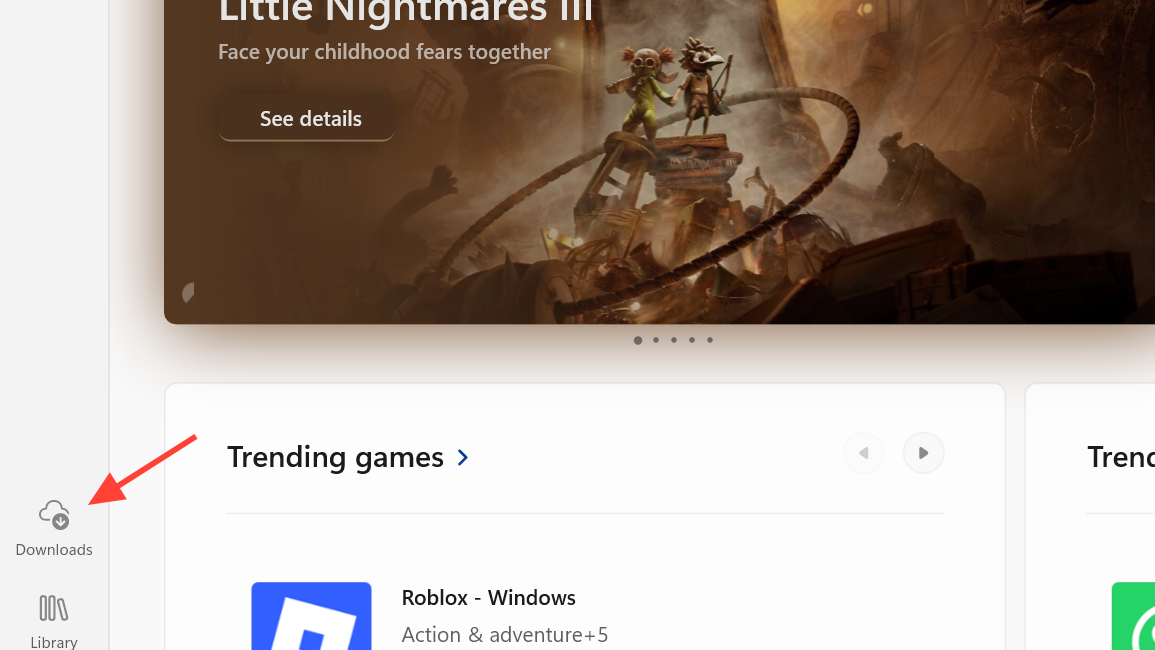
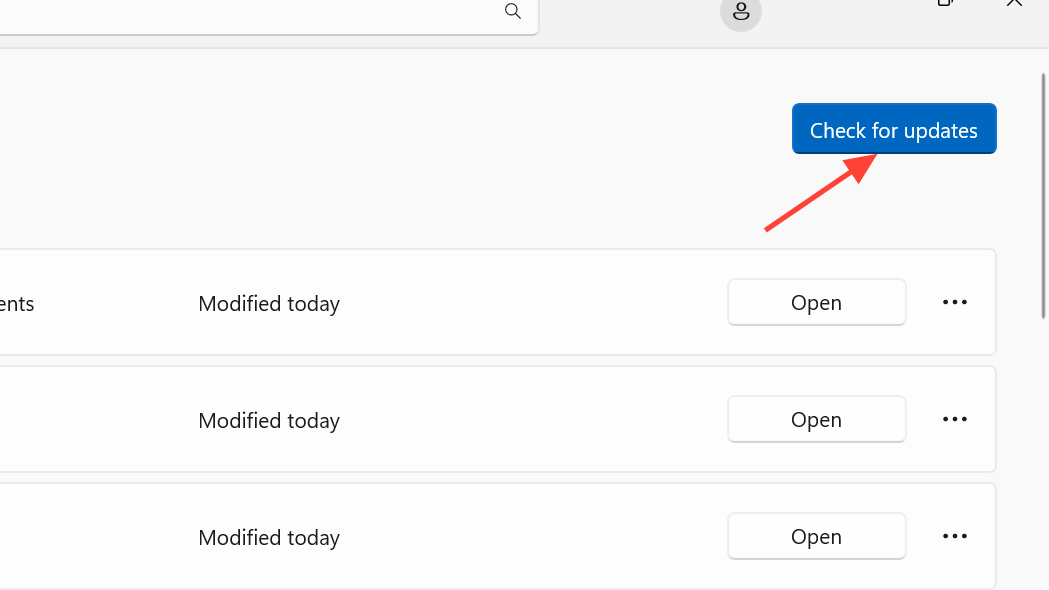
Step 2: Check for updates and install the latest Copilot app. The Connectors feature requires the current release to show in Settings.
Sign in to Copilot
Step 1: In the Copilot app, confirm you’re signed in with your Microsoft account. Some features are unavailable until you’re authenticated.

Step 2: If you need help with sign-in basics or features, see Microsoft’s support page: Getting started with Copilot on Windows.
Confirm rollout status
Step 1: If you’re not on a Windows Insider channel, Connectors may not be available yet. Rollouts happen in waves.
Step 2: If you are an Insider but still don’t see Connectors, wait for the update to reach your device as staged deployment continues.
Relink services
Step 1: In Copilot Settings, open Connectors and turn off a linked service. This removes access for that connection.
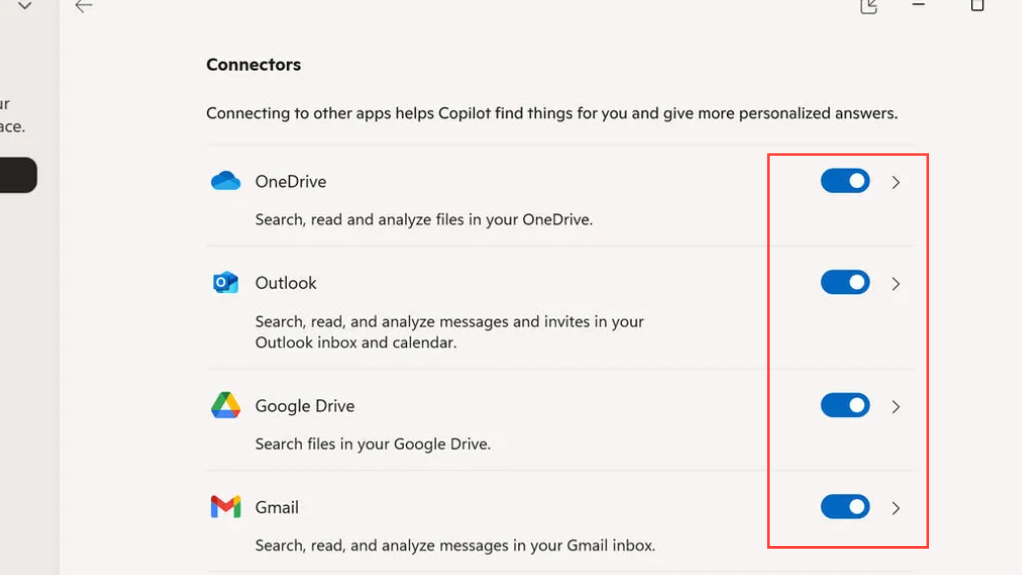
Step 2: Turn the service back on and complete the consent flow again. This refreshes the authorization and often resolves linking issues.
Manage or remove connections
Step 1: Go to Copilot Settings and open Connectors. All linked services will be listed here.
Step 2: Toggle off any service you no longer want Copilot to access. This immediately stops new searches from using that data source.
Step 3: Repeat for additional services as needed. You can re-enable them anytime and restore access with a fresh consent.
Once your accounts are linked, Copilot streamlines everyday tasks like finding messages, pulling contact details, and turning drafts into shareable files. Link only what you need, and adjust connections over time to fit your workflow.