
Running a PowerShell script as a regular Windows application is often more practical for non-technical users than asking them to open a console and type commands. PS2EXE solves this by wrapping a .ps1 script into a standard .exe that can be double-clicked like any other program.
What PS2EXE does (and what it does not do)
PS2EXE builds a .NET executable that contains your PowerShell script and starts it through the PowerShell engine when the EXE runs. It simplifies running scripts and bypasses execution policy checks, but it does not remove the need for PowerShell on the machine, and it does not securely hide your code.
Compiled EXEs created by PS2EXE can be “reverse-extracted” back to their original PowerShell code with an -extract option, so clear-text secrets in scripts remain readable. Treat EXEs created with PS2EXE as convenience wrappers, not as a security boundary.
Install PS2EXE from PowerShell Gallery
PS2EXE is distributed as a PowerShell module on PowerShell Gallery and can be installed directly from a PowerShell session.
Step 1: Open Windows PowerShell or PowerShell 7 with administrative rights. Right-click the PowerShell shortcut and choose Run as administrator so the module can be installed for your system or user as needed.

Step 2: Install the module using the built-in package command.
Install-Module ps2exe
If you are prompted about an untrusted repository, type Y and press Enter to continue. PowerShell then downloads and installs PS2EXE from the gallery.
Method 1: Convert a PowerShell script to EXE (basic usage)
Once the module is installed, a simple command compiles a .ps1 file to an .exe. This is the quickest way to turn a script into a clickable application.
Step 1: Place your script in a folder and note its name, for example Calc.ps1. Use Get-ChildItem or File Explorer to verify the file is present.
Step 2: In PowerShell, change to the folder that holds your script so you can reference it easily.
Set-Location C:\Path\To\Your\Scripts
Step 3: Run PS2EXE with your script name and the desired name of the executable. Choose a unique EXE name that does not conflict with existing Windows system binaries.
ps2exe Calc.ps1 MyCalc.exe
Step 4: Confirm that the EXE file exists. You can use Get-ChildItem in PowerShell or look in File Explorer to see the new MyCalc.exe file in the same directory.
Step 5: Test the executable. Double-click the EXE in File Explorer or run it from a command prompt to ensure it behaves exactly like the original PowerShell script.
Method 2: Create a GUI-style EXE with no console window
For scripts that display a graphical interface or that should run quietly in the background, it is often better to hide the console window. PS2EXE includes a parameter that compiles the executable as a GUI application.
Step 1: Verify that your script can run without interactive console prompts. For GUI-only tools, make sure all user interaction happens via windows, message boxes, or other graphical elements.
Step 2: Compile the script using the -noConsole parameter so that no PowerShell console window appears when the EXE runs.
ps2exe .\YourScript.ps1 .\YourScript.exe -noConsole
Step 3: Launch the resulting EXE by double‑clicking it. Check that only your GUI or background logic appears, without any extra console window flashing on the screen.
Method 3: Add icon, version, and metadata to the EXE
Windows displays attributes such as icon, description, version, and copyright in File Explorer. PS2EXE can embed these details into the compiled EXE so it looks like a regular application instead of a generic file.
Step 1: Prepare an icon file in .ico format, for example Calc.ico, and place it in the same folder as your script. This file will be used as the application icon.
Step 2: Run PS2EXE with extra parameters to embed the icon and metadata. Use values that match how you want the application to appear in properties dialogs.
ps2exe Calc.ps1 MyCalc2.exe -IconFile "Calc.ico" -Title "Poseys Calculator" -Copyright "Copyright (C) 2024, All Rights Reserved" -Version "1.0"Step 3: Open File Explorer, right-click the new EXE, and select Properties. On the Details tab, verify that the description, version, and copyright fields show the values you provided.
Step 4: In the same properties dialog, check that the icon has changed. The custom icon should appear next to the file name in Explorer and in any shortcuts created from the EXE.
Method 4: Use the PS2EXE GUI frontend (win-ps2exe)
For those who prefer not to remember command-line parameters, PS2EXE also provides a Windows GUI frontend named win-ps2exe. It exposes the same options through a form with text boxes and checkboxes.
Step 1: Open a PowerShell session where the PS2EXE module is installed. Make sure you can run the ps2exe command without errors before trying the GUI.
Step 2: Start the GUI frontend by typing the following command and pressing Enter.
win-ps2exe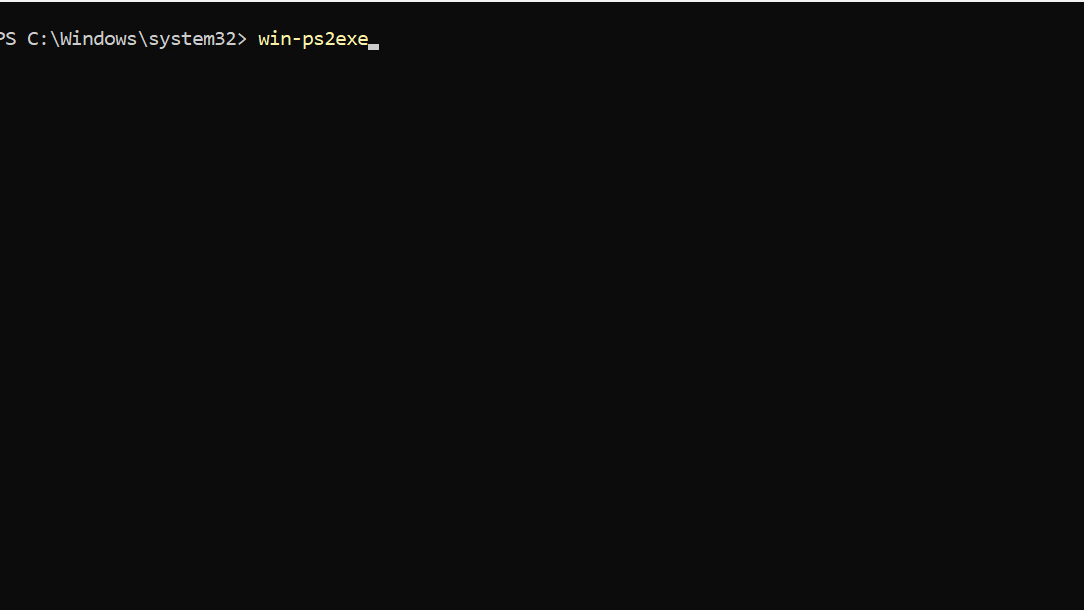
Step 3: In the window that opens, fill in the source script, target EXE path, and optional icon file using the browse buttons. These fields correspond to the same parameters used on the command line.
Step 4: Adjust additional options through the available text fields and checkboxes. You can set version information, product name, and choose whether to request administrative rights or change how the executable runs.
Step 5: Click the compile button in the GUI. When the process completes, navigate to the target path and verify that a working EXE has been created.
Reverse-extract PowerShell code from a PS2EXE executable
PS2EXE allows extracting the embedded PowerShell script back out of a compiled EXE. This is useful for debugging, but it also demonstrates why embedding secrets in scripts is unsafe.
Step 1: Move to the folder that contains the executable you compiled earlier, such as MyCalc.exe. Use a Command Prompt or PowerShell session for this step.
Step 2: Run the EXE with the -extract option and specify the name of a new PowerShell file to hold the recovered script.
MyCalc.exe -extract:CalcCode.ps1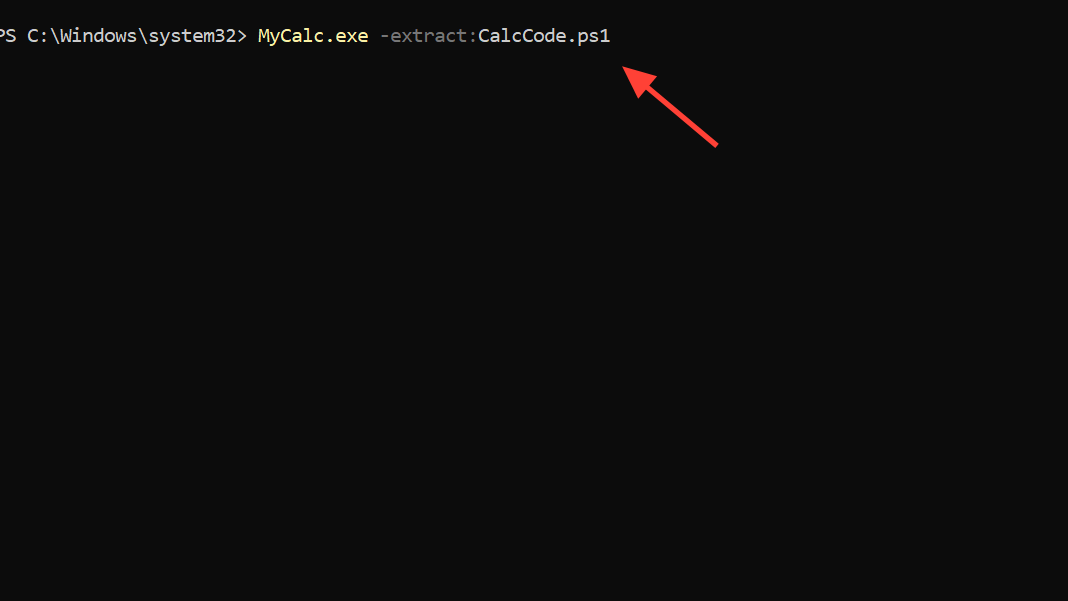
Step 3: Confirm that the new CalcCode.ps1 file exists in the folder. Open it in a text editor or use type in a console to see the script content that was stored in the EXE.
Step 4: Review any credentials or sensitive data that might appear in the extracted script. If passwords or keys are present, plan to move them to a safer storage method, such as a credential manager or secure configuration mechanis,m rather than keeping them in the script.
Security and antivirus considerations
Executables produced by PS2EXE run as regular Windows programs and can bypass PowerShell execution policy, so they need to be handled with the same level of care as any other unsigned binaries. Some antivirus engines also flag EXEs built with PS2EXE because malicious scripts have been packaged with the same tool in the past.
Step 1: Avoid embedding clear-text passwords, API keys, or other secrets inside your PowerShell scripts. Since the code can be extracted from the EXE, any secrets become visible to anyone with access to the file.
Step 2: When false positives occur, work through the reporting channels of your antivirus vendor. Submitting harmless PS2EXE-based programs as false positives helps refine their detection rules and reduces disruption.
Step 3: Distribute EXEs only from trusted locations and sign them with a code-signing certificate if your environment supports it. Code signing helps users and security tools verify that binaries come from an expected publisher.
PS2EXE offers a practical way to package PowerShell scripts as Windows executables, whether you use the command line or the GUI frontend, and a bit of planning around icons, metadata, and security makes the resulting tools much easier to ship and maintain.