
Outlaw bounties in Crimson Desert are one of the most reliable ways to earn silver and build regional Contribution during the early chapters. Bounty posters begin appearing around Hernand city once you reach Chapter 2 of the main story, and each one marks a criminal somewhere in the surrounding region. The system is straightforward in concept — find the target, tackle them, tie them up, haul them to jail — but several bounties sit in hard-to-reach corners of the map, and a few mechanical quirks can cost you half your reward if you aren't careful.
Quick answer: Pick up a bounty poster (purple scroll icon on the minimap), read it with CTRL / LB / L1 to mark the target's location, travel there, sprint-tackle the outlaw, punch them until the restrain prompt appears, tie them up, load them onto your horse, and deliver them to the jail in north Hernand city.
Unlocking the bounty system
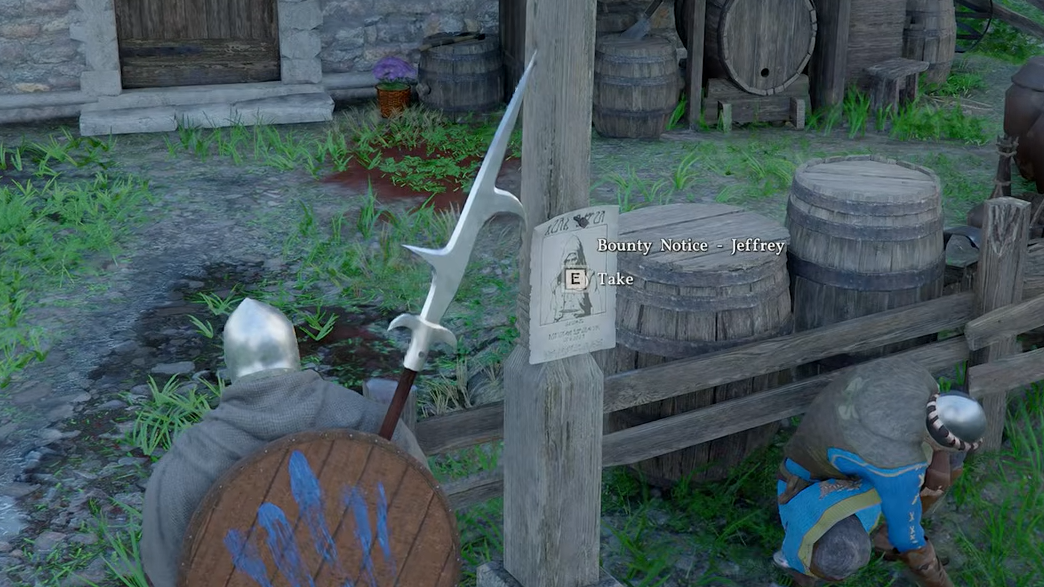
Bounty posters won't appear until you've progressed into Chapter 2. Once they do, you'll find them pinned to bulletin boards and posts throughout Hernand city, smaller settlements, and roadsides. On the minimap, they show up as purple scroll icons. A quest in North Hernand city specifically directs you to catch the first bounty, Jeffrey, and completing it rewards a Mask item — the same item you need to unlock stealing. If you'd rather skip that quest, Masks also drop from Bleed Bandits or can be purchased from the Back Alley vendor in Hernand.
Capturing a bounty target
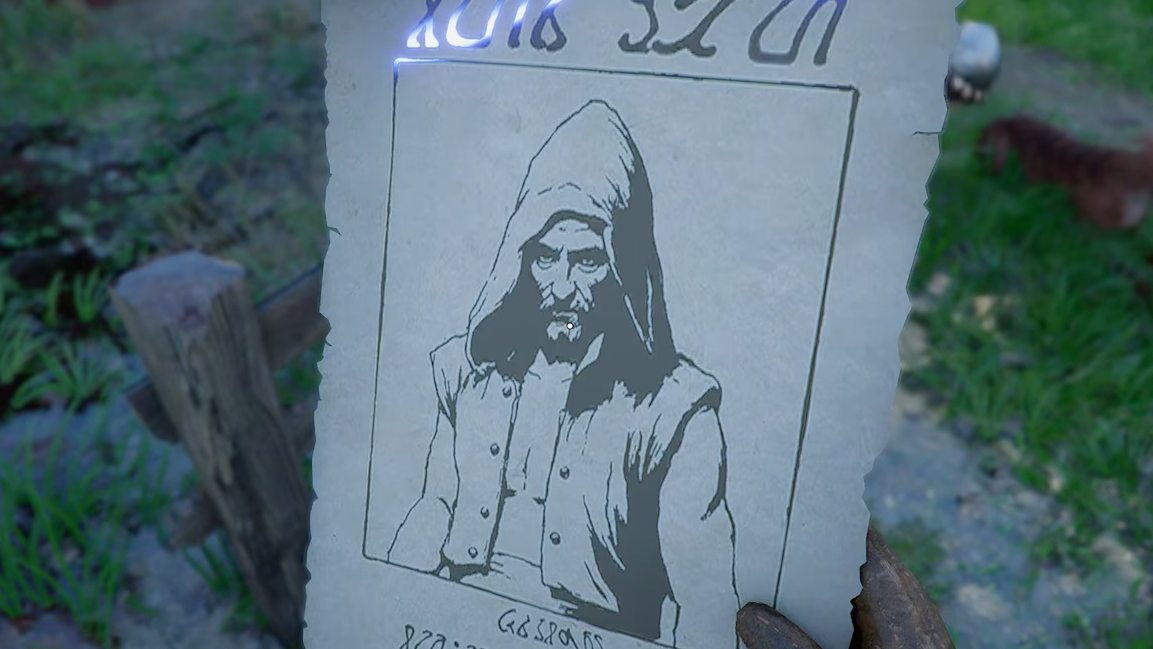
Step 1: Pick up the poster and hold CTRL (keyboard) or LB/L1 (gamepad) to read it. The notice lists the target's name, appearance, last known location, reward, and sometimes a time-of-day window when they're active. Their location is then marked on your world map.
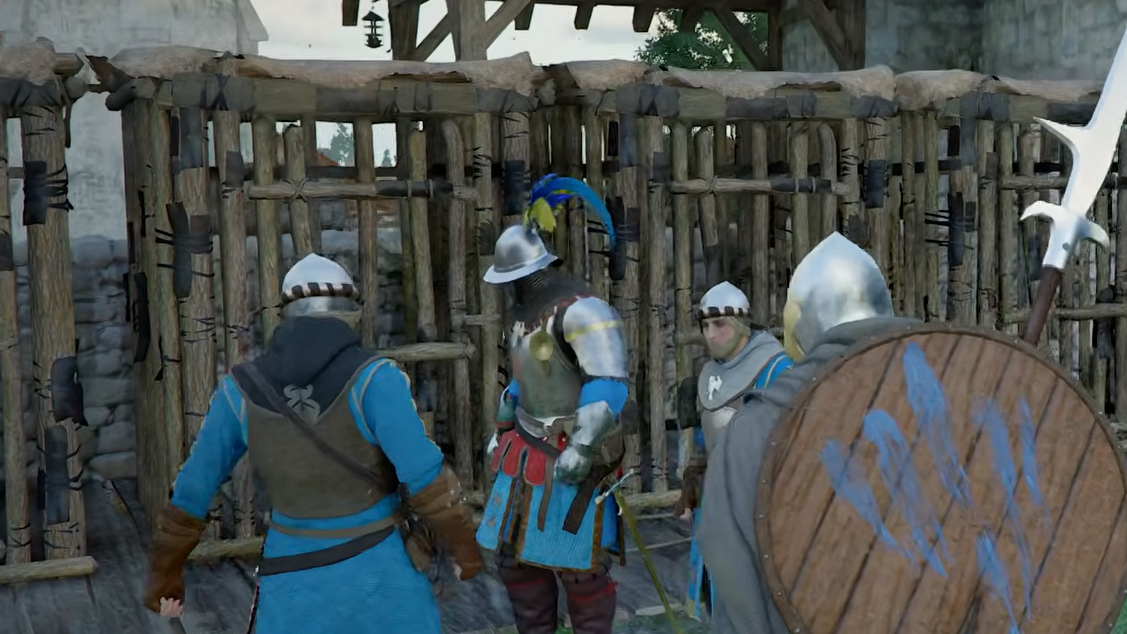
Step 2: Travel to the marked area. Some targets only appear at certain times of day, so if you don't see them, wait or advance the clock. Targets accompanied by a gang require you to deal with the other enemies first — kill or lure them away — before the bounty target will attempt to flee.
Step 3: Sprint toward the outlaw and press the tackle prompt. You cannot tackle during active combat, so make sure all nearby hostiles are dead or de-aggroed before you approach. After the tackle, punch the target a few times (roughly three hits). They'll drop a note confirming their identity, and a new prompt to restrain them will appear.
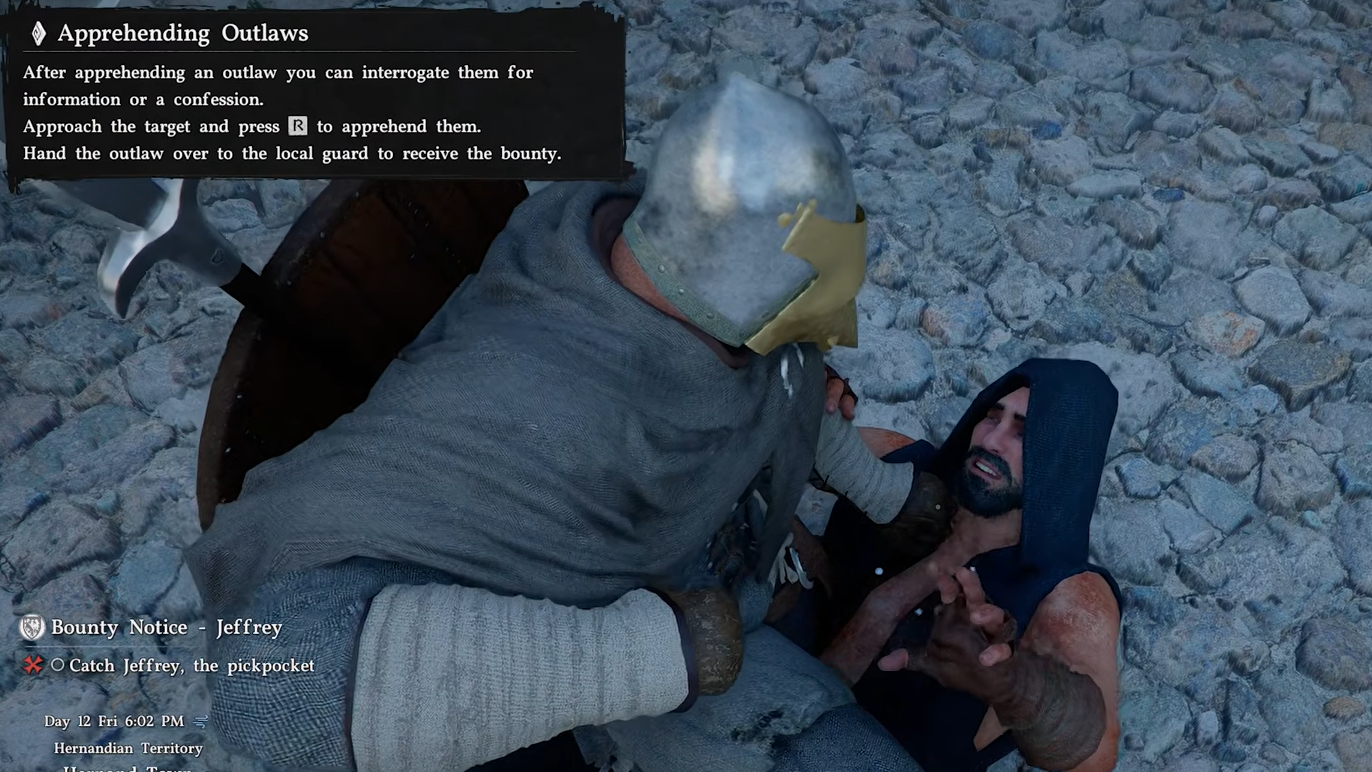
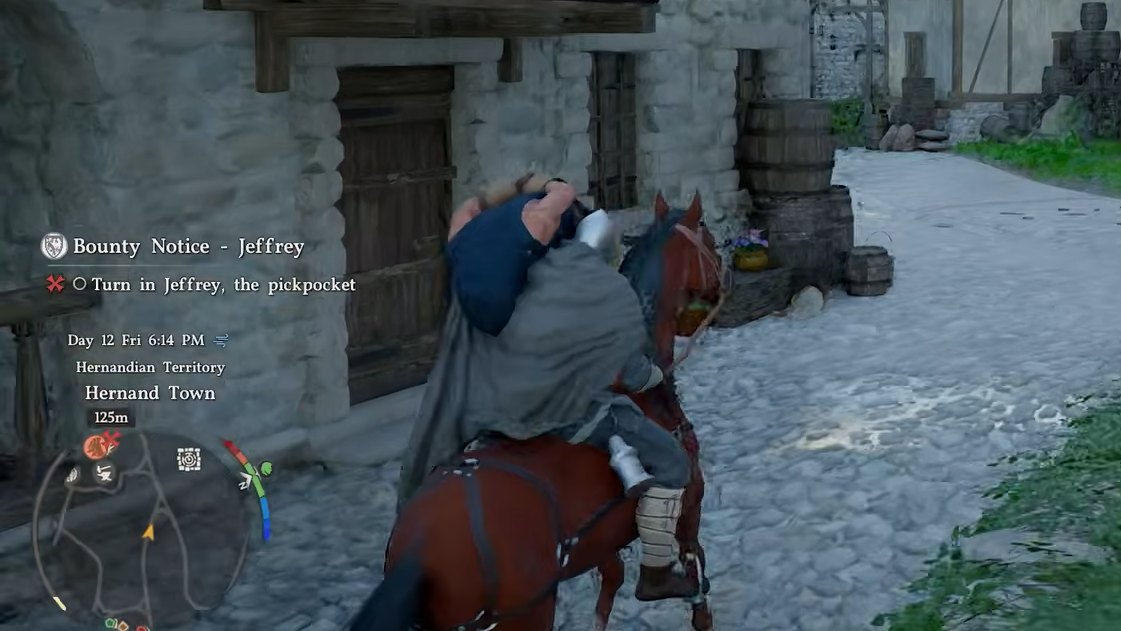
Step 4: Carry the restrained prisoner to your horse. A prompt lets you place them on the mount. Ride to the jail in north Hernand city and hand them over to the guards.
All nine Hernand bounties
The Hernand region contains nine outlaw bounties total. Eight of them have posters scattered around Hernand city from Chapter 2 onward. The ninth, Haldin, has its poster appear along the path between the Goldleaf Trading Post and Bloomwood Ranch, and only after you liberate the Vilkom Outpost. Below is every target, ordered roughly by difficulty of access.
| Name | Reward | Location and notes |
|---|---|---|
| Jeffrey | Mask + 1 silver | Wanders during the day just west of Hillside Manor in Hernand. The introductory bounty quest leads you directly to him. |
| Billy | 2 silver | Pickpocketing near Rhett's shop in Hernand. Only appears in the evening (6 PM onward). |
| Bianca | 5 silver | Inside the locked building attached to the Church of Hernand. Enter the church, go right, take the stairs down. She appeared around 4 PM. |
| Simon De Montfort | 8 silver | At a roadside beehive far southwest of Hernand. Easiest approach is from Senia in the southwest Hernand Highlands, heading west and climbing over rocks to bypass Bismuth's trail. Alternatively, wait until Chapter 4 when the Scholastone trail opens. |
| Salvatore | 12 silver | By a bridge on the west side of Sunset Valley, the southernmost settlement in Hernand. Watch for the Reed Devil's minions (or hostile scarecrows, post-story) along the trail. |
| Blix | 15 silver | Jump down the crevice west of the Goldleaf Guildhouse on Unicorn Cliff. His gang is below. Use a bow to pull the others away, kill them, then Blix will run. |
| Alessio | 20 silver | On the road near Trembling Gorge heading north into the Ironwood, east Hernand. He's with a gang by a broken wagon. Defeat them and he flees. |
| Warren | 25 silver | Just south of Pororin in far-south Hernand. You need access to Florindale before you can reach his area. |
| Haldin | 30 silver | Disguised as a Hernand soldier at the Vilkom Outpost. Liberate the outpost from Wolf Trackers first (northwest of Hills of No Return, north from Hook Rapids Hearth). The bounty poster then appears northeast of Howling Hill camp. |
Transporting prisoners without losing your reward
Getting the target restrained is only half the job. The ride back to Hernand jail can go wrong in several ways, and each one either wastes your time or cuts your payout in half.
- Avoid enemy-heavy routes. If your horse takes too much damage or bucks, both Kliff and the prisoner fall off. Steer clear of bandit camps and hostile wildlife.
- Dismount for impassable terrain. Carry the prisoner on foot through rocky sections, then summon your horse again once you reach a rideable path.
- Keep them out of water. Throwing or dropping a prisoner into a body of water will drown them. A dead target means half the bounty reward.
What happens if the target dies
If you kill the bounty target — whether intentionally, by drowning, or through excessive damage — you still receive a reward, but only half the listed silver amount. You also lose the Contribution bonus. To collect the reduced payout, you need to carry the corpse back to the jail. Sheathe your weapon and use your lantern to illuminate the body, which should reveal a "pick up" prompt (CTRL on PC, LB on gamepad). The body can then be loaded onto your horse the same way a living prisoner would be.
For targets who are surrounded by a gang, the intended approach is to eliminate the gang members first, then back off until you leave combat. Once de-aggroed, sneak close to the bounty target and sprint-tackle them before they notice you. The tackle prompt does not appear while you're in active combat, which is why rushing in and swinging at everything tends to result in an accidental kill.
Bounty rewards and Contribution
Each successful delivery earns the silver amount listed on the bounty poster plus a Contribution boost for the Hernand region. Contribution unlocks additional shop items and faction benefits in Hernand, making bounties worthwhile beyond the raw silver. Jeffrey's bounty is unique in also awarding a Mask, which is otherwise only available from bandit drops or the Back Alley vendor.
Completing all nine Hernand bounties nets a combined total of 118 silver (plus the Mask), assuming every target is delivered alive. That's a meaningful sum in the early game, especially if you're saving up for the Hernand bank's gold bar investment at 500 silver.
Bounty hunting in Crimson Desert rewards patience over brute force. Rushing a gang-protected target almost always ends with a dead outlaw and a halved payout. Take the time to clear surrounding enemies, wait for the right time of day, and plan a safe horseback route back to Hernand — your silver pouch will thank you.