
The Greymane Camp in Crimson Desert operates its own economy, completely separate from Kliff's personal inventory and currency. Camp provisions are the fuel that keeps your Freesword comrades fed, armed, and ready to embark on Dispatch Missions. Every item you hand over to the camp NPC Carl gets converted into one of five resource categories, and those resources are spent whenever you send teams out into the world. Let provisions run dry, and your camp grinds to a halt.
Quick answer: Speak to Carl at Howling Hill Camp, select Camp Provisions, and donate items or money. Each donated item converts into one of five camp currencies — Equipment, Ore, Lumber, Food, or Coin — which are then spent on Dispatch Missions initiated through Ross.
When Camp Provisions Unlock
You cannot access the provisions system right away. After completing Chapter 2 and defeating the Hornsplitter boss, Chapter 3 begins with Kliff reuniting with Marius, who leads you to the Marquis of House Serkis. The Marquis grants you a plot of land on Howling Hill, south of Hernand Town, where you establish the Greymane Camp through the quests "First Step to Rebuilding" and "A Fresh Start."
Two Greymanes — Ross and Carl — will already be at the camp when you arrive. Carl handles provisions, but his Support Camp Resources feature doesn't fully open until you've progressed further through Chapter 3 and encountered the Reed Devil. After that encounter, donating to Carl becomes available, and shortly after — once you complete "Rumors from the Sawmill" and read Shakatu's letter at the camp shrine — Camp Missions unlock as well, giving your donations an immediate purpose.
How to Donate Camp Provisions
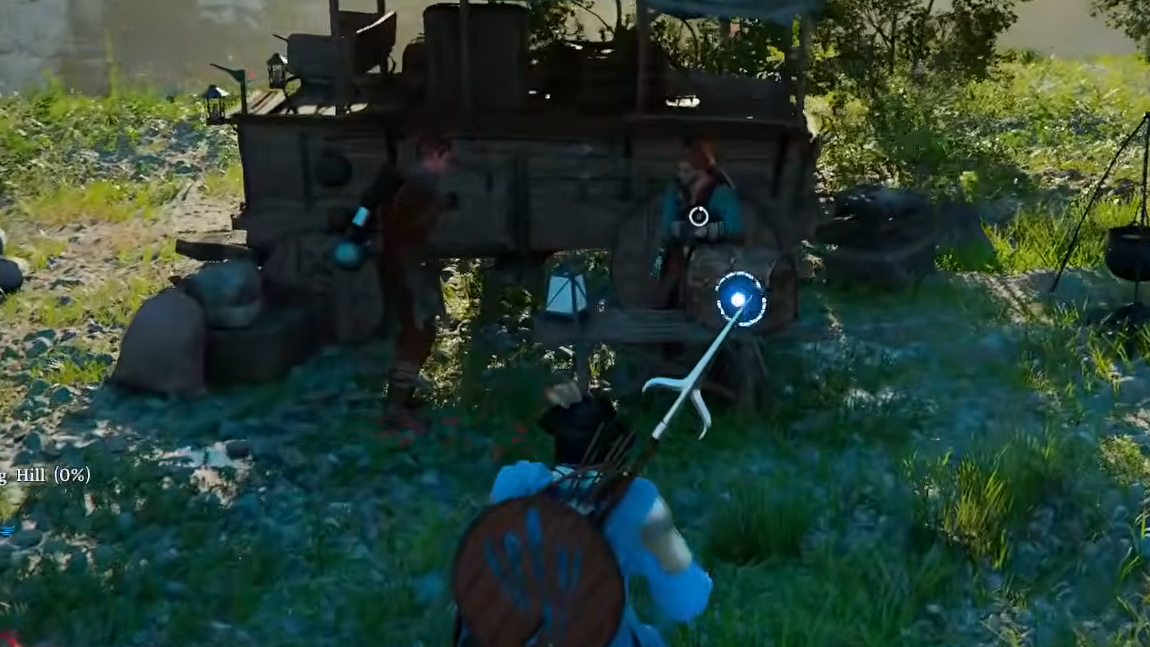
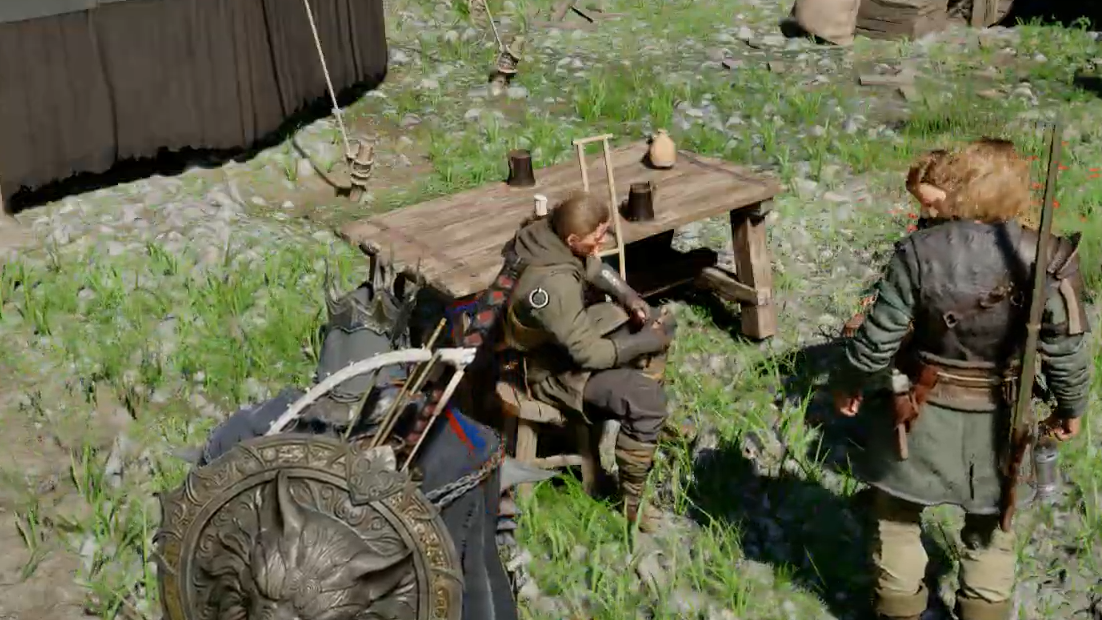
Step 1: Travel to Howling Hill Camp and find Carl. He's stationed near the main camp area.
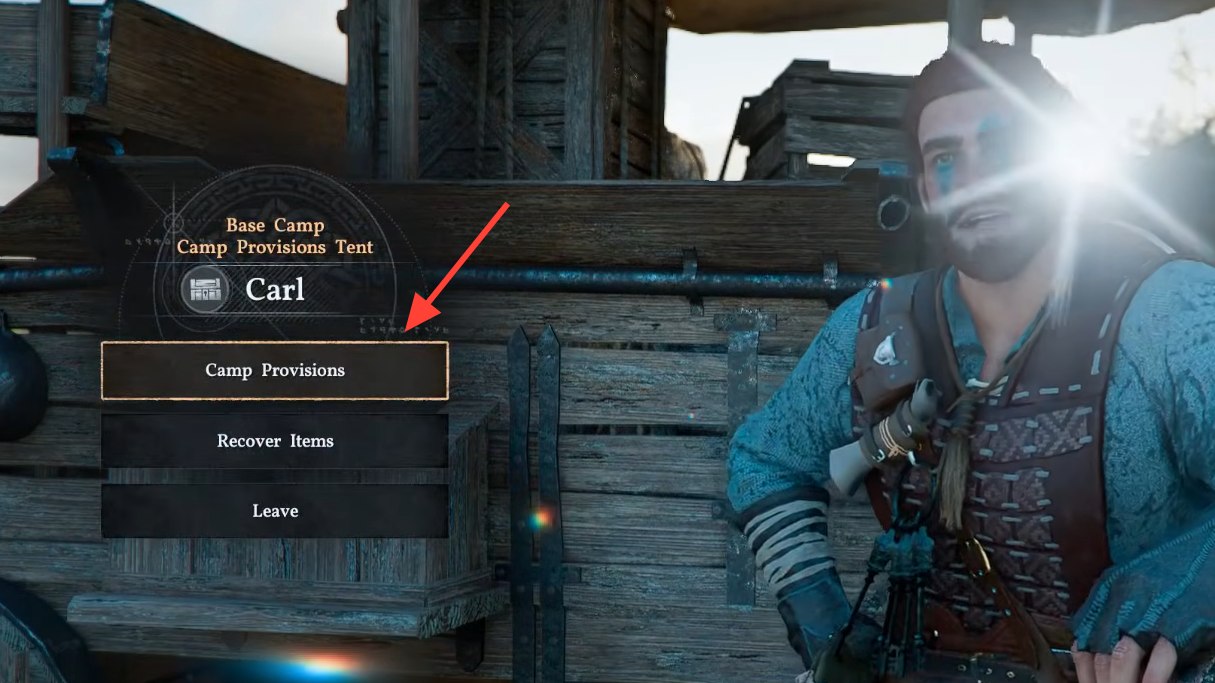
Step 2: Interact with Carl and select the "Camp Provisions" option from his menu.
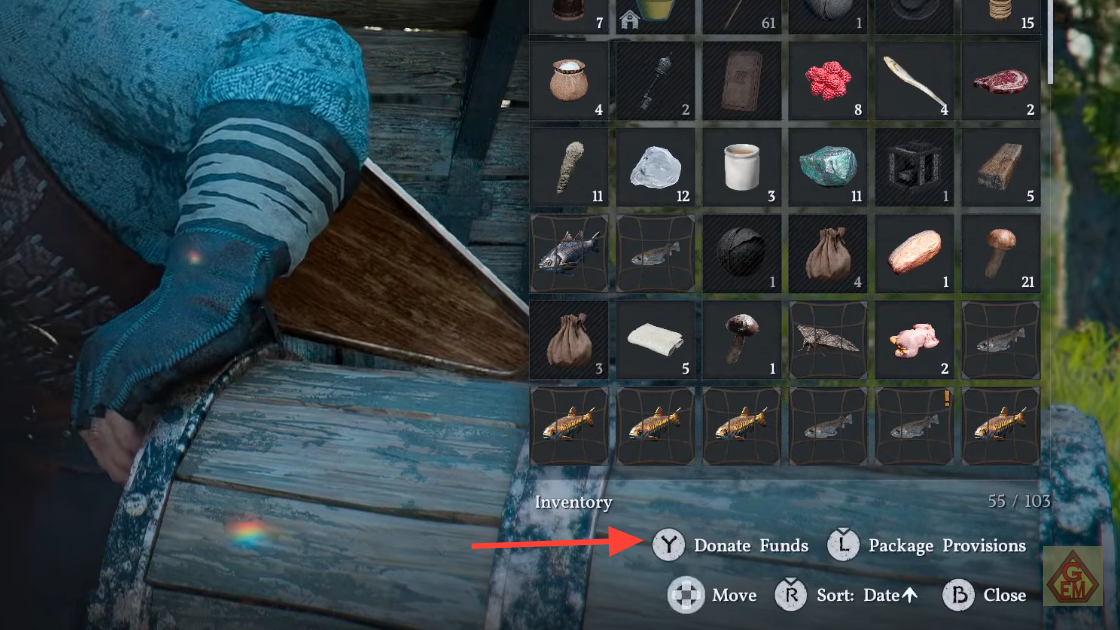
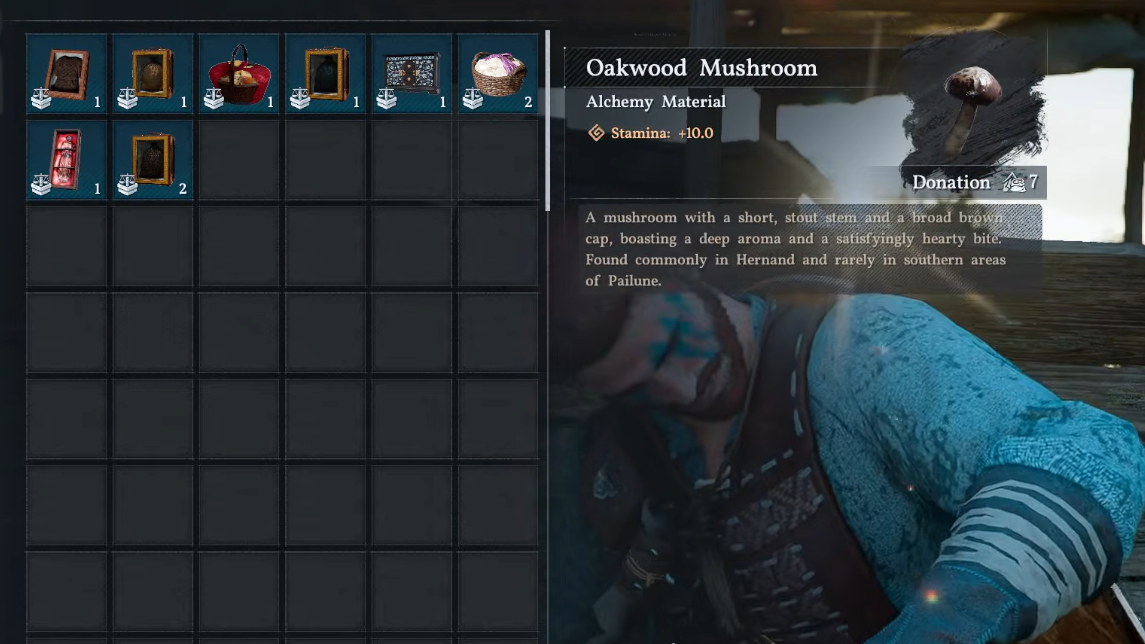
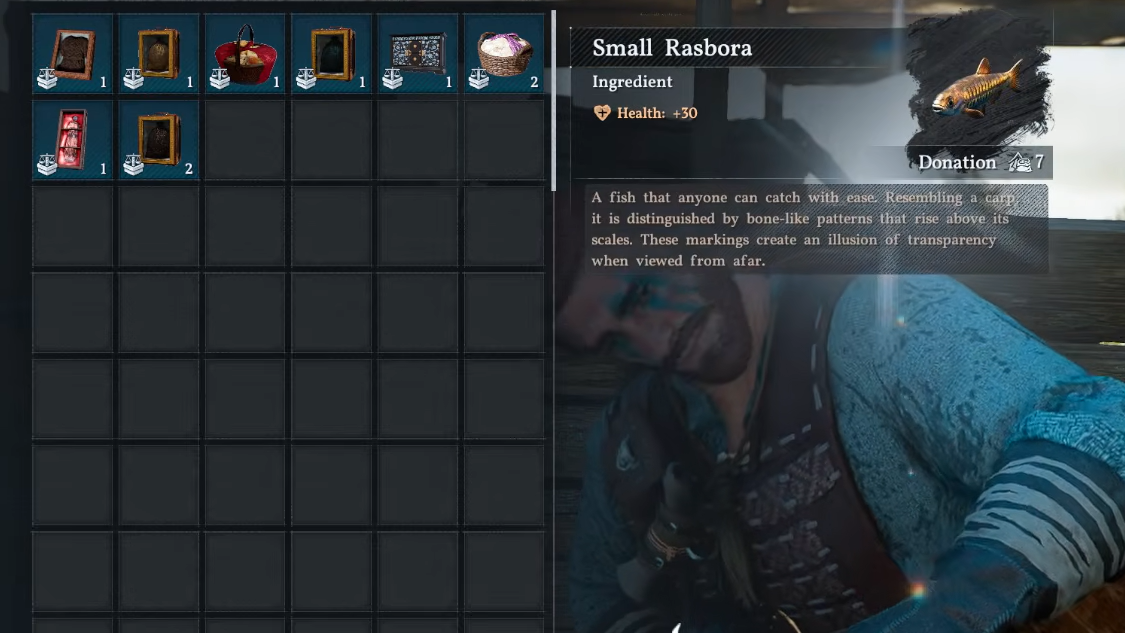
Step 3: Browse your inventory for donatable items. Every eligible item displays a small donation icon. Tap or click each item you want to contribute.
Step 4: To donate currency instead, select "Donate Funds" and enter the amount of Copper or Silver you want to give.
Step 5: Hit Confirm. The items leave your inventory permanently and are converted into camp resource points.
All Five Provision Categories
Every item you donate is sorted into one of five camp resource types. Different Dispatch Missions draw from different categories, so you need a balanced stockpile rather than dumping everything into a single bucket.
| Camp Resource | What You Donate | Notes |
|---|---|---|
| Equipment | Armor, clothing, weapons, rings, necklaces | Required for Location Recapture, Engineering, and Ruins Dispatch missions. Often the hardest category to fill in bulk. |
| Ore | Stone, fine rocks, ore, minerals | Used for Construction and Engineering missions. Hold onto refined ore you still need for personal crafting. |
| Lumber | Timber, fine timber | Feeds Construction and Engineering missions. Logging Dispatch Missions can replenish this passively. |
| Food | Cooked meals, raw ingredients, alchemy crafting ingredients | The most universally required resource — nearly every mission type costs Food. Donate surplus recipes and ingredients freely. |
| Coin | Copper, Silver, jewelry | Needed for almost every mission. Jewelry counts toward Coin, not Equipment. |
Items marked with a scales icon are trade goods. These go into a separate trade window and require a packaging fee (paid from your camp's Coin reserves) before they can be loaded onto wagons. Trading unlocks later in the story, so don't worry about trade goods early on.
How Dispatch Missions Consume and Generate Provisions
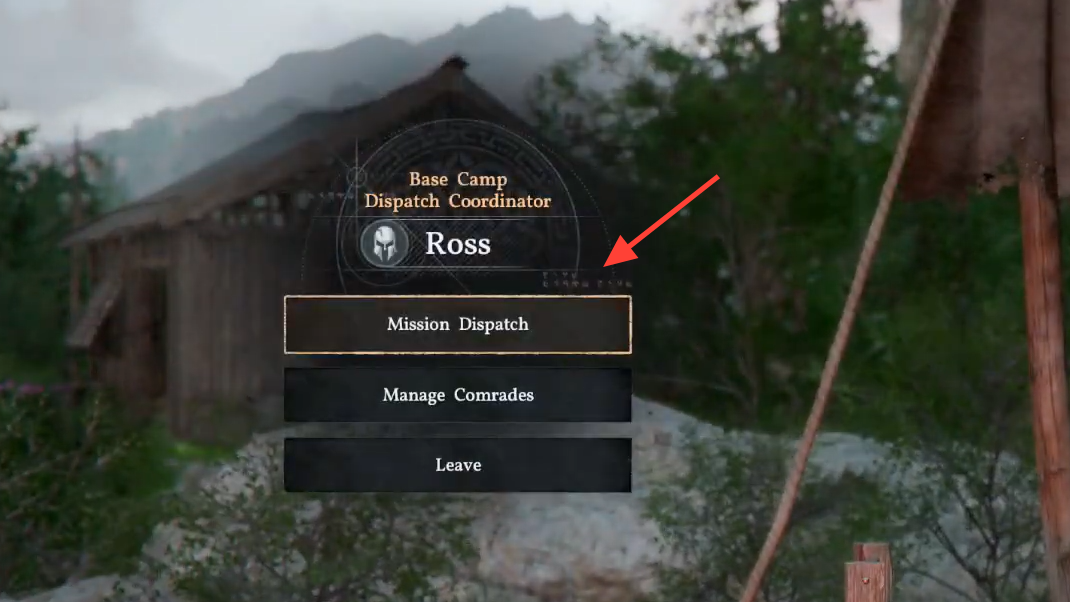
Dispatch Missions are the primary reason provisions exist. You initiate them through Ross at the camp or via the Faction tab on the world map. Each mission type has its own resource costs and rewards, creating a loop where spending one category earns you another.
| Mission Type | Costs | Rewards |
|---|---|---|
| Construction | Ore, Lumber, Food, Coin | Camp XP (levels up your camp) |
| Location Recapture | Equipment, Food, Coin | Lowered enemy combat power |
| Security | Food | Coin |
| Food Harvest | Coin | Food (fruit, vegetables, grains) |
| Ranching | Coin | Food (eggs, milk, beef, honey) |
| Mining | Food, Coin | Ore |
| Logging | Food, Coin | Lumber |
| Alchemy Production | Coin | Food (wine), alchemy supplies |
| Engineering Production | Equipment, Ore, Lumber, Food, Coin | Special item productions |
| Fishing | Coin | Food (fish) |
| Ruins Dispatch | Equipment, Food, Coin | Special materials |
Most missions repeat automatically until you cancel them. This is a double-edged sword. A Security mission that earns Coin will keep burning through your Food stockpile every cycle. If you aren't watching, you can drain an entire category overnight. The safest approach is to run complementary missions simultaneously — pair a Security mission (costs Food, earns Coin) with a Food Harvest mission (costs Coin, earns Food) so each one feeds the other.
Fastest Ways to Increase Camp Provisions
Straight donations from your personal loot are the most direct method, but they can feel painfully slow — especially for the Equipment category, where individual pieces of armor or weaponry contribute relatively few points each. Here are the most efficient strategies to build up provisions quickly.
Raid Enemy Bases With a Pet
Large enemy encampments drop enormous amounts of lootable gear, weapons, hides, and food. Bring a pet along (a dog works well) to auto-collect items while you fight. Clear your inventory beforehand so you have maximum carrying capacity, then donate everything you picked up in one trip to Carl. This is the single fastest way to spike your Equipment and Food reserves in a short play session.
Shield-Swipe Enemies for Extra Gear
Equip a shield, hold block, and wait for an enemy to strike. The moment their attack bounces off, press heavy attack (R2 on PlayStation). This shield swipe knocks weapons or shields out of enemies' hands, turning them into lootable items on the ground. Against large groups of soldiers, you can strip entire squads of their gear before finishing the fight, netting a significant haul of Equipment-category donations.
Run Self-Sustaining Dispatch Loops
Once you have enough recruited comrades, set up mission chains that feed each other. A Mining mission returns Ore while costing Food and Coin. A Security mission returns Coin while costing Food. A Food Harvest mission returns Food while costing Coin. With three or four teams running simultaneously, your camp generates resources passively while you explore the open world. The key is recruiting enough Freeswords — talk to Marius regularly to unlock side quests that bring new comrades to your camp.
Match Comrade Skills to Missions
Every comrade has skill tiers (Novice, Skilled, Expert) in areas like farming, mining, logging, and escort work. Assigning comrades whose skills match a mission's requirements pushes toward a 100% bonus, which improves the mission's output. Don't just fill slots with warm bodies — balance your team composition to hit the highest bonus tier possible. A well-matched squad of three can outproduce a mismatched squad of five.
Stop Selling, Start Donating
Once you're past the early game and have a comfortable personal silver reserve, there's little reason to sell loot to town merchants. Redirect everything — weapons, timber, food, packed goods — straight to Carl. The camp economy and your personal wallet are completely separate systems, so hoarding silver in the bank does nothing for your Dispatch Missions.
Why Provisions Matter for Endgame
Camp provisions aren't just a mid-game convenience. Rare materials required for upgrading top-tier gear can only be obtained through specific high-level Dispatch Missions, particularly Ruins Dispatch and Engineering Production missions. These missions demand heavy Equipment, Food, and Coin reserves. Players who neglect their camp economy early will hit a wall when endgame world bosses require upgraded gear that can't be crafted without those dispatch-exclusive materials. Starting the provision cycle early — even when the rewards seem modest — pays off significantly in the later chapters.
As your camp ranks up through Construction missions, donated resources also begin appearing physically around the camp as food, weapons, and supplies that you can pick up and add back to your personal inventory. It's a small perk, but it means the donation system eventually gives a little back to Kliff directly, not just to the Freeswords.