
The Shackles of Fate quest in Crimson Desert's Chapter 9 tasks you with freeing the guardian deity of Urdavah — a dragon impaled by three spears — by physically mounting it mid-flight and ripping the spears out. The whole sequence is split into three distinct phases: catching the dragon, surviving on its back, and using Focused Force Palm to purify the taint. Each phase has its own controls and failure points, and the game does a poor job of explaining them clearly.
Quick answer: Jump from the bridge at the Great Gate of Urdavah, use Axiom Force (hold TAB on PC / L3 on controller) to tether to the dragon, mount it, hold Resist (Q / L2 / LT) through two barrel-roll sequences for roughly two minutes, then activate Focused Force Palm (X → middle mouse on PC / L3+R3 → hold R3 on controller) and release when the golden orb appears.

Preparation Before Attempting the Dragon
Before heading to the bridge, make sure you have a few things sorted. Stamina is the main resource that determines whether you stay on the dragon or get thrown off mid-flight. Having at least Level 5 Stamina gives you a comfortable buffer, especially since the Tashkalp heat mechanic passively drains it. Stock up on stamina-restoring consumables like Mushroom Tea or wine — you can buy or craft these beforehand. You should also have the Aerial Maneuver skill unlocked under the red Axiom Force skill tree, which lets you close distance instantly after tethering to the dragon.
| Requirement | Why It Matters |
|---|---|
| Stamina Level 5+ | Prevents you from running out while resisting the dragon's throws |
| Stamina regen food (Mushroom Tea, wine) | Tops off stamina during the ride if it gets low |
| Aerial Maneuver (Axiom Force red skill) | Lets you leap onto the dragon after tethering with Axiom Force |
Reaching the Dragon at the Great Gate of Urdavah
Step 1: Travel to the quest marker on the bridge at the Great Gate of Urdavah. The fastest route is using the fast travel point atop Urdavah Mountain from the previous quest.
Step 2: When you arrive near the bridge, a "Wait" prompt appears in the bottom-right corner. Hold the Options button (PlayStation), ESC (PC), or Start (Xbox) to trigger the wait. A brief tutorial will explain the controls, and the dragon spawns in the distance. If you fail to catch it, you can use the Wait prompt again as many times as needed — there is no penalty for retrying.
Mounting the Dragon Mid-Flight
This is the part that frustrates most players. There are actually two viable jump spots and two different techniques for landing on the dragon.
Method 1 — Axiom Force tether from the bridge
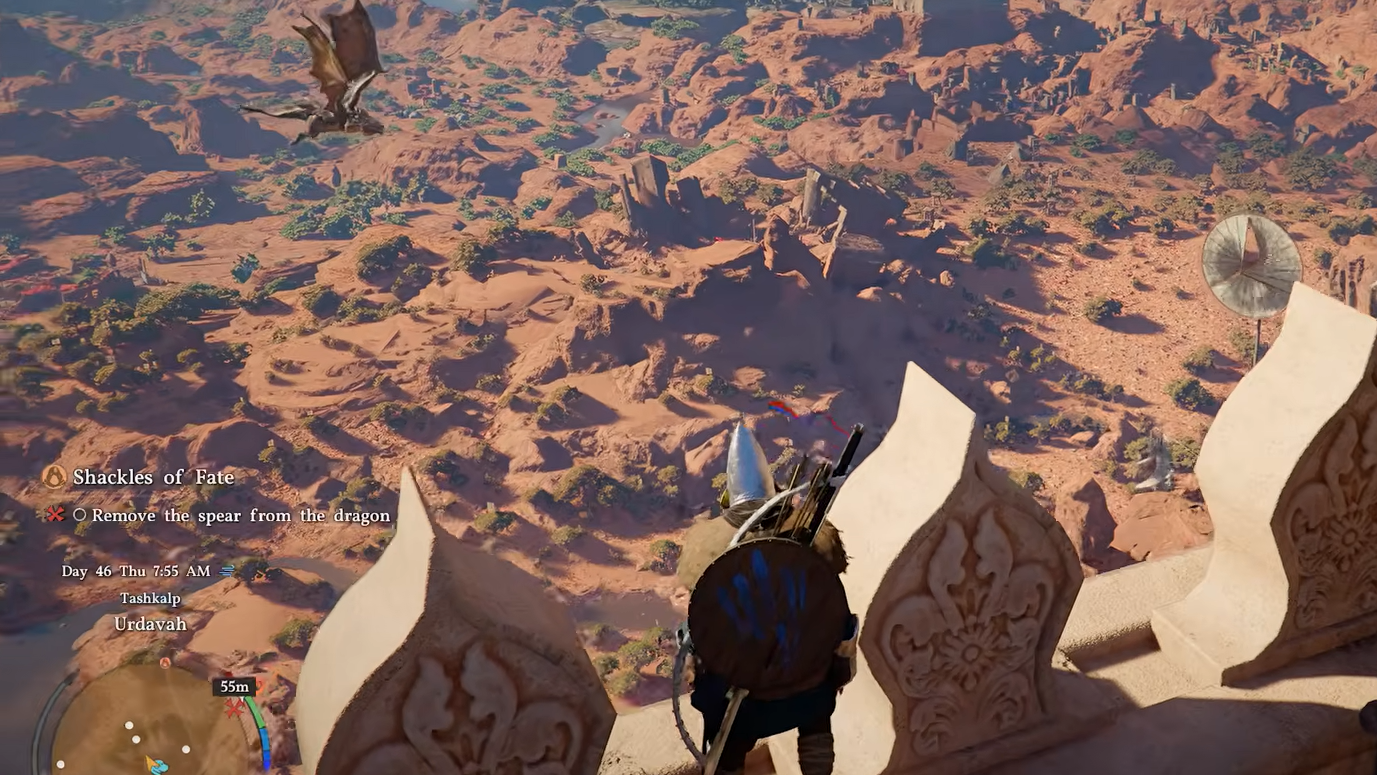
Step 1: Stand on top of the bridge and face north. You'll see the dragon circling and eventually flying toward you.
Step 2: As the dragon passes close to the bridge, jump off and immediately activate your wings by pressing Square (PlayStation), X (Xbox), or Spacebar (PC) to glide.
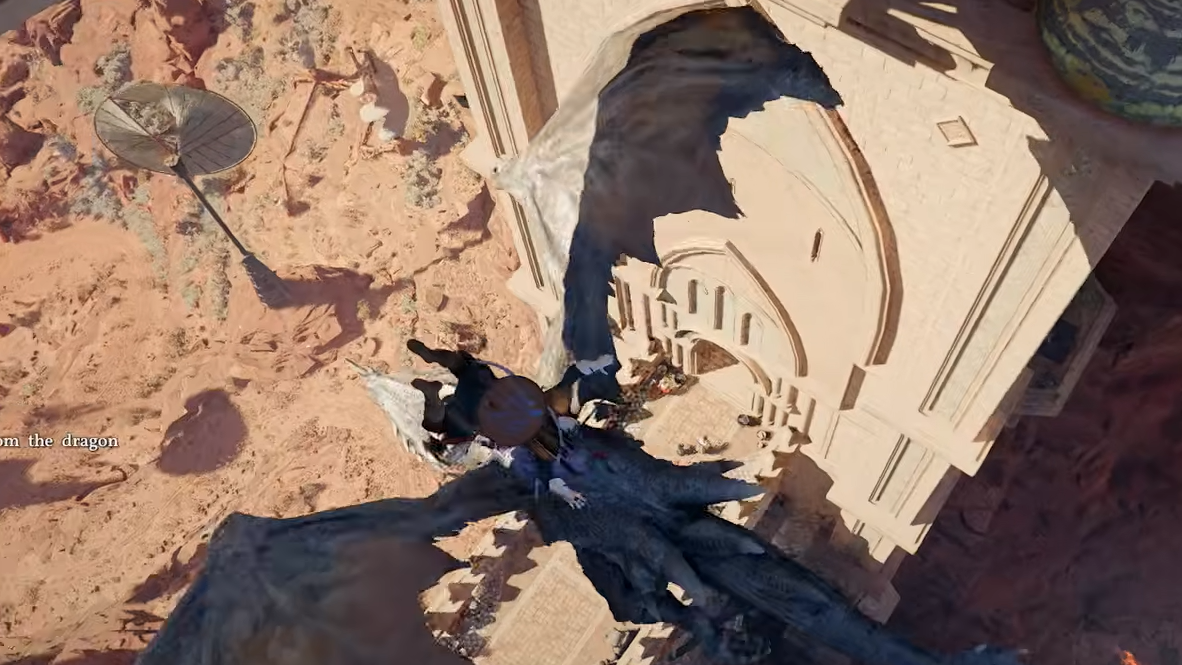
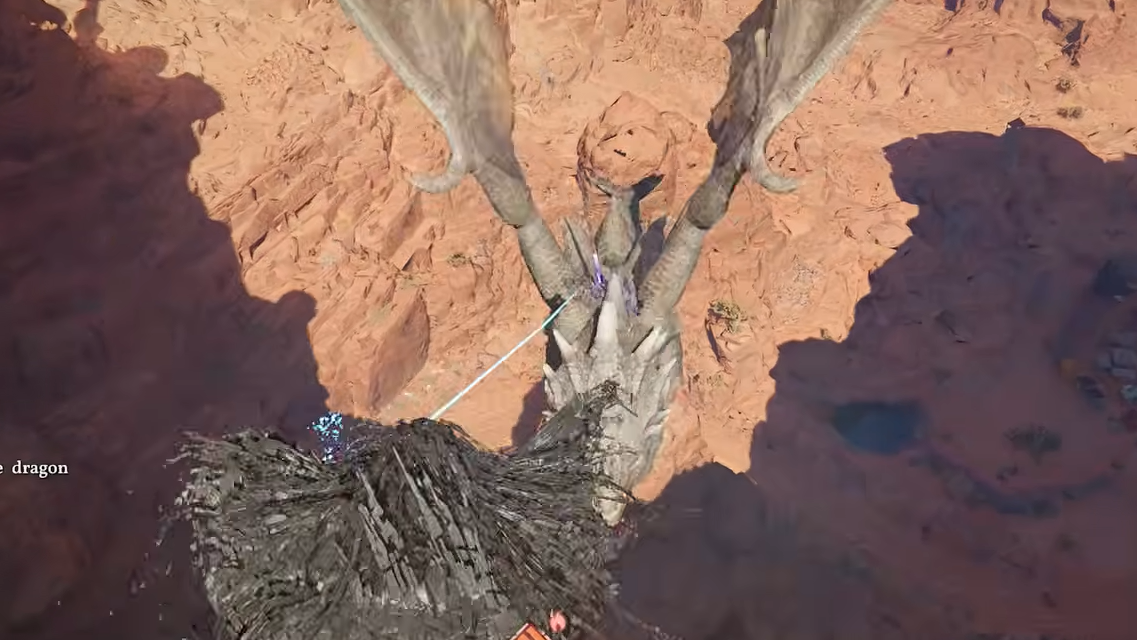
Step 3: While gliding, hold TAB on PC or L3 on a controller to activate Axiom Force. Time slows down, and you'll see a blue targeting zone. Aim directly at the dragon's body — Axiom Force has a range of only a few meters, so you need to be close. When the blue tether line connects, immediately press Square / X / Spacebar to perform the Aerial Maneuver and mount the dragon. The tether line briefly glows red when you've done it correctly.
Method 2 — Mountain ledge (alternative, often easier)
There is a second jump spot on the mountainside above the bridge where several NPCs are actively shooting at the dragon. Stand on the edge of this cliff and wait for the dragon to fly close. Jump off — but do not activate your flight wings. Instead, immediately hold TAB / L3 to trigger Axiom Force, which slows time and lets you aim the tether with more precision. Once the tether sticks, press Space / Square / X to use Aerial Maneuver and pull yourself onto the dragon's back.
Method 3 — Direct collision (backup approach)
If Axiom Force consistently fails to connect, you can try a brute-force approach. Jump from the bridge, activate your wings, and fly directly into the dragon's body — aim for its head or upper back. Physically colliding with it can automatically trigger the mount animation without needing a successful Axiom Force tether at all.
Holding On Atop the Thrashing Dragon's Back
Once mounted, the objective updates to "Hold on atop the thrashing dragon's back." You need to survive on the dragon for roughly two minutes while it tries to shake you off with barrel rolls, steep climbs, and sudden dives.
Step 1: Whenever the dragon begins a violent maneuver, hold Q (PC), L2 (PlayStation), or LT (Xbox) to activate the Resist ability. This is the only thing keeping you attached during these sequences.
Step 2: Do not hold Resist the entire time. It continuously drains stamina, and you'll run out before the phase ends. Only activate it when the dragon actually starts thrashing — you'll feel the camera shake and see the movement change. The dragon attempts to throw you off twice during this phase.
Step 3: If your stamina dips dangerously low between throws, consume your stamina food to top it back up. This is the safety net that prevents a wasted attempt.
Using Focused Force Palm to Remove the Spears
After surviving the two throw attempts, a tutorial prompt appears on screen telling you to "Focus the mind and purify the taint within using Focused Force Palm." This is the final step.
Step 1: Release the Resist ability if you're still holding it. Immediately activate Focus by pressing X on PC or L3+R3 simultaneously on a controller. The screen takes on a blue tint, indicating you're in Focus mode.
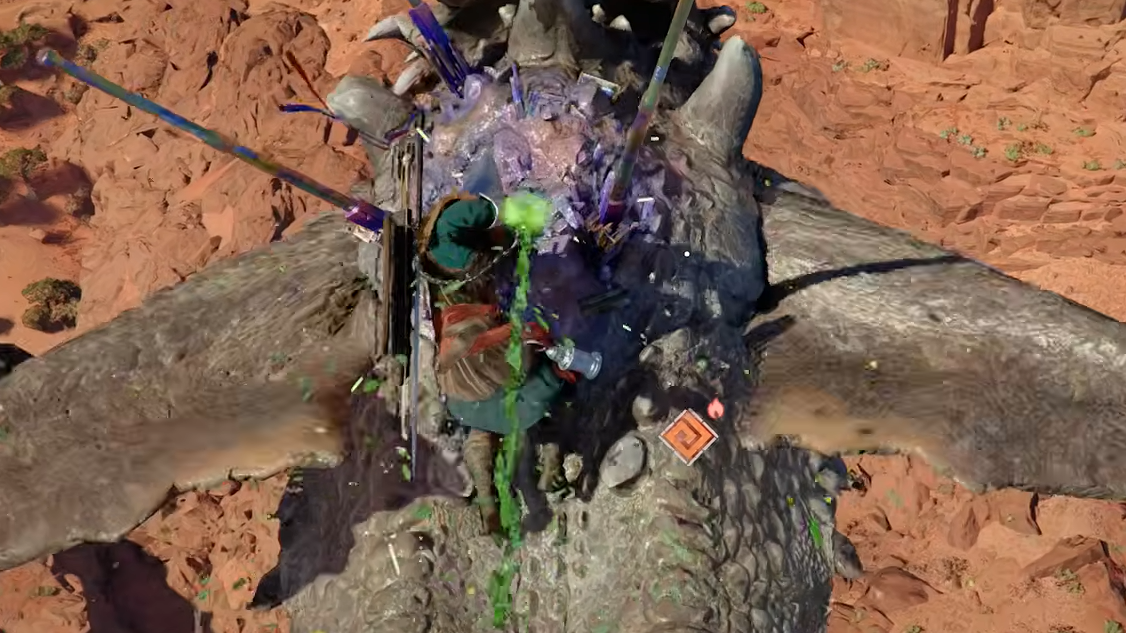
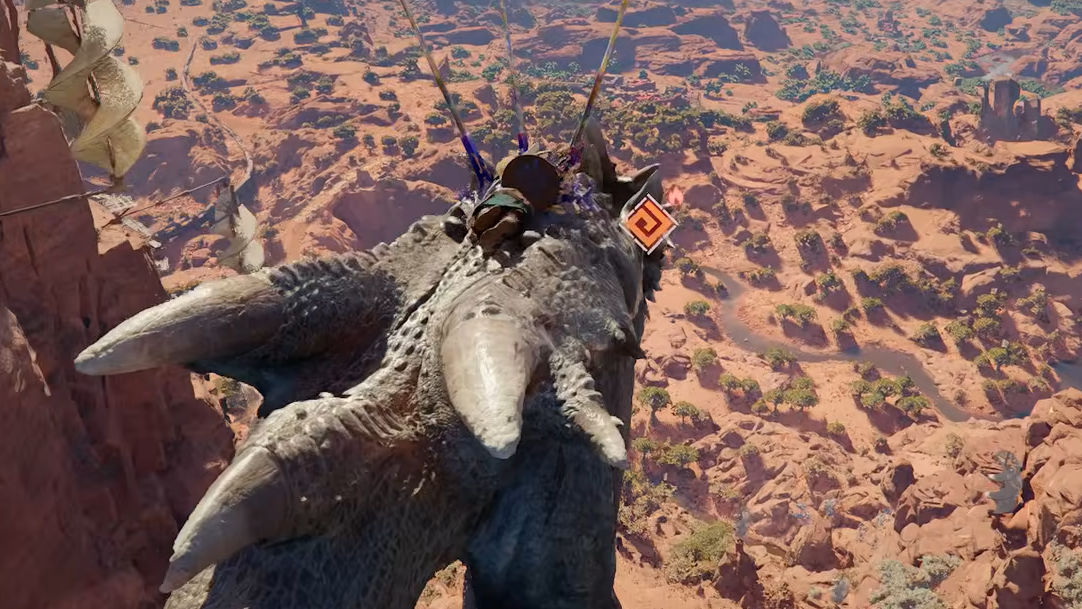
Step 2: While in Focus, activate Focused Force Palm by holding the middle mouse button on PC or holding R3 on a controller. You'll see a faint yellow outline begin to form on the dragon's back, centered on a golden glowing dot.
Step 3: Keep holding the button. The faint yellow light gradually intensifies. When it shines a bright, solid gold, release the button. This purifies the taint and removes all three spears from the dragon simultaneously.
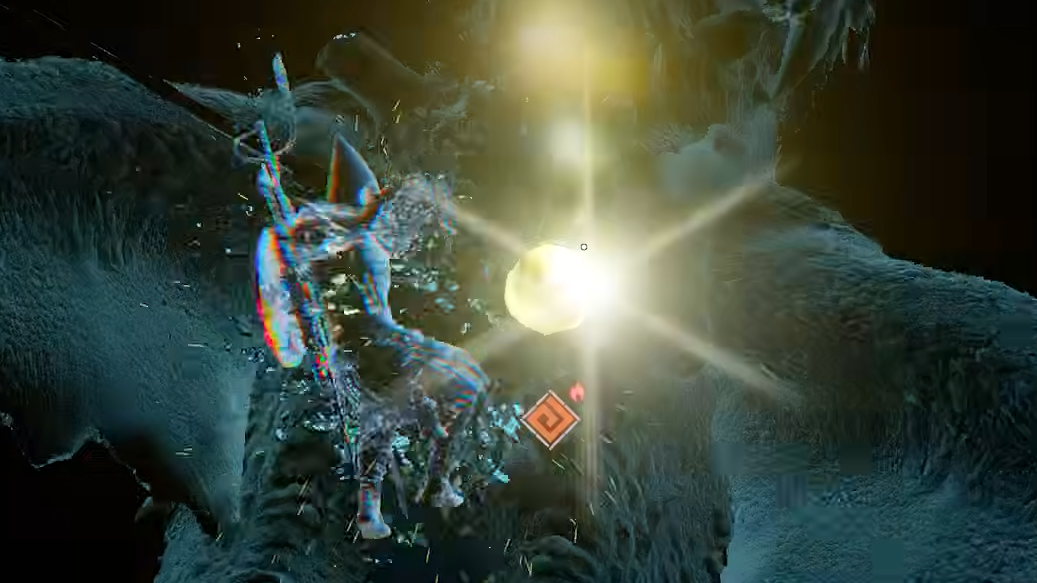
A cutscene plays immediately after the successful release and the Shackles of Fate quest completes.
Common Failure Points and How to Avoid Them
| Problem | Cause | Fix |
|---|---|---|
| Axiom Force tether breaks instantly | Too far from the dragon when activated | Glide closer before holding TAB / L3; the range is only a few meters |
| Falling off during barrel rolls | Not holding Resist, or stamina ran out | Only hold Resist during active throw attempts; eat stamina food between them |
| Focused Force Palm doesn't trigger | Still holding Resist when trying to enter Focus | Release Q / L2 / LT first, then press X / L3+R3 |
| Spears don't come out | Released Focused Force Palm too early | Wait until the yellow glow turns bright gold before releasing |
| Dragon doesn't appear at the bridge | Wait prompt not used | Hold Options / ESC / Start to trigger the Wait and spawn the dragon |
The entire dragon encounter is essentially a three-phase quick-time event disguised as open-world gameplay. Once you understand that Resist is purely reactive and Focused Force Palm needs a full charge before release, the sequence becomes straightforward — even on a first attempt with the right preparation.