
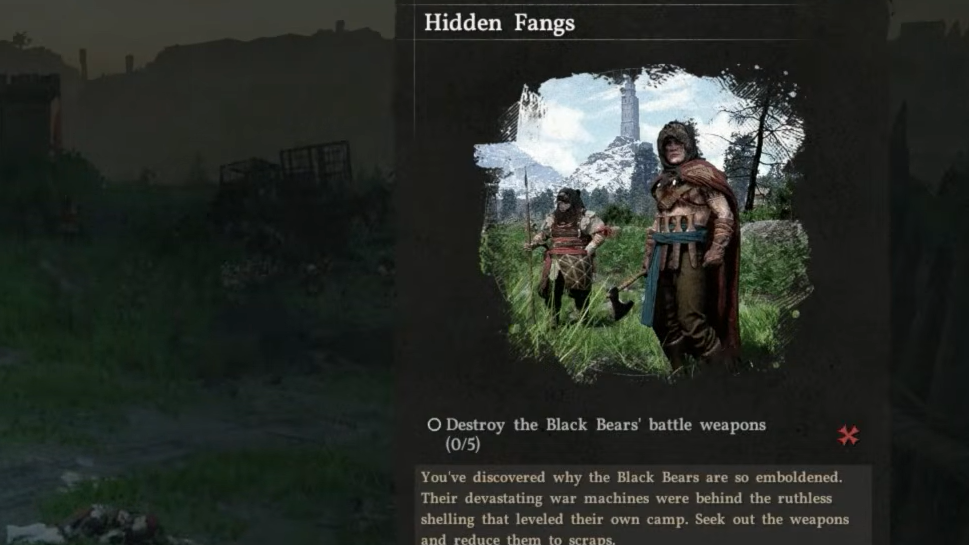
Hidden Fangs is the 78th main mission in Crimson Desert and the closing act of the Calphade battle sequence. It takes place during the Turning Tides arc of Chapter 6: Cracks in the Shield, immediately after you finish the In Ashes quest by capturing the Black Bears' base. The objective is straightforward — find and destroy five dome-shaped battle weapons scattered across the Hernand region — but the execution trips up a lot of players because melee combat is essentially suicide here.
Quick answer: Equip Whistling Arrows (hold D-Pad Left to open the equipment select screen), then use Precision Aim with your bow to shoot one at each battle weapon. A single Whistling Arrow calls in an artillery strike that destroys a tank instantly. Repeat for all five tanks to complete the quest.
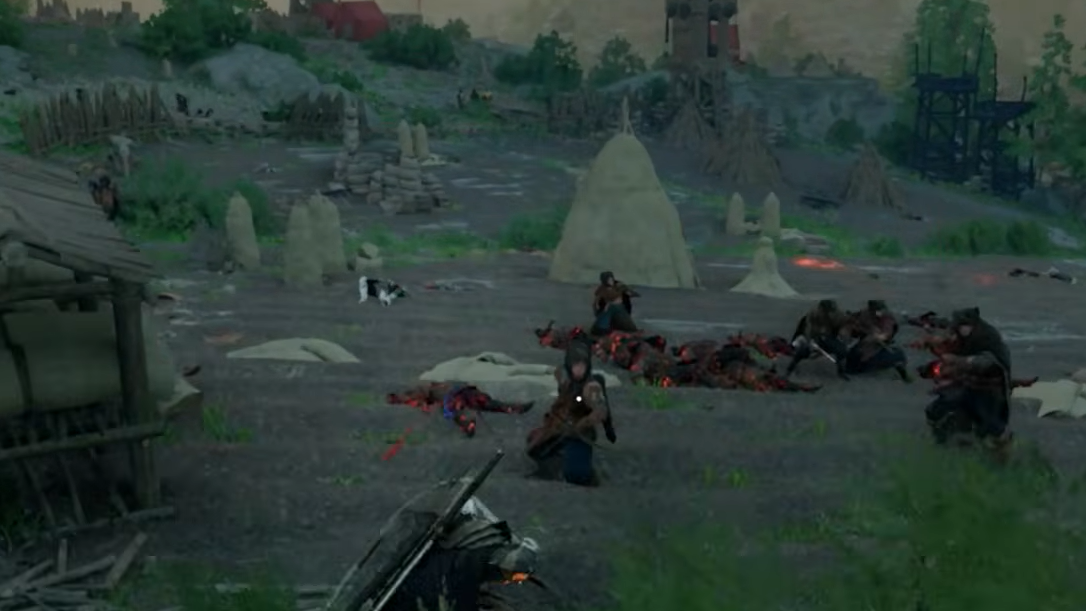
What the Black Bears' battle weapons are and why melee won't work
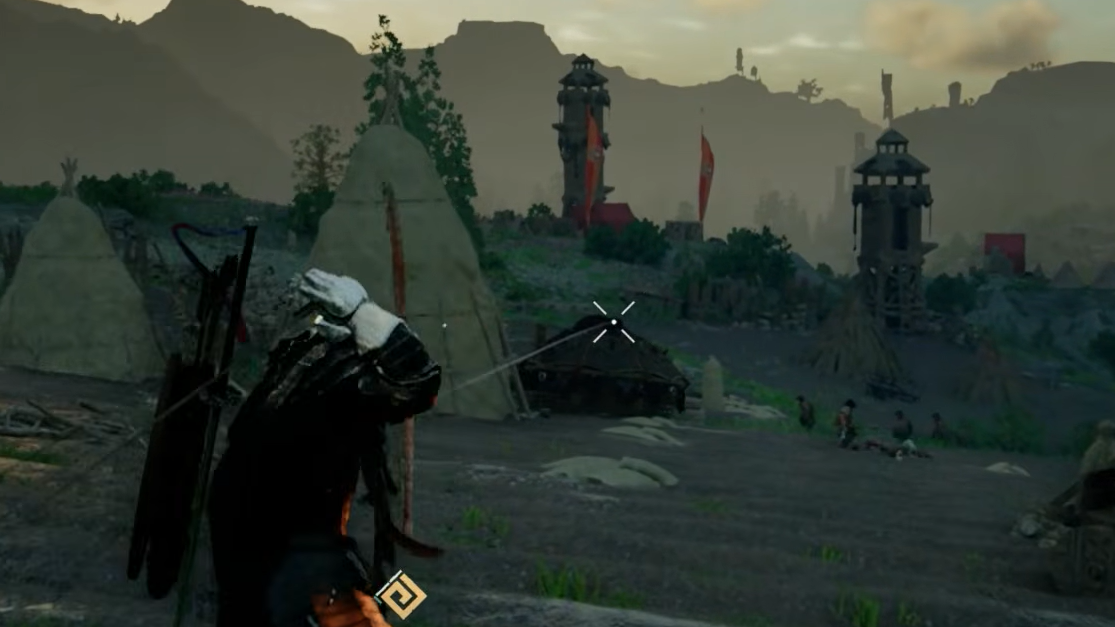
The battle weapons are round, wooden, dome-shaped vehicles that fire cannons in a full 360-degree arc. If Kliff gets close enough to swing a sword, the barrage will shred his HP in seconds. These tanks also move — they patrol the open fields in the southern portion of the red search area, with one positioned closer to the center. Because they're mobile, their exact locations shift slightly, but they stay within predictable zones.
You can spot them on the map if you zoom in far enough. They appear as faint markers, so look carefully, or you'll scroll right past them. Tracking the quest through the menu highlights a red search zone that narrows down where to look.
Equipping and firing Whistling Arrows
Step 1: Open the equipment select screen by holding D-Pad Left. Scroll to your arrow types and switch to Whistling Arrows. You should already have a supply from the earlier Fire Support subquest, which rewards 10 of them.
Step 2: Ride toward one of the battle weapons on horseback. You don't need to dismount right next to it — keeping distance is the entire point. When you're within bow range, draw your bow and activate Precision Aim.
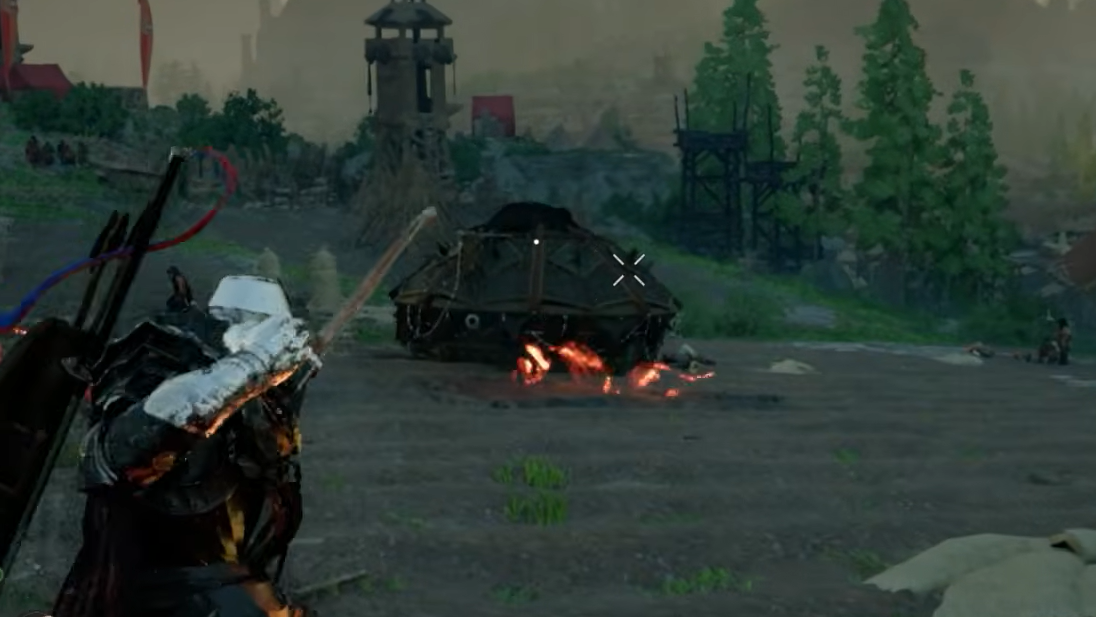
Step 3: Target the tank directly and release the shot. The Whistling Arrow marks the location for an artillery bombardment, which obliterates the battle weapon in a single hit. A brief explosion sequence confirms the kill.
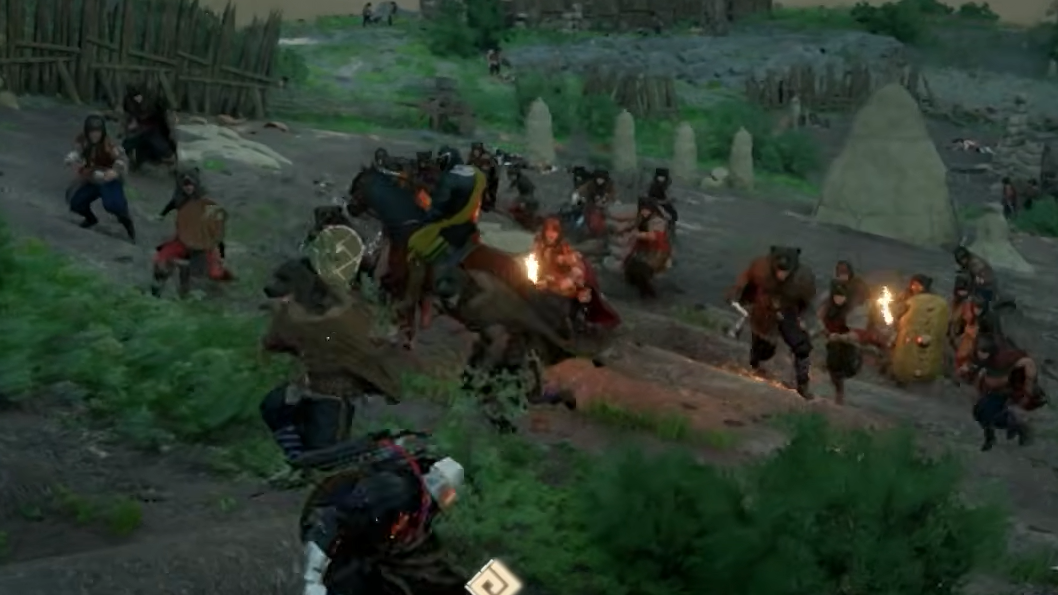
Step 4: Immediately ride away toward the next tank. Enemy infantry swarms the area around each weapon, but you can ignore them entirely. Staying on horseback and moving quickly between targets is the fastest and safest approach.
Step 5: Repeat for all five battle weapons. Once the last one is destroyed, a cutscene triggers automatically, and the quest completes.
Where to find all five battle weapons
The tanks roam slightly, so treat these as general zones rather than pinpoint coordinates. Four of the five patrol the open fields in the southern half of the red search area, while one sits closer to the center.
| Battle Weapon | General Location | Notes |
|---|---|---|
| #1 | Southern fields | Patrols near Battle Weapon #2; both share the same open area |
| #2 | Southern fields | Close to #1 — you can often hit both without riding far |
| #3 | Southern fields (east) | Slightly separated from the first pair |
| #4 | Southern fields (west) | Drives a wider loop than the others |
| #5 | Central area | The only tank not in the southern cluster |
Restocking Whistling Arrows at Support Posts
If you've been using Whistling Arrows on enemy groups or simply ran low, you can restock for free at any of the three resupply checkpoints (also called Support Posts) scattered across the battlefield. These are marked on the map with a flag icon.
Riding to a Support Post automatically restores your Whistling Arrow supply, fully heals Kliff and his horse, and provides healing items. There's a catch, though — each checkpoint goes on cooldown after you use it, so you can't hit the same one back-to-back. Plan your route to cycle between different posts if you need multiple restocks.
Bonus farming opportunity for Abyss Artifacts
The Hidden Fangs battlefield doubles as one of the best spots in Chapter 6 to farm Abyss Artifacts, which function as Skill Points. Enemies in this area respawn if you die, and the yellow bar to the left of the minimap tracks your Artifact unlock progression — it fills as you rack up kills.
If you want to take advantage of this, the Tauria Curved Sword (obtained from the Chapter 5 boss) deals wide area damage that clears groups quickly. You can also lure clusters of enemies together and fire a Whistling Arrow into the pack for an instant mass kill. Farming an Artifact roughly every five minutes is realistic here, making it worth spending some extra time before finishing off the last tank.
After all five battle weapons are scrap, the cutscene rolls and Hidden Fangs wraps up. There's no quest reward listed for completion, but the mission advances the Turning Tides storyline and moves you deeper into the Cracks in the Shield chapter. If you've been farming Artifacts on the side, this is your last chance before the area transitions — so make sure you're satisfied with your Skill Point haul before destroying that fifth tank.