
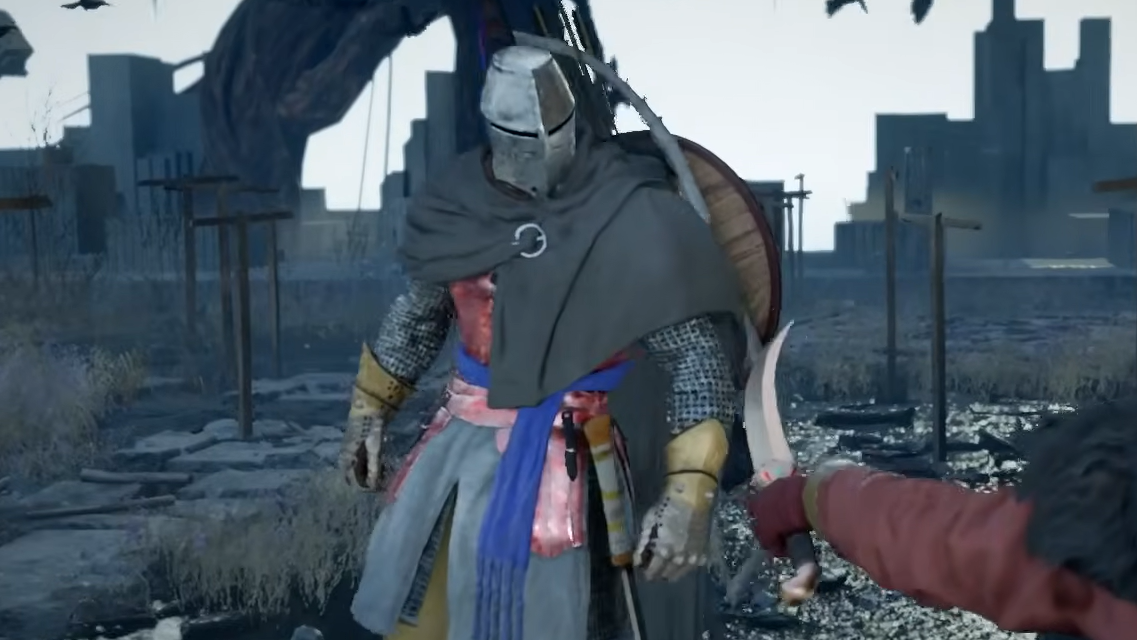
The Crowcaller boss awaits at the end of Chapter 5 in Crimson Desert, testing your combat skills across three demanding phases. This dual-blade fighter, also known as Draven the Crowcaller, appears at Crow's Nest in the Abyss after you cross the Crescent Skybridge. Defeating him requires careful preparation, precise parry timing, and enough healing supplies to outlast his relentless assault.
Quick answer: Upgrade your gear to at least level 4, bring 20+ Hearty Grilled Meats, equip a shield, and focus on parrying his combos to build stagger. Use Blinding Flash or Force Palm to create damage windows, and dodge his dive-bomb attacks at the last moment.
Gear and Stat Requirements
Before entering Crow's Nest, upgrade your weapons and armor to at least level 4, though level 5 refinement provides a noticeable advantage. A shield is mandatory—even the default Grey Wolf Wooden Shield works, but the Sydmon Round Shield, Sydmon Kite Shield, or Bekker Greatshield offer better defense. For your main weapon, the Sword of the Lord (earned from the Hornsplitter fight in Chapter 2) pairs well with a shield due to its range and speed. The Grove's Thorn also performs effectively if upgraded.
Armor sets from the Canta or Bolton lines (available at Hernand equipment and contribution shops) provide solid baseline protection. The Hernandian Honor Guard gear from the contribution shop at Hernand Castle offers another strong option. If you have the Leather Helm of the Fallen Kingdom, equip it for the +35% Turning Slash damage bonus, which becomes valuable during stagger windows.
Socket Abyss Cores into your gear before the fight. Cores that provide health regeneration, Spirit regeneration, and damage reduction prove most useful. Visit a witch in The Witchwoods to equip cores into your armor slots.
Invest skill points to reach at least level 4 in both Health and Stamina. Spirit at level 2 or higher helps sustain your offensive abilities throughout the fight. Focus your skill upgrades on sword combat abilities, particularly Armed Combat at level 4 or higher.
Essential Combat Skills
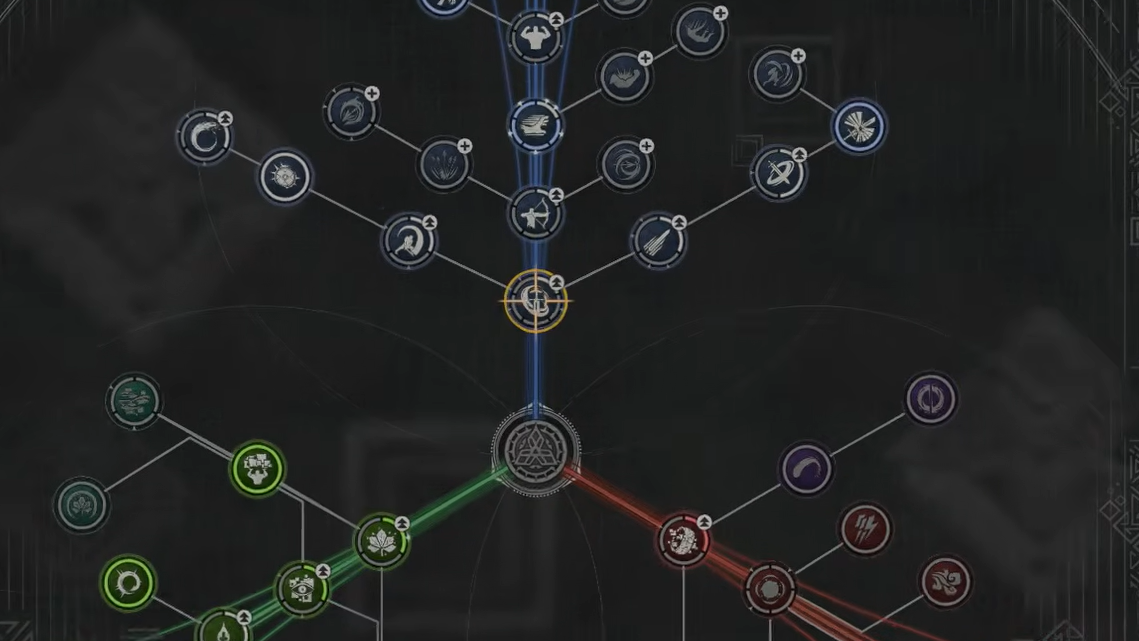
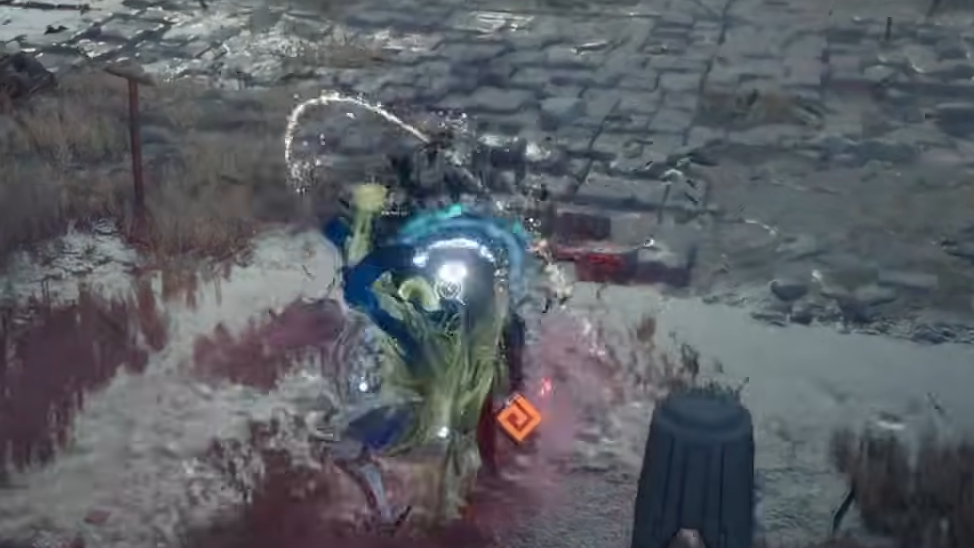
Four abilities make the Crowcaller fight significantly more manageable. Blinding Flash Finisher (activated with L1 + R1, then R2 on PlayStation or LB + RB, then RT on Xbox) stuns the Crowcaller after his attack flurries, creating a window for multiple strikes at the cost of Stamina. This skill appears in the top skill tree's blue branch.
Force Palm staggers the Crowcaller and interrupts his evasive movements. Use this ability immediately after his combo attacks to prevent his automatic dodge and open a brief damage opportunity.
Grapple (Triangle + Circle on PlayStation, Y + B on Xbox) temporarily stuns the boss and stops him from repositioning. The Lariat Follow-Up upgrade lets you chain this skill multiple times, rapidly filling his stagger bar.
Aerial Force Palm provides a double or triple jump that helps you dodge his aerial dive attacks cleanly, especially during Phase 3 when he chains three dives in succession.
Additional useful abilities include Turning Slash, Spinning Slash, and Shield Bash, all of which work well against the Crowcaller's standard attack patterns.
Food and Consumable Preparation
Bring at least 20 Hearty Grilled Meats into this fight. Players who documented their attempts used between 10 and 22 meats depending on their skill level and gear quality. The Crowcaller hits hard and fast—even experienced players who master parrying will take damage.
Stock up on Chewy Rice Cakes and porridge from Ronnie at the Greymane Camp. These items reset daily and provide Spirit regeneration, addressing a common resource drain during the fight. Palmar Pills also help restore HP and revive you if needed.
If you have progressed into Alchemy, any concoctions that boost Spirit regeneration prove valuable. Spirit depletion becomes a real issue when trying to maintain offensive pressure.
Phase 1: Learning Core Mechanics
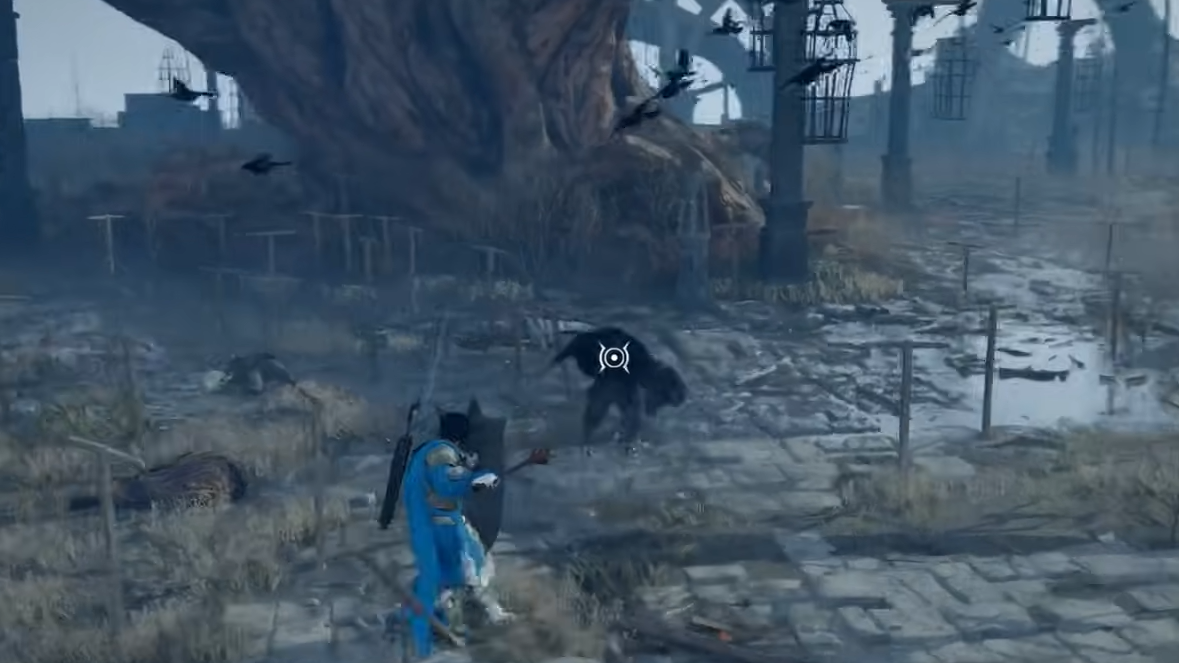
After defeating the initial group of Crow Brother minions, a cutscene introduces the Crowcaller. Raise your shield immediately when the cutscene ends—he attacks without delay.
Phase 1 teaches you his fundamental attack patterns. The Crowcaller relies on fast melee combos marked by red slash indicators. Keep your guard up and parry these attacks whenever possible. If you miss the parry window, simply hold your shield until the combo finishes, then counterattack immediately.
After completing his flurry of attacks, the Crowcaller will always dodge your next strike because he moves too fast to hit directly. Counter this with Blinding Flash to stun him or Force Palm to stagger him. Both abilities create a damage window where you can chain multiple attacks.
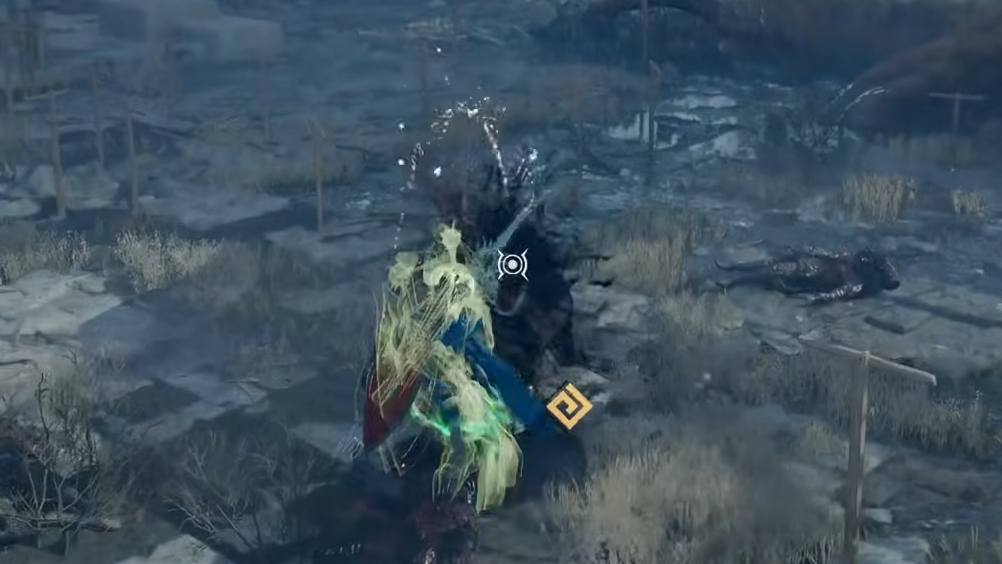
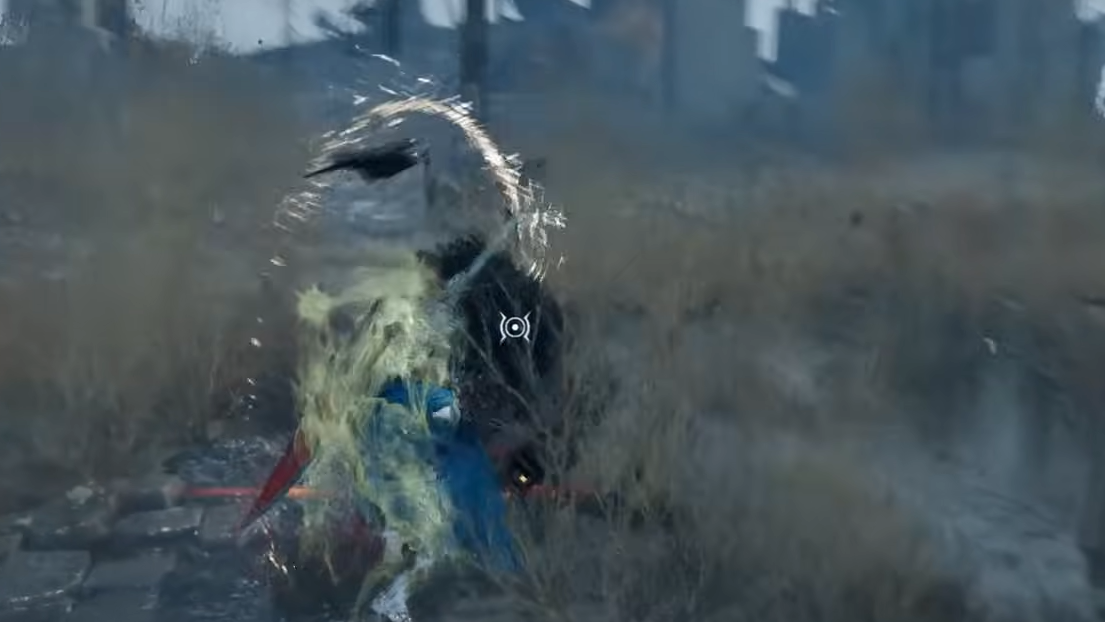
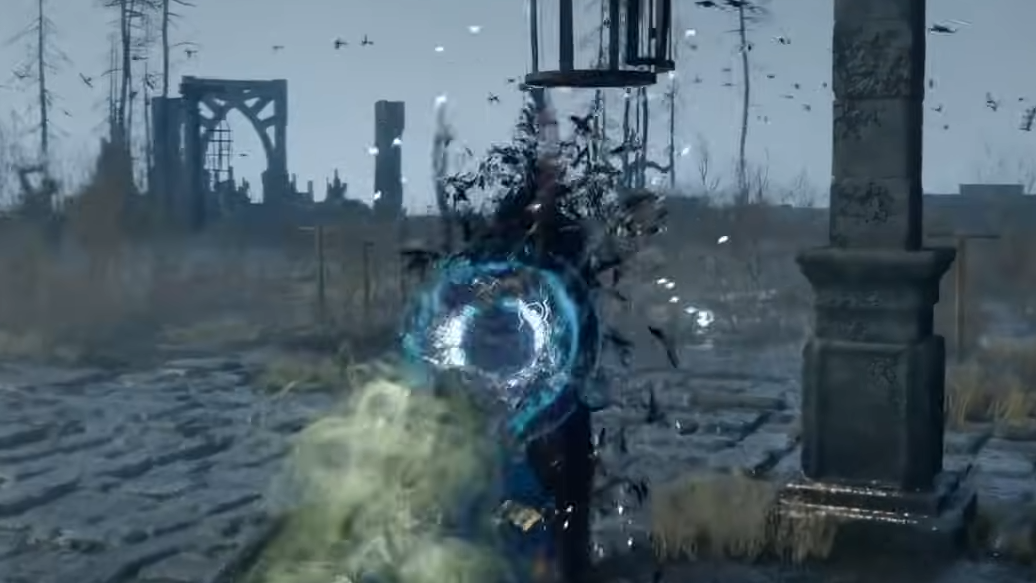
Watch for his dive-bomb attack. When the Crowcaller crosses his swords above his head and surrounds himself with crows, he will fly up, move to the left, then dive at you. Time your dodge roll as he starts his descent—not before. If you dodge too early, a second roll may still save you. Alternatively, sprint sideways and spam dodge rolls.
One combo ends with the Crowcaller standing still and crossing his swords above his head before slowly bringing them down. This creates the perfect opening for a heavy attack like Stab. Block the preceding combo with your shield to stay close, then immediately counter.
Use Hard Lock (D-pad down) to maintain camera focus on the boss. This makes blocking and parrying significantly easier throughout the fight.
Phase 2: Explosive Crows and Aerial Dashes
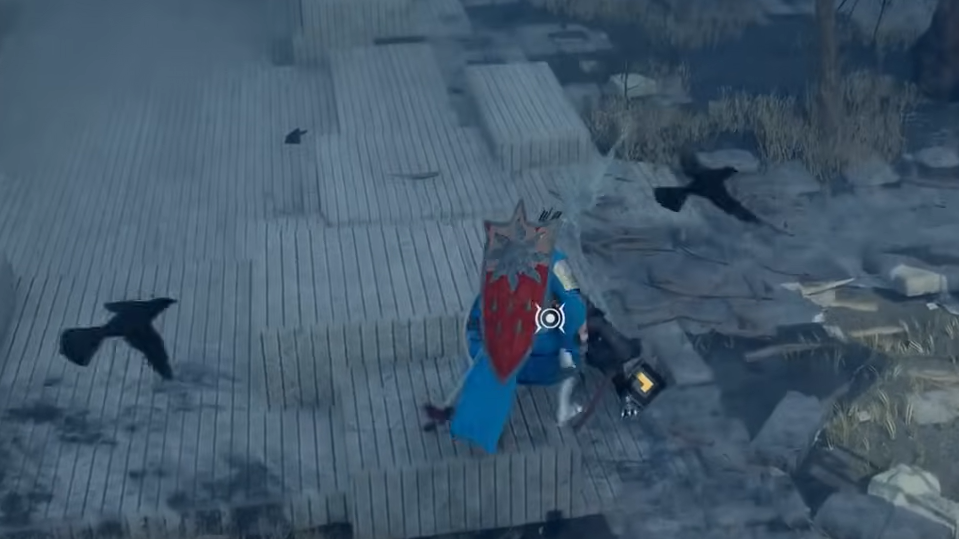
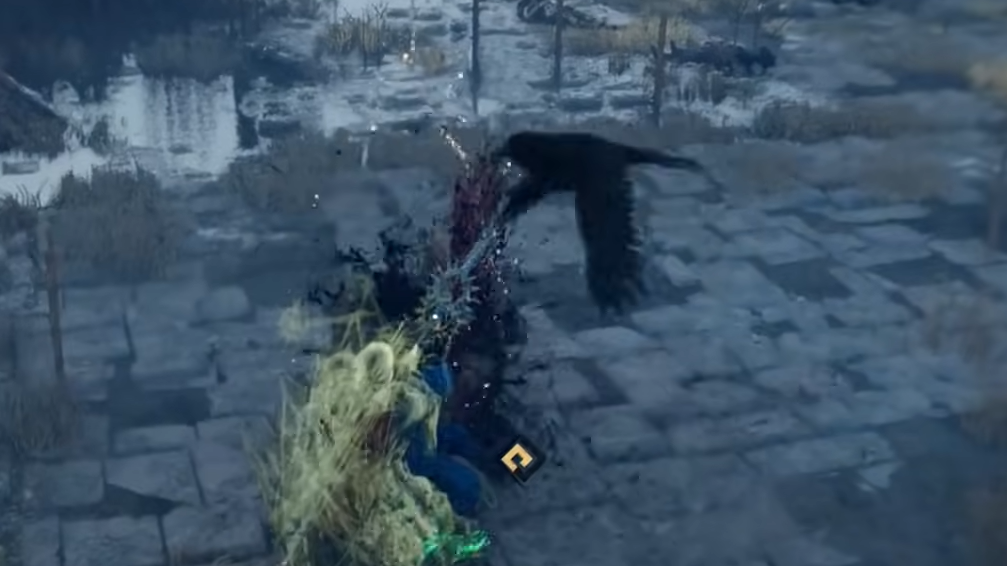
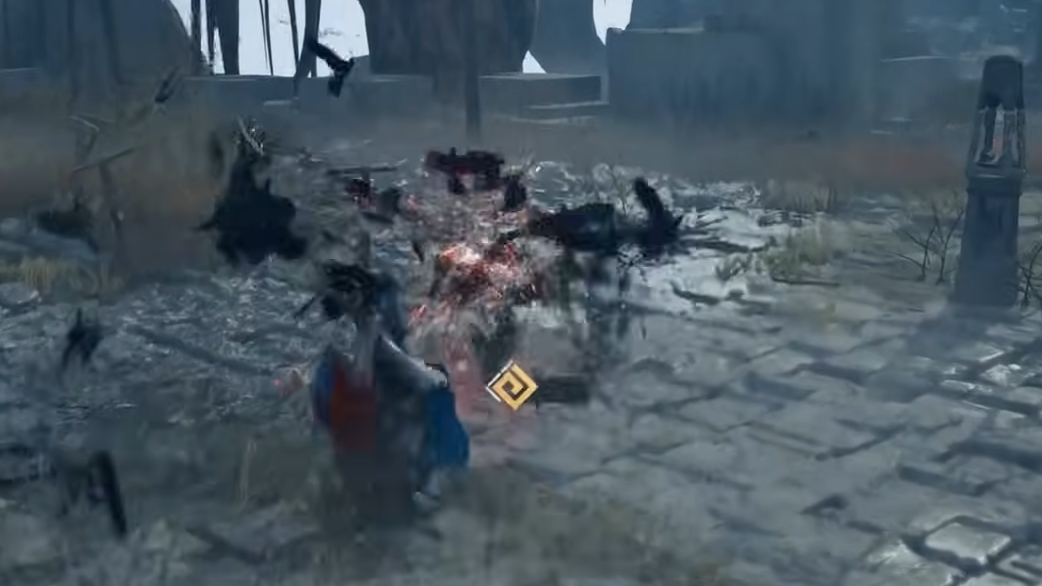
Phase 2 introduces two new mechanics. The Crowcaller now summons explosive crows that attack from range. Hold L1 (or LB) to block incoming damage while waiting for him to close distance. Use these moments to recover stamina.
His dive-bomb attacks evolve—he may glide sideways in the air before diving instead of attacking immediately. Watch for the second dash before committing to your dodge. The timing remains the same as Phase 1, but the additional movement can throw off your rhythm.
When the Crowcaller stands upright and crosses his swords in front of his chest, do not attack. He activates a glowing blue shield that negates your damage and protects him before aerial attacks.
He now performs two consecutive dive-bombs instead of one. The intensity of his melee attacks also increases, requiring more patience with parries, blocks, and dodges.
Grapple becomes your most valuable tool in this phase because the Crowcaller grows more evasive. Chain Grapple into your stagger buildup, then use Turning Slash once he staggers to deal significant damage. Blinding Flash Finisher remains highly effective when you catch him after a dive-bomb.
Phase 3: Three-Dive Sequences and Grab Attacks
Phase 3 pushes the Crowcaller's aggression to its peak. He can now chain up to three consecutive dive-bombs in a single sequence. He enters an invulnerable state briefly before launching into these attacks. Do not assume he is finished after the second dive—wait for him to land completely before committing to a counterattack.
The Crowcaller gains a grab attack where he catches you and holds you in place momentarily. Parrying and throwing him before he executes this move prevents the grab entirely.
His melee combo frequency increases significantly, but the core strategy remains unchanged. Block his melee combos (they deal low stamina damage, so blocking is sustainable), then use each successful block as an opening to Grapple him and rebuild his stagger bar. Parry windows, Blinding Flash, and Grapple remain your primary tools.
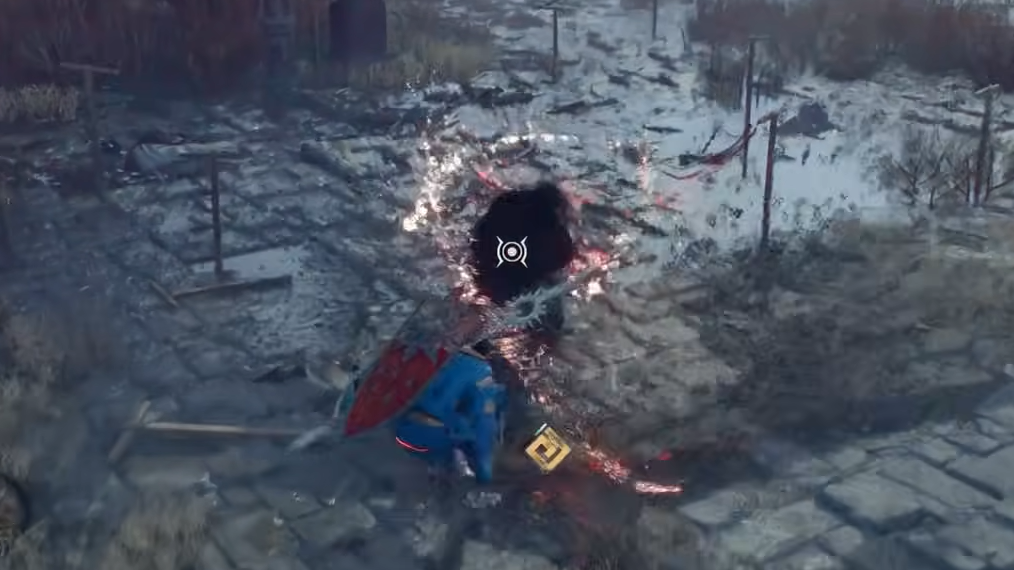
Build stagger consistently and unleash charged attacks with high Spirit when he becomes vulnerable. Hold R2 (or RT) and release at full charge when the boss is staggered for maximum burst damage. Stay calm during aerial attacks—the timing matches Phase 2, just with higher frequency.
The charged thrust attack, where he lunges forward with drawn swords, requires a well-timed sideways roll to avoid. Do not let the additional distractions break your focus—stay committed to the patterns you learned in earlier phases.
Alternative Strategy: Nature's Grasp
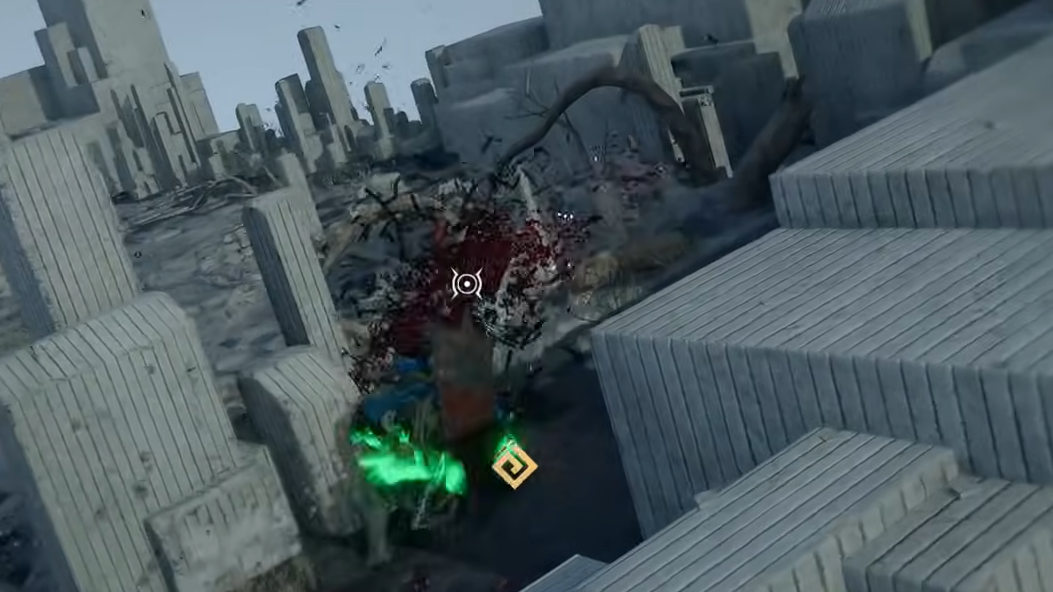
Crow's Nest contains multiple trees that break into tree trunks when damaged. You can use Nature's Grasp to pick up these trunks and slam them into the Crowcaller's face, instantly depleting his entire health bar for that phase.
Lure the Crowcaller near trees so his attacks break them. Once a tree trunk appears, use Nature's Grasp on it and select "slam" while aiming at the boss. The attack sweeps the tree from right to left, so position yourself with the Crowcaller in front of you at close to mid-range.
Be careful not to damage tree trunks further. If the Crowcaller hits them a second time, they break into timber pieces and become unusable as weapons. This method works in Phase 1 and Phase 3, leaving Phase 2 as the only segment requiring traditional combat.
Rewards for Defeating the Crowcaller
Defeating the Crowcaller rewards you with three equipment pieces: Blackwing Leather Armor, Blackwing Mask, and Tauria Curved Sword. Your victory concludes the "Toward the Nest" quest and begins Chapter 6.
You also unlock the Aerial Roll skill, which performs a high-speed dash while airborne at the cost of Stamina. This skill can alternatively be obtained during the fight using the Watch and Learn mechanic—keep the camera facing the Crowcaller when he executes the move and hold the Interact button. Acquiring it mid-fight provides the skill before Phase 3 begins.
Common Mistakes to Avoid
The most frequent error is entering the fight with underleveled gear. Gear below level 4 refinement leaves you vulnerable to the Crowcaller's rapid combos and makes stagger buildup significantly slower.
Playing too defensively creates problems. Waiting for openings instead of applying pressure allows the Crowcaller to dictate the fight's pace and execute his most dangerous moves more frequently. This fight rewards active aggression balanced with smart defensive timing.
Many players dodge too early during dive-bombs, which ironically causes them to get hit. Wait until the last possible moment before dodging—the timing feels counterintuitive at first, but becomes consistent with practice.
Bringing too few healing supplies leaves you empty-handed in Phase 3. Stock up beyond what feels necessary—the fight's length and damage output will test your reserves.
Failing to counterattack immediately after a successful parry wastes your biggest damage window. The brief stun from a parry creates the perfect opportunity for heavy attacks or skill chains.
Performance Considerations
Some players on base PlayStation 5 have reported frame rate drops during the Crowcaller fight that make the encounter more difficult. The performance issues appear inconsistent—some players experience smooth gameplay while others face borderline unplayable frame rates. If you encounter significant frame rate problems, focus on defensive play and use the Nature's Grasp strategy to minimize the time spent in active combat.
The Crowcaller demands more mechanical precision than earlier Chapter 5 bosses like Kearush the Slayer and Tenebrum. His speed in Phase 2 and 3 punishes aggressive play without proper stagger setup. The parry timing is tighter than most fights up to this point, and the three-dive sequence in Phase 3 catches players who autopilot the dodge timing from Phase 1. The fight remains winnable at gear level 5 with the right food loadout—most struggles stem from insufficient preparation rather than the mechanics themselves.