
The Loop of Life is an Abyss Restoration puzzle in Crimson Desert that tasks you with slotting power blocks into three stacked rings, each one higher and trickier than the last. It sits in the Sleet Isles cluster and is the sixth puzzle in a chain that begins at the Spire of Ringing Truth. Completing it rewards a fast travel teleport and an Abyss Artifact, plus there's a hidden chest worth grabbing before you leave.
Quick answer: Slot the first power block directly below the Abyss Nexus to spin Ring 1, carry the second block to the northeast tower, and use it to unlock a third block behind a forcefield, then redistribute those two blocks across Rings 2 and 3. Hit the activated mechanism with Force Palm while holding Resist, then climb up to collect the Abyss Artifact.

Prerequisites and Required Skills
You cannot enter the Loop of Life until every earlier puzzle in its chain is finished. The full sequence runs Spire of Ringing Truth → Ether Rest → Frostbitten Paradise → Path of Trials → Sanctorum of Darkness → Loop of Life. A boss guards the Abyss Gate at the Spire, so make sure you're geared for a fight before starting the chain.
| Detail | Info |
|---|---|
| Puzzle chain position | 6th of 8 (followed by Tree of Slumber) |
| Cluster | Sleet Isles |
| Rewards | Fast Travel Teleport, Abyss Artifact |
| Required skills | Axiom Force, Flight, Force Palm or Force Current, Aerial Force Palm |
Reaching the Loop of Life from Sanctorum of Darkness
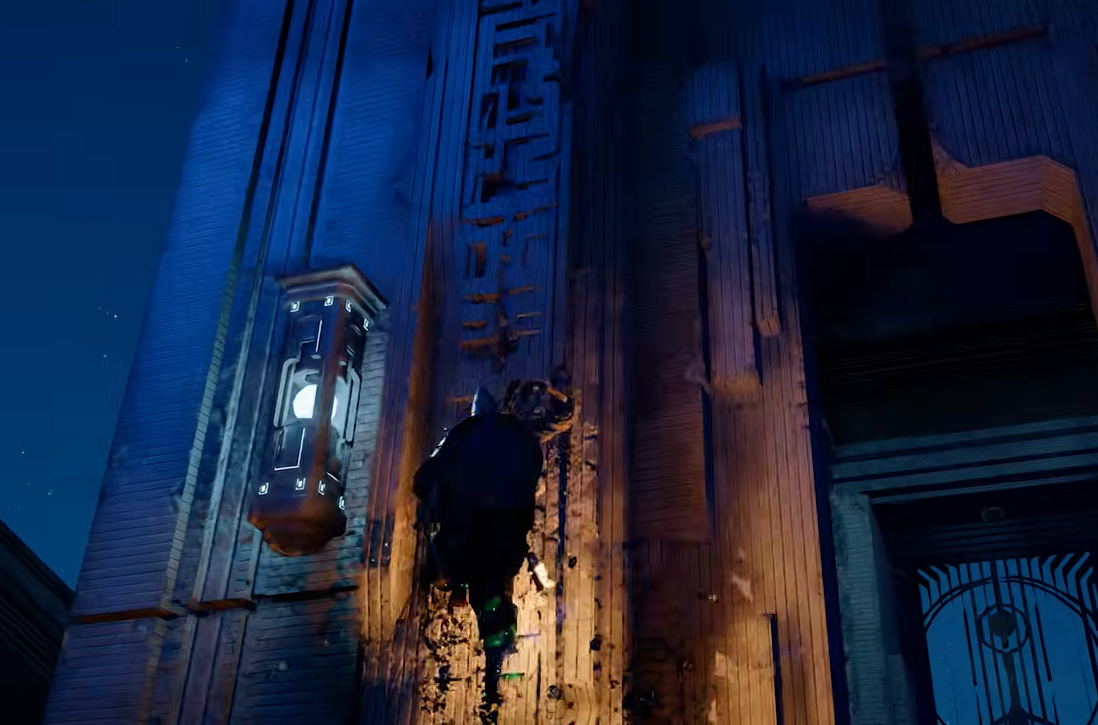
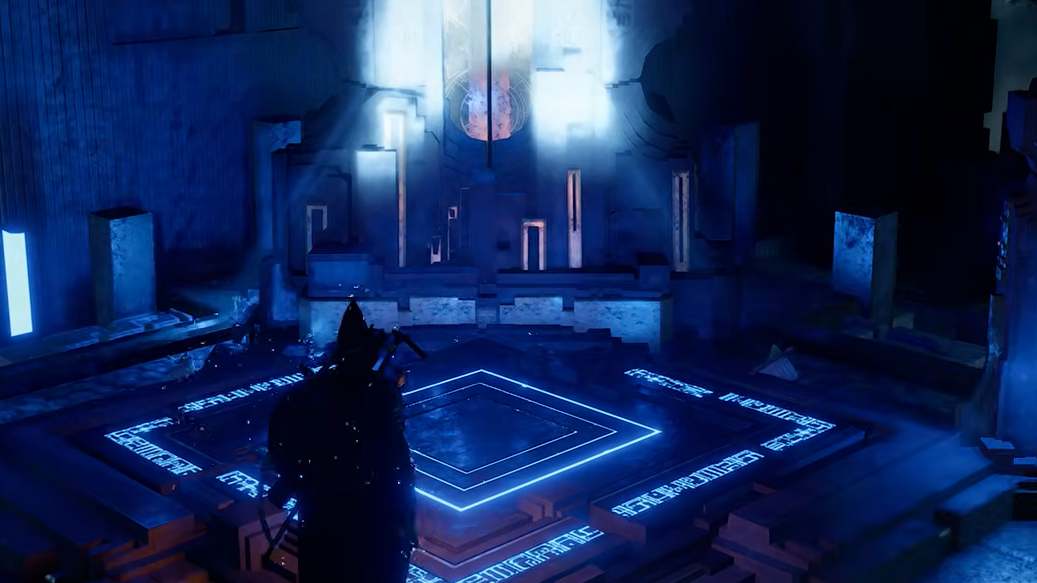
After finishing Sanctorum of Darkness, drop down to the northeast and pass through the triangular gate. Use Axiom Force to rotate the grey pillar that appears, then climb the lower grey platforms and scale the patterned wall above them. On the upper level, head north past the cluster of trees and cross the second set of grey platforms. Step onto the teleporter at the end to enter the Loop of Life.
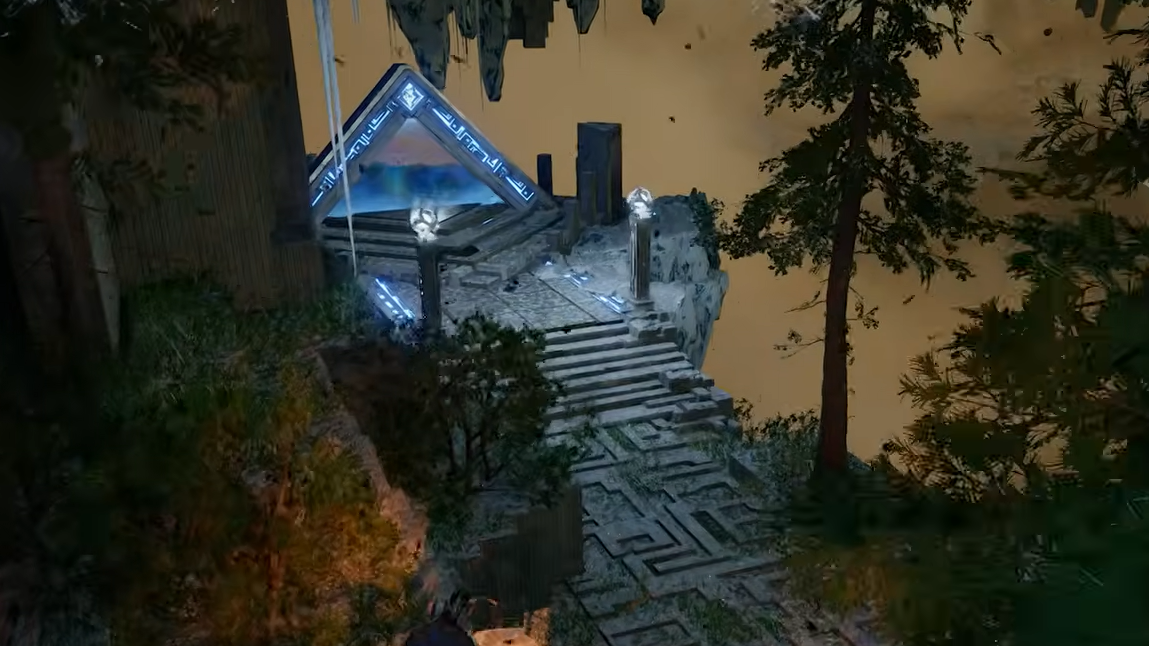
Loop of Life Puzzle Solution
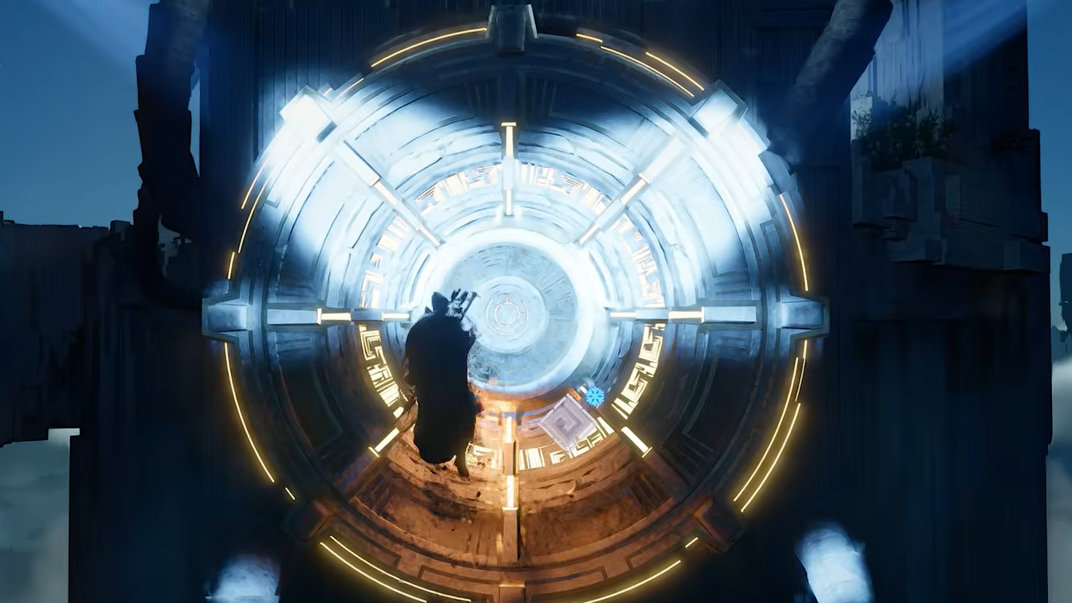
The core mechanic is straightforward: move flat power blocks (sometimes called power sources or key chips) into slots on each of the three rings. Every time a block connects, the ring powers up and begins to rotate. The tricky part is that you only have three blocks total, and one of them is locked behind a forcefield that requires temporarily spending another block to open.
Ring 1 — First power block
Step 1: From the Abyss Nexus, head northeast down the path toward the large grey ring. Just below the Nexus platform, you'll see a power block hovering directly above its slot. Grab it with Axiom Force and push it into the slot using Force Current. Alternatively, jump above it and slam it down with Force Palm. The first ring will begin rotating counterclockwise.
Ring 2 — Unlock the third block
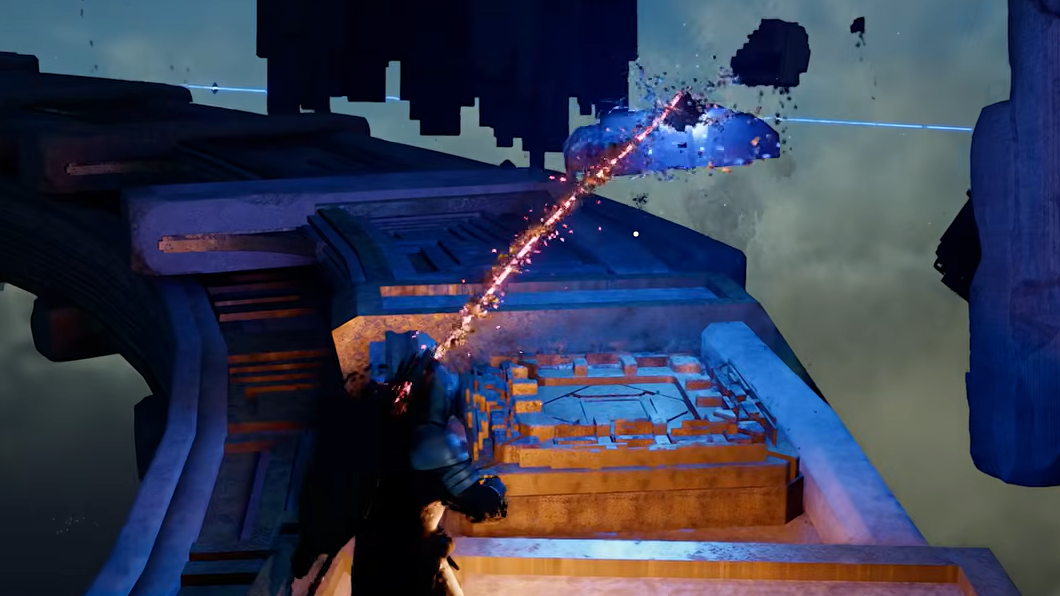
Step 2: Move around the ring toward the north side. A second power block is floating in the air nearby. Grab it with Axiom Force and carry it toward the northeast tower. You may need to cancel and recast Axiom Force as you reposition yourself closer to the tower entrance — the block's tether has limited range.
Step 3: Use Aerial Force Palm followed by Flight (or glide) to reach the tower platform. Once you're up there, pull the block toward you and slot it into the floor socket inside the tower. This removes the forcefield blocking a small room that contains a third power block.
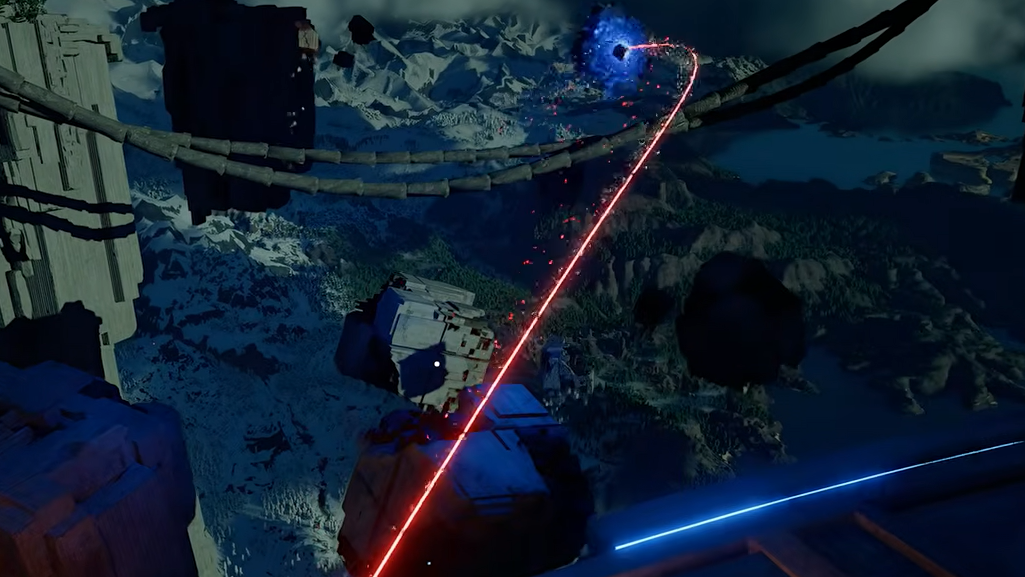
Step 4: Grab the newly freed third block from inside the room and raise it up toward the second ring above you. Then go back and pull the second block out of the tower's floor slot — you need it again. Be careful when pulling backward; it's easy to fall off the platform. A useful trick is to raise the Axiom Force tether into an arch shape first, then use the pull function. Lift this block up toward the second ring as well.
Step 5: Climb up to the second ring. Take one of the two blocks and carry it past the second ring, placing it near the third (topmost) ring — leave it there for now. Return to the second ring and slot the remaining block into the empty socket on the northeast side. The second ring powers up and starts rotating clockwise.
Ring 3 — Final block and activation
Step 6: Hop up to the third and final ring. The empty slot is roughly halfway around the ring's circumference. Carry the last power block to it and connect it. All three rings are now active, and a large circular mechanism on a nearby platform powers on.
Step 7: Glide or jump over to the mechanism. Use Axiom Force on it, then hit it with Force Current or Force Palm. Hold Resist while you do this — the mechanism generates a blast that can knock you off the platform. Once it's activated, climb up the device (or use Axiom Force on the ledge above it) to reach the Abyss Artifact and complete the puzzle.
Hidden Chest in Loop of Life
Don't leave immediately. A hidden chest containing a Faded Abyss Artifact (used to reallocate spent Artifacts) and Vitality II Abyss Gear is tucked away in this area.
Step 1: Head back to the northern platform where you originally found the second power block. Glide and climb onto the small platform just behind it.
Step 2: A moving platform nearby will carry you to another small platform holding a Visione Memory Fragment. Activate it — this particular Visione sequence spawns timed platforms you need to climb before the memory ends.
Step 3: Follow the platforms upward to reach the chest. You can use Aerial Force Palm and Glide to skip some platforms if the timer feels tight. After looting the chest, safely glide back down.
Crossing the Skybridge to Tree of Slumber
Past the obelisk near the puzzle's exit is a gate leading to the next Skybridge. The first section features a line of rotating cubes that are notoriously easy to slip off of — gliding past them is far more reliable than trying to platform across. After the cubes, the remaining platforms are simple moving blocks with no real danger. Reach the teleporter at the end to travel to the Tree of Slumber, the seventh puzzle in the chain.
The Loop of Life is one of the more manageable Abyss puzzles once you understand that the second power block serves double duty — first as a key to unlock the third block, then as the final piece for Ring 3. Keep your Axiom Force skills sharp, watch your footing on the rotating rings, and don't forget that hidden chest before moving on.