
The Reed Devil is the third major boss you'll face in Crimson Desert's main story, encountered during the quest "Dance with the Devil." A former slum-dweller twisted by a mysterious mask, he fights with Iaijutsu-style sword draws, vanishing acts in tall reeds, and summoned Wicker Totems. He has three full health bars spread across three distinct phases, and the fight starts almost the moment you arrive at his arena — so you need to be ready before you get there.
Quick answer: Stock at least 40 Grilled Meat (ideally more), focus on shield parries in Phases 1 and 3, destroy all five Wicker Totems with Explosive Arrows in Phase 2, and use Blinding Flash or a grapple to interrupt the Reed Devil's deadliest sword-draw combos.
Where to find the Reed Devil
The Reed Devil waits near Frozen Soul Mountain in the Hernand region, the very first explorable area of the game. After accepting the quest, follow the marker on your map to the search zone. A cutscene should trigger automatically when you arrive. If it doesn't, advance time to around 5 AM, and the encounter will begin. The arena itself is a wide field of reeds that the boss uses for concealment, so prepare your loadout and healing items before you walk in — there's no grace period once the cutscene ends.
Pre-fight preparation
Healing is the single biggest factor in surviving any Crimson Desert boss, and the Reed Devil is no exception. Buy cheap meat from the vendor in Hernand town, then cook it at the pot immediately to the right of that vendor. The basic Grilled Meat costs only one raw meat and restores 80 HP, which gives you far more total recovery per unit than the expensive recipes. Forty pieces is the minimum; bringing 100 or more makes the fight dramatically easier because you can eat while attacking or dodging, effectively tanking through damage you can't avoid.
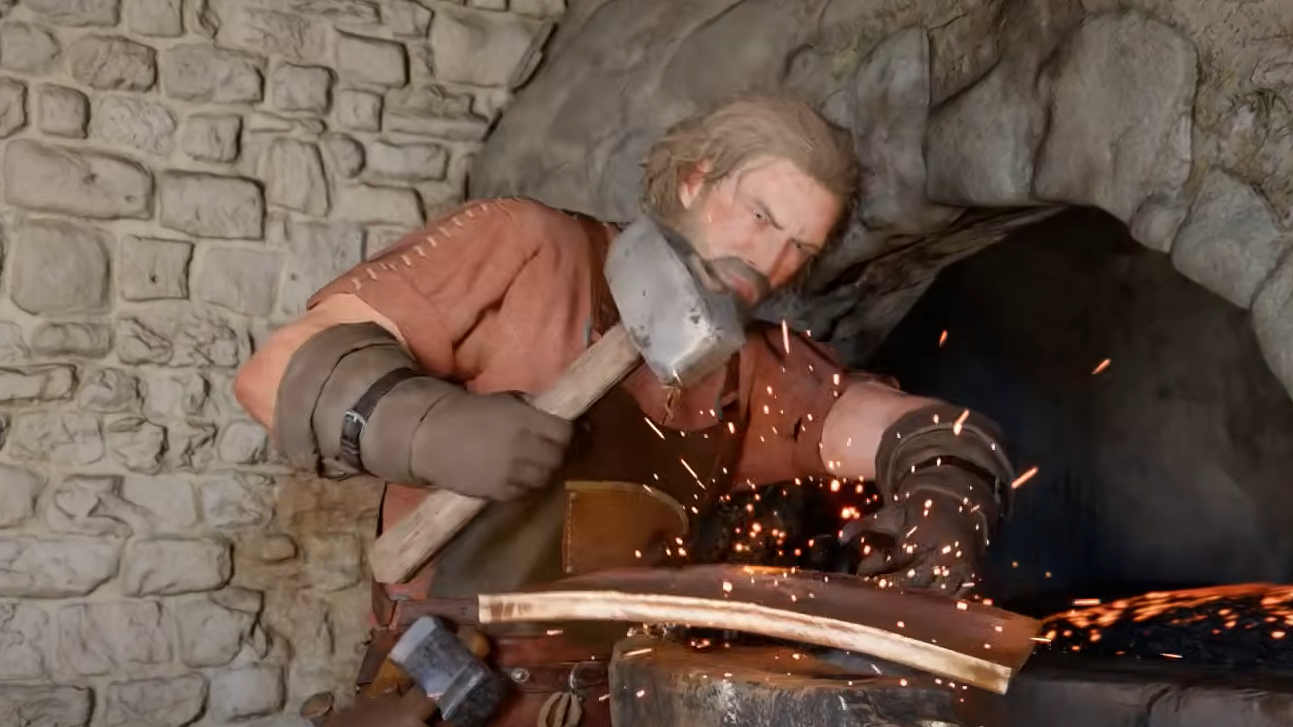
Upgrading your armor at the Hernand blacksmith also helps. Heavy plate armor offers the highest defense and carries no movement penalty. Refine it as high as your materials allow — ore comes from pickaxe deposits on mountainsides, and hides come from hunting animals in the wild.
Phase 1 — Sword draws and thrown spears
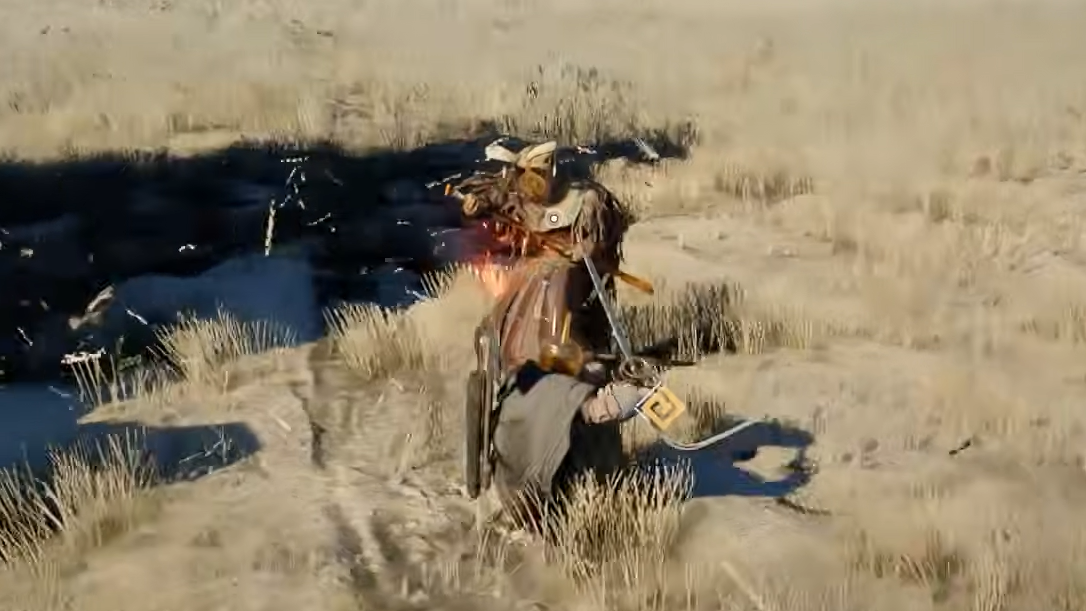
The Reed Devil opens the fight with two primary attacks. His most dangerous move is a sword-draw strike: he lowers his upper body, clutches the hilt, and you'll see a brief red glint on the blade during a one-second wind-up. Do not swing at him while he's in this stance. Your weapon will bounce off, and he'll cut through you immediately. After the initial slash, he vanishes into the reeds and reappears for a follow-up strike.
The best counter is to use Blinding Flash during his wind-up. This stuns him and opens a generous attack window. Alternatively, you can dodge the initial charge and the follow-up since the combination is short, or cancel it entirely with a perfect parry — though the timing on that is tight and takes practice. Shield counters are your bread and butter here: press the block button just before his attack lands to interrupt him, then follow up with a quick-attack combo. You can also weave in a Shield Bash between combos for extra damage.
His second notable attack is a set of three thrown spears, which he uses when you're too far away. After the spears, he dashes in for a slash. Dodge sideways through the projectiles and block the closing strike to regain the offensive. Keep healing while you attack — you can eat Grilled Meat every two seconds, even mid-combo.
Phase 2 — Destroying the Wicker Totems
After you deplete the first health bar, a cutscene plays, and five Wicker Totems spawn around the arena. You cannot damage the Reed Devil directly during this phase; the only objective is to destroy every totem.
If you don't have Explosive Arrows, quick melee attacks on each totem work, but you'll take more hits. Either way, never run in a straight line between totems — keep rolling and weaving to avoid ranged attacks and the Reed Devil's pursuit. Heal immediately whenever you lose HP, even while striking a totem. Once all five are down, Phase 3 begins.
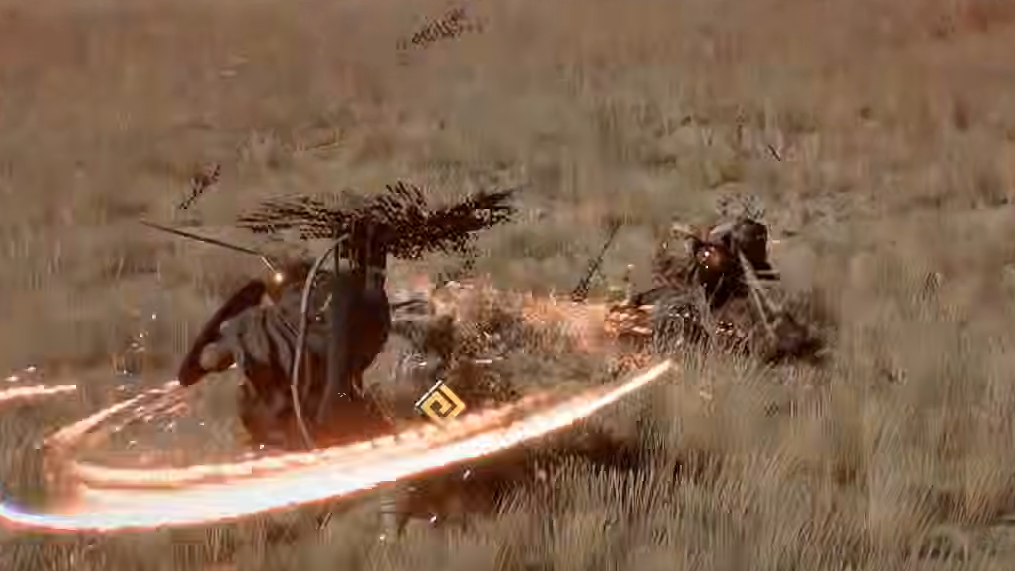
Phase 3 — Iaijutsu waves and clone attacks
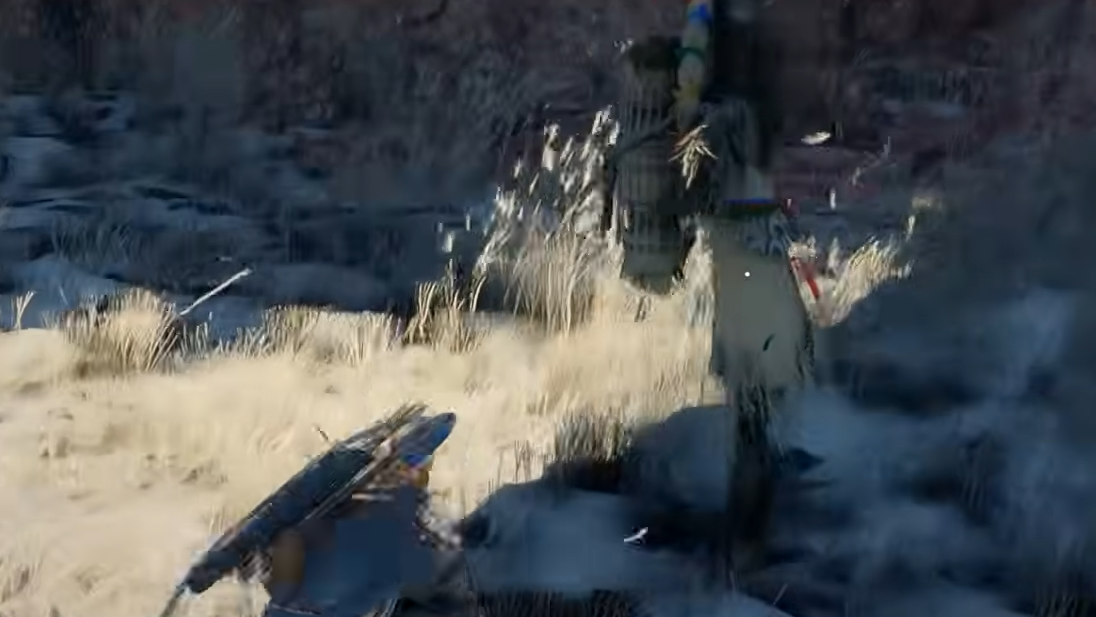
This is the hardest stretch of the fight. The Reed Devil becomes far more aggressive, and his sword draws now send red-colored wave projectiles across the field. He also summons a clone that attacks from a different angle, throwing off your dodge timing. The Iaijutsu combo itself is long — if it catches you, expect to lose a large chunk of health before you can escape.
The most reliable way to shut down his sword-draw chain is to close the distance and interrupt him with a grapple. A standard Throw works; the Lariat is even better if you've unlocked it. A Dropkick can also serve the same purpose. The timing takes practice, but preventing the draw entirely is far safer than trying to dodge the wave projectiles and clone simultaneously.
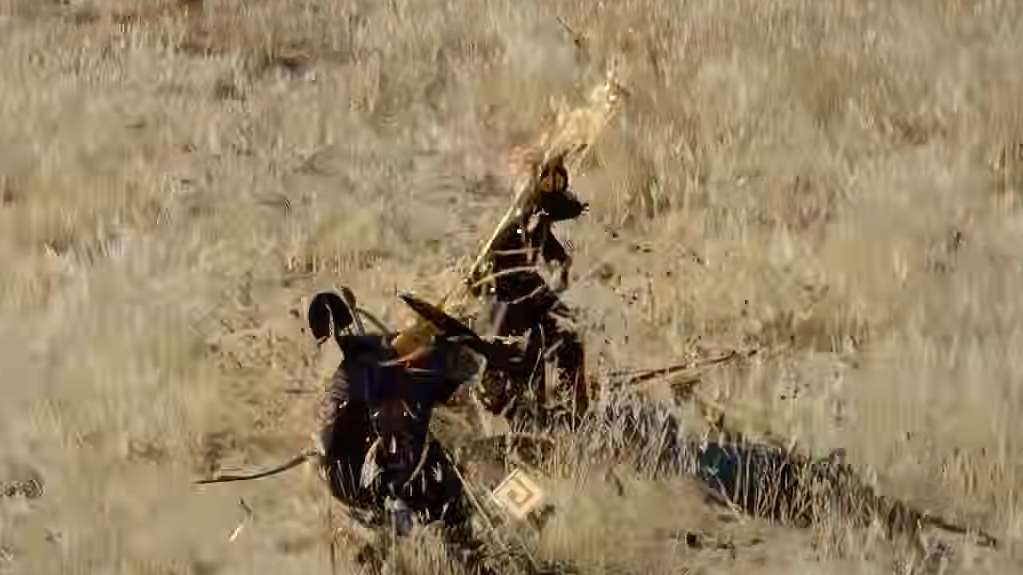
His other frequent move in this phase is a disguise attack: he disappears into the reeds and strikes from an unexpected direction. To make these ambushes more predictable, position yourself in the center of the field. The extra sightlines and room to maneuver let you spot his approach earlier and dodge accordingly.
When he dashes around the perimeter and fires red projectiles, move to the opposite end of the battlefield and dodge sideways. Keep healing constantly — this is where a large Grilled Meat stockpile pays off. If you die near the end, a Palmer Pill can revive you on the spot, though it's worth saving those for tougher bosses later in the story.
Recommended skills for the Reed Devil fight
| Skill | When to use it | Why it works |
|---|---|---|
| Blinding Flash | During the sword-draw wind-up | Stuns the Reed Devil, creating a safe attack window |
| Grapple (Throw / Lariat) | As he prepares Iaijutsu strikes in Phase 3 | Cancels his most dangerous combo before it starts |
| Shield Bash | After blocking an incoming attack | Lets you deal damage while still defending |
| Dropkick | Alternative to grapple in Phase 3 | Interrupts the sword draw at close range |
What happens after the fight
Once the Reed Devil's third health bar is depleted, a cutscene plays in which the mask's secret is revealed — and the Reed Devil flees, promising to resume the duel another day. Specific loot rewards for this encounter have not been confirmed. The boss's escape strongly suggests a rematch later in the story, and the initial encounter may not drop any items at all. For now, the victory itself is the reward, along with quest progression through the Hernand storyline.
The Reed Devil sits on the easier end of Crimson Desert's boss roster. If you can consistently land shield parries in Phases 1 and 3, keep your Grilled Meat supply flowing, and clear the totems quickly in Phase 2, the fight shouldn't take more than a couple of attempts. Save those Palmer Pills — the bosses that come after this one hit considerably harder.